Home>Home and Garden>How To Clean Converse

Home and Garden
How To Clean Converse
Published: March 5, 2024
Learn how to clean Converse shoes at home with simple and effective methods. Keep your footwear looking fresh and new with these easy home and garden cleaning tips.
(Many of the links in this article redirect to a specific reviewed product. Your purchase of these products through affiliate links helps to generate commission for Noodls.com, at no extra cost. Learn more)
Table of Contents
Introduction
Cleaning your Converse shoes not only helps to maintain their appearance but also prolongs their lifespan. Whether you've been rocking your favorite pair at music festivals, on outdoor adventures, or just in your everyday activities, chances are they've accumulated dirt, scuff marks, and stains over time. However, with the right approach and a bit of elbow grease, you can restore your Converse to their former glory.
In this guide, we'll walk you through a step-by-step process to effectively clean your Converse shoes. From removing the laces to tackling the soles and canvas, we'll cover everything you need to know to revitalize your beloved footwear. By following these simple yet effective methods, you can keep your Converse looking fresh and clean, ready to complement any outfit or occasion.
So, gather your cleaning supplies and get ready to give your Converse shoes the TLC they deserve. With a little effort and the right techniques, you can say goodbye to stubborn stains and hello to a pair of Converse that looks as good as new. Let's dive into the cleaning process and get those shoes shining again!
Materials Needed
To begin the process of cleaning your Converse shoes, you'll need a few essential materials to ensure a thorough and effective cleaning. Gathering the right supplies beforehand will streamline the cleaning process and help you achieve the best results. Here's a list of the materials you'll need:
-
Mild Detergent or Soap: Select a gentle detergent or soap to clean the canvas and rubber components of your Converse shoes. Avoid using harsh chemicals that could potentially damage the material.
-
Soft-Bristled Brush: A soft-bristled brush, such as an old toothbrush or a dedicated shoe brush, will be instrumental in loosening dirt and grime from the canvas and rubber surfaces without causing damage.
-
Water: You'll need access to clean water for rinsing and diluting the cleaning solution. Having a steady supply of water will ensure that you can thoroughly clean and rinse your Converse shoes.
-
Cleaning Cloth or Sponge: Prepare a cleaning cloth or sponge to assist in the cleaning process. These tools will help you apply the cleaning solution and wipe away dirt and stains from the shoes.
-
Laces: If your Converse shoes have laces, it's advisable to remove them before cleaning. This will allow you to clean the entire surface of the shoes, including the areas beneath the laces.
-
Old Newspapers or Towels: Lay down old newspapers or towels to create a designated cleaning area. This will help protect your working surface and prevent any mess while cleaning your Converse shoes.
-
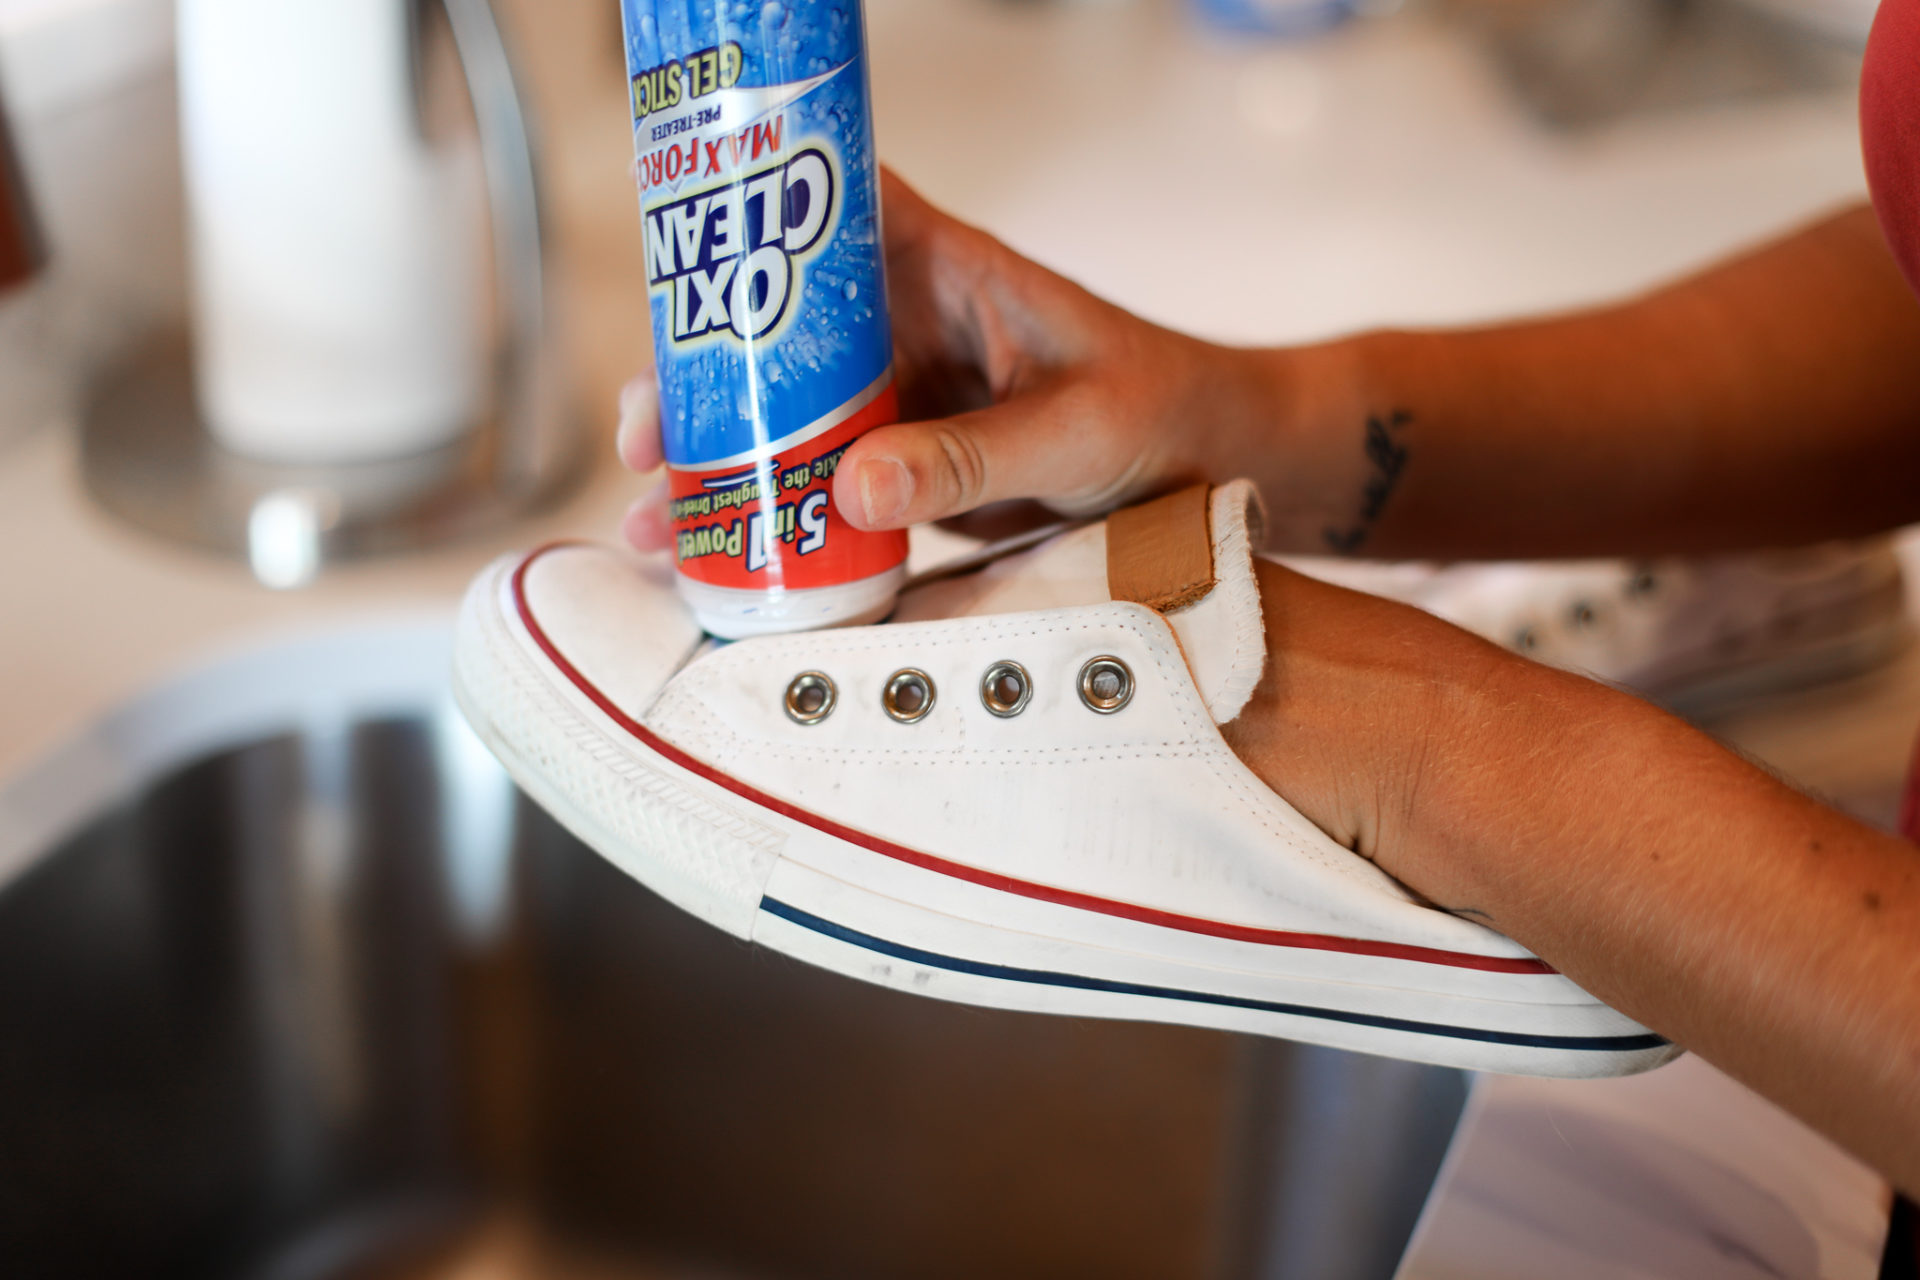
Optional: Stain Remover: If your shoes have stubborn stains, consider using a specialized stain remover designed for canvas or fabric. However, exercise caution and test the product on a small, inconspicuous area first to ensure it doesn't cause discoloration.
By gathering these materials, you'll be well-equipped to embark on the cleaning journey for your Converse shoes. With these supplies at your disposal, you can confidently proceed to the next steps and restore your shoes to their original splendor.
Step 1: Remove Laces
Before diving into the cleaning process, it's essential to start by removing the laces from your Converse shoes. This step is crucial as it allows for thorough cleaning of the entire surface, including the areas beneath the laces where dirt and grime tend to accumulate.
Begin by gently untying the laces and carefully removing them from the eyelets. Take your time to avoid stretching or damaging the laces, especially if they are the original ones that came with the shoes. Once the laces are untied, simply pull them out of the eyelets, ensuring a smooth and steady removal.
After removing the laces, set them aside for cleaning. Depending on the material of the laces, such as cotton or polyester, you can choose to hand wash them with mild detergent and water. For stubborn stains on the laces, consider using a small amount of stain remover or spot treatment to address any discoloration or soiling.
With the laces removed, you now have unobstructed access to the tongue and entire canvas surface of your Converse shoes. This will make the subsequent cleaning steps more effective, allowing you to address dirt and stains in areas that are typically hidden by the laces.
By taking the time to remove the laces before cleaning, you set the stage for a comprehensive cleaning process that targets all areas of your Converse shoes. This simple yet essential step ensures that no part of the shoes is overlooked, resulting in a thorough and satisfying cleaning experience.
With the laces safely removed and set aside for cleaning, you're now ready to move on to the next steps in the process of revitalizing your Converse shoes. This includes preparing the cleaning solution and addressing the soles and canvas to restore your shoes to their pristine condition.
Step 2: Prepare Cleaning Solution
To effectively clean your Converse shoes, it's crucial to prepare a suitable cleaning solution that can tackle dirt, stains, and grime without causing damage to the canvas or rubber components. The ideal cleaning solution should be gentle yet effective, capable of lifting stubborn stains while preserving the integrity of the shoe materials.
One of the most widely recommended cleaning solutions for Converse shoes is a mixture of mild detergent or soap and water. This simple yet powerful combination provides the cleaning potency needed to restore your shoes without posing any risk of discoloration or deterioration.
To prepare the cleaning solution, start by filling a basin or container with lukewarm water. Avoid using hot water, as it can potentially damage the glue that holds the shoes together. The temperature of the water should be comfortable to the touch, ensuring that it facilitates the cleaning process without causing any adverse effects on the shoes.
Once the water is ready, add a small amount of mild detergent or soap to create a soapy solution. It's important to use a gentle detergent that is suitable for cleaning delicate fabrics and materials. Avoid harsh chemicals or bleach, as these can cause discoloration and damage to the canvas and rubber.
After adding the detergent, gently agitate the water to create suds and ensure that the detergent is evenly distributed. This will result in a uniform cleaning solution that is ready to be applied to your Converse shoes.
The prepared cleaning solution is now poised to effectively lift dirt, stains, and grime from your shoes, setting the stage for a thorough cleaning process. With the cleaning solution at the ready, you're well-equipped to move on to the next steps and address the soles and canvas of your Converse shoes, bringing them one step closer to their original pristine condition.
By taking the time to prepare a gentle yet potent cleaning solution, you're ensuring that your Converse shoes receive the care and attention they deserve. This thoughtful approach sets the foundation for a successful cleaning endeavor, allowing you to revitalize your shoes and enjoy their refreshed appearance for many more adventures to come.
Step 3: Clean Soles
The soles of your Converse shoes are subjected to constant contact with various surfaces, making them prone to accumulating dirt, mud, and grime. Cleaning the soles is a crucial step in revitalizing your Converse shoes and restoring their overall appearance. By focusing on the soles, you can ensure that every part of your shoes receives the attention it needs to look as good as new.
To begin cleaning the soles, start by dipping a soft-bristled brush into the prepared cleaning solution. The brush should be damp but not dripping with excess water. Using the brush, gently scrub the soles of your Converse shoes, paying close attention to the treads and edges where dirt tends to accumulate. The goal is to loosen and lift any dirt or debris that has adhered to the rubber soles.
As you scrub, you may notice stubborn areas of discoloration or embedded dirt. In such cases, apply slightly more pressure with the brush while ensuring that you do not damage the rubber material. The goal is to effectively dislodge any trapped dirt and restore the soles to their original clean state.
Once you've thoroughly scrubbed the soles, use a cleaning cloth or sponge dampened with water to wipe away the loosened dirt and excess cleaning solution. This step helps to ensure that any lifted dirt is completely removed from the soles, leaving them looking fresh and revitalized.
After wiping the soles, inspect them to ensure that all dirt and grime have been effectively removed. If you notice any remaining spots or stubborn stains, consider repeating the scrubbing process with a bit more focus on those areas. Additionally, for particularly tough stains, you can use a specialized rubber sole cleaner to target and lift the discoloration.
By dedicating attention to cleaning the soles of your Converse shoes, you're ensuring that every part of the shoes receives the care it needs to look its best. The clean soles will not only enhance the overall appearance of your shoes but also contribute to a sense of freshness and renewed vitality. With the soles now clean and rejuvenated, you're ready to proceed to the next step and address the canvas of your Converse shoes, bringing them one step closer to their former glory.
Step 4: Clean Canvas
With the soles of your Converse shoes now looking fresh and revitalized, it's time to shift your focus to the canvas uppers. The canvas material is a defining feature of Converse shoes, known for its durability and classic aesthetic. However, over time, the canvas can accumulate dirt, stains, and discoloration, detracting from the overall appeal of your beloved footwear. By effectively cleaning the canvas, you can breathe new life into your Converse shoes and restore them to their original splendor.
To begin cleaning the canvas, dip a soft-bristled brush into the prepared cleaning solution. Gently scrub the canvas uppers, focusing on areas with visible dirt, stains, or discoloration. The goal is to loosen and lift the accumulated grime without causing damage to the fabric. Pay particular attention to any noticeable stains, working the brush in a circular motion to effectively address the affected areas.
As you scrub, you may observe stubborn stains or areas that require additional attention. In such cases, consider applying a bit more cleaning solution to the brush and focusing on those specific spots. Take care to maintain a gentle yet thorough approach, ensuring that the canvas material is treated with the utmost care throughout the cleaning process.
After scrubbing the canvas, use a cleaning cloth or sponge dampened with water to wipe away the loosened dirt and excess cleaning solution. This step helps to ensure that any lifted dirt is effectively removed from the canvas, leaving behind a refreshed and rejuvenated surface. As you wipe, take note of any remaining stains or discoloration, as these may require targeted treatment with a specialized stain remover designed for canvas or fabric.
For particularly stubborn stains, it's essential to exercise caution and test the stain remover on a small, inconspicuous area of the canvas first to ensure that it doesn't cause any adverse effects. Once you've addressed any persistent stains, use a clean, damp cloth to gently wipe the entire canvas surface, removing any residual cleaning solution and ensuring a thorough cleaning outcome.
By dedicating attention to cleaning the canvas uppers of your Converse shoes, you're taking a significant step towards restoring their original allure. The clean and refreshed canvas will not only enhance the overall appearance of your shoes but also contribute to a sense of renewed vibrancy and cleanliness. With the canvas now effectively cleaned and rejuvenated, you're ready to proceed to the final steps of rinsing and drying your Converse shoes, bringing them one step closer to their former glory.
Step 5: Rinse and Dry
After the meticulous cleaning of the soles and canvas of your Converse shoes, the next crucial step is to thoroughly rinse and dry them. This step is essential to ensure that any remaining cleaning solution, dirt, or grime is completely removed, and the shoes are prepared for the drying process. By following the proper rinsing and drying techniques, you can safeguard the integrity of your Converse shoes and set the stage for a successful revitalization.
To begin the rinsing process, use a clean cloth or sponge dampened with water to gently wipe the entire surface of the shoes. This step helps to remove any residual cleaning solution and ensure that the canvas and rubber components are thoroughly rinsed. Pay close attention to areas where the cleaning solution was applied, ensuring that no traces of the solution remain on the shoes.
Once the shoes have been effectively rinsed, it's time to address the laces if you removed them earlier in the cleaning process. If the laces are washable, gently hand wash them using mild detergent and water, ensuring that any accumulated dirt or stains are lifted. After washing, thoroughly rinse the laces to remove any soapy residue, and then set them aside to air dry.
With the shoes and laces effectively rinsed, it's time to focus on the drying process. Start by stuffing the shoes with clean, dry towels or old newspapers. This helps to maintain the shape of the shoes and absorb excess moisture from the interior, expediting the drying process. Ensure that the shoes are adequately stuffed but not overly compressed, allowing for proper air circulation.
Next, place the shoes in a well-ventilated area away from direct sunlight or heat sources. Allowing the shoes to air dry naturally is the best approach, as excessive heat can potentially damage the materials. It's important to be patient during the drying process, as rushing it may compromise the integrity of the shoes.
Throughout the drying period, periodically check the shoes to assess their progress. If necessary, replace the towels or newspapers inside the shoes to ensure effective moisture absorption. Additionally, gently reshape the shoes as they dry to maintain their form and prevent any potential distortion.
By meticulously following the rinsing and drying process, you're ensuring that your Converse shoes receive the care and attention they need to fully recover from the cleaning process. The thorough rinsing and proper drying techniques will contribute to the overall revitalization of your shoes, leaving them looking fresh, clean, and ready to accompany you on your next adventure.
With the rinsing and drying process complete, your Converse shoes are now primed to be re-laced and worn, showcasing their renewed vibrancy and cleanliness. By adhering to the recommended rinsing and drying methods, you've successfully brought your Converse shoes one step closer to their former glory, ready to step out with confidence and style.
Step 6: Re-lace and Wear
With your freshly cleaned and thoroughly dried Converse shoes in hand, it's time to complete the revitalization process by re-lacing them and getting ready to showcase their renewed allure. The re-lacing step not only adds the finishing touch to the cleaning endeavor but also sets the stage for you to confidently wear your Converse shoes with a sense of pride and satisfaction.
Begin by retrieving the clean and dry laces that you set aside earlier in the cleaning process. If the laces are still slightly damp, allow them a bit more time to air dry completely before proceeding. Once the laces are ready, it's time to re-lace your Converse shoes, ensuring a snug and secure fit that complements the refreshed appearance of the shoes.
Start by identifying the lace holes on each side of the shoes, ensuring that the corresponding holes align symmetrically. This attention to detail will result in a neatly laced appearance that enhances the overall aesthetic of your Converse shoes. With the lace holes aligned, begin threading the laces through the bottom set of holes, ensuring that the lace ends are even on both sides.
As you progress upwards, alternate the lacing pattern, crossing the laces over the tongue and threading them through the corresponding holes on the opposite sides. This crisscross pattern not only provides a secure fit but also adds a classic touch to the overall look of your Converse shoes. Take care to maintain an even tension as you lace up, ensuring that the shoes are comfortably snug without being overly tight.
Once you reach the top set of lace holes, tie a secure knot to keep the laces in place. You can opt for a traditional bow knot or experiment with different lacing styles to personalize the appearance of your Converse shoes. Whichever style you choose, ensure that the laces are neatly tied and the ends are evenly secured, adding a polished finish to the lacing process.
With your Converse shoes now re-laced and looking fresh, it's time to slip them on and revel in the satisfaction of wearing revitalized footwear. Whether you're heading out for a casual outing, embarking on an adventure, or simply enjoying the comfort of your newly cleaned Converse shoes, you can do so with the confidence that comes from knowing your footwear is not only clean but also exudes a renewed sense of vibrancy.
By completing the re-lacing process, you've put the final touch on the journey to revitalize your Converse shoes, bringing them back to life with a clean and refreshed appearance. With the shoes now ready to be worn, you can step out with a spring in your step, knowing that your Converse shoes are not just footwear but a reflection of your care and attention to detail.


