Lifestyle
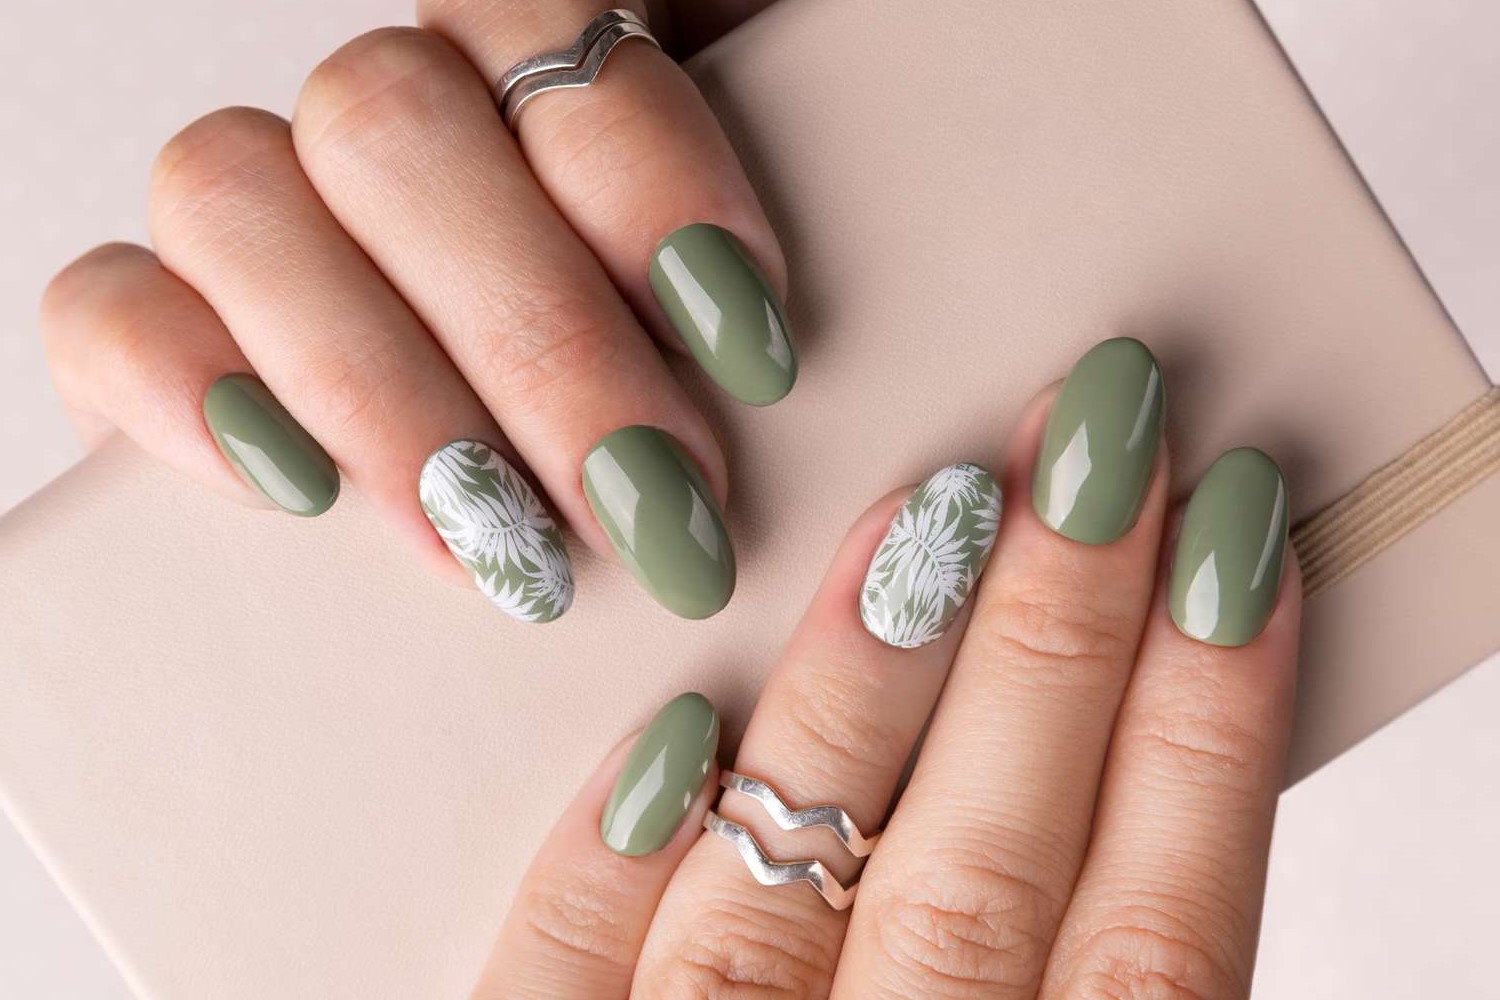
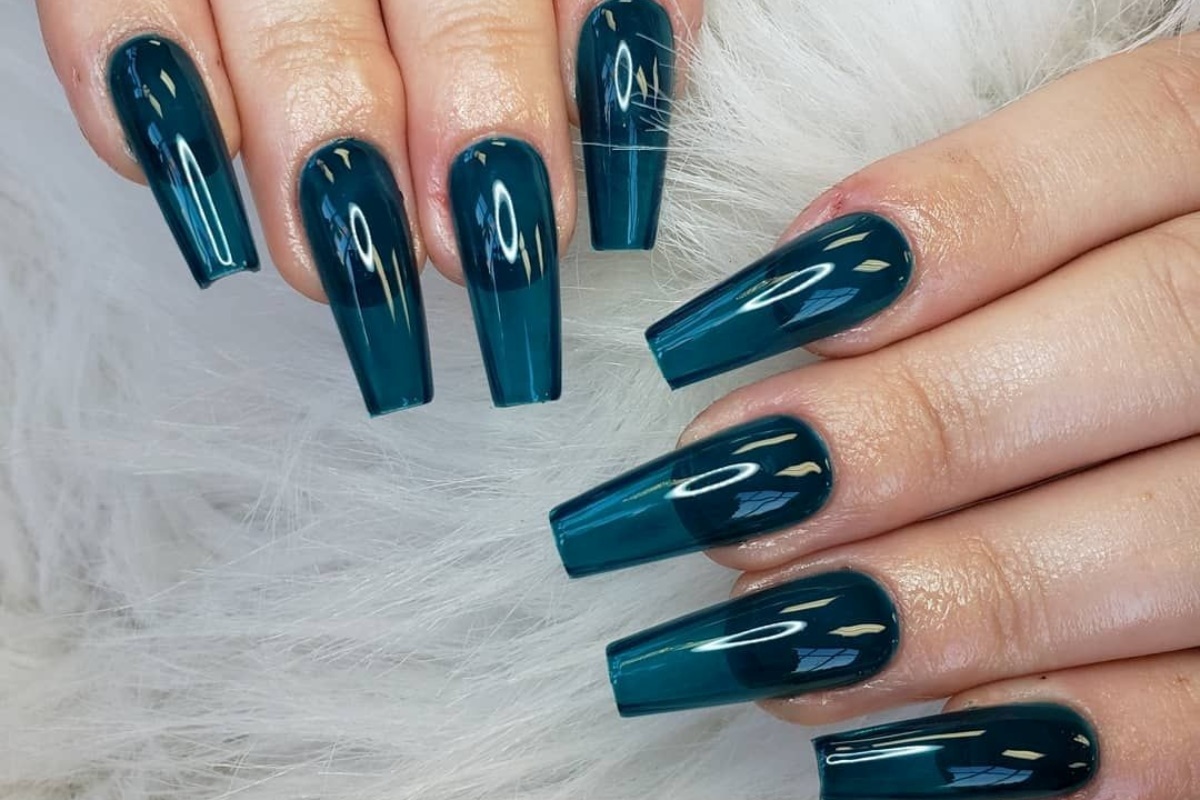
How To Remove Gel X Nails
Published: March 2, 2024
Learn how to safely remove Gel X nails at home with our step-by-step guide. Discover the best techniques and products for a hassle-free nail removal process. Enhance your lifestyle with our expert tips!
(Many of the links in this article redirect to a specific reviewed product. Your purchase of these products through affiliate links helps to generate commission for Noodls.com, at no extra cost. Learn more)
Table of Contents
Introduction
Removing Gel X nails at home can be a simple and rewarding process when approached with the right techniques and tools. Whether you're ready for a new nail design or aiming to give your natural nails some breathing room, understanding the step-by-step process is essential for a successful removal. By following the proper methods, you can effectively remove Gel X nails without causing damage to your natural nails.
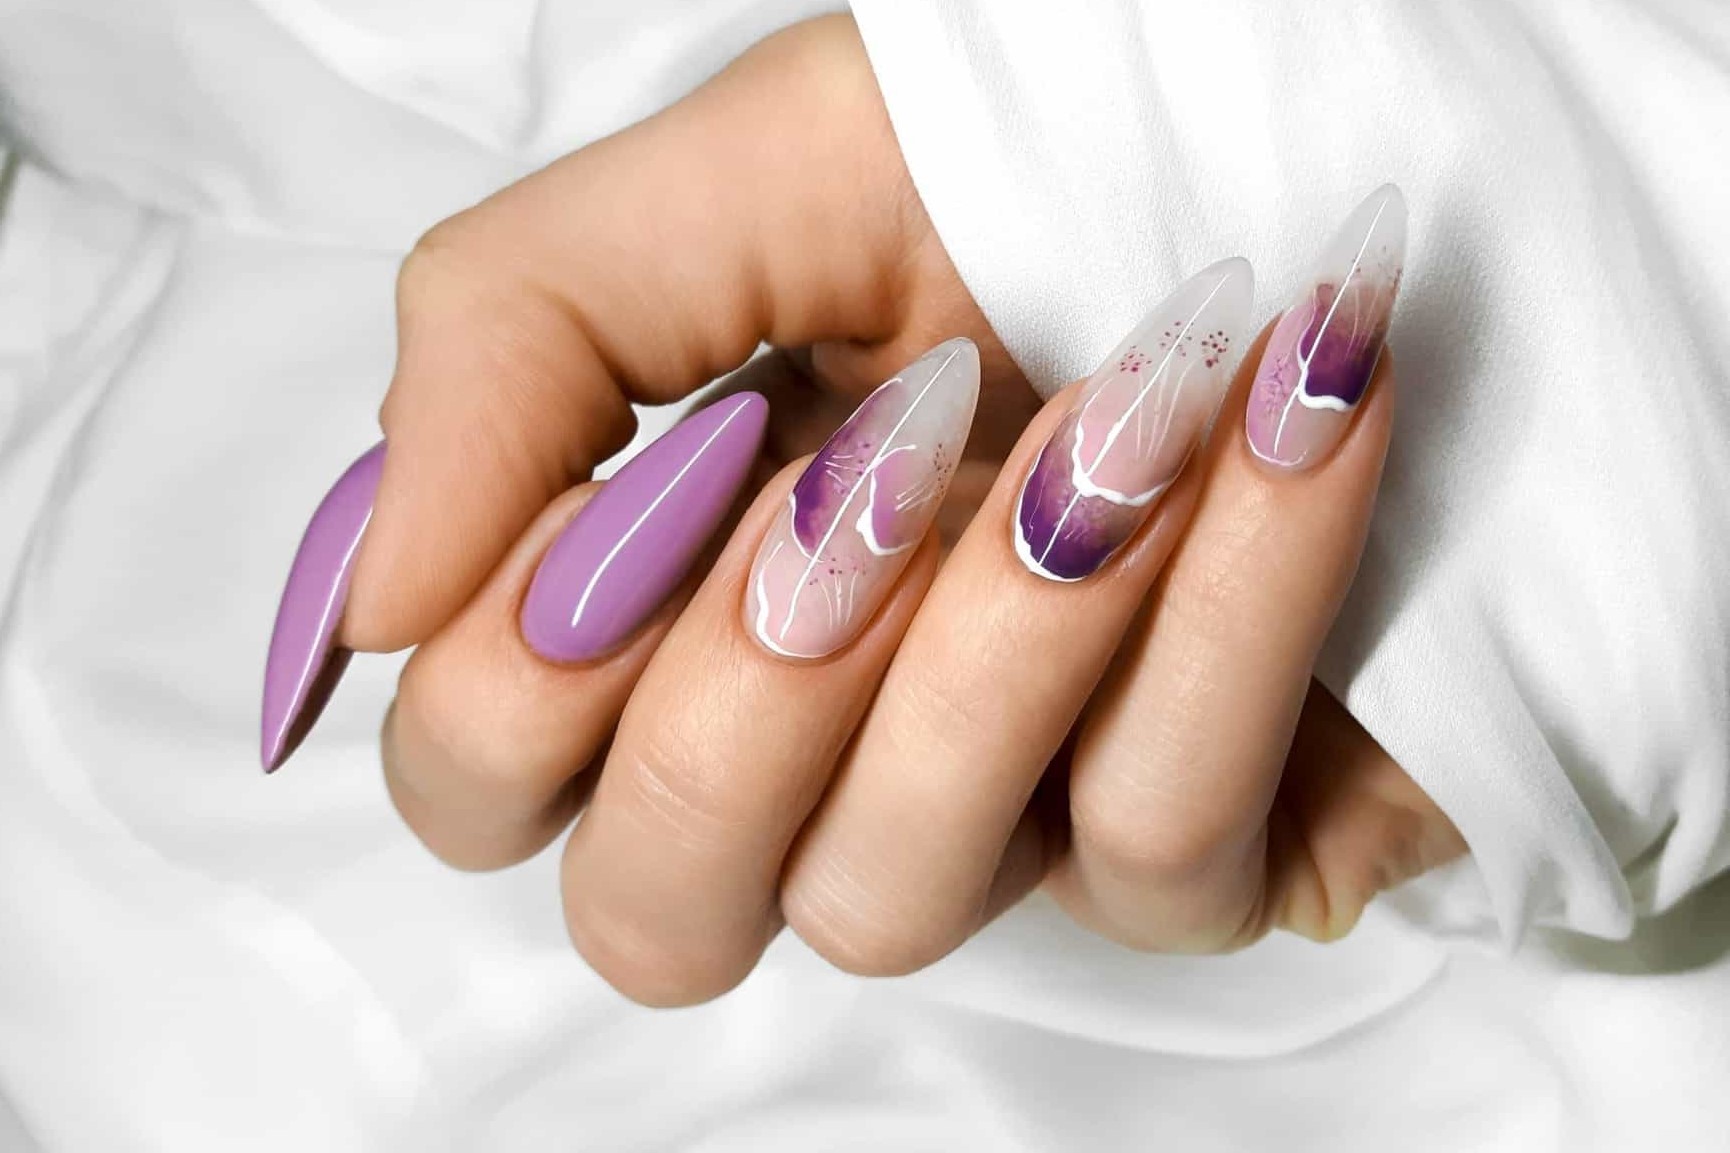
Gel X nails have gained popularity for their durability and long-lasting shine. However, when it's time for a change, or if you simply want to return to your natural nails, it's crucial to know how to remove them safely. This DIY approach not only saves time and money but also allows you to maintain the health and strength of your nails.
In the following steps, you'll learn how to gather the necessary supplies, file down the top coat, soak your nails, gently remove the Gel X nails, and finally, moisturize your nails. Each step is designed to guide you through the process with ease and confidence, ensuring that your nails remain healthy and beautiful throughout the removal process.
With a few simple tools and a clear understanding of the process, you can achieve professional-looking results from the comfort of your own home. By taking the time to follow these steps carefully, you'll be able to remove your Gel X nails without the need for a salon visit. This not only empowers you to take control of your nail care but also provides a satisfying sense of accomplishment.
Now, let's gather the supplies and get ready to embark on this nail removal journey. With the right approach and a little patience, you'll soon be on your way to revealing your natural nails in all their healthy glory.
Read more: How To Make Gel Nails Last Longer
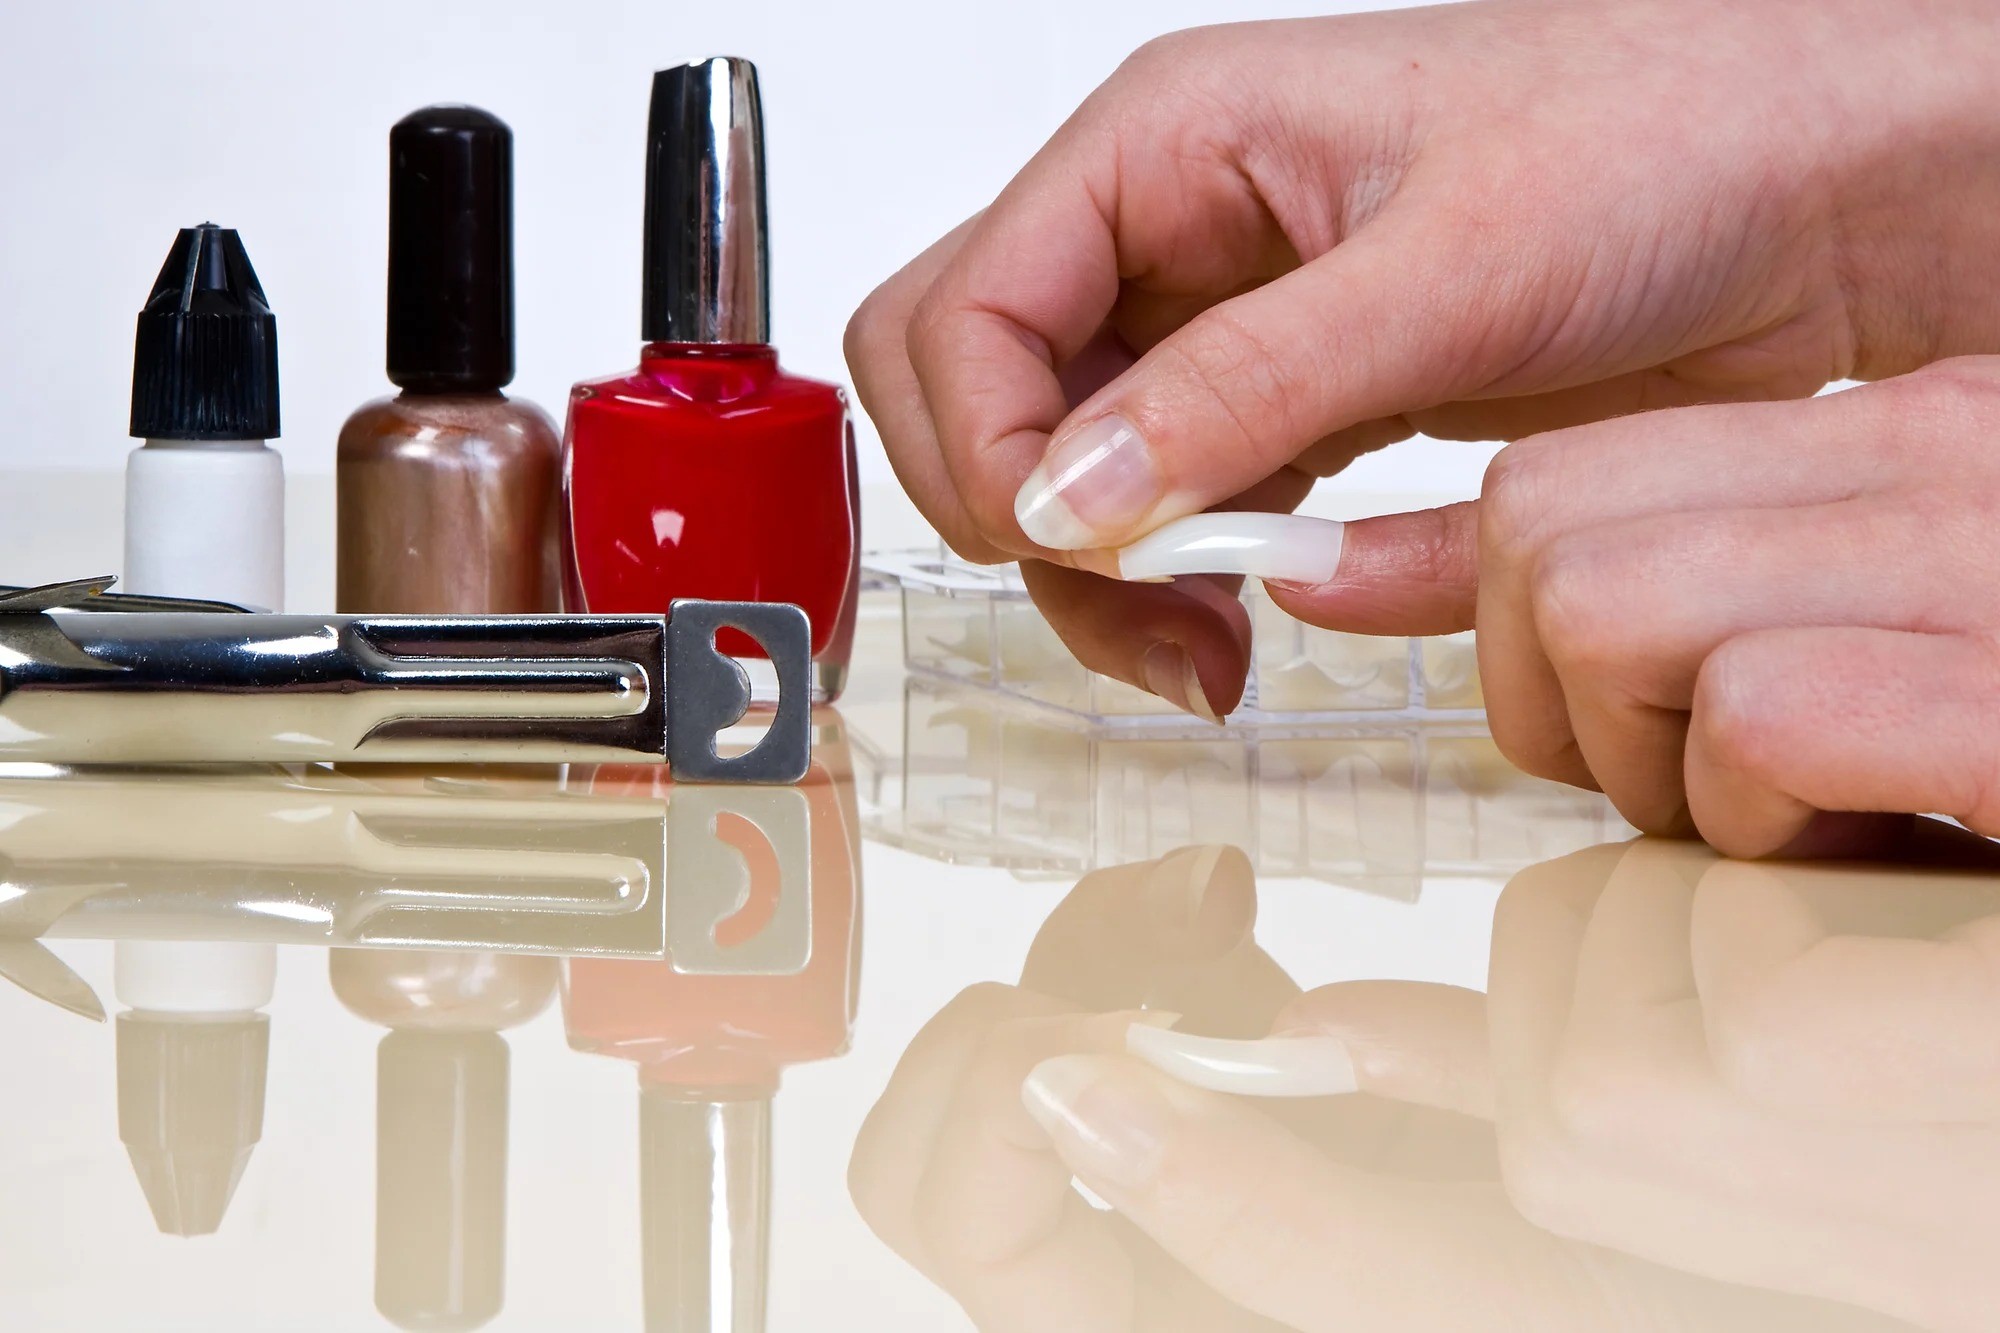
Step 1: Gather Your Supplies
Before embarking on the journey of removing Gel X nails, it's essential to gather the necessary supplies to ensure a smooth and efficient process. By having the right tools at your disposal, you can effectively prepare your nails for the next steps of the removal process.
What You'll Need:
-
Nail File or Buffer: A high-quality nail file or buffer is essential for gently filing down the top coat of the Gel X nails. Look for a fine-grit file to avoid causing damage to your natural nails.
-
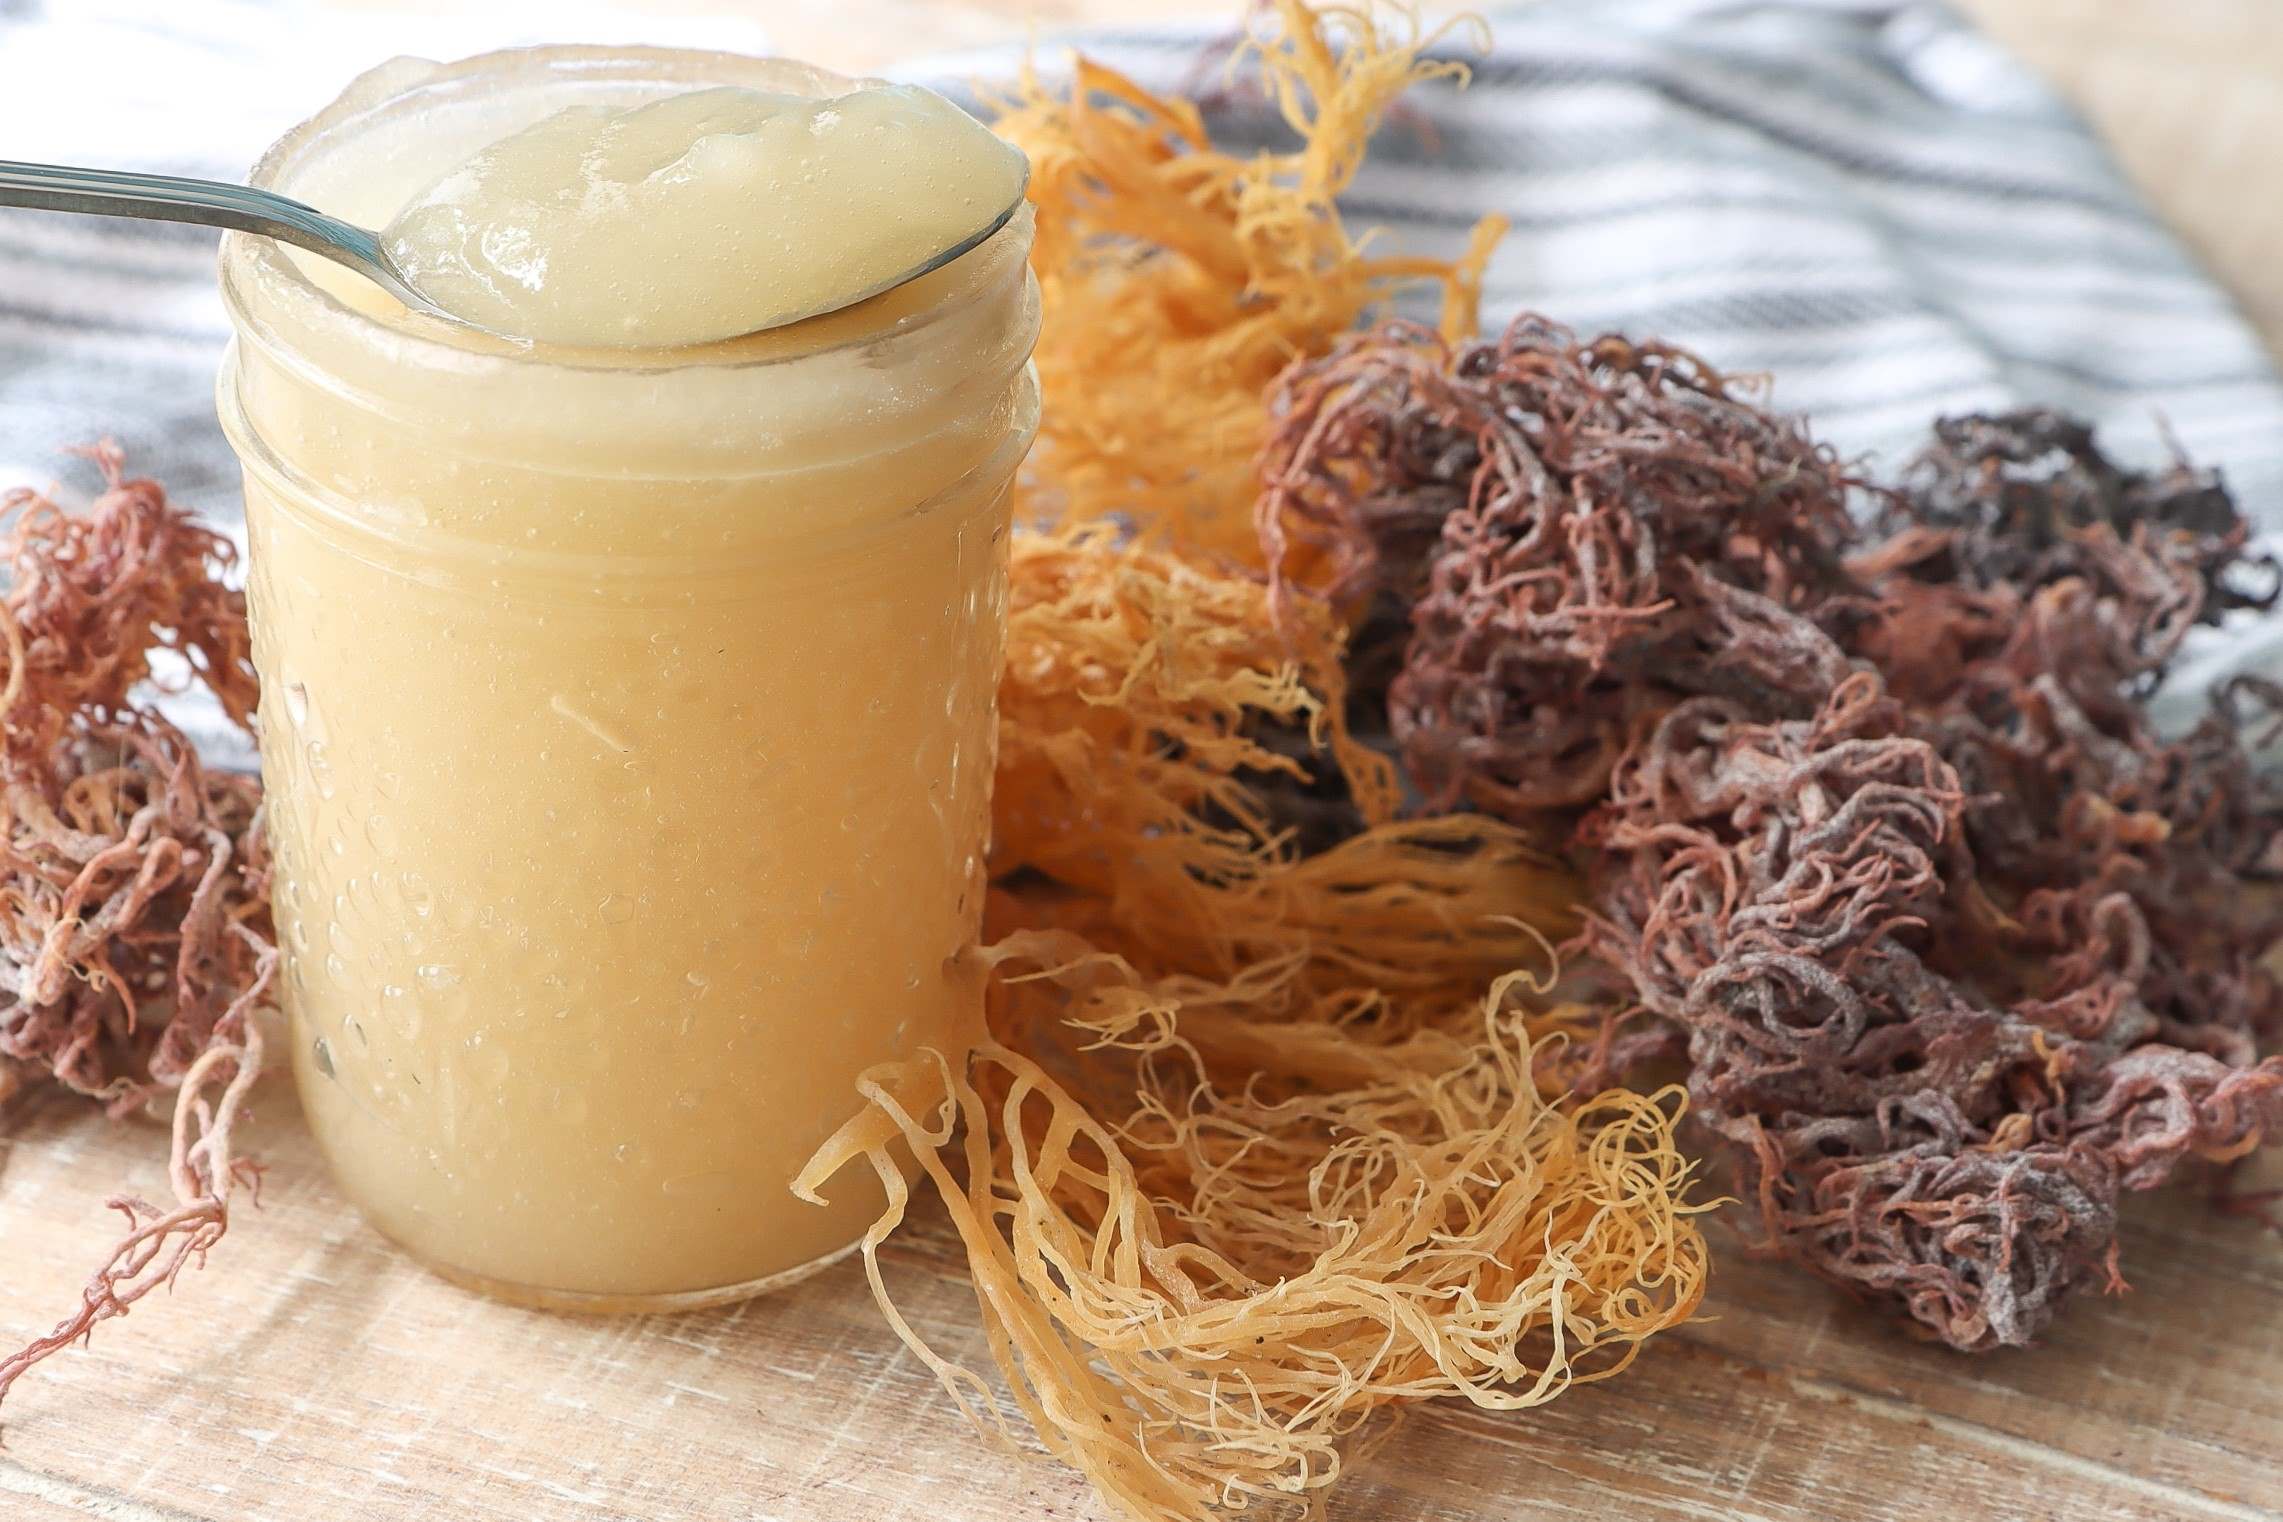
Acetone: Acetone is a key ingredient for effectively breaking down the gel polish and adhesive used in Gel X nails. Opt for 100% pure acetone for the best results.
-
Cotton Balls or Pads: These will be used to soak in acetone and wrap around your nails during the removal process. Ensure you have an adequate supply to cover all your nails.
-
Aluminum Foil: Aluminum foil will be used to wrap around the soaked cotton balls or pads, creating a barrier that helps the acetone effectively break down the Gel X nails.
-
Cuticle Oil or Nail Strengthener: After the removal process, it's important to nourish and strengthen your natural nails. Having cuticle oil or a nail strengthener on hand will help restore moisture and strength to your nails.
-
Moisturizing Hand Cream: Once the Gel X nails are removed, it's beneficial to apply a moisturizing hand cream to keep your hands and nails hydrated and supple.
-
Small Bowl or Container: You'll need a small bowl or container to pour the acetone for soaking your nails. Ensure it's deep enough to fully submerge your fingertips.
-
Nail Clippers and Cuticle Pusher (Optional): If you prefer to trim your nails or push back your cuticles before starting the removal process, having nail clippers and a cuticle pusher on hand can be helpful.
By gathering these supplies, you'll be well-equipped to begin the process of removing your Gel X nails with confidence and ease. With the right tools and a clear understanding of the subsequent steps, you'll soon be on your way to revealing your natural nails in all their healthy glory.
Step 2: File Down the Top Coat
Filing down the top coat of your Gel X nails is a crucial step in the removal process, as it allows the acetone to penetrate the layers effectively. To begin, use a high-quality nail file or buffer with a fine-grit surface. Gently file the top coat of each nail, focusing on removing the shiny layer and creating a slightly rough texture. This step is essential for breaking the seal of the gel polish and adhesive, enabling the acetone to work more efficiently in the subsequent soaking process.
When filing down the top coat, it's important to maintain a gentle and even pressure to avoid damaging the natural nail underneath. By using light, sweeping motions, you can gradually reduce the thickness of the top coat without causing unnecessary stress to your nails. Pay close attention to the edges and corners of each nail, ensuring that the entire surface is adequately prepared for the next stage of the removal process.
As you file down the top coat, you may notice the gel polish becoming dull and losing its shine. This is a positive indication that the top coat is being effectively thinned out, allowing the acetone to reach the layers beneath. Take your time with this step, focusing on achieving a consistent texture across all your nails. Once the top coat has been sufficiently filed down, you'll be ready to move on to the next phase of the Gel X nail removal process.
By taking the time to carefully file down the top coat, you're setting the stage for a successful and efficient removal process. This initial preparation ensures that the subsequent steps, including soaking your nails in acetone, can proceed smoothly and effectively. With the top coat properly prepped, you're one step closer to revealing your natural nails and embracing the next phase of your nail care journey.
Step 3: Soak Your Nails
After successfully filing down the top coat of your Gel X nails, the next crucial step in the removal process is to soak your nails in acetone. This step is essential for effectively breaking down the gel polish and adhesive, allowing for the gentle removal of the Gel X nails without causing damage to your natural nails.
To begin, pour a sufficient amount of 100% pure acetone into a small bowl or container, ensuring that it's deep enough to fully submerge your fingertips. Then, take a cotton ball or pad and saturate it with the acetone, placing it directly onto the surface of your nail. Repeat this process for each nail, ensuring that the cotton balls or pads are fully soaked in acetone.
Once the cotton balls or pads are in place, take small pieces of aluminum foil and wrap them around your fingertips, securing the soaked cotton in place. The aluminum foil creates a barrier that helps to retain the heat and enhance the acetone's effectiveness in breaking down the Gel X nails. This method is commonly referred to as the "foil wrap technique" and is widely recognized for its ability to expedite the removal process.
As you wait for the acetone to work its magic, it's essential to exercise patience and allow sufficient time for the gel polish and adhesive to soften. Depending on the thickness of the Gel X nails and the strength of the adhesive, the soaking process may take anywhere from 10 to 30 minutes. During this time, you can relax and indulge in a brief self-care moment, knowing that your nails are on their way to being beautifully rejuvenated.
After the designated soaking period, gently remove the aluminum foil and soaked cotton from your fingertips, taking care not to apply excessive force that could potentially damage your natural nails. As you unwrap each nail, you may notice that the gel polish has softened and begun to lift from the nail bed. This is a positive indication that the acetone has effectively penetrated the layers, preparing the Gel X nails for gentle removal.
With your nails successfully soaked and the gel polish visibly softened, you're now ready to proceed to the next step of gently removing the Gel X nails. This pivotal stage in the removal process sets the foundation for a seamless and damage-free transition to reveal your natural nails in all their healthy splendor.
By following the soaking process with precision and patience, you're ensuring that the gel polish and adhesive are thoroughly softened, making the subsequent removal step more efficient and gentle on your natural nails. With this essential phase completed, you're well on your way to achieving professional-quality results in the comfort of your own home.
Read more: How To Dry Gel Nail Polish Without UV Light
Step 4: Gently Remove the Gel X Nails
With your Gel X nails effectively soaked and the gel polish visibly softened, the next step involves gently removing the nails without causing any damage to your natural nails. This phase requires patience and precision to ensure a smooth transition from the Gel X nails to your natural nails.
To begin, use a cuticle pusher or an orangewood stick to gently lift the softened gel polish from the nail bed. Start from the base of the nail and carefully push the gel polish towards the tip, taking care not to apply excessive pressure. As the gel polish begins to lift, continue to gently push it until it separates from the natural nail. Repeat this process for each nail, ensuring that you proceed with a delicate touch to avoid any unnecessary stress on your nails.
In some instances, the gel polish may require additional soaking to further soften the adhesive. If you encounter resistance during the removal process, simply reapply the soaked cotton and aluminum foil, allowing the acetone to continue breaking down the gel polish. This patient approach ensures that the Gel X nails can be removed with ease and minimal impact on your natural nails.
As you gently remove the Gel X nails, take note of any areas where the gel polish adheres more firmly. In such cases, refrain from forcefully pulling or tugging at the nails, as this can lead to damage or weakening of the natural nails. Instead, exercise patience and persistence, allowing the acetone to gradually loosen the gel polish for a smoother removal process.
Once all the Gel X nails have been gently lifted and removed, take a moment to assess the condition of your natural nails. If there are any residual traces of gel polish or adhesive, use a gentle buffing block to smooth out the nail surface, taking care to avoid excessive filing that could thin the nails.
By approaching the removal process with a gentle and attentive mindset, you're safeguarding the health and integrity of your natural nails. This meticulous approach ensures that the transition from Gel X nails to natural nails is seamless and preserves the strength and beauty of your nails.
With the Gel X nails successfully removed, you're now ready to embrace the final step of the removal process: moisturizing your nails to restore hydration and strength. This pivotal phase marks the culmination of the removal journey, setting the stage for your natural nails to shine in their healthy and rejuvenated state.
Step 5: Moisturize Your Nails
After successfully removing the Gel X nails and preparing your natural nails for their grand reveal, the final step in the removal process involves moisturizing your nails to restore hydration and strength. This essential phase is designed to nourish and rejuvenate your natural nails, ensuring that they remain healthy and resilient after the removal of the gel polish and adhesive.
To begin the moisturizing process, start by washing your hands with a gentle, moisturizing hand soap to remove any residual acetone or debris from the removal process. Once your hands are clean and dry, it's time to indulge your nails in a nourishing treatment.
Apply a generous amount of cuticle oil or a specialized nail strengthener to each nail, gently massaging the product into the nail bed and surrounding cuticles. These nourishing formulations are enriched with vitamins, essential oils, and strengthening agents that work to replenish moisture and fortify the nails, promoting resilience and vitality.
As you massage the cuticle oil or nail strengthener into your nails, take a moment to appreciate the transformation that your nails have undergone. The removal of the Gel X nails has unveiled your natural nails in their pure, unadorned state, ready to embrace the nourishing benefits of the moisturizing treatment.
Once the cuticle oil or nail strengthener has been applied, take a small amount of moisturizing hand cream and gently massage it into your hands and nails. The rich, hydrating formula of the hand cream will envelop your nails in a cocoon of moisture, promoting suppleness and radiance.
As you massage the hand cream into your nails, take a moment to revel in the newfound freedom and natural beauty of your nails. The moisturizing process not only nourishes your nails but also serves as a symbolic gesture of self-care and appreciation for the health and resilience of your natural nails.
After completing the moisturizing ritual, take a moment to admire your nails in their rejuvenated state. The removal of the Gel X nails has allowed your natural nails to breathe and thrive, and the moisturizing treatment has further enhanced their strength and beauty.
By embracing the moisturizing step with care and attention, you're ensuring that your natural nails remain healthy, hydrated, and resilient. This final phase of the removal process marks the beginning of a new chapter for your nails, allowing them to flourish in their natural state, free from the constraints of gel polish and adhesive.
With your nails now moisturized and revitalized, you've completed the journey of removing Gel X nails with grace and care, setting the stage for your natural nails to shine in all their healthy splendor.