Home>Technology and Computers>How To Make A Water Elevator In Minecraft
Technology and Computers
How To Make A Water Elevator In Minecraft
Published: March 6, 2024
Learn how to create a water elevator in Minecraft with our step-by-step guide. Explore the latest technology and computer tips for your gaming experience.
(Many of the links in this article redirect to a specific reviewed product. Your purchase of these products through affiliate links helps to generate commission for Noodls.com, at no extra cost. Learn more)
Table of Contents
Introduction
Minecraft, the beloved sandbox game, offers players the freedom to unleash their creativity and construct intricate structures within its virtual world. One of the fascinating aspects of Minecraft is the ability to engineer various contraptions, including water elevators, which can efficiently transport players and items vertically. Building a water elevator in Minecraft can significantly enhance the functionality and aesthetics of your structures, providing a convenient means of vertical transportation.
In this guide, we will delve into the step-by-step process of constructing a water elevator in Minecraft. From gathering the necessary materials to assembling the components, we will explore the intricacies of this engaging project. Whether you are a seasoned Minecraft enthusiast or a newcomer to the game, this tutorial will equip you with the knowledge and skills to bring your water elevator vision to life.
Embark on this journey with an open mind and a willingness to experiment, as the construction of a water elevator in Minecraft is not only practical but also a testament to the limitless possibilities within the game. So, gather your resources and let's dive into the world of Minecraft engineering to create a functional and visually captivating water elevator!
Read more: How To Make A Torch In Minecraft
Materials Needed
To embark on the exciting endeavor of constructing a water elevator in Minecraft, you will need to gather a specific set of materials to ensure the successful implementation of this project. The following list outlines the essential items required to bring your water elevator vision to fruition:
-
Building Blocks: Select a suitable material for constructing the base and walls of the water elevator shaft. Common options include glass blocks for a transparent design, or any solid block such as stone, wood, or concrete for a more traditional appearance.
-
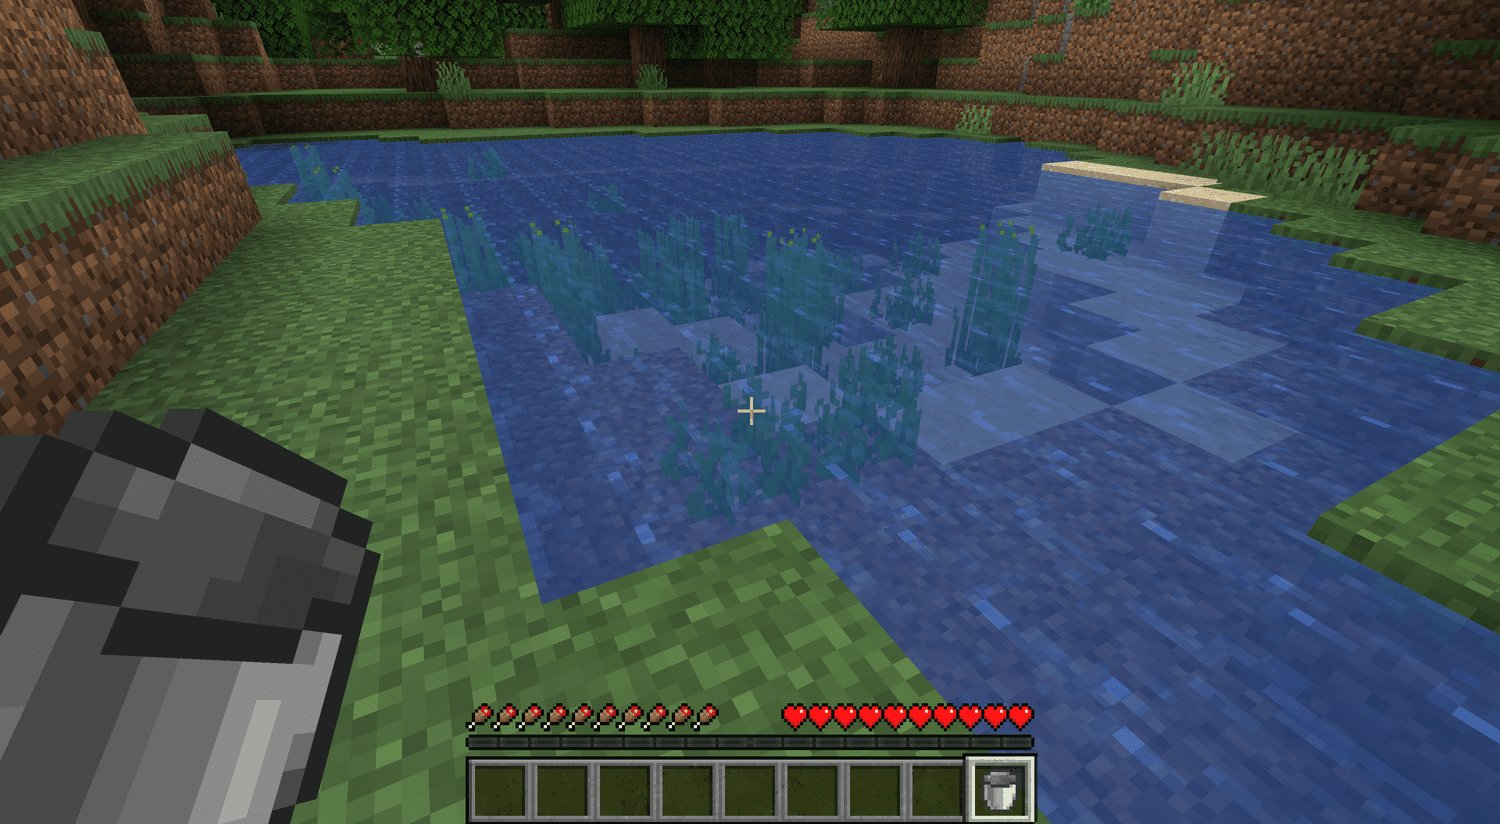
Water Source: Acquire a sufficient quantity of water to fill the elevator shaft. This can be sourced from nearby lakes, rivers, or by creating a water source using buckets within the game.
-
Signs or Soul Sand: Obtain signs or soul sand to facilitate the movement of water within the elevator shaft. Signs can be used to create water columns, while soul sand can be utilized to create bubble columns, both of which are integral to the functionality of the water elevator.
-
Redstone Components (Optional): If you desire to incorporate redstone mechanisms into your water elevator, gather redstone dust, redstone torches, repeaters, and any other components necessary for your specific design.
-
Elevator Platform Materials: Prepare the materials for constructing the elevator platform at the top and bottom of the water elevator shaft. This may include trapdoors, ladders, or any other blocks that suit your preferred design for the entry and exit points.
-
Decorative Elements (Optional): Consider incorporating decorative elements such as sea lanterns, glowstone, or other light sources to enhance the visual appeal of the water elevator.
By ensuring that you have these materials at your disposal, you will be well-equipped to commence the construction of your water elevator in Minecraft. With these foundational components in hand, you are ready to progress to the next phase of the project: building the base of the water elevator.
Building the Base
The initial phase of constructing a water elevator in Minecraft involves laying the groundwork for the elevator shaft. Select a location that suits your architectural vision, considering factors such as proximity to your base or other structures, as well as the overall aesthetic of the surrounding environment. Once the location is determined, commence the construction process by following these steps:
-
Clearing the Area: Begin by clearing the designated area for the water elevator, ensuring that there are no obstructions that could impede the vertical movement of the elevator. This involves removing any existing blocks or terrain that may obstruct the construction of the elevator shaft.
-
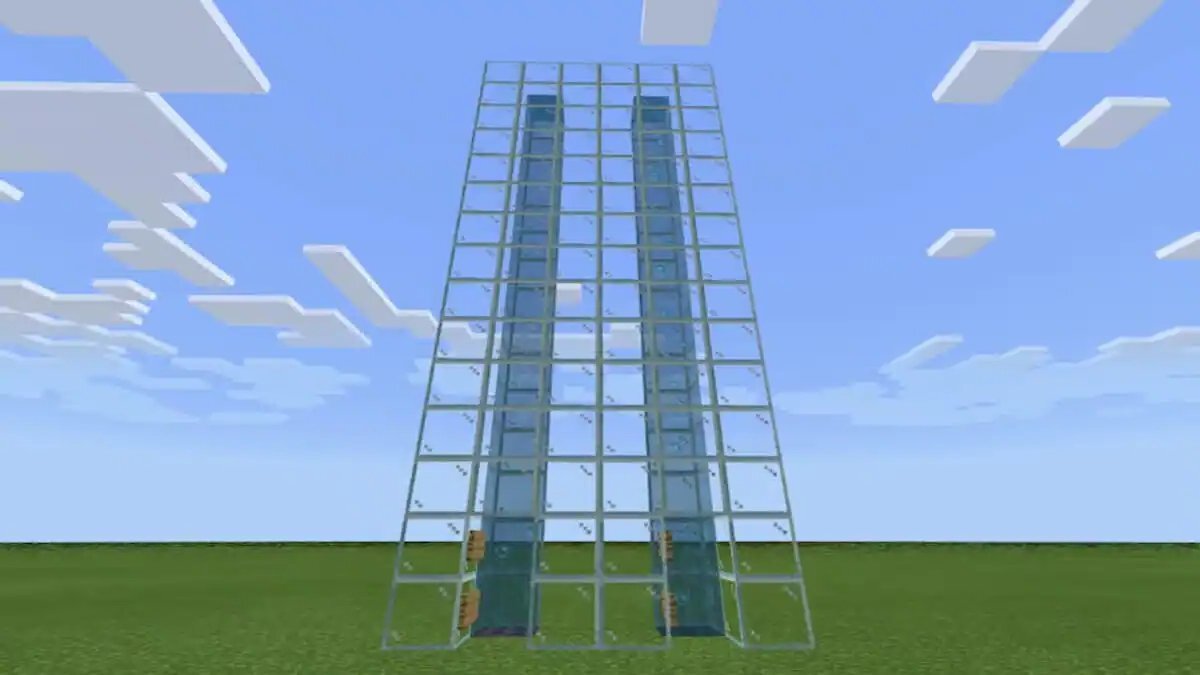
Establishing the Foundation: Lay the foundation for the elevator shaft by placing the chosen building blocks in a vertical arrangement, forming the walls of the shaft. The dimensions of the shaft can vary based on your design preferences, but a standard size is a 3×3 interior space to accommodate the water column.
-
Creating the Shaft Structure: Build the walls of the elevator shaft using the selected building blocks, ensuring that the structure is sturdy and extends to the desired height for the water elevator. This step sets the stage for the subsequent installation of the water column and elevator platform.
-
Incorporating Redstone Components (Optional): If you opt to integrate redstone mechanisms into your water elevator design, this is the opportune time to incorporate redstone components into the base structure. This may involve creating a redstone-powered call button or other automated features to enhance the functionality of the water elevator.
-
Adding Entry and Exit Points: Consider the placement of entry and exit points at the top and bottom of the elevator shaft. This may involve integrating trapdoors, ladders, or other blocks to facilitate seamless access to the water elevator from different levels of your Minecraft world.
By meticulously executing these steps, you will establish a solid foundation for the water elevator, setting the stage for the subsequent phases of the construction process. With the base structure in place, the next phase will focus on creating the water column within the elevator shaft, a pivotal element that enables the vertical movement of the elevator.
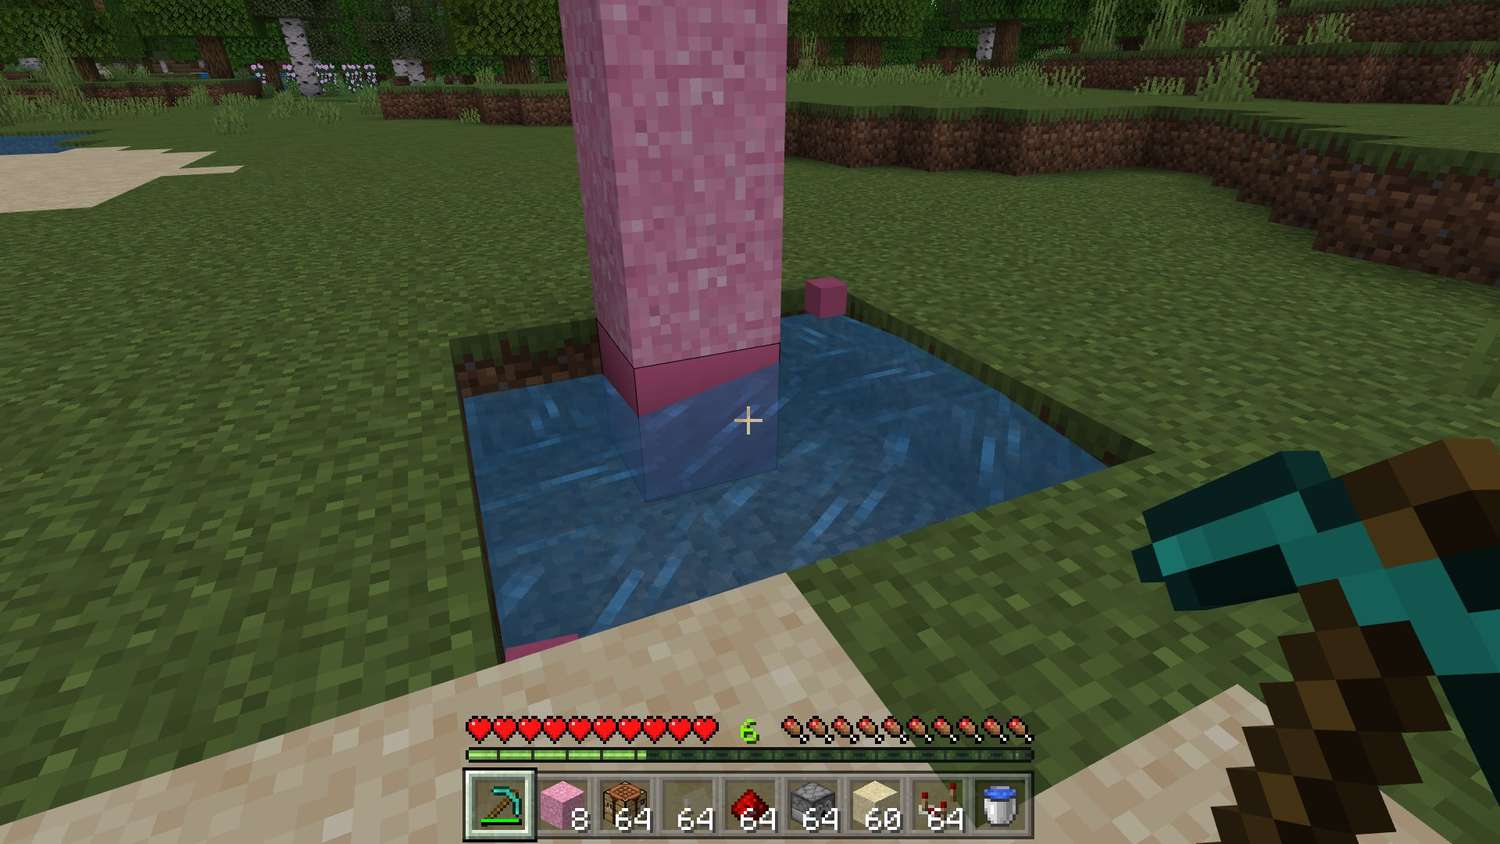
Creating the Water Column
The creation of the water column within the elevator shaft is a critical step in the construction of a functional water elevator in Minecraft. This element serves as the mechanism that facilitates the vertical movement of players and items within the elevator, making it essential to execute this phase with precision and attention to detail. To embark on this phase, follow the steps outlined below to bring the water column to life:
-
Placing Water Source Blocks: Begin by placing water source blocks at the top of the elevator shaft. Ensure that the water source blocks are positioned in a manner that allows water to flow downward, filling the interior space of the shaft uniformly. This step sets the foundation for the formation of the water column and is instrumental in ensuring the seamless operation of the water elevator.
-
Installing Signs or Soul Sand: To contain the flowing water and create a functional water column, strategically place signs at intervals within the elevator shaft. The signs act as barriers that prevent the water from spilling out, effectively containing the water within the designated space. Alternatively, if you opt for a bubble column design, utilize soul sand to create upward bubble columns that propel entities upward within the water elevator.
-
Ensuring Uniform Water Flow: Verify that the water flows smoothly within the elevator shaft, reaching the bottom without any interruptions or irregularities. This entails confirming that the water column is consistent in its flow, devoid of any gaps or areas where the water may stagnate. A uniform water flow is essential for the efficient operation of the water elevator, ensuring a seamless vertical transportation experience for players and items.
-
Adjusting Water Column Height: Depending on the desired height of the water elevator, adjust the height of the water column accordingly. This step involves fine-tuning the water column to align with the intended height of the elevator shaft, ensuring that it extends from the top to the bottom of the shaft without any discrepancies. By meticulously adjusting the water column height, you can tailor the water elevator to suit the specific requirements of your Minecraft world.
By meticulously executing these steps, you will successfully create a functional water column within the elevator shaft, laying the groundwork for the subsequent phase of adding the elevator platform. The completion of this phase marks a significant milestone in the construction of the water elevator, bringing you one step closer to realizing a seamless vertical transportation system within your Minecraft world.
Adding the Elevator Platform
The addition of the elevator platform is a pivotal stage in the construction of a fully functional water elevator in Minecraft. This component serves as the interface for players and items to enter and exit the water elevator, providing a seamless transition between different levels of your Minecraft world. To integrate the elevator platform effectively, meticulous attention to design and functionality is paramount. Follow the detailed steps below to add the elevator platform to your water elevator:
-
Selecting Platform Materials: Begin by selecting the materials for the elevator platform, considering both practicality and aesthetics. Common options include trapdoors, which allow entities to pass through while providing a solid surface, or ladders for a more traditional approach. Additionally, you may opt for pressure plates or other blocks that align with your desired design for the elevator platform.
-
Positioning the Platform: Determine the placement of the elevator platform within the water elevator shaft. This involves identifying the ideal height at which the platform should be situated to facilitate smooth entry and exit from the water elevator. Consider the overall layout of your Minecraft world and ensure that the platform's positioning aligns with the intended functionality of the water elevator.
-
Constructing the Platform: Utilize the selected materials to construct the elevator platform within the shaft. If using trapdoors, position them to create a platform at the desired height, allowing entities to move through while preventing water from flowing into the platform area. Alternatively, if incorporating ladders, ensure they are strategically placed to enable easy traversal between levels.
-
Testing Accessibility: Verify the accessibility of the elevator platform by navigating through the water elevator. Ascend and descend within the shaft to confirm that the platform effectively facilitates entry and exit from the water elevator. This step allows you to identify any potential obstructions or inefficiencies in the platform's design, enabling you to make necessary adjustments for optimal functionality.
-
Enhancing the Platform (Optional): Consider enhancing the elevator platform with decorative elements or additional features to elevate its visual appeal and functionality. This may involve integrating lighting elements such as sea lanterns or glowstone to illuminate the platform, creating a visually captivating entry and exit point within the water elevator.
By diligently following these steps, you will successfully integrate the elevator platform into your water elevator, culminating in the realization of a fully operational vertical transportation system within your Minecraft world. The addition of the elevator platform not only enhances the practicality of your structures but also contributes to the immersive and dynamic nature of your Minecraft creations.
Read more: How To Make Barrels Minecraft
Testing and Using the Water Elevator
With the completion of the construction phases, the pivotal moment arrives to test and utilize the water elevator within your Minecraft world. This phase involves validating the functionality of the water elevator and experiencing the seamless vertical transportation it offers. Follow the steps below to test and utilize the water elevator effectively:
-
Ascend and Descend: Begin by navigating the water elevator to ascend and descend within the shaft. Ascend from the bottom to the top and descend from the top to the bottom, ensuring that the vertical movement is smooth and efficient. This step allows you to experience firsthand the functionality of the water elevator, providing insights into its operational effectiveness.
-
Observing Entity Movement: Observe the movement of entities, including players and items, as they traverse the water elevator. Pay attention to the fluidity of movement and verify that entities are seamlessly transported between different levels of your Minecraft world. This observation enables you to assess the practicality of the water elevator in facilitating vertical transportation for various entities.
-
Evaluating Entry and Exit Points: Assess the accessibility and convenience of the entry and exit points at the top and bottom of the water elevator shaft. Verify that the elevator platform effectively facilitates entry and exit, providing a user-friendly interface for interacting with the water elevator. This evaluation ensures that the water elevator seamlessly integrates into your Minecraft structures, enhancing their functionality.
-
Testing with Items: Test the water elevator's capability to transport items by sending various items through the elevator shaft. This step allows you to gauge the efficiency of the water elevator in transporting items vertically, providing valuable insights into its utility for logistical purposes within your Minecraft world.
-
Fine-Tuning and Adjustments: Make any necessary fine-tuning or adjustments based on the observations made during the testing phase. This may involve refining the water column's flow, adjusting the elevator platform's positioning, or incorporating additional elements to optimize the water elevator's functionality. By iteratively refining the water elevator, you can ensure its seamless operation and alignment with your creative vision.
By meticulously testing and utilizing the water elevator, you gain a comprehensive understanding of its capabilities and functionality within your Minecraft world. This firsthand experience not only validates the success of the construction process but also empowers you to leverage the water elevator as a versatile and efficient vertical transportation solution within your architectural endeavors.
Conclusion
In conclusion, the construction of a water elevator in Minecraft represents a captivating fusion of creativity, engineering, and practicality within the boundless realm of the game. Through the meticulous assembly of the elevator shaft, water column, and elevator platform, players can materialize a functional and visually striking vertical transportation system that seamlessly integrates into their Minecraft world.
The journey of creating a water elevator transcends the mere act of building a structure; it embodies the spirit of innovation and ingenuity that defines the Minecraft experience. From selecting the materials and designing the elevator shaft to fine-tuning the water column and testing its functionality, each phase of the construction process encapsulates the essence of exploration and discovery inherent to the game.
The versatility of the water elevator extends beyond its utilitarian function, serving as a testament to the limitless potential for engineering marvels within Minecraft. Whether incorporated into grand architectural designs, underground lairs, or sprawling redstone contraptions, the water elevator stands as a testament to the player's ability to transform virtual landscapes into dynamic and immersive environments.
As players navigate the water elevator, ascending and descending within its confines, they are not merely traversing a vertical space; they are embarking on a journey fueled by imagination and resourcefulness. The water elevator becomes a conduit for seamless exploration, enabling players to transcend physical barriers and seamlessly transition between different levels of their Minecraft world.
Furthermore, the construction of a water elevator fosters a deeper appreciation for the intricacies of design and functionality, instilling a sense of accomplishment as players witness their creation come to life. It serves as a reminder of the boundless opportunities for innovation and expression that define the Minecraft universe, empowering players to unleash their creativity and engineer solutions that transcend conventional limitations.
In essence, the construction of a water elevator in Minecraft transcends the realm of virtual construction; it embodies the spirit of innovation, creativity, and limitless potential that defines the game. It stands as a testament to the player's ability to engineer functional marvels within a virtual landscape, transforming pixels into dynamic, immersive, and purposeful creations.