Home>Technology and Computers>How To Stream Netflix On Discord
Technology and Computers
How To Stream Netflix On Discord
Published: March 2, 2024
Learn how to stream Netflix on Discord and enhance your technology and computer skills with this step-by-step guide. Discover the latest tips and tricks for seamless streaming.
(Many of the links in this article redirect to a specific reviewed product. Your purchase of these products through affiliate links helps to generate commission for Noodls.com, at no extra cost. Learn more)
Table of Contents
Introduction
Streaming services have revolutionized the way we consume entertainment, offering a vast array of movies and TV shows at our fingertips. Netflix, one of the leading platforms in this digital era, has become a staple for many individuals seeking quality content. However, watching Netflix with friends or family members who are not physically present can be a challenge. This is where Discord, a popular communication platform, comes into play. By leveraging Discord's screen-sharing feature, you can now enjoy Netflix with your loved ones, regardless of your physical locations.
In this guide, we will walk you through the process of streaming Netflix on Discord, enabling you to host virtual movie nights and share the viewing experience with friends and family. Whether you're separated by distance or simply prefer the convenience of watching together from the comfort of your own homes, this step-by-step tutorial will equip you with the knowledge to seamlessly integrate Netflix into your Discord server. So, grab your popcorn, get comfortable, and let's dive into the world of synchronized streaming on Discord.
Read more: How To Stream Switch On Discord
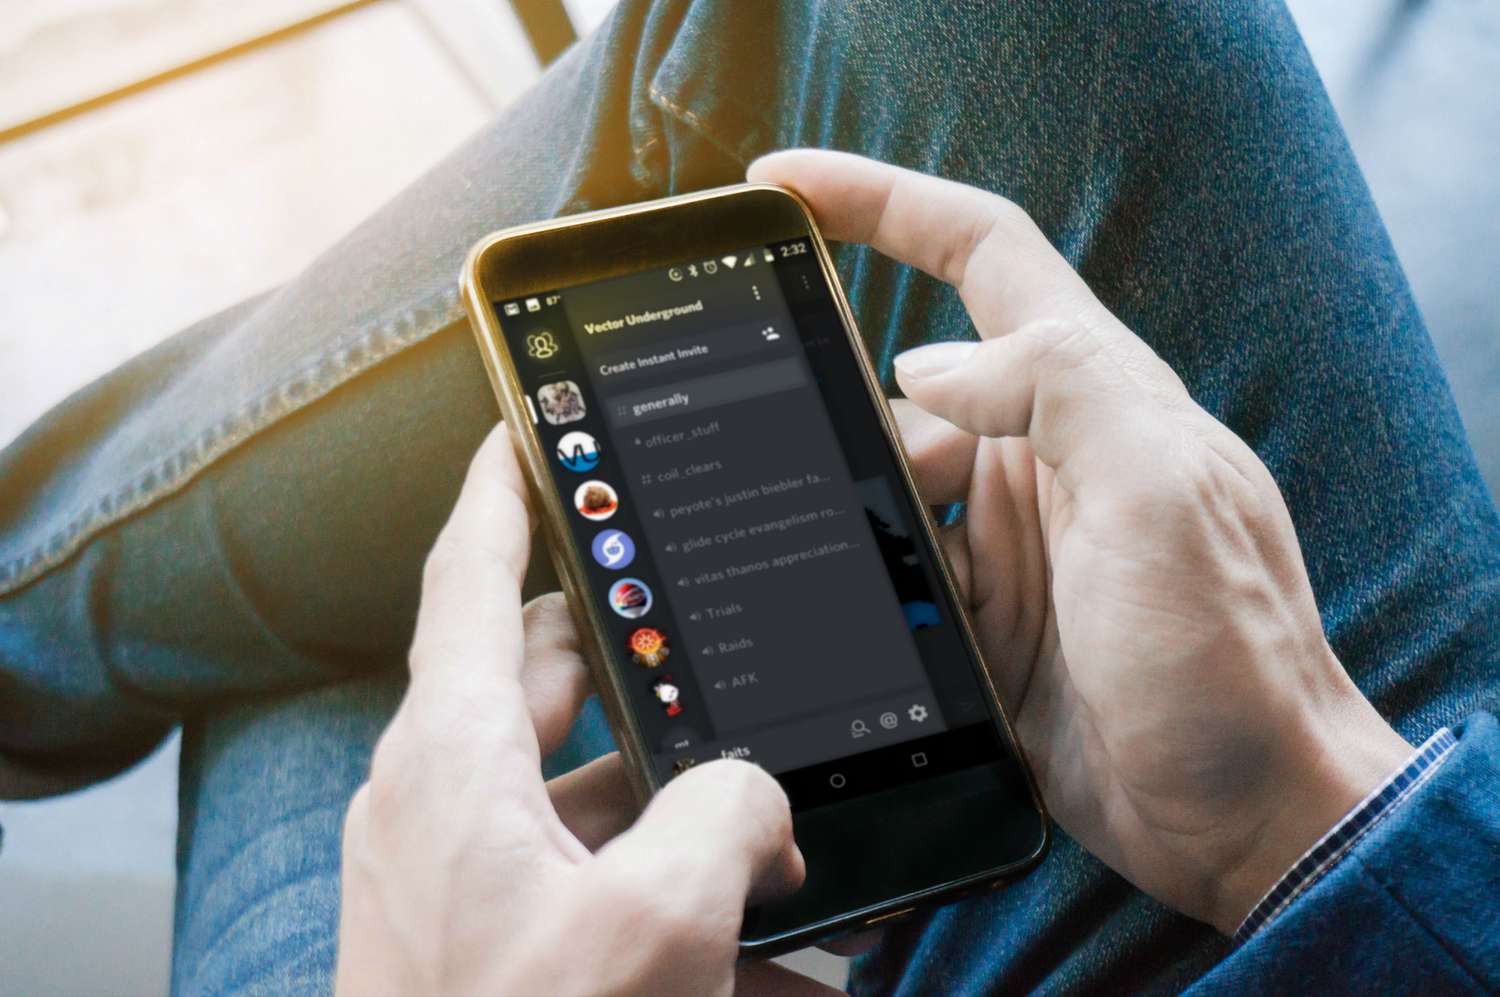
Step 1: Setting up a Discord server
To begin your journey of streaming Netflix on Discord, the first step is to set up a Discord server. If you're new to Discord, don't worry – the process is straightforward and user-friendly.
-
Create a Discord Account: If you don't already have a Discord account, head to the Discord website or download the Discord app to create an account. You'll need to provide a valid email address, create a username, and set a secure password.
-
Start a New Server: Once you're logged in, navigate to the left-hand sidebar and click on the plus icon (+) next to "Add a Server." Select "Create My Own" or "Create a Server" to initiate the server creation process.
-
Customize Your Server: Choose a unique name for your server, upload a server icon to personalize it, and select a region that is closest to your physical location for optimal server performance.
-
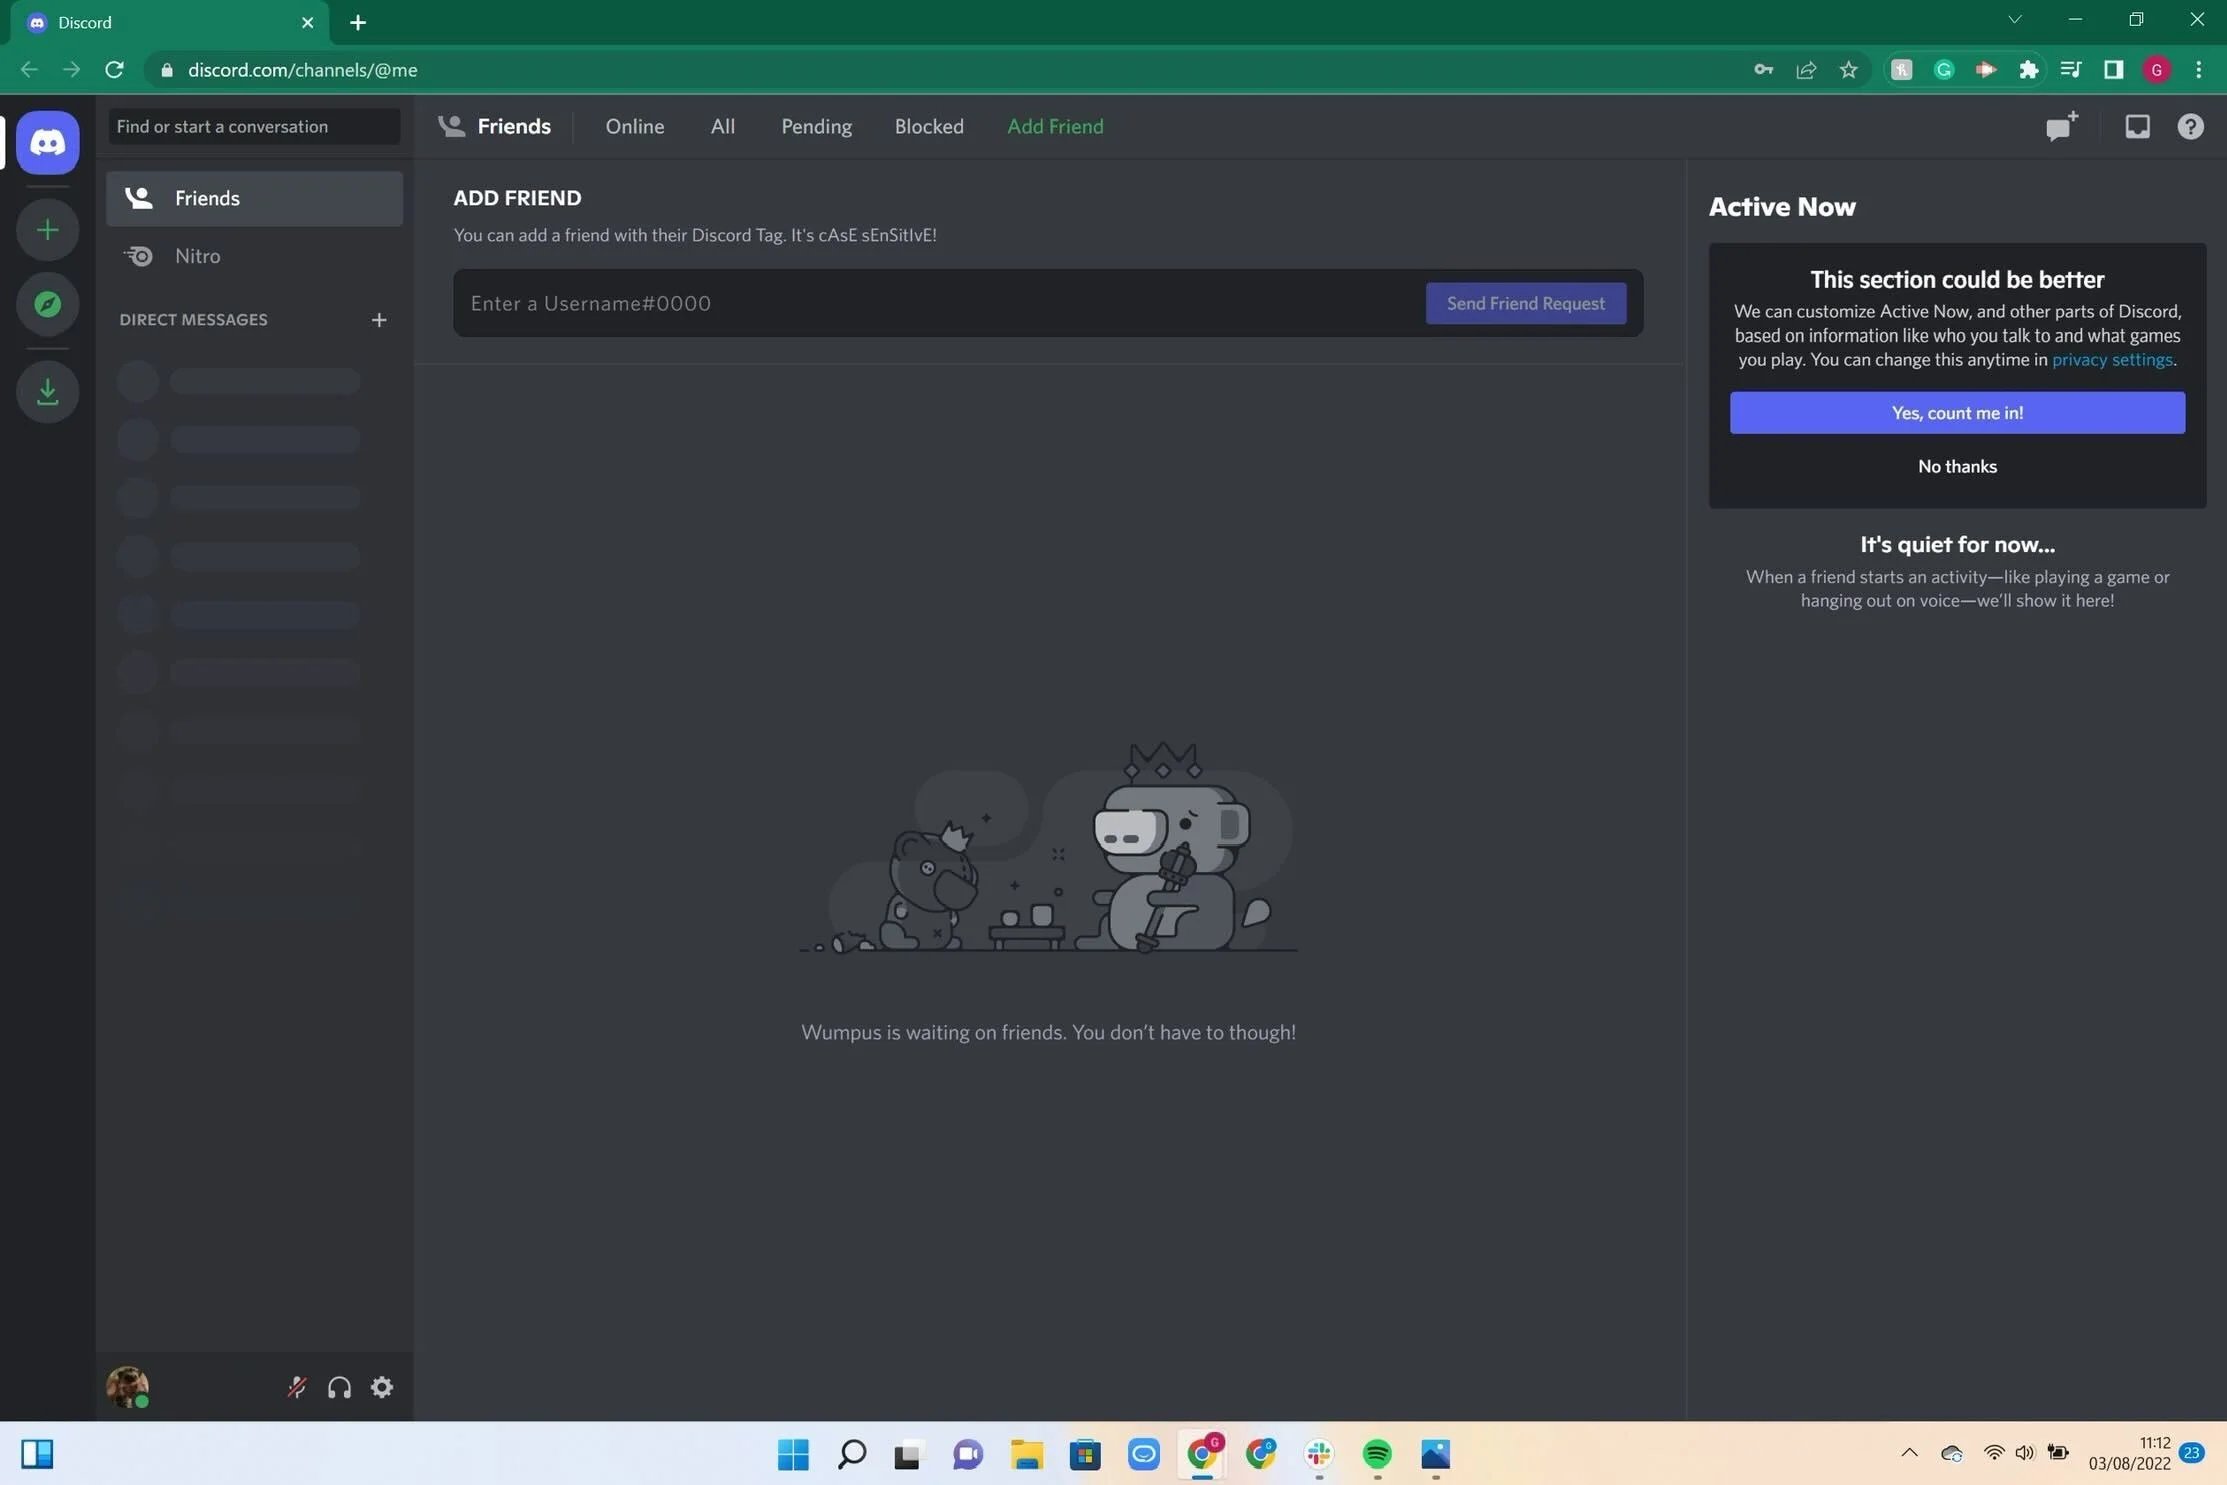
Invite Friends: After customizing your server, you can invite friends to join by clicking on the "Invite People" button. You'll be provided with a link that you can share with your friends, allowing them to join your server.
-
Organize Channels: Consider creating specific channels within your server to streamline communication and activities. For instance, you can create a dedicated channel for Netflix streaming, where members can gather to watch and discuss their favorite shows and movies.
By following these simple steps, you'll have your very own Discord server up and running, ready to be transformed into a virtual movie theater for Netflix streaming. With the server in place, you're now prepared to move on to the next step of adding the Netflix app to Discord.
Now that your Discord server is set up, let's proceed to the next step of adding the Netflix app to Discord.
Step 2: Adding the Netflix app to Discord
Integrating the Netflix app into your Discord server is a pivotal step in enabling synchronized streaming with your friends and fellow server members. By adding the Netflix app to Discord, you'll gain the ability to share your Netflix screen within the server, allowing others to join in on the viewing experience. Here's a detailed guide on how to seamlessly incorporate the Netflix app into your Discord server:
-
Accessing the Discord Store: To begin, log in to your Discord account and navigate to the left-hand sidebar. Look for the "Store" icon and click on it to access the Discord Store.
-
Browsing the Available Apps: Once you're in the Discord Store, you can explore the diverse range of apps and integrations offered. In the search bar, type "Netflix" and press Enter to initiate the search for the Netflix app.
-
Selecting the Netflix App: Upon locating the Netflix app in the search results, click on it to view more details. Take a moment to review the app's features and functionalities to ensure it aligns with your streaming needs.
-
Adding the Netflix App to Your Server: After confirming your decision, select the Discord server where you want to add the Netflix app. You'll be prompted to authorize the app and grant the necessary permissions for it to function within the server.
-
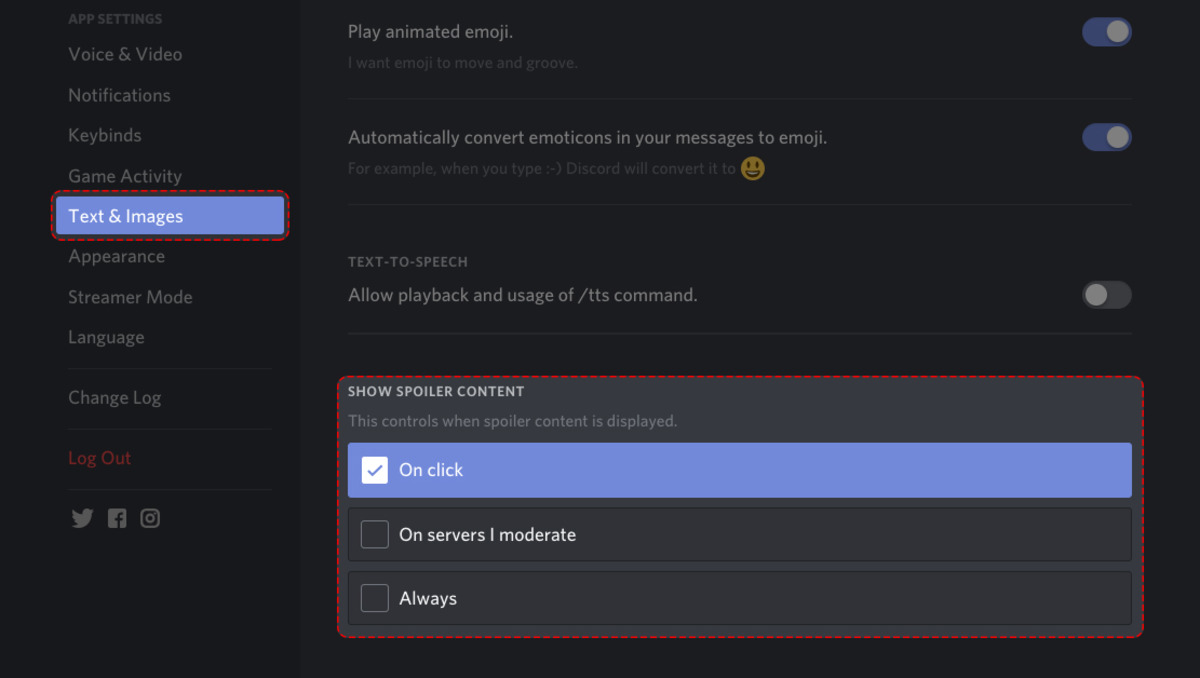
Customizing App Settings: Once the Netflix app is successfully added to your server, consider customizing its settings to optimize the streaming experience. You may have the option to adjust privacy settings, playback controls, and other preferences based on your server's dynamics.
-
Announcing the Addition: To inform your server members about the new addition, consider making an announcement in a designated channel or via a server-wide notification. This will ensure that everyone is aware of the enhanced streaming capabilities now available within the server.
By following these steps, you'll seamlessly integrate the Netflix app into your Discord server, paving the way for an immersive and communal streaming experience. With the Netflix app now a part of your server's ecosystem, you're ready to move on to the next crucial step of sharing your screen on Discord to initiate synchronized Netflix viewing sessions.
Step 3: Sharing your screen on Discord
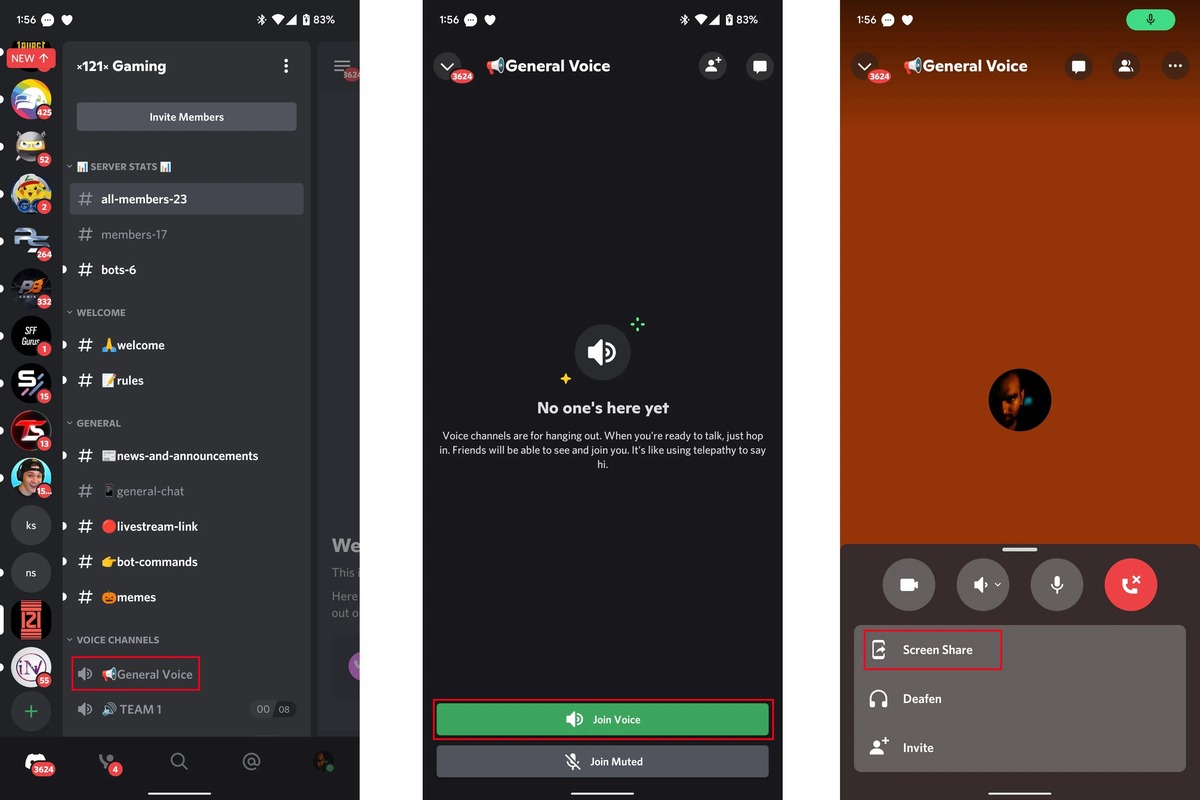
Now that the Netflix app is seamlessly integrated into your Discord server, the next step is to initiate the screen-sharing feature, enabling you to broadcast your Netflix viewing session to other server members. Sharing your screen on Discord is a straightforward process that enhances the communal viewing experience, allowing everyone to synchronize their Netflix playback and enjoy the content together. Here's a detailed guide on how to share your screen on Discord for seamless Netflix streaming:
-
Launch Discord and Open Your Server: Begin by launching the Discord application or accessing the Discord website and logging into your account. Navigate to your server where the Netflix app has been added, ensuring that you're in the appropriate server environment for the streaming session.
-
Initiate a Voice or Video Call: Within your server, select the voice channel where you and your friends will gather for the Netflix viewing session. Once in the voice channel, you have the option to start a voice call or a video call, depending on your preferences and the nature of the viewing experience you wish to create.
-
Start Screen Sharing: After initiating the voice or video call, look for the screen-sharing icon, typically located at the bottom of the call interface. Click on the screen-sharing icon to commence sharing your screen with the other call participants. A prompt may appear, asking you to select the specific application window or screen that you want to share. Choose the Netflix window or tab to ensure that your friends can view the content you're streaming.
-
Adjust Settings and Permissions: Depending on your Discord server's settings, you may need to adjust screen-sharing permissions to ensure that all members can participate in the viewing session. If necessary, review the server settings and permissions to facilitate a seamless screen-sharing experience for everyone involved.
-
Invite Members to Join: Once your screen is being shared, invite your friends and server members to join the voice or video call. They will be able to see your screen and, consequently, the Netflix content you're streaming. Encourage everyone to grab their favorite snacks and settle in for an enjoyable viewing experience.
By following these steps, you'll successfully share your screen on Discord, allowing your friends and fellow server members to join in on the synchronized Netflix streaming session. With the screen-sharing feature in action, everyone can immerse themselves in the content, react in real-time, and engage in lively discussions, fostering a sense of togetherness despite physical distances. Now, let's proceed to the final step of enjoying Netflix with friends on Discord.
Step 4: Enjoying Netflix with friends on Discord
Once your screen is being shared and everyone has joined the voice or video call, it's time to immerse yourselves in the world of Netflix content within the communal setting of your Discord server. As the host of the streaming session, you have the opportunity to curate a captivating and enjoyable experience for your friends and fellow server members. Here's how you can make the most of enjoying Netflix with friends on Discord:
-
Engage in Interactive Viewing: Encourage everyone to express their thoughts, reactions, and favorite moments as the content unfolds. Whether it's a thrilling plot twist, a heartwarming scene, or a humorous exchange, fostering an environment where everyone feels comfortable sharing their thoughts can elevate the viewing experience.
-
Utilize Discord's Reaction Emojis: Discord offers a diverse array of reaction emojis that can be used to convey emotions and responses in real-time. Encourage your friends to utilize these emojis to express their immediate reactions to pivotal moments in the content, adding an extra layer of interactivity to the viewing session.
-
Facilitate Discussions and Commentary: Throughout the viewing session, create opportunities for open discussions and commentary. This can range from analyzing character motivations to predicting plot developments, allowing everyone to actively participate and contribute to the shared experience.
-
Coordinate Breaks and Intermissions: If the viewing session involves a lengthy movie or multiple episodes, consider coordinating breaks and intermissions to allow for brief pauses, snack refills, and casual conversations. This ensures that everyone remains engaged and comfortable throughout the duration of the streaming session.
-
Respect Viewing Preferences: While enjoying Netflix with friends on Discord, it's essential to respect each individual's viewing preferences and comfort levels. Be mindful of content warnings, sensitive themes, and the overall viewing atmosphere to ensure that everyone feels included and respected.
-
Express Gratitude and Encouragement: As the host, take the opportunity to express gratitude to your friends for joining the streaming session and contributing to the lively discussions. Encourage everyone to share their thoughts on the experience, fostering a sense of camaraderie and appreciation within the server.
By embracing these strategies, you can transform the act of streaming Netflix on Discord into a memorable and enjoyable communal experience. The combination of synchronized viewing, interactive engagement, and shared commentary creates a dynamic and immersive environment that transcends physical distances, allowing everyone to bond over their shared love for Netflix content.
As the streaming session draws to a close, take a moment to reflect on the highlights of the experience and gather feedback from your friends and server members. This will not only enrich future streaming sessions but also strengthen the sense of community within your Discord server. With the tools and features offered by Discord, you can continue to host engaging and inclusive Netflix viewing sessions, fostering lasting connections and shared memories with your friends and fellow server members.