Home>Automotive>The Ultimate Guide To Testing Your Car Starter Without Removing It

Automotive
The Ultimate Guide To Testing Your Car Starter Without Removing It
Published: February 13, 2024
Learn how to test your car starter without removing it with this comprehensive guide. Find out the best automotive tips and tricks for testing your car starter.
(Many of the links in this article redirect to a specific reviewed product. Your purchase of these products through affiliate links helps to generate commission for Noodls.com, at no extra cost. Learn more)
Table of Contents
Introduction
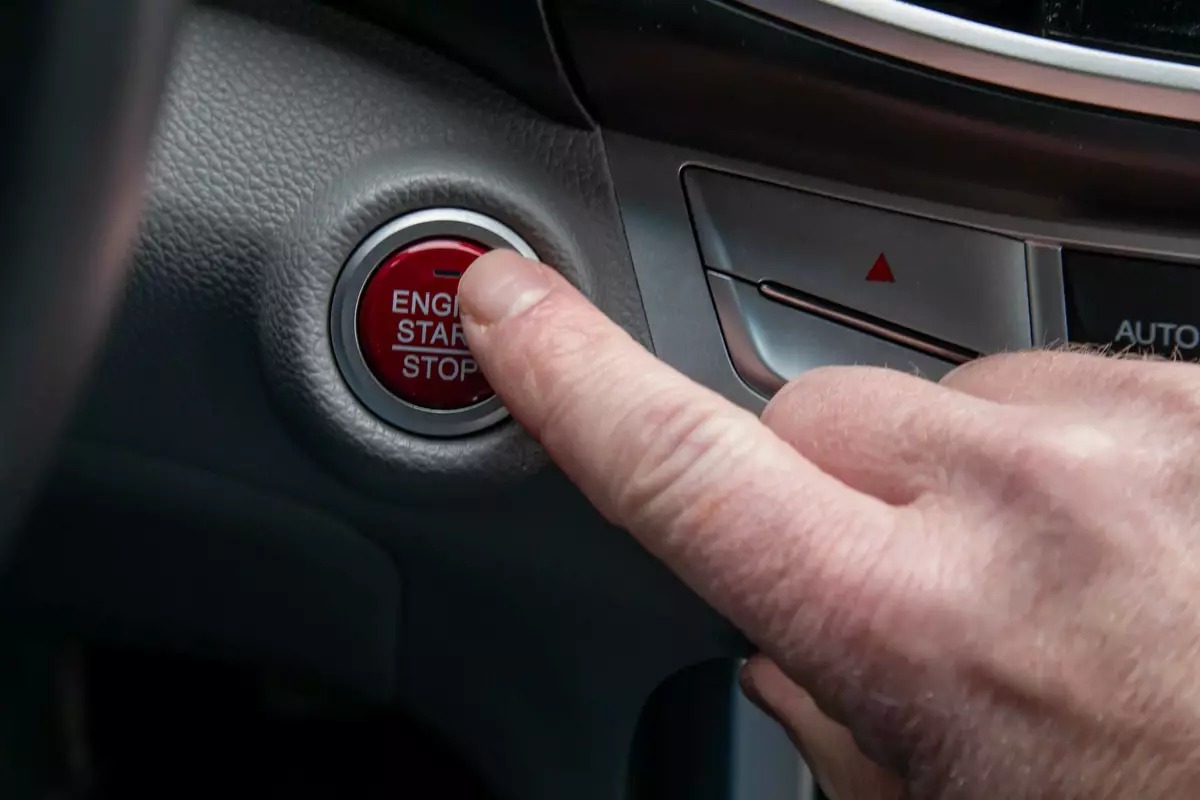
The car starter is a vital component of your vehicle's ignition system, responsible for initiating the engine's operation. When you turn the key or press the start button, the starter motor engages, turning the engine over and allowing it to fire up. However, like any mechanical part, the car starter is susceptible to wear and tear over time. When it begins to malfunction, it can lead to frustrating and inconvenient situations, such as being stranded with a non-starting vehicle.
Understanding how to diagnose potential issues with your car starter can save you time, money, and hassle. By learning how to test your car starter without removing it, you can quickly determine if the starter is the culprit behind your vehicle's starting problems. This knowledge empowers you to make informed decisions about necessary repairs or replacements, potentially avoiding unnecessary expenses.
In this comprehensive guide, we will delve into the intricacies of the car starter, explore the common signs of a failing starter, and provide detailed instructions on how to test the starter using various methods. Whether you're a seasoned DIY enthusiast or a novice looking to expand your automotive knowledge, this guide will equip you with the essential information and practical techniques to assess the health of your car's starter system.
By the end of this guide, you will have a clear understanding of the testing process, the tools required, and the steps involved in diagnosing potential issues with your car starter. Armed with this knowledge, you can approach starter-related problems with confidence, knowing that you have the skills to identify and address these issues effectively. So, let's embark on this journey to unravel the mysteries of the car starter and equip ourselves with the expertise to troubleshoot and resolve starting problems with ease.
Read more: How To Remove Mold From Your Car
Understanding the Car Starter
The car starter, also known as the starter motor, is a crucial component of the vehicle's ignition system. Its primary function is to initiate the engine's operation by turning the crankshaft, which sets the internal combustion process in motion. This process ultimately leads to the engine firing up and the vehicle coming to life.
The starter motor is an electric motor that operates on a high current from the car's battery. When the ignition key is turned or the start button is pressed, the starter motor engages with the engine's flywheel or flexplate, which is connected to the crankshaft. This engagement causes the crankshaft to rotate, initiating the engine's compression and combustion cycles.
The starter motor consists of several key elements, including the armature, solenoid, and starter drive. The armature is the rotating component of the motor, while the solenoid serves as a switch that transmits the high current from the battery to the motor. The starter drive, also known as the Bendix drive, is responsible for engaging the starter motor with the flywheel or flexplate and disengaging once the engine starts.
It's important to note that the starter motor operates for a brief period, typically a few seconds, to start the engine. Once the engine is running, the starter motor disengages to prevent damage from prolonged operation.
In modern vehicles, the starter motor is controlled by a starter relay, which receives a signal from the ignition switch to initiate the starting process. This relay serves as a safety feature, preventing the starter motor from engaging while the engine is already running.
Understanding the basic principles of the car starter and its interaction with the engine provides valuable insight into its functionality. By grasping the role of the starter motor in the ignition process, you can better appreciate its significance and recognize the symptoms of potential issues that may arise.
As we delve deeper into this guide, we will explore the signs of a failing starter and equip you with the knowledge and techniques to test the starter without removing it, empowering you to address starting problems effectively.
Signs of a Failing Starter
Recognizing the signs of a failing starter is crucial for proactive maintenance and timely repairs. By identifying these indicators early on, you can address potential issues before they escalate, minimizing the risk of being stranded due to a non-starting vehicle. Here are the common signs that may point to a failing starter:
-
Clicking Noise: When you attempt to start your vehicle and hear a rapid clicking noise, it could indicate a faulty starter. This sound typically occurs when the starter solenoid is receiving power but fails to engage the starter motor. The repeated clicking is a clear indication of an electrical issue within the starter system.
-
Intermittent Starting: If your vehicle starts inconsistently, requiring multiple attempts before the engine turns over, it may signal a failing starter. This irregular behavior can be attributed to worn-out internal components of the starter motor, hindering its ability to initiate the engine consistently.
-
Slow Cranking: When you turn the key or press the start button, and the engine cranks slowly or sluggishly, it could be a sign of a weakening starter. This sluggish cranking indicates that the starter motor is struggling to generate sufficient torque to turn the engine over, often due to internal wear or electrical resistance.
-
Grinding Noise: A grinding or unusual noise during the starting process may indicate a failing starter drive or flywheel ring gear. This noise occurs when the starter drive gear fails to properly engage with the flywheel or flexplate, resulting in a grinding or gnashing sound as the components interact.
-
Smoke or Burning Smell: If you detect smoke or a burning odor when attempting to start your vehicle, it could be a result of excessive electrical current flowing through a failing starter motor. This overheating can lead to insulation damage and potential electrical fires, necessitating immediate attention.
-
Dashboard Lights Dimming: When you turn the key to start the vehicle, and the dashboard lights dim significantly, it may indicate excessive current draw from a failing starter. The increased electrical load on the battery can cause the lights to dim as the starter attempts to engage, highlighting a potential issue with the starter system.
By being attentive to these signs, you can proactively assess the health of your car's starter and take appropriate measures to address any underlying issues. Now, let's explore the essential tools required for testing the car starter without removing it.
Tools Needed for Testing
When it comes to testing your car starter without removing it, having the right tools at your disposal is essential for a thorough and accurate assessment. These tools enable you to perform various diagnostic tests to pinpoint potential issues within the starter system. Here are the essential tools needed for testing the car starter:
-
Multimeter: A multimeter is a versatile instrument that allows you to measure voltage, current, and resistance in electrical circuits. When testing the car starter, a multimeter is invaluable for assessing the electrical components, including the battery, solenoid, and starter motor. By measuring voltage drops and continuity, you can identify irregularities that may indicate a failing starter.
-
Remote Starter Switch: A remote starter switch serves as a convenient tool for engaging the starter motor without using the ignition key. This device allows you to bypass the vehicle's ignition system and directly activate the starter motor, facilitating diagnostic tests such as cranking the engine while monitoring electrical parameters with the multimeter.
-
Jump Starter Pack: A jump starter pack, also known as a portable battery booster, provides a standalone power source for jump-starting the vehicle and testing the starter independently of the car's battery. This tool is particularly useful when diagnosing starting issues related to the battery or when conducting tests in a controlled environment outside of the vehicle.
-
Safety Equipment: When working on the vehicle's electrical system, safety should always be a priority. Essential safety equipment includes insulated gloves, safety goggles, and protective clothing to minimize the risk of electrical shock and injury during testing procedures.
-
Diagnostic Manual: While not a physical tool, a diagnostic manual specific to your vehicle's make and model is invaluable for understanding the starter system's wiring diagrams, component locations, and diagnostic procedures. This resource provides essential guidance for conducting accurate tests and interpreting the results effectively.
By assembling these tools, you can approach the testing process with confidence, knowing that you have the necessary equipment to perform comprehensive diagnostic assessments of your car's starter system. With these tools at your disposal, you are well-prepared to proceed with the testing procedures, which we will explore in detail in the following sections.
Testing the Starter with a Multimeter
Testing the car starter with a multimeter is a fundamental diagnostic procedure that allows you to assess the electrical components of the starter system, including the battery, solenoid, and starter motor. By utilizing the multimeter's capabilities to measure voltage drops, continuity, and resistance, you can identify potential issues that may be affecting the starter's performance.
To begin the testing process, it is essential to ensure that the vehicle is in a safe and stationary position, with the transmission in Park or Neutral and the parking brake engaged. Additionally, wearing insulated gloves and safety goggles is recommended to minimize the risk of electrical shock during the testing procedures.
The first step involves conducting a voltage drop test on the battery cables and connections. With the multimeter set to the voltage setting, connect the meter's leads to the positive and negative terminals of the battery, observing the voltage reading. A healthy battery should exhibit a minimal voltage drop, typically less than 0.2 volts, across the cables and connections during the cranking process. Any significant voltage drop indicates resistance or poor conductivity within the battery circuit, necessitating further inspection and potential repairs.
Next, the multimeter can be used to measure the voltage at the starter solenoid during the starting process. With the ignition key in the start position, place the multimeter's positive lead on the solenoid's terminal that receives power from the battery, and the negative lead on the solenoid's terminal that connects to the starter motor. When the key is turned to start the engine, the multimeter should display a minimal voltage drop, indicating that the solenoid is transmitting power to the starter motor efficiently. Any substantial voltage drop suggests resistance or a faulty solenoid, requiring corrective action to restore proper functionality.
Furthermore, the multimeter can be employed to assess the continuity and resistance of the starter motor windings. By setting the multimeter to the resistance or ohms setting, the leads can be connected to the starter motor's terminals to measure the resistance across the windings. A significant deviation from the manufacturer's specified resistance values may indicate a fault within the starter motor, necessitating further inspection or replacement.
In summary, testing the car starter with a multimeter provides valuable insights into the electrical integrity of the starter system, enabling you to identify potential issues and take appropriate measures to address them effectively. By leveraging the multimeter's capabilities for voltage drop tests, continuity checks, and resistance measurements, you can conduct a comprehensive assessment of the starter's electrical components, empowering you to diagnose and resolve starting problems with confidence.
Testing the Starter with a Remote Starter Switch
Testing the car starter with a remote starter switch offers a convenient and effective method for diagnosing potential issues within the starter system. This tool allows you to bypass the vehicle's ignition system and directly engage the starter motor, facilitating diagnostic tests while monitoring the electrical parameters with precision.
To begin the testing process, it is essential to ensure that the vehicle is in a safe and stationary position, with the transmission in Park or Neutral and the parking brake engaged. Additionally, wearing insulated gloves and safety goggles is recommended to minimize the risk of electrical shock during the testing procedures.
The remote starter switch is typically equipped with a set of leads and a momentary switch, allowing you to connect it directly to the starter solenoid and activate the starter motor independently of the vehicle's ignition key. By following the manufacturer's instructions for the remote starter switch and identifying the appropriate terminals on the starter solenoid, you can proceed with the testing procedures.
With the remote starter switch connected to the starter solenoid, initiate the testing process by activating the switch to engage the starter motor. As the starter motor cranks the engine, observe the cranking speed and listen for any unusual noises or irregularities. A healthy starter motor should initiate smooth and consistent cranking, indicating its ability to generate sufficient torque to turn the engine over.
While the starter motor is engaged, it is essential to monitor the vehicle's electrical parameters, including the battery voltage and the current draw. Using a multimeter or a dedicated electrical tester, measure the voltage at the battery terminals and observe any significant drops during the cranking process. Additionally, assess the current draw from the battery, ensuring that it remains within the manufacturer's specified range for the vehicle's starter system.
By conducting these tests with the remote starter switch, you can evaluate the starter motor's performance under load and identify any irregularities that may indicate a failing starter. Any deviations from the expected cranking speed, abnormal noises, excessive voltage drops, or current draw outside the specified range may signal potential issues within the starter system, warranting further inspection and corrective action.
In summary, testing the car starter with a remote starter switch provides a practical and direct approach to assessing the starter motor's functionality and electrical performance. By utilizing this tool to engage the starter motor independently of the vehicle's ignition system, you can conduct comprehensive diagnostic tests and identify potential issues with precision, empowering you to address starting problems effectively.
Testing the Starter with a Jump Starter Pack
Testing the car starter with a jump starter pack provides a standalone power source for jump-starting the vehicle and conducting independent diagnostic tests on the starter system. This tool is particularly useful when diagnosing starting issues related to the battery or when performing tests in a controlled environment outside of the vehicle.
To initiate the testing process, ensure that the vehicle is in a safe and stationary position, with the transmission in Park or Neutral and the parking brake engaged. Additionally, wearing insulated gloves and safety goggles is recommended to minimize the risk of electrical shock during the testing procedures.
The jump starter pack, also known as a portable battery booster, is equipped with a built-in battery and jumper cables, allowing you to supply power directly to the starter system without relying on the vehicle's battery. This capability enables you to isolate the starter motor from the vehicle's electrical system, facilitating independent testing in a controlled environment.
To begin the testing, connect the positive and negative jumper cable clamps from the jump starter pack to the corresponding terminals on the starter motor. Ensure that the connections are secure and free from any obstructions to prevent accidental sparking or electrical hazards.
Once the jump starter pack is connected to the starter motor, activate the power supply to engage the starter motor independently of the vehicle's battery. As the starter motor cranks the engine, observe the cranking speed and listen for any unusual noises or irregularities. A healthy starter motor should initiate smooth and consistent cranking, indicating its ability to generate sufficient torque to turn the engine over.
While the starter motor is engaged, it is essential to monitor the vehicle's electrical parameters, including the battery voltage and the current draw. Using a multimeter or a dedicated electrical tester, measure the voltage at the battery terminals and observe any significant drops during the cranking process. Additionally, assess the current draw from the battery, ensuring that it remains within the manufacturer's specified range for the vehicle's starter system.
By conducting these tests with the jump starter pack, you can evaluate the starter motor's performance under load and identify any irregularities that may indicate a failing starter. Any deviations from the expected cranking speed, abnormal noises, excessive voltage drops, or current draw outside the specified range may signal potential issues within the starter system, warranting further inspection and corrective action.
In summary, testing the car starter with a jump starter pack offers a practical and independent approach to assessing the starter motor's functionality and electrical performance. By utilizing this tool to supply power directly to the starter system, you can conduct comprehensive diagnostic tests and identify potential issues with precision, empowering you to address starting problems effectively.
Conclusion
In conclusion, understanding how to test your car starter without removing it is a valuable skill that empowers you to diagnose potential issues with the starter system effectively. By recognizing the signs of a failing starter and equipping yourself with the essential tools and techniques for testing, you can proactively address starting problems and ensure the reliable operation of your vehicle.
Throughout this guide, we have explored the intricate workings of the car starter, delving into its role in the ignition process and the key components that comprise the starter system. By gaining a deeper understanding of the starter motor's functionality, you are better equipped to recognize the symptoms of a failing starter and take proactive measures to address potential issues.
The common signs of a failing starter, including clicking noises, intermittent starting, slow cranking, grinding noises, and electrical anomalies, serve as crucial indicators that prompt further investigation. By being attentive to these signs, you can identify potential issues early on and initiate the testing process to assess the health of your car's starter system.
Furthermore, we have highlighted the essential tools required for testing the car starter, including the multimeter, remote starter switch, jump starter pack, and safety equipment. These tools provide the means to conduct comprehensive diagnostic assessments, enabling you to measure voltage drops, assess electrical parameters, and engage the starter motor independently of the vehicle's ignition system.
Whether you choose to test the starter with a multimeter, remote starter switch, or jump starter pack, each method offers unique advantages for evaluating the starter motor's performance and electrical integrity. By leveraging these tools and techniques, you can gain valuable insights into the health of your car's starter system and make informed decisions regarding necessary repairs or replacements.
In essence, the knowledge and skills acquired from this guide empower you to approach starter-related issues with confidence, knowing that you have the expertise to diagnose and address potential problems effectively. By proactively testing your car starter without removing it, you can save time, money, and inconvenience by swiftly identifying and resolving starting issues, ensuring the continued reliability of your vehicle.
As you embark on your journey to maintain and troubleshoot your car's starter system, may this guide serve as a valuable resource, equipping you with the knowledge and techniques to navigate the complexities of the starter motor and ensure the seamless operation of your vehicle's ignition system.