Home>Automotive>How To Remove Stickers From Car

Automotive
How To Remove Stickers From Car
Published: February 26, 2024
Learn effective methods for removing stickers from your car with our automotive guide. Keep your vehicle looking clean and pristine with these expert tips.
(Many of the links in this article redirect to a specific reviewed product. Your purchase of these products through affiliate links helps to generate commission for Noodls.com, at no extra cost. Learn more)
Table of Contents
Introduction
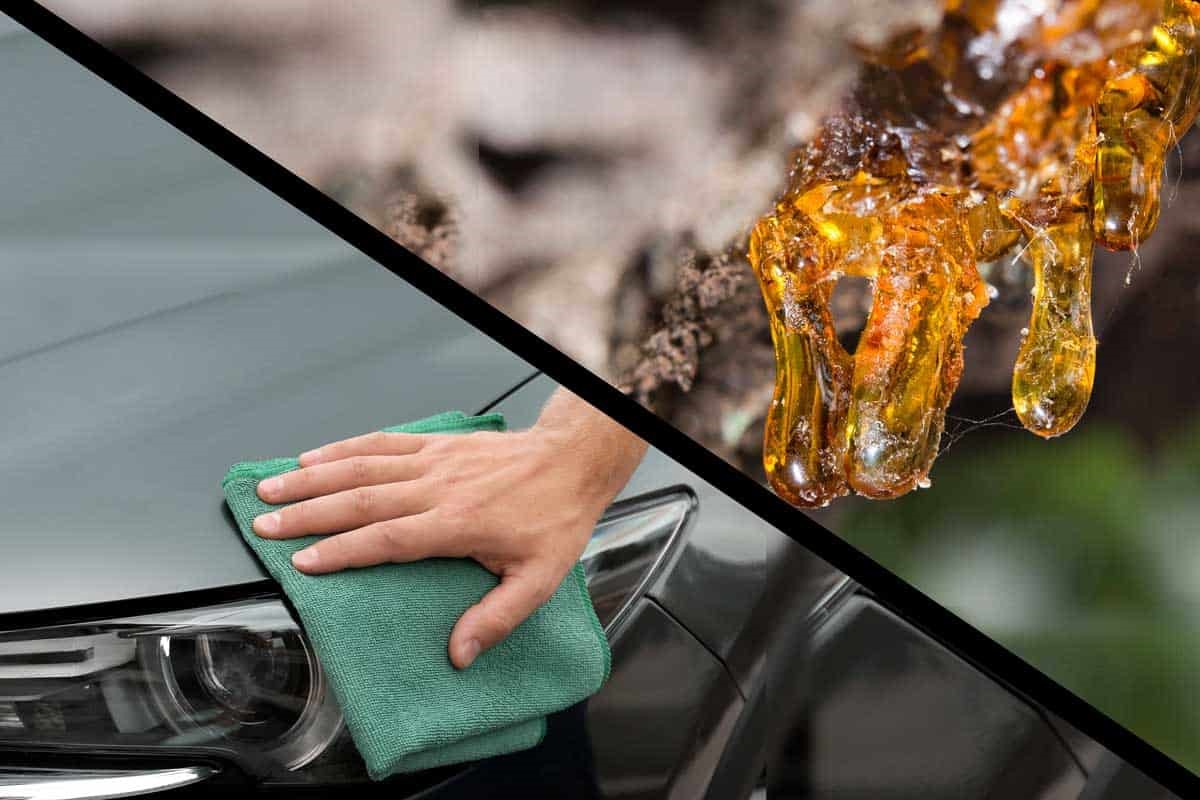
Removing stickers from a car can be a daunting task, especially when they have been firmly affixed for an extended period. Whether you're looking to upgrade your vehicle's appearance or preparing it for sale, the presence of stubborn stickers can detract from its overall appeal. However, with the right techniques and a bit of patience, you can effectively restore your car's surface to its former pristine condition.
In this comprehensive guide, we will explore various methods for removing stickers from your car without causing damage to the paint or leaving behind unsightly residue. From utilizing heat and solvents to employing adhesive removers and razor blades, we will delve into the step-by-step processes for each approach. Additionally, we will discuss the use of a hair dryer as a gentle yet effective alternative for sticker removal.
By understanding the nuances of each method and the specific scenarios in which they are most suitable, you can confidently tackle the task at hand. Whether you're a car enthusiast seeking to revamp your vehicle's aesthetics or a meticulous seller aiming to present a flawless exterior, the insights provided in this guide will equip you with the knowledge and techniques necessary to accomplish your goal.
So, if you're ready to bid farewell to those stubborn stickers and restore your car's sleek and unblemished facade, let's delve into the various methods for achieving sticker-free perfection.
Read more: How To Remove Dealer Sticker From Car
Method 1: Using Heat
When it comes to removing stickers from your car, utilizing heat can be an effective and gentle method. This approach is particularly beneficial for stickers that have been in place for an extended period, as the heat helps to soften the adhesive, making it easier to peel off without leaving behind residue or causing damage to the paint.
One of the most common tools for applying heat is a hair dryer. By directing the hot air onto the sticker, you can gradually warm the adhesive, causing it to loosen its grip on the car's surface. To begin, set the hair dryer to a medium or high heat setting, holding it a few inches away from the sticker. As the adhesive warms, you may notice the edges of the sticker starting to lift slightly.
Once the sticker has been heated for a sufficient amount of time, use your fingers or a plastic card to gently peel back the edges. It's important to proceed slowly and cautiously, ensuring that the adhesive is sufficiently softened before attempting to remove the sticker. If you encounter resistance or the sticker seems to be tearing, apply more heat to further loosen the adhesive.
In some cases, a heat gun may be used instead of a hair dryer, especially for larger or more stubborn stickers. When using a heat gun, it's crucial to exercise caution and maintain a safe distance from the car's surface to prevent overheating or damaging the paint. Additionally, be mindful of the potential for the underlying paint to become hot, as excessive heat can lead to discoloration or other damage.
By employing the method of using heat, you can effectively remove stickers from your car while minimizing the risk of paint damage or adhesive residue. This gentle approach is suitable for various types of stickers and can be particularly advantageous for older or more firmly adhered decals. With patience and the careful application of heat, you can restore your car's exterior to a pristine condition, free from the remnants of unwanted stickers.
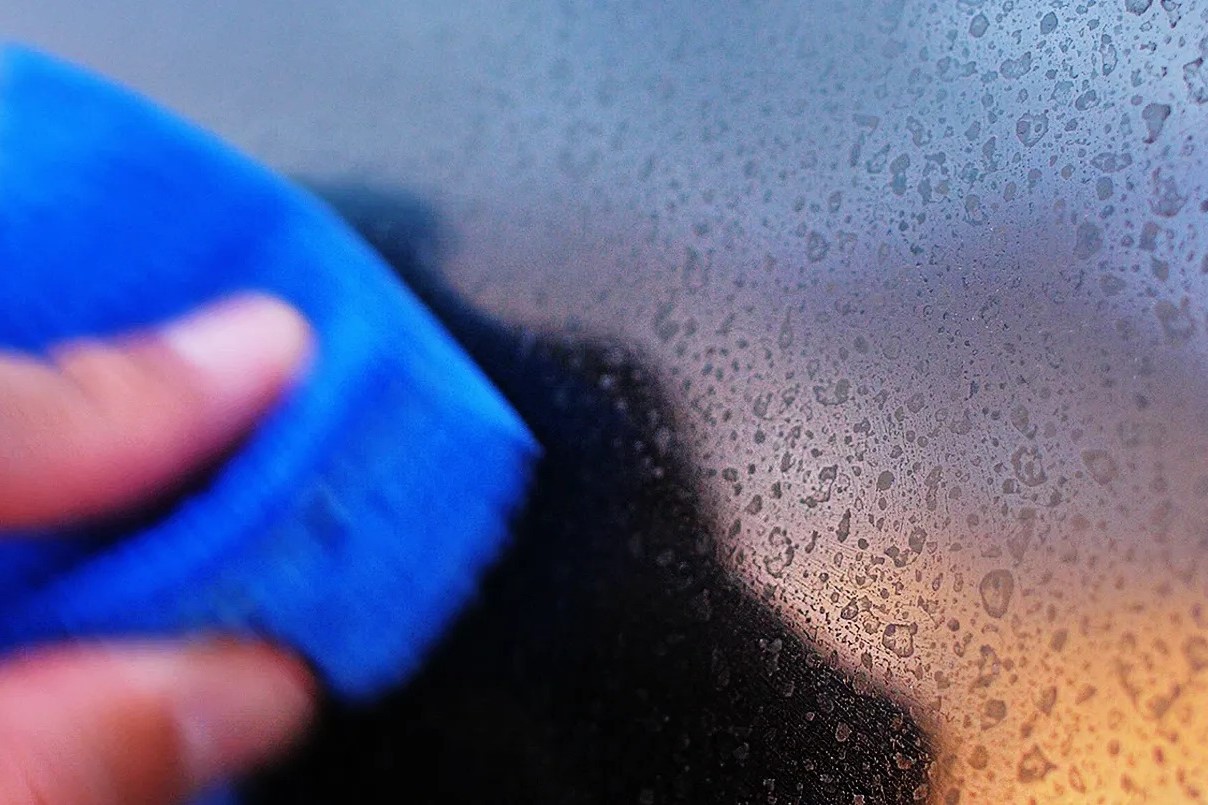
Method 2: Using Solvents
When faced with stubborn stickers that seem resistant to traditional removal methods, employing solvents can provide an effective solution. Solvents work by breaking down the adhesive properties of the sticker, making it easier to lift off the car's surface without leaving behind residue or causing damage. It's important to note that when using solvents, selecting the appropriate type is crucial to ensure compatibility with the car's paint and to avoid any potential adverse effects.
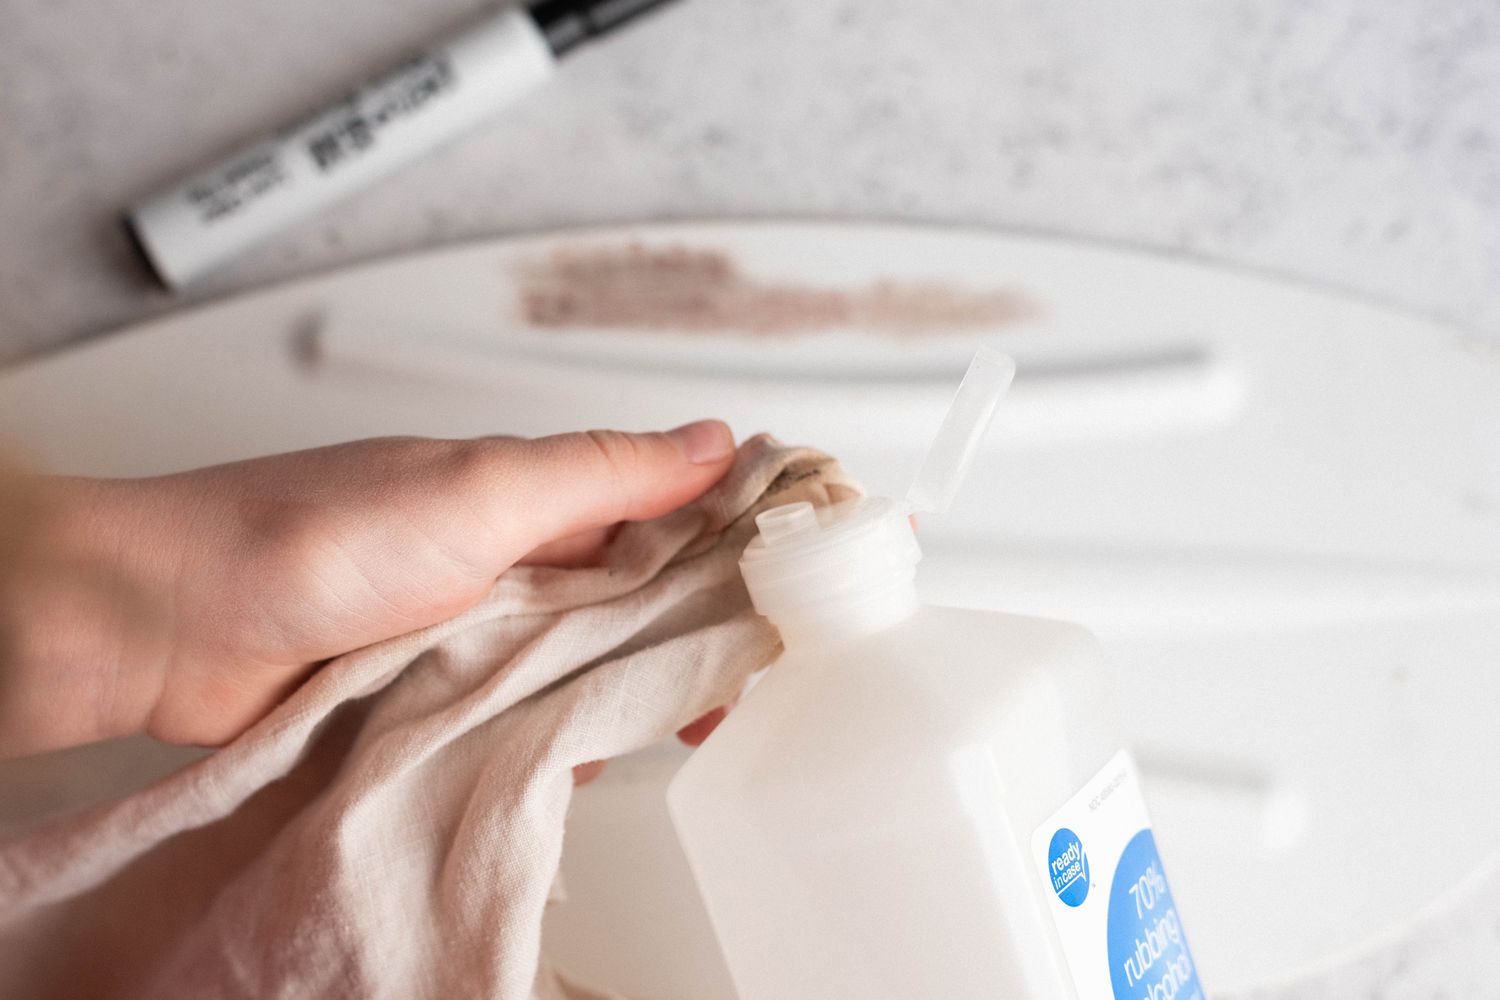
One of the most commonly used solvents for sticker removal is rubbing alcohol. This readily available household item can effectively dissolve the adhesive, facilitating the gentle peeling off of the sticker. To begin, dampen a clean cloth or cotton ball with rubbing alcohol and apply it to the edges of the sticker. Allow the alcohol to penetrate the adhesive for a few minutes, effectively weakening its bond with the car's surface. As the adhesive begins to loosen, carefully peel back the sticker, ensuring a gradual and controlled removal process.
Another popular solvent for sticker removal is white vinegar, known for its mild yet effective adhesive-dissolving properties. Similar to rubbing alcohol, white vinegar can be applied using a cloth or cotton ball, allowing it to saturate the sticker and gradually break down the adhesive. This method is particularly suitable for smaller stickers or decals that may be more delicate or prone to damage from harsher solvents.
For more persistent stickers, commercial adhesive removers or citrus-based solvents can be utilized. These specialized products are formulated to effectively dissolve tough adhesives while being gentle on the car's paint. When using commercial adhesive removers, it's essential to follow the manufacturer's instructions and test the product on a small, inconspicuous area of the car to ensure compatibility and assess its effectiveness.
When employing solvents for sticker removal, it's crucial to prioritize safety and ventilation. Ensure that the work area is well-ventilated, and use solvents in a controlled manner to prevent excessive exposure. Additionally, always test the solvent on a small area of the car's surface to check for any adverse reactions before proceeding with the sticker removal process.
By utilizing solvents for sticker removal, you can effectively tackle stubborn adhesives and restore your car's exterior to a pristine condition. Whether using household items like rubbing alcohol and white vinegar or specialized commercial solvents, the careful application of these solutions can make the sticker removal process more manageable and less damaging to the car's paint. With patience and the appropriate solvent, you can bid farewell to unwanted stickers and rejuvenate your car's appearance.
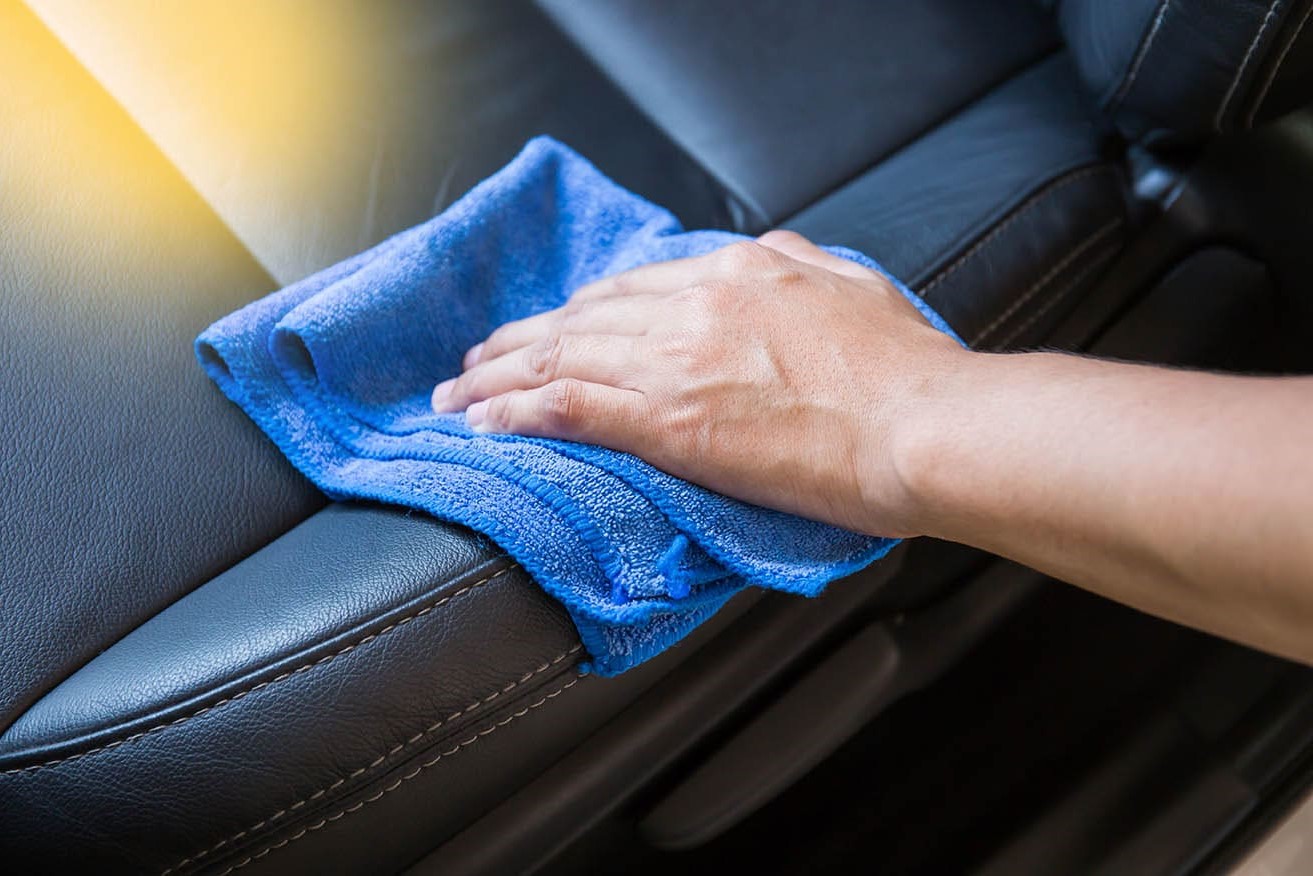
Method 3: Using Adhesive Remover
When it comes to effectively removing stubborn stickers from your car, utilizing adhesive removers can provide a powerful and targeted solution. These specialized products are formulated to dissolve tough adhesives while being gentle on the car's paint, making them a valuable asset in the sticker removal process.
Adhesive removers are available in various formulations, including spray-on liquids, gels, and wipes, each designed to offer ease of application and effective adhesive dissolving properties. Before using an adhesive remover, it's essential to select a product that is compatible with the car's paint and to carefully follow the manufacturer's instructions to ensure safe and effective usage.
To begin the sticker removal process using an adhesive remover, start by applying the product directly onto the sticker, ensuring that it is thoroughly saturated. Allow the adhesive remover to penetrate the sticker for the recommended duration, typically a few minutes, to effectively weaken the adhesive's bond with the car's surface.
As the adhesive remover works its magic, you may notice the sticker beginning to lift or peel away from the car. Use a plastic scraper or a soft cloth to gently aid in the removal process, ensuring a gradual and controlled approach to prevent any damage to the paint. If the sticker proves resistant, reapply the adhesive remover and allow it additional time to further dissolve the adhesive.
One of the key advantages of using adhesive removers is their ability to effectively tackle stubborn adhesives, including residue left behind by previously removed stickers. This makes them particularly valuable for comprehensive sticker removal, ensuring that the car's surface is free from any lingering traces of adhesive or unsightly marks.
When using adhesive removers, it's important to prioritize safety and ventilation. Ensure that the work area is well-ventilated, and use the adhesive remover in a controlled manner to prevent excessive exposure. Additionally, always test the product on a small, inconspicuous area of the car to ensure compatibility and assess its effectiveness before proceeding with the sticker removal process.
By incorporating adhesive removers into your sticker removal arsenal, you can effectively address tough adhesives and restore your car's exterior to a pristine condition. Whether using spray-on liquids, gels, or wipes, the careful application of these specialized products can make the sticker removal process more manageable and less damaging to the car's paint. With patience and the appropriate adhesive remover, you can bid farewell to unwanted stickers and rejuvenate your car's appearance.
Method 4: Using a Razor Blade
Using a razor blade for removing stickers from your car requires precision and caution to avoid damaging the paint. This method is particularly effective for stickers that have been firmly affixed and are resistant to other removal techniques. When executed carefully, it can yield impressive results, leaving the car's surface free from adhesive residue.
To begin, ensure that the razor blade is clean and free from any debris that could potentially scratch the paint. It's advisable to use a new, sharp razor blade to facilitate smooth and controlled movements during the sticker removal process. Additionally, it's crucial to work in a well-lit area, allowing for clear visibility and the ability to monitor the razor blade's contact with the car's surface.
Start by carefully sliding the razor blade under the edge of the sticker, using gentle and controlled motions to avoid applying excessive pressure. It's essential to maintain a shallow angle to minimize the risk of inadvertently scratching the paint. As the razor blade makes contact with the sticker, gradually lift and peel the edges, ensuring a slow and deliberate approach to prevent any damage.
When using a razor blade for sticker removal, it's important to prioritize safety and precision. Avoid using excessive force or aggressive movements, as this can lead to unintended scratches or marks on the car's surface. Additionally, be mindful of the direction in which the razor blade is being maneuvered, ensuring that it remains parallel to the car's surface to minimize the risk of damage.
For stickers that are particularly stubborn or have intricate designs, employing a razor blade with a precision edge can facilitate more detailed and controlled removal. This specialized razor blade allows for targeted maneuvering around delicate areas, ensuring that the sticker is lifted without causing damage to the surrounding paint.
After successfully removing the sticker with the razor blade, inspect the car's surface to ensure that no adhesive residue remains. If any residue is present, it can be gently lifted using the razor blade, taking care to avoid excessive pressure that could potentially mar the paint. Following the removal of the sticker and any residual adhesive, it's advisable to clean the area with a mild automotive detergent and water to restore the surface to its original condition.
By employing a razor blade for sticker removal, you can effectively address firmly affixed stickers and restore your car's exterior to a pristine state. With meticulous attention to detail and a cautious approach, the use of a razor blade can yield impressive results, leaving your car free from unwanted stickers and adhesive residue.
Read more: How To Remove Stickers From Glass
Method 5: Using a Hair Dryer
Utilizing a hair dryer for removing stickers from your car offers a gentle and effective approach that is particularly suitable for delicate paint surfaces. This method harnesses the power of heat to gradually soften the adhesive, allowing for the safe and controlled removal of stickers without causing damage or leaving behind residue.
To begin the process, select a hair dryer with adjustable heat settings, opting for a medium to high setting to generate sufficient warmth. Hold the hair dryer a few inches away from the sticker, directing the hot air evenly across its surface. As the adhesive begins to warm, you may notice the edges of the sticker starting to lift slightly, indicating that the adhesive is loosening its grip on the car's surface.
It's essential to exercise patience during this stage, allowing the heat to penetrate the sticker and soften the adhesive thoroughly. This gradual approach minimizes the risk of damaging the paint or encountering resistance when attempting to remove the sticker. If the sticker proves resistant or begins to tear during the removal process, apply additional heat to further loosen the adhesive.
Once the sticker has been adequately heated, use your fingers or a plastic card to gently peel back the edges, ensuring a slow and controlled motion to prevent any damage. It's crucial to proceed with caution, particularly when dealing with older or more firmly adhered stickers, as they may require additional time and heat to facilitate their removal.
In some instances, a heat gun may be used as an alternative to a hair dryer, especially for larger or more stubborn stickers. When using a heat gun, it's important to maintain a safe distance from the car's surface to prevent overheating or causing damage to the paint. Additionally, be mindful of the potential for the underlying paint to become hot, as excessive heat can lead to discoloration or other damage.
After successfully removing the sticker using the hair dryer, inspect the car's surface to ensure that no adhesive residue remains. If any residue is present, it can be gently lifted using a plastic card or your fingertips, taking care to avoid applying excessive force that could potentially damage the paint. Following the removal of the sticker and any residual adhesive, it's advisable to clean the area with a mild automotive detergent and water to restore the surface to its original condition.
By harnessing the gentle power of heat through the use of a hair dryer, you can effectively remove stickers from your car while safeguarding the integrity of the paint. This method is particularly advantageous for delicate paint surfaces and older stickers, offering a safe and controlled approach to restoring your car's exterior to a pristine condition. With patience and the careful application of heat, you can bid farewell to unwanted stickers and rejuvenate your car's appearance.
Conclusion
In conclusion, the process of removing stickers from your car encompasses a range of techniques, each offering its own unique advantages and considerations. Whether you opt for the gentle application of heat, the targeted use of solvents, the effectiveness of adhesive removers, the precision of a razor blade, or the controlled approach of a hair dryer, the goal remains the same: to restore your car's exterior to a pristine and sticker-free state.
It's important to approach sticker removal with patience and a keen eye for detail, ensuring that the chosen method aligns with the specific characteristics of the stickers and the car's paint surface. By understanding the nuances of each technique and the scenarios in which they excel, you can confidently address the task at hand, whether it involves removing stubborn decals, residue from previously removed stickers, or simply refreshing the car's appearance.
Furthermore, the safety and well-being of both the car and the individual undertaking the sticker removal process should always be prioritized. This includes exercising caution when using tools such as razor blades, maintaining proper ventilation when working with solvents, and being mindful of the potential for heat-related damage when utilizing hair dryers or heat guns.
Ultimately, the successful removal of stickers from your car not only enhances its visual appeal but also contributes to a sense of pride and satisfaction in maintaining its exterior. By employing the techniques outlined in this guide and adapting them to suit the specific requirements of your car, you can bid farewell to unwanted stickers and restore your vehicle to a state that reflects your meticulous care and attention to detail.
So, whether you're a dedicated car enthusiast seeking to revamp your vehicle's aesthetics or a discerning seller aiming to present a flawless exterior, the insights provided in this guide equip you with the knowledge and techniques necessary to accomplish your goal. With the right approach and a touch of patience, you can achieve sticker-free perfection and revel in the renewed allure of your car's exterior.