Home>Automotive>How To Remove Dealer Sticker From Car
Automotive
How To Remove Dealer Sticker From Car
Published: February 25, 2024
Learn how to easily remove dealer stickers from your car without damaging the paint. Follow our automotive tips for a clean and scratch-free removal process.
(Many of the links in this article redirect to a specific reviewed product. Your purchase of these products through affiliate links helps to generate commission for Noodls.com, at no extra cost. Learn more)
Table of Contents
Introduction
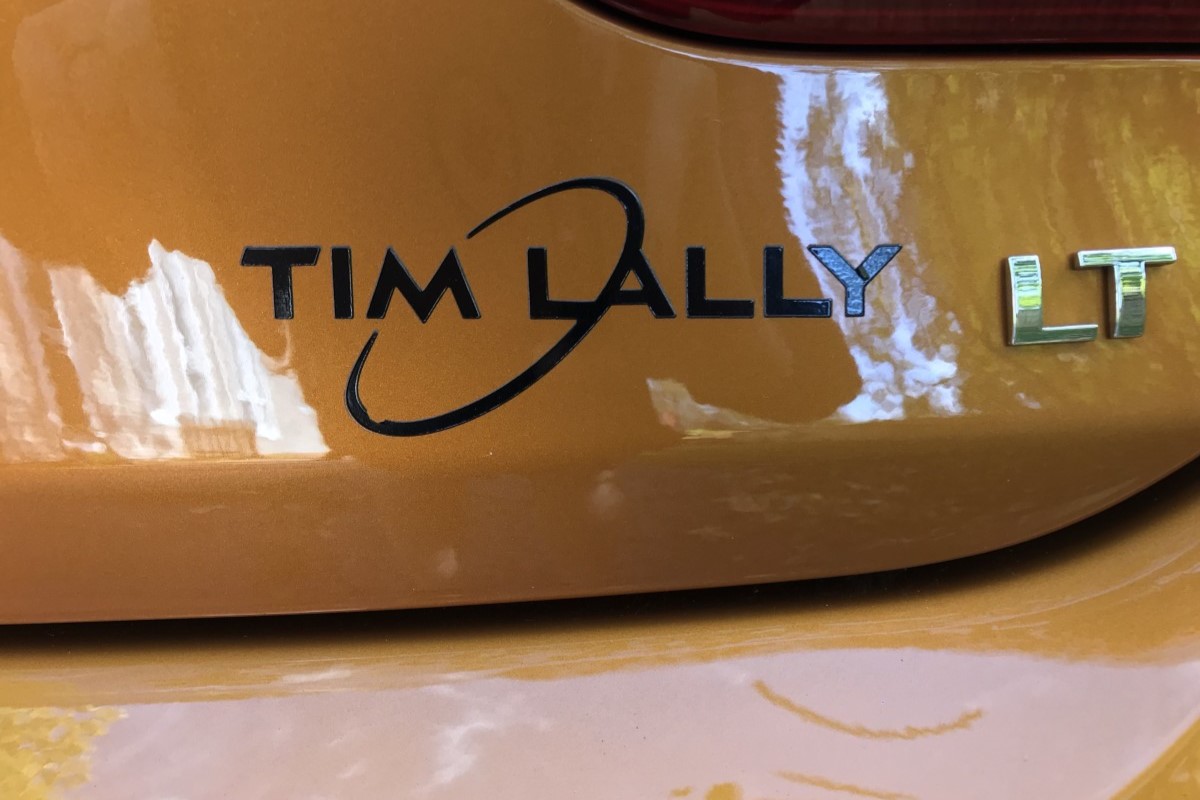
Removing a dealer sticker from your car can be a satisfying and rewarding task. Whether you've recently purchased a new vehicle or acquired a pre-owned one, the presence of a dealer sticker can detract from the overall appearance of your car. These stickers often bear the dealership's name, logo, or contact information, and while they serve as a form of advertising for the dealer, they may not align with your personal aesthetic preferences.
Fortunately, with the right tools and techniques, you can effectively remove these stickers without causing damage to your car's paint or finish. This process requires patience, attention to detail, and a gentle touch to ensure a seamless removal.
In this guide, we will walk you through the step-by-step process of removing a dealer sticker from your car. From gathering the necessary supplies to softening the sticker, peeling it off, and cleaning the area, we will cover each stage in detail. By following these instructions, you can restore your car's exterior to its original, sticker-free state, allowing you to enjoy a clean and unblemished appearance.
So, if you're ready to bid farewell to that unsightly dealer sticker and reclaim the pristine look of your vehicle, let's dive into the process of removing it with precision and care. With a bit of effort and the right approach, you can achieve a professional-looking result that will leave your car looking as good as new.
Read more: How To Remove Stickers From Car
Step 1: Gather Necessary Supplies
Before embarking on the task of removing a dealer sticker from your car, it's essential to gather the necessary supplies to ensure a smooth and effective process. Here's a comprehensive list of items you'll need:
-
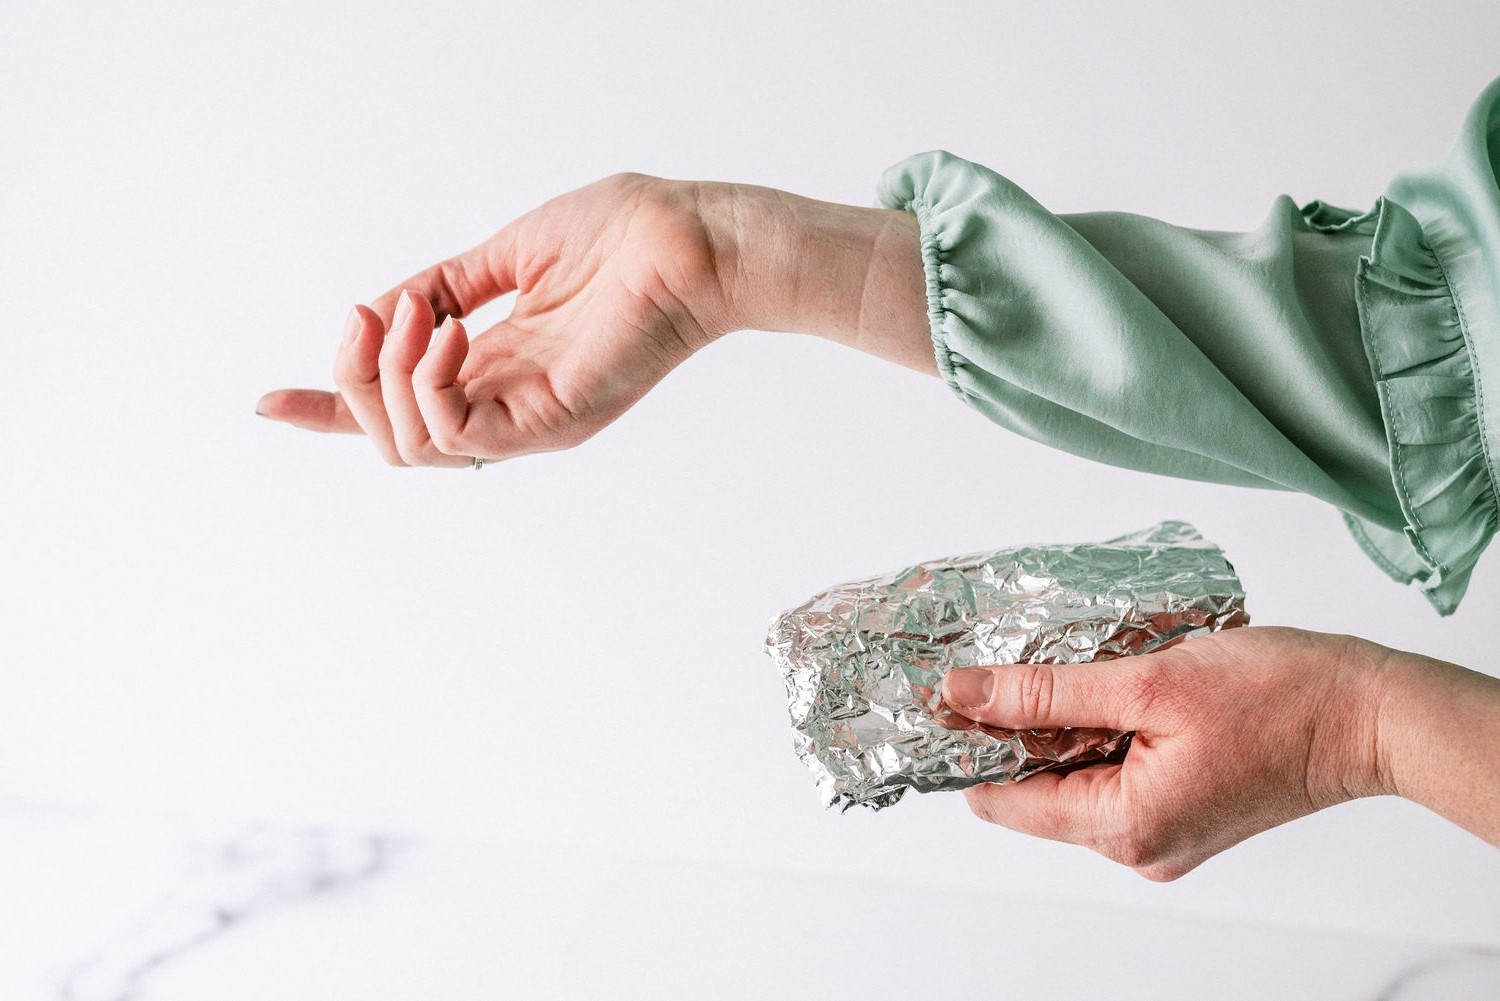
Hair Dryer or Heat Gun: A hair dryer or heat gun will be used to soften the adhesive beneath the sticker, making it easier to peel off without leaving residue or causing damage to the paint.
-
Plastic Razor Blade or Plastic Card: These tools will aid in gently lifting the sticker from the surface of the car. Using a plastic razor blade or card reduces the risk of scratching the paint.
-
Adhesive Remover: An adhesive remover solution or spray will help dissolve any remaining adhesive after the sticker has been removed, ensuring a clean and smooth finish.
-
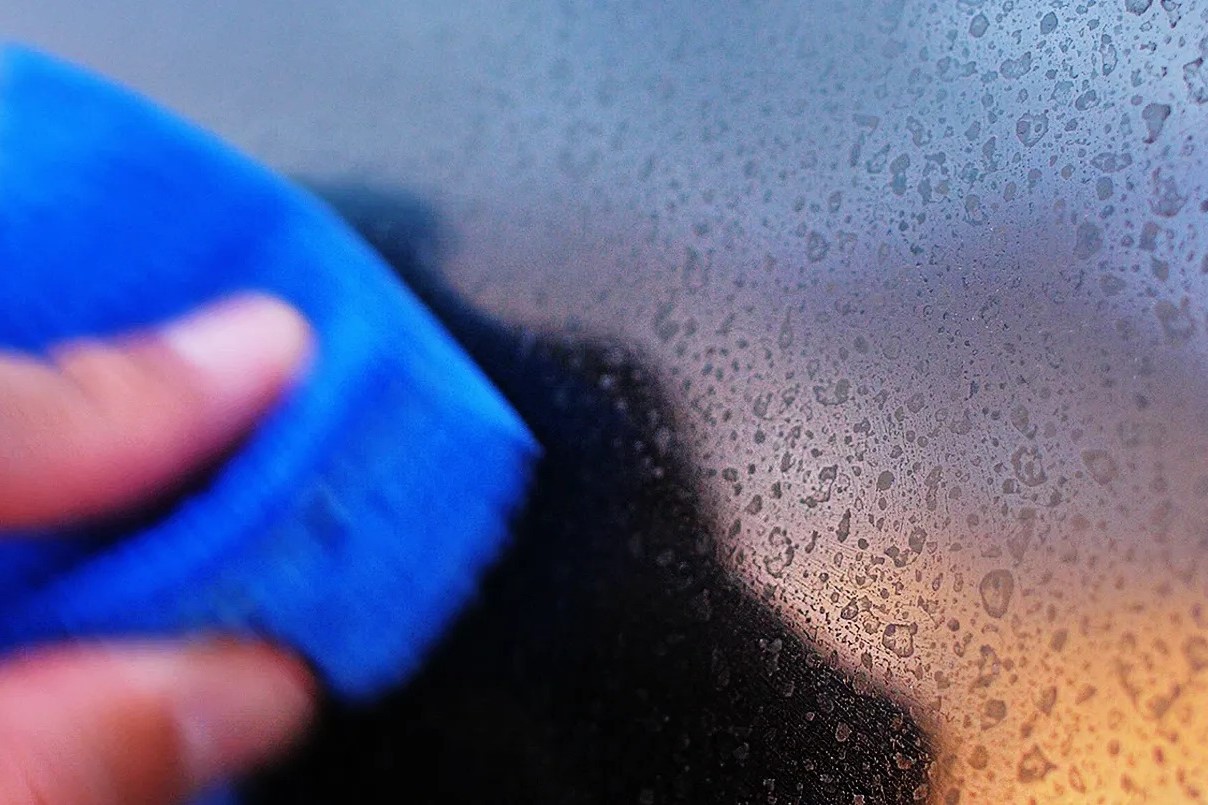
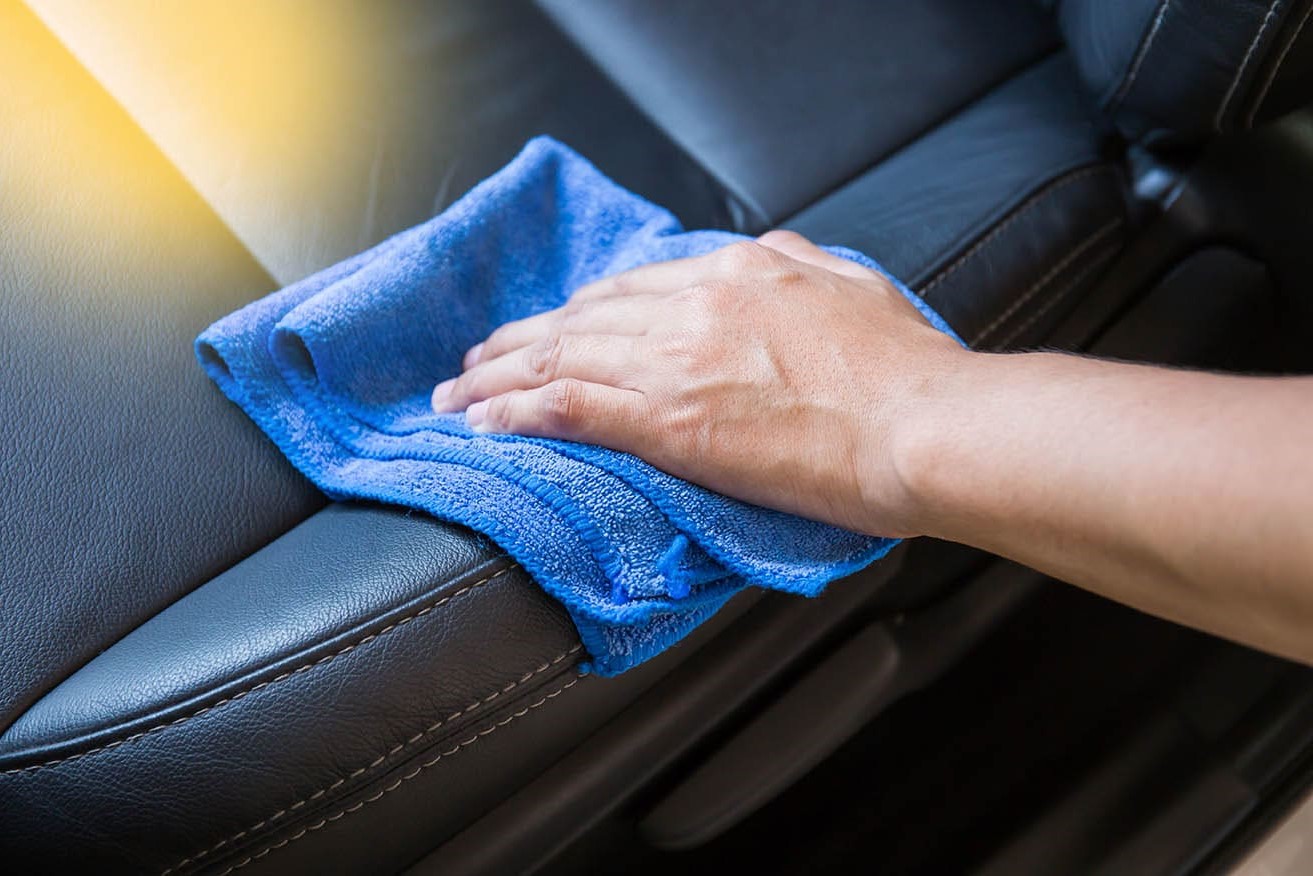
Microfiber Cloth: This soft, lint-free cloth is ideal for wiping and cleaning the area before and after sticker removal.
-
Car Wash Soap: A mild car wash soap will be used to clean the area thoroughly after the sticker has been removed, ensuring that any remaining residue is completely eliminated.
-
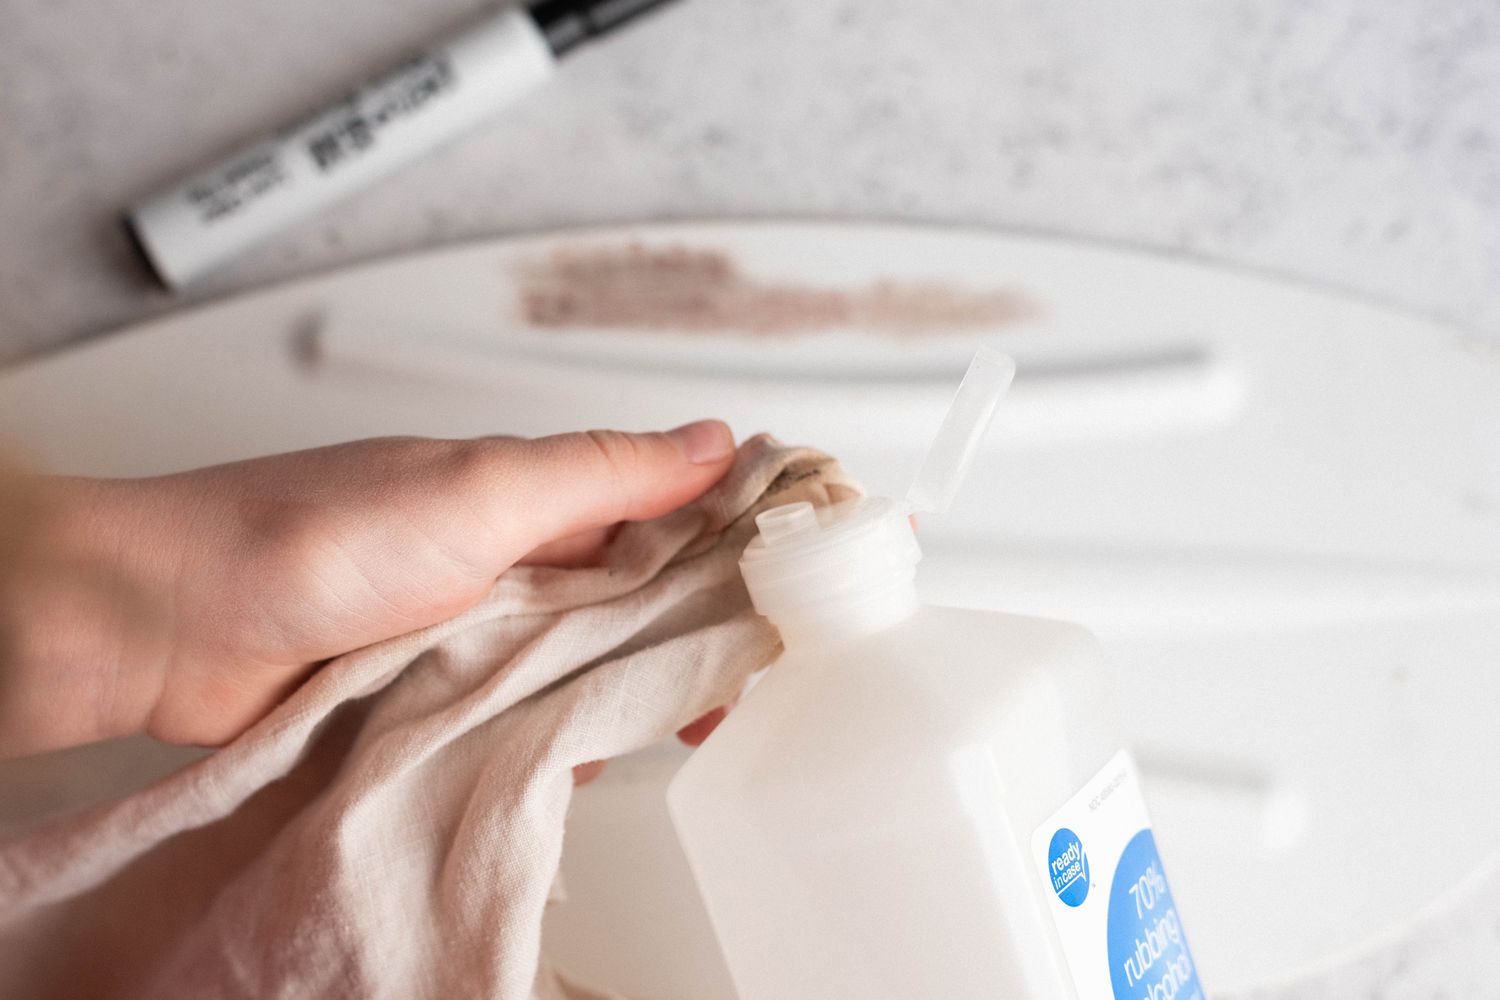
Rubbing Alcohol: This will aid in removing any stubborn adhesive residue that may be left behind.
-
Wax or Polish: Once the area is clean and free of residue, applying a coat of wax or polish will help restore the shine and protect the paint.
-
Water Spray Bottle: Filling a spray bottle with water can help moisten the sticker and surrounding area, making it easier to peel off.
By ensuring that you have all these supplies on hand, you can proceed with confidence, knowing that you have everything necessary to complete the sticker removal process effectively and without causing any damage to your car's exterior. With these tools at your disposal, you'll be well-equipped to tackle the next steps in this process and achieve a professional-looking result.
Step 2: Soften the Sticker
Softening the sticker is a crucial step in the process of removing it from your car's surface. By applying heat, you can effectively loosen the adhesive, making it easier to peel off the sticker without leaving behind residue or causing damage to the paint.
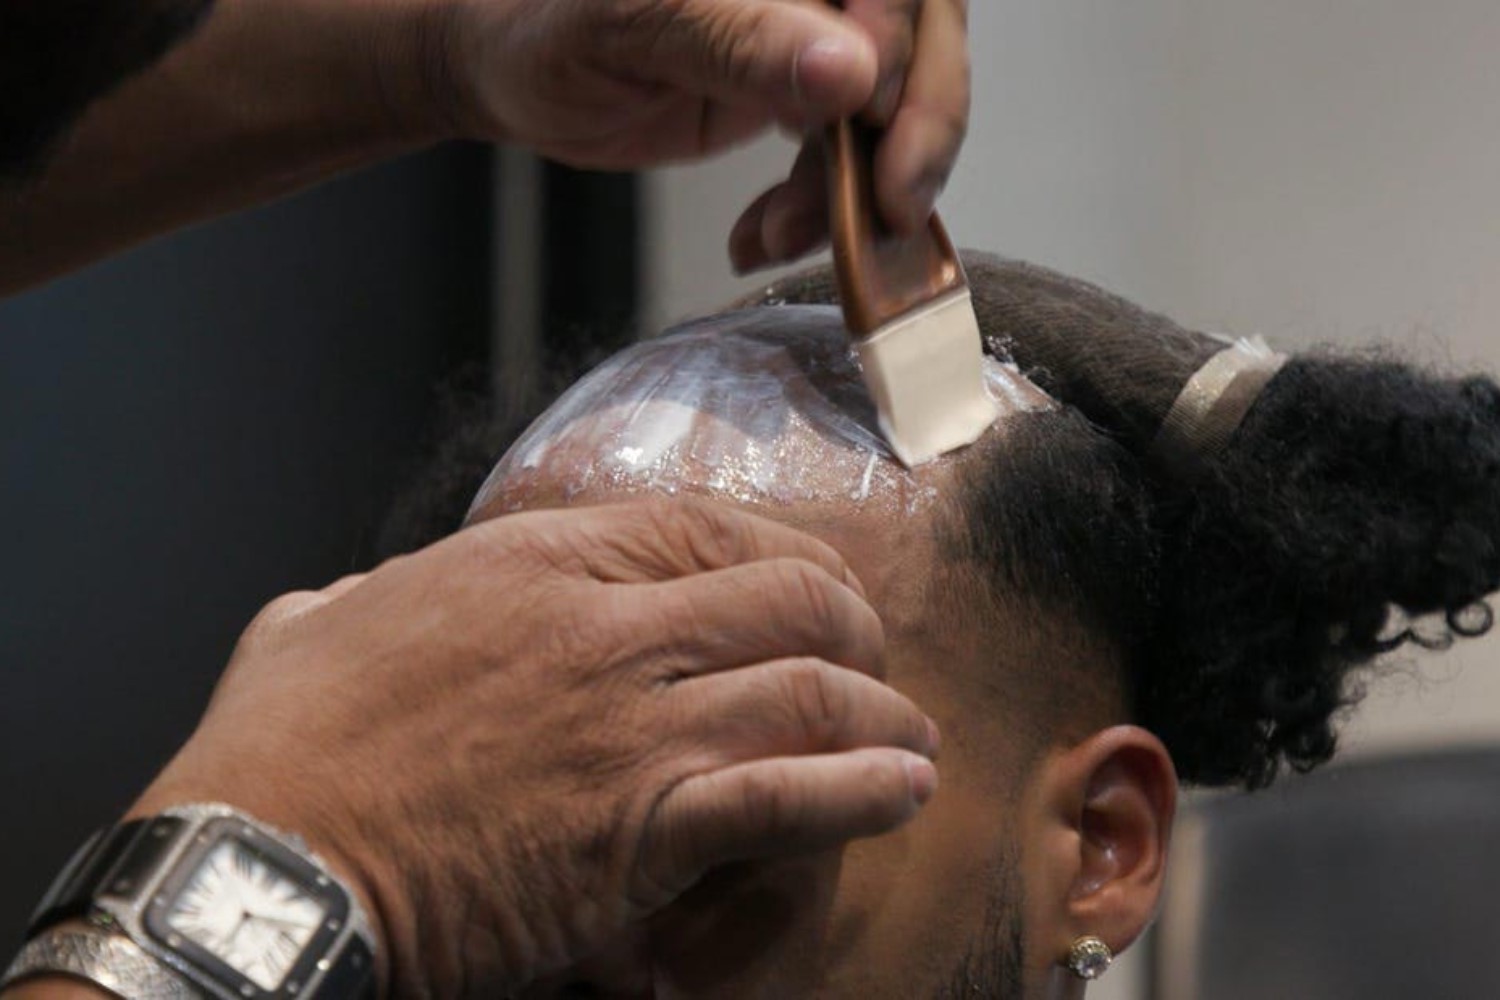
To begin, plug in the hair dryer and set it to a medium or high heat setting. Hold the hair dryer a few inches away from the sticker, ensuring that the heat is evenly distributed across the entire surface of the sticker. Alternatively, if you have a heat gun, set it to a low heat setting to avoid overheating the area.
As you apply heat to the sticker, you'll notice it starting to soften and become more pliable. It's essential to maintain a consistent distance and motion with the hair dryer or heat gun to prevent overheating the paint. Keep the heat focused on the sticker for approximately 1-2 minutes, allowing the adhesive beneath it to loosen gradually.
Once the sticker feels warm to the touch and the edges begin to lift slightly, you can proceed to the next step. Be cautious not to overheat the area, as excessive heat can damage the paint or clear coat. If the sticker is particularly large or stubborn, you may need to reapply heat intermittently to ensure that the entire sticker is adequately softened.
By effectively softening the sticker, you're preparing it for gentle removal without leaving behind any adhesive residue. This step sets the stage for the subsequent process of peeling off the sticker with precision and care, ensuring that your car's exterior remains unblemished throughout the removal process.
With the sticker now softened and pliable, you're ready to move on to the next step of carefully peeling it off the surface of your car. This delicate process requires attention to detail and a gentle touch to ensure that the paint remains unharmed. Let's proceed to the next step and continue the journey toward restoring your car's pristine appearance.
Step 3: Peel Off the Sticker
With the dealer sticker now softened and pliable, it's time to carefully peel it off the surface of your car. This step requires patience and precision to ensure that the paint remains unharmed throughout the process. Here's a detailed guide on how to effectively peel off the sticker:
-
Start from the Edge: Gently lift a corner of the sticker using a plastic razor blade or a plastic card. It's crucial to begin from the edge closest to you, as this allows for better control and minimizes the risk of tearing the sticker. Avoid using metal razor blades or sharp objects, as they can scratch the paint.
-
Peel Slowly and Evenly: Once you've lifted the corner, begin peeling the sticker off slowly and evenly, using a smooth and consistent motion. Apply gentle pressure to ensure that the sticker comes off in one piece, minimizing the likelihood of leaving behind adhesive residue.
-
Adjust Heat as Needed: If you encounter resistance while peeling off the sticker, you may need to reapply heat using the hair dryer or heat gun. Softening the sticker further can make it easier to peel off without causing damage to the paint.
-
Work in Sections: For larger stickers, consider working in sections to prevent the sticker from tearing or leaving behind residue. Lift and peel off one section at a time, gradually working your way across the entire sticker until it's completely removed.
-
Dispose of the Sticker: Once the sticker is successfully peeled off, dispose of it responsibly. Avoid letting it come into contact with other surfaces, as the adhesive residue can transfer and adhere to unintended areas.
By following these steps, you can effectively peel off the dealer sticker from your car's surface with precision and care. This process, when executed diligently, ensures that your car's paint remains unblemished, allowing you to achieve a clean and professional-looking result.
With the sticker successfully removed, the next crucial step is to address any remaining adhesive residue that may be lingering on the car's surface. This requires the use of an adhesive remover and gentle cleaning techniques to ensure that the area is thoroughly cleansed and free of any sticky remnants. Let's proceed to the next step and delve into the process of removing residue to complete the restoration of your car's appearance.
Step 4: Remove Residue
After successfully peeling off the dealer sticker from your car, it's essential to address any residual adhesive that may remain on the surface. Removing this residue is crucial to achieving a clean and polished look, ensuring that your car's exterior appears pristine and free of any lingering remnants. Here's a detailed guide on how to effectively remove residue from your car:
Read more: How To Remove Stickers From Glass
Adhesive Remover Application
-
Apply Adhesive Remover: Begin by applying a small amount of adhesive remover onto a clean, lint-free microfiber cloth. Gently dab the cloth onto the area where the sticker was previously located, ensuring that the adhesive residue is thoroughly saturated with the remover solution.
-
Allow Dwell Time: Let the adhesive remover sit on the residue for a few minutes to effectively dissolve the sticky remnants. This dwell time allows the solution to penetrate the adhesive, making it easier to lift off the surface.
-
Gently Rub the Area: Using gentle circular motions, lightly rub the area with the adhesive remover-soaked cloth. Be cautious not to apply excessive pressure, as this can potentially damage the paint. The goal is to gradually lift the adhesive residue without causing any abrasions to the car's surface.
Residue Removal Techniques
-
Use a Plastic Razor Blade: If the adhesive residue proves to be stubborn, you can carefully use a plastic razor blade to gently scrape off the softened remnants. Ensure that the blade is plastic to prevent any scratching of the paint. Employ a delicate touch and work in small sections, periodically wiping the blade clean to avoid redistributing the adhesive.
-
Repeat as Needed: Depending on the amount of residue and its adherence to the surface, you may need to repeat the application of adhesive remover and gentle rubbing to fully eliminate the remnants. Patience and persistence are key in this process, as thorough removal is essential for achieving a flawless finish.
Final Cleansing
-
Wipe with Rubbing Alcohol: Once the majority of the adhesive residue has been lifted, use a clean section of the microfiber cloth dampened with rubbing alcohol to further cleanse the area. This helps to dissolve any remaining traces of adhesive and prepares the surface for the final cleaning step.
-
Thoroughly Clean the Area: Utilize a mild car wash soap and water to thoroughly clean the treated area, ensuring that all traces of adhesive remover and residue are completely removed. Gently wash and rinse the surface, then dry it with a clean microfiber cloth.
By meticulously following these steps, you can effectively remove any adhesive residue left behind after peeling off the dealer sticker from your car. This meticulous approach ensures that your car's exterior is restored to a pristine condition, free of any remnants from the sticker. With the residue successfully removed, the final step involves cleaning the area to achieve a polished and immaculate finish. Let's proceed to the next step and delve into the process of cleaning the area to complete the restoration of your car's appearance.
Step 5: Clean the Area
After successfully removing the dealer sticker and addressing any adhesive residue, the final step in restoring your car's appearance involves thoroughly cleaning the treated area. This crucial stage ensures that the surface is polished, free of any remaining residue, and ready to showcase a pristine finish. Here's a detailed guide on how to effectively clean the area:
Final Cleansing
-
Wipe with Rubbing Alcohol: To begin the final cleansing process, use a clean section of the microfiber cloth dampened with rubbing alcohol. Gently wipe the treated area, ensuring that any lingering traces of adhesive remover and residue are dissolved and lifted from the surface. This step further prepares the area for the final cleaning.
-
Thoroughly Clean the Area: Prepare a solution of mild car wash soap and water. Using a soft sponge or microfiber wash mitt, gently wash the treated area, ensuring that all remnants of adhesive remover, residue, and any remaining impurities are thoroughly removed. Pay close attention to the entire surface, working in circular motions to achieve a comprehensive cleanse.
-
Rinse and Dry: After washing the area, rinse it thoroughly with clean water to remove any soap residue. Once rinsed, dry the surface using a clean microfiber cloth, ensuring that it is completely free of moisture and ready for the final step.
Application of Wax or Polish
-
Apply Wax or Polish: With the area now clean and dry, apply a coat of high-quality car wax or polish using a clean applicator pad. Work the wax or polish into the surface using gentle, circular motions, ensuring even coverage across the treated area.
-
Buff to Shine: Once the wax or polish has been applied, use a clean microfiber cloth to buff the area, revealing a lustrous shine. This final step not only enhances the appearance of the treated area but also provides a protective layer that safeguards the paint from environmental elements.
By meticulously following these cleaning steps, you can ensure that the area where the dealer sticker was previously located is thoroughly cleansed, polished, and restored to a pristine condition. This meticulous approach not only enhances the visual appeal of your car but also provides long-lasting protection for the treated surface. With the area now clean and rejuvenated, you can admire the professional-looking result of your efforts in removing the dealer sticker, leaving your car looking as good as new.
Conclusion
In conclusion, the process of removing a dealer sticker from your car involves a series of meticulous steps that culminate in the restoration of your vehicle's pristine appearance. By following the detailed guidelines outlined in this article, you can effectively bid farewell to unsightly dealer stickers and reclaim a clean, unblemished exterior for your car.
From gathering the necessary supplies to softening the sticker, peeling it off with precision, addressing adhesive residue, and completing a thorough cleaning, each step plays a vital role in achieving a professional-looking result. The careful application of heat to soften the sticker, the gentle peeling process, and the meticulous removal of adhesive residue ensure that your car's paint remains unharmed throughout the entire procedure.
Furthermore, the final stage of cleaning and applying wax or polish serves to elevate the appearance of the treated area, providing a lustrous finish and long-lasting protection. This comprehensive approach not only removes the dealer sticker but also enhances the overall aesthetic appeal of your car, allowing you to showcase a flawless exterior that exudes a sense of pride and attention to detail.
By investing the time and effort into removing the dealer sticker with precision and care, you can enjoy the satisfaction of restoring your car to its original, sticker-free state. Whether you've recently acquired a new vehicle or wish to refresh the appearance of a pre-owned car, this process empowers you to take control of your car's visual presentation, aligning it with your personal preferences and style.
As you admire the clean and unblemished surface of your car, you can take pride in the meticulous work that has gone into achieving this result. The removal of the dealer sticker not only enhances the visual appeal of your car but also reflects your dedication to maintaining its pristine condition. With a renewed sense of elegance and sophistication, your car stands as a testament to your commitment to excellence in every detail.
In essence, the process of removing a dealer sticker from your car transcends the physical act of elimination; it embodies a dedication to preserving the beauty and integrity of your vehicle. With the knowledge and expertise gained from this guide, you are equipped to embark on this journey with confidence, knowing that you can achieve a professional-looking result that elevates the visual allure of your car.