Home>Arts and Culture>How To Draw Naruto
Arts and Culture
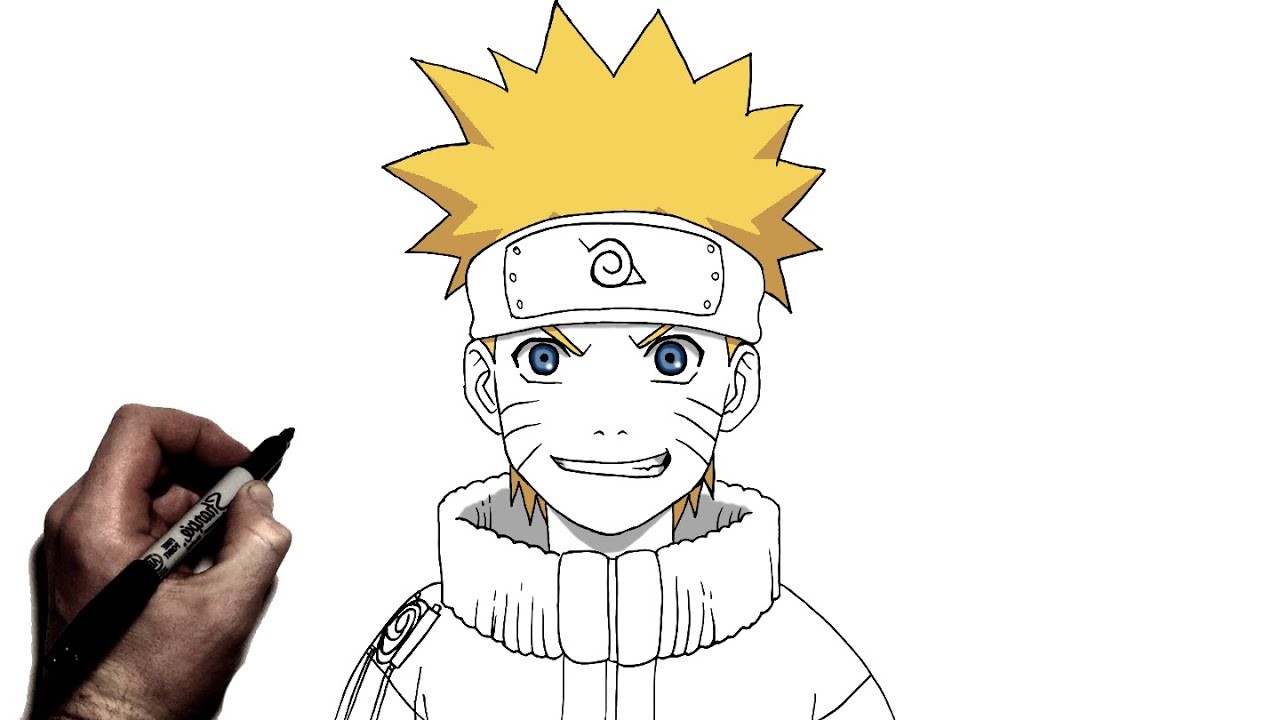
How To Draw Naruto
Published: February 26, 2024
Learn how to draw Naruto with step-by-step tutorials and improve your artistic skills in the realm of arts and culture. Master the art of drawing your favorite anime characters!
(Many of the links in this article redirect to a specific reviewed product. Your purchase of these products through affiliate links helps to generate commission for Noodls.com, at no extra cost. Learn more)
Table of Contents
Introduction
Drawing Naruto, the beloved character from the iconic manga and anime series, is a rewarding and enjoyable experience for fans of all ages. Whether you're an aspiring artist or simply a Naruto enthusiast looking to explore your creative side, learning how to draw Naruto can be a fulfilling endeavor. This step-by-step guide will walk you through the process of capturing Naruto's distinctive features and dynamic personality on paper.
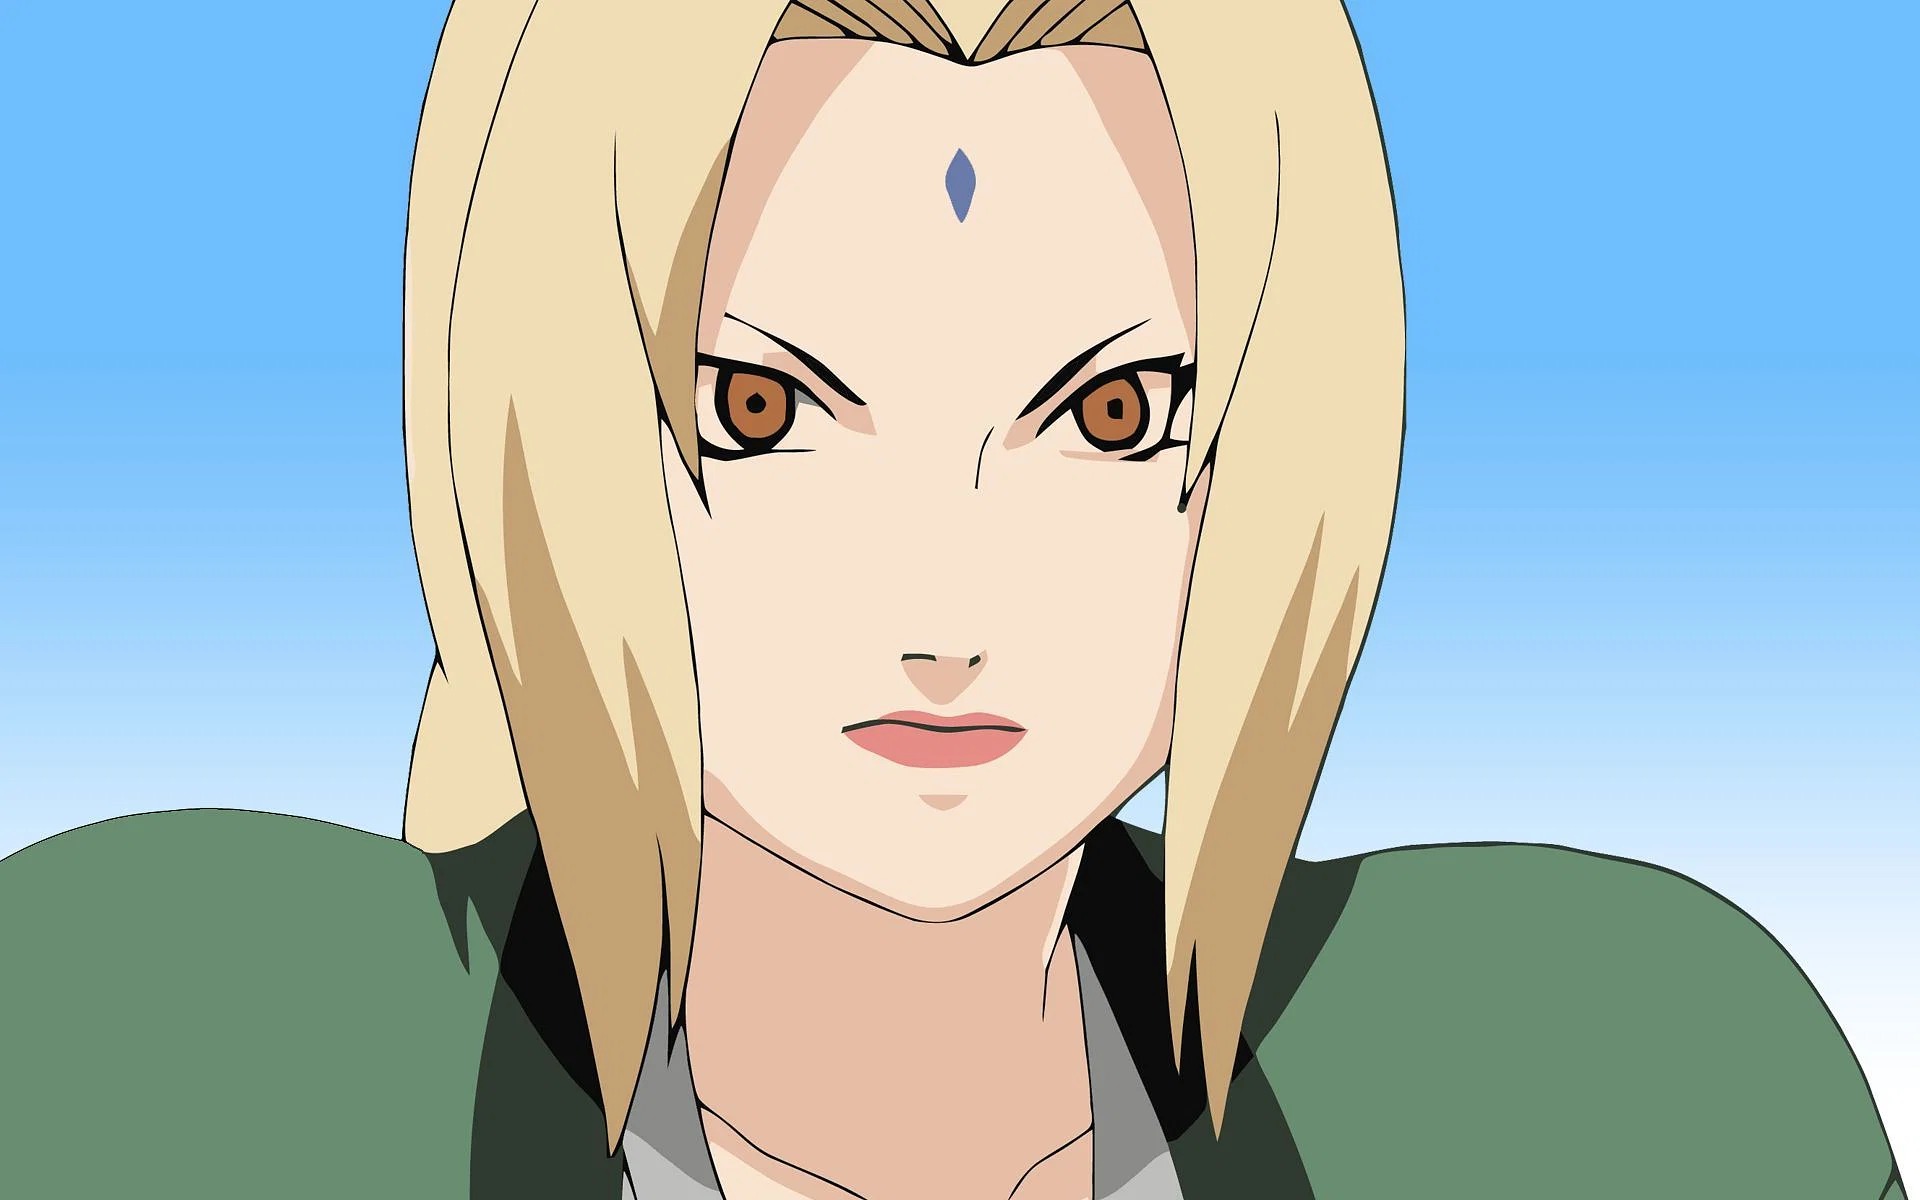
Naruto Uzumaki, created by Masashi Kishimoto, is known for his spiky blond hair, bright blue eyes, and trademark orange jumpsuit. His determined and spirited nature has endeared him to fans around the world, making him a timeless and iconic character in the realm of anime and manga. By mastering the art of drawing Naruto, you can bring this beloved character to life through your own artistic interpretation.
Whether you're using traditional pencil and paper or digital drawing tools, the process of sketching Naruto allows you to delve into the intricate details of his appearance while capturing the essence of his personality. From his mischievous grin to his confident stance, every stroke of the pencil or brush brings you closer to embodying the spirit of Naruto within your artwork.
As you embark on this artistic journey, remember that practice and patience are key. Embracing the creative process and allowing yourself the freedom to experiment with different techniques will ultimately enhance your drawing skills and deepen your connection to the character of Naruto. So, grab your art supplies and get ready to embark on an exciting artistic adventure as we delve into the step-by-step process of drawing Naruto.
Materials Needed
Before you begin drawing Naruto, it's essential to gather the necessary materials to bring your artistic vision to life. Here's a list of the basic supplies you'll need to embark on this creative endeavor:
-
Drawing Paper: Select a high-quality drawing paper that is suitable for sketching and shading. The paper should have a smooth texture to allow for precise lines and detailed shading.
-
Pencils: Invest in a set of drawing pencils with varying lead hardness, such as 2H, HB, 2B, 4B, and 6B, to achieve different line weights and shading effects.
-
Eraser: A soft, kneaded eraser is ideal for gently lifting and correcting mistakes without damaging the paper or smudging the graphite.
-
Sharpener: A reliable pencil sharpener will ensure that your drawing pencils are consistently sharp, allowing for precise lines and fine details.
-
Reference Images: Gather reference images of Naruto from the manga, anime, or official artwork to study his distinctive features and iconic poses.
-
Drawing Board: If you prefer drawing on a firm surface, a drawing board or a smooth, flat surface to place your paper on will provide stability and support for your artwork.
-
Blending Tools: Consider using blending stumps, tortillons, or even tissue paper to achieve smooth shading and seamless transitions between light and dark areas.
-
Optional: Colored Pencils or Markers: If you wish to add color to your Naruto drawing, have a set of colored pencils or markers on hand to bring vibrancy to your artwork.
By ensuring that you have these essential materials at your disposal, you'll be well-equipped to embark on the creative journey of drawing Naruto. With the right tools in hand, you can focus on honing your artistic skills and capturing the essence of this beloved character with confidence and precision.
Step 1: Sketching the Basic Outline
To begin your Naruto drawing, start by lightly sketching the basic outline of his head and body. Use a well-sharpened HB or 2H pencil to create faint, loose lines, allowing you to adjust the proportions and positioning as needed. Begin with simple shapes to establish the foundation of Naruto's form.
Start with a circle for the head and add a vertical line to indicate the center of the face. This line will help you align Naruto's facial features accurately. Next, sketch a horizontal line near the bottom of the circle to mark the placement of his eyes. These initial guidelines will serve as reference points as you refine the details of Naruto's face.
As you progress, lightly outline the shape of Naruto's spiky hair, paying attention to the direction and flow of the strands. Naruto's hairstyle is a defining feature, characterized by its untamed and energetic appearance. Use swift, gestural strokes to capture the dynamic nature of his hair, allowing the strands to overlap and cascade around his face.
Moving on to the body, sketch the basic framework of Naruto's posture and clothing. Consider the dynamic stance and confident posture that are emblematic of his spirited personality. Use simple lines to outline the position of his arms, torso, and legs, ensuring that the proportions align with the character's iconic look.
Throughout this initial sketching phase, maintain a light touch with your pencil, as these lines will serve as a guide for the more detailed work to come. Emphasize fluidity and movement in your strokes, capturing the essence of Naruto's lively and determined demeanor.
Remember, this stage is about establishing the fundamental structure of the drawing, so allow yourself the freedom to make adjustments and refine the overall composition. By focusing on the basic outline, you'll lay the groundwork for capturing Naruto's likeness with accuracy and confidence as you progress through the subsequent steps of the drawing process.
Step 2: Adding Facial Features
With the basic outline of Naruto's head and body in place, the next step is to focus on adding the intricate facial features that define his iconic appearance. Paying close attention to the details of Naruto's face is crucial in capturing his likeness and expressing his vibrant personality on paper.
Begin by refining the positioning of Naruto's eyes within the previously sketched horizontal guideline. His eyes are a defining aspect of his character, known for their bright blue color and spirited expression. Use precise, light strokes to outline the shape of his eyes, ensuring that they convey his determined and mischievous nature. Take note of the distance between the eyes and the alignment with the centerline to maintain symmetry and balance.
Next, carefully sketch Naruto's characteristic whisker-like markings on each cheek. These distinct markings are a hallmark of his identity and serve as a visual representation of the powerful Nine-Tails chakra within him. Pay attention to the placement and size of these markings, as they contribute to Naruto's unique and recognizable visage.
Moving on to the nose and mouth, use subtle lines to define the shape of Naruto's nose, taking into account its placement in relation to the eyes. Naruto's nose is typically depicted with minimal detail, emphasizing simplicity and youthful charm. As for the mouth, capture Naruto's trademark grin by delicately sketching the curvature of his lips, conveying his spirited and confident demeanor.
Once the basic facial features are in place, refine the contours of Naruto's face, paying attention to the shape of his jawline and the positioning of his ears. Naruto's face is characterized by its youthful and energetic appearance, so strive to maintain a sense of liveliness and dynamism in the overall structure.
As you progress through this stage, take the time to observe reference images of Naruto to ensure accuracy in capturing his distinct facial characteristics. Embrace the opportunity to infuse your drawing with the vibrant essence of Naruto's personality, allowing his spirited nature to shine through in the details of his expression.
By dedicating attention to each facial feature and infusing your drawing with the dynamic spirit of Naruto, you'll bring this beloved character to life on the page, setting the stage for the next steps in the artistic process.
Step 3: Drawing the Hair
Naruto's iconic hairstyle is a defining feature that exudes energy and reflects his dynamic personality. As you delve into drawing Naruto's hair, you have the opportunity to capture the untamed and spirited essence of this beloved character.
Begin by focusing on the distinct spikes that characterize Naruto's blond hair. Using a well-sharpened pencil, carefully outline the individual strands of hair, paying attention to their varying lengths and angles. Naruto's hair is known for its wild and asymmetrical appearance, so embrace the freedom to infuse each strand with a sense of movement and vitality.
As you progress, consider the direction of the hair's flow, allowing the strands to overlap and cascade in a natural and unrestrained manner. Emphasize the dynamic nature of Naruto's hairstyle, reflecting his spirited and determined persona through the untamed arrangement of his locks.
To add depth and dimension to the hair, incorporate shading to create contrast and texture. Utilize varying pencil pressures to achieve a range of light and dark tones, enhancing the three-dimensional quality of Naruto's hair. Pay attention to the interplay of light and shadow, accentuating the contours of each strand to evoke a sense of volume and dynamism.
As you refine the details of Naruto's hair, consider the impact of light sources on the overall composition. Highlight areas where light would naturally catch the strands, adding a touch of luminosity to the drawing. By strategically applying shading and highlights, you can imbue Naruto's hair with a sense of vitality and movement, further amplifying the dynamic nature of his character.
Throughout this process, reference images of Naruto's hairstyle from the manga, anime, or official artwork can provide valuable insights into the intricate details of his hair. Observing the nuances of his iconic hairstyle will guide you in capturing its essence with authenticity and precision.
By channeling the spirited energy of Naruto's hair onto the page, you'll infuse your drawing with the vibrant essence of this beloved character, bringing his dynamic presence to life in your artwork. Embrace the opportunity to convey the untamed spirit of Naruto through the captivating portrayal of his iconic hairstyle, celebrating the enduring legacy of this beloved anime protagonist.
Step 4: Adding Clothing and Accessories
As you transition to adding Naruto's distinctive clothing and accessories, you have the opportunity to further encapsulate his character and style within your drawing. Naruto's iconic attire, characterized by his vibrant orange jumpsuit and various accessories, serves as a visual representation of his spirited and determined nature.
Begin by outlining the form of Naruto's jumpsuit, paying attention to its unique design and the way it drapes over his dynamic posture. The jumpsuit consists of bold, contrasting panels of orange and blue, each contributing to the overall visual impact of Naruto's appearance. Use deliberate strokes to define the contours of the jumpsuit, capturing the folds and creases that convey a sense of movement and energy.
As you progress, focus on incorporating the intricate details of Naruto's attire, such as the black belt cinched around his waist and the pouches that adorn his legs. These elements not only add visual interest to the drawing but also reflect Naruto's status as a determined and resourceful ninja. Pay attention to the placement of these accessories, ensuring that they complement the overall composition and contribute to the portrayal of Naruto's character.
In addition to the jumpsuit and belt, consider adding Naruto's forehead protector, a symbol of his allegiance to the Hidden Leaf Village and his unwavering determination to become a respected ninja. The forehead protector is emblazoned with the village's emblem, serving as a powerful emblem of Naruto's resilience and sense of belonging. Capture the distinct shape and detailing of the forehead protector, infusing it with a sense of significance and pride within the context of the drawing.
As you refine the details of Naruto's clothing and accessories, consider the interplay of light and shadow to enhance the three-dimensional quality of the attire. Utilize shading to create depth and texture, emphasizing the folds and contours of the jumpsuit and accessories. By skillfully applying shading and highlights, you can imbue Naruto's attire with a sense of realism and presence, elevating the overall impact of the drawing.
Throughout this stage, reference images of Naruto's outfit and accessories from the manga, anime, or official artwork can provide valuable insights into the intricate design elements and visual nuances. Drawing inspiration from these references will guide you in capturing the essence of Naruto's attire with authenticity and attention to detail.
By infusing your drawing with the vibrant and dynamic elements of Naruto's clothing and accessories, you'll further enrich the portrayal of this beloved character, celebrating his enduring legacy and indomitable spirit through your artistic interpretation.
Step 5: Adding Shading and Details
As you approach the final stage of drawing Naruto, the addition of shading and intricate details will elevate the overall visual impact of your artwork, bringing depth and dimension to the portrayal of this beloved character. Through the strategic application of shading and meticulous attention to detail, you have the opportunity to imbue your drawing with a sense of realism and vitality, capturing the essence of Naruto's dynamic persona.
Begin by assessing the light source within your composition, identifying areas of illumination and shadow. Utilize varying pencil pressures and blending techniques to create smooth transitions between light and dark tones, enhancing the three-dimensional quality of Naruto's form. Pay close attention to the contours of his face, body, and attire, employing shading to accentuate the curvature and texture of each element.
As you delve into the process of shading, consider the interplay of light and shadow on Naruto's features, such as the subtle curvature of his cheeks and the gentle contours of his nose. Emphasize the depth of his eyes by adding shading to the areas surrounding them, enhancing the intensity of his gaze. By infusing the facial features with nuanced shading, you can evoke a sense of vitality and expression, capturing the spirited essence of Naruto's character.
Moving on to Naruto's attire, apply shading to the folds and creases of his jumpsuit, utilizing hatching and cross-hatching techniques to convey the texture of the fabric. Emphasize the play of light on the belt, pouches, and forehead protector, adding dimension to these accessories and enhancing their visual impact within the composition. Through meticulous shading, you can evoke a sense of movement and realism, breathing life into the portrayal of Naruto's iconic outfit.
Incorporate fine details such as creases, wrinkles, and fabric textures, infusing your drawing with a sense of authenticity and tactile richness. Pay attention to the small nuances that contribute to the overall visual narrative, such as the subtle folds of Naruto's headband and the intricate patterns on his attire. These details serve to enrich the portrayal of Naruto, adding depth and complexity to the character's visual representation.
By skillfully integrating shading and intricate details into your drawing, you will bring Naruto to life on the page, capturing the vibrant spirit and dynamic presence of this beloved character. Embrace the opportunity to infuse your artwork with a sense of realism and vitality, celebrating the enduring legacy of Naruto through the captivating portrayal of his iconic persona.
Conclusion
In conclusion, the process of drawing Naruto is a captivating artistic journey that allows enthusiasts to immerse themselves in the vibrant world of manga and anime. From sketching the basic outline to adding intricate details and shading, each step of the drawing process presents an opportunity to capture the dynamic essence of this beloved character.
As artists progress through the stages of drawing Naruto, they have the chance to delve into the nuances of his appearance, infusing their artwork with the spirited energy and determination that define Naruto's persona. The meticulous attention to facial features, hair, clothing, and accessories enables artists to celebrate the enduring legacy of Naruto, paying homage to his indomitable spirit and unwavering resolve.
Through the strategic use of shading and intricate details, artists can breathe life into their portrayal of Naruto, evoking a sense of vitality and realism that resonates with fans of the series. The vibrant orange jumpsuit, the untamed spiky hair, and the determined expression all come together to encapsulate the essence of Naruto, creating a visual narrative that celebrates his enduring impact on the world of anime and manga.
As artists complete their rendition of Naruto, they not only hone their drawing skills but also pay tribute to a character who has inspired countless individuals with his resilience and unwavering determination. The process of drawing Naruto serves as a creative homage to the beloved protagonist, allowing artists to connect with the spirit of the character on a profound level.
Ultimately, the act of drawing Naruto transcends the realm of art, becoming a heartfelt expression of admiration for a character who embodies the enduring themes of friendship, perseverance, and the pursuit of one's dreams. By embarking on the artistic endeavor of drawing Naruto, enthusiasts and artists alike celebrate the timeless legacy of this iconic character, perpetuating his impact on the hearts and imaginations of fans around the world.