Home>Automotive>How To Get Stains Out Of Car Seats
Automotive
How To Get Stains Out Of Car Seats
Published: February 25, 2024
Learn effective techniques for removing stains from car seats with our comprehensive guide. Keep your automotive interior looking clean and fresh.
(Many of the links in this article redirect to a specific reviewed product. Your purchase of these products through affiliate links helps to generate commission for Noodls.com, at no extra cost. Learn more)
Table of Contents
Introduction
Car seats are not only functional but also a significant part of the overall aesthetics of a vehicle's interior. However, over time, they are susceptible to stains from various sources such as food, drinks, dirt, and more. These unsightly blemishes can detract from the comfort and visual appeal of the car, prompting the need for effective stain removal.
Whether you're dealing with a stubborn coffee spill, a greasy food stain, or dirt marks from outdoor activities, knowing how to effectively remove stains from car seats is a valuable skill for any vehicle owner. While it may seem daunting at first, with the right approach and tools, you can restore your car seats to their former pristine condition.
In this comprehensive guide, we will explore the step-by-step process of removing stains from car seats, covering everything from understanding the type of stain to preparing the cleaning solution and applying it effectively. By following these methods, you can effectively tackle a wide range of stains and maintain the cleanliness and visual appeal of your car's interior.
So, whether you're a meticulous car owner who takes pride in keeping your vehicle spotless or someone dealing with an unexpected stain, this guide will equip you with the knowledge and techniques to tackle the issue head-on. With a bit of patience and the right approach, you can bid farewell to those stubborn stains and enjoy a fresh, clean interior that enhances your driving experience.
Read more: How To Get Urine Out Of Car Seat
Understanding the type of stain
Before embarking on the stain removal process, it's crucial to understand the nature of the stain you're dealing with. Different types of stains require specific cleaning approaches to ensure effective removal without causing damage to the car seat material. Here's a detailed look at the common types of car seat stains and how to identify them:
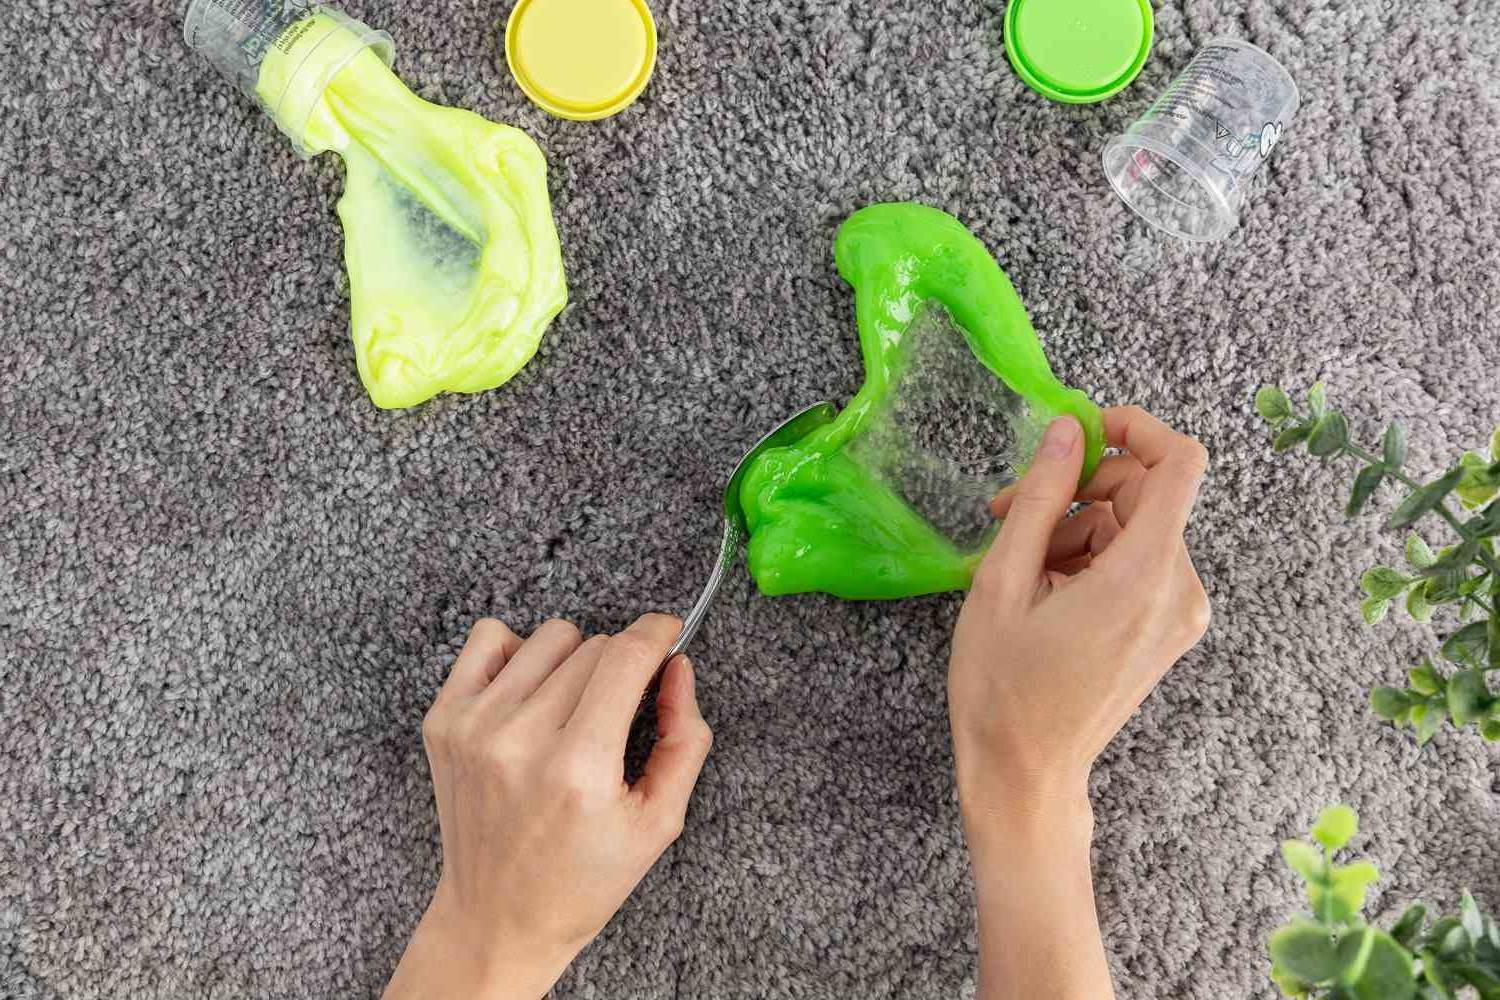
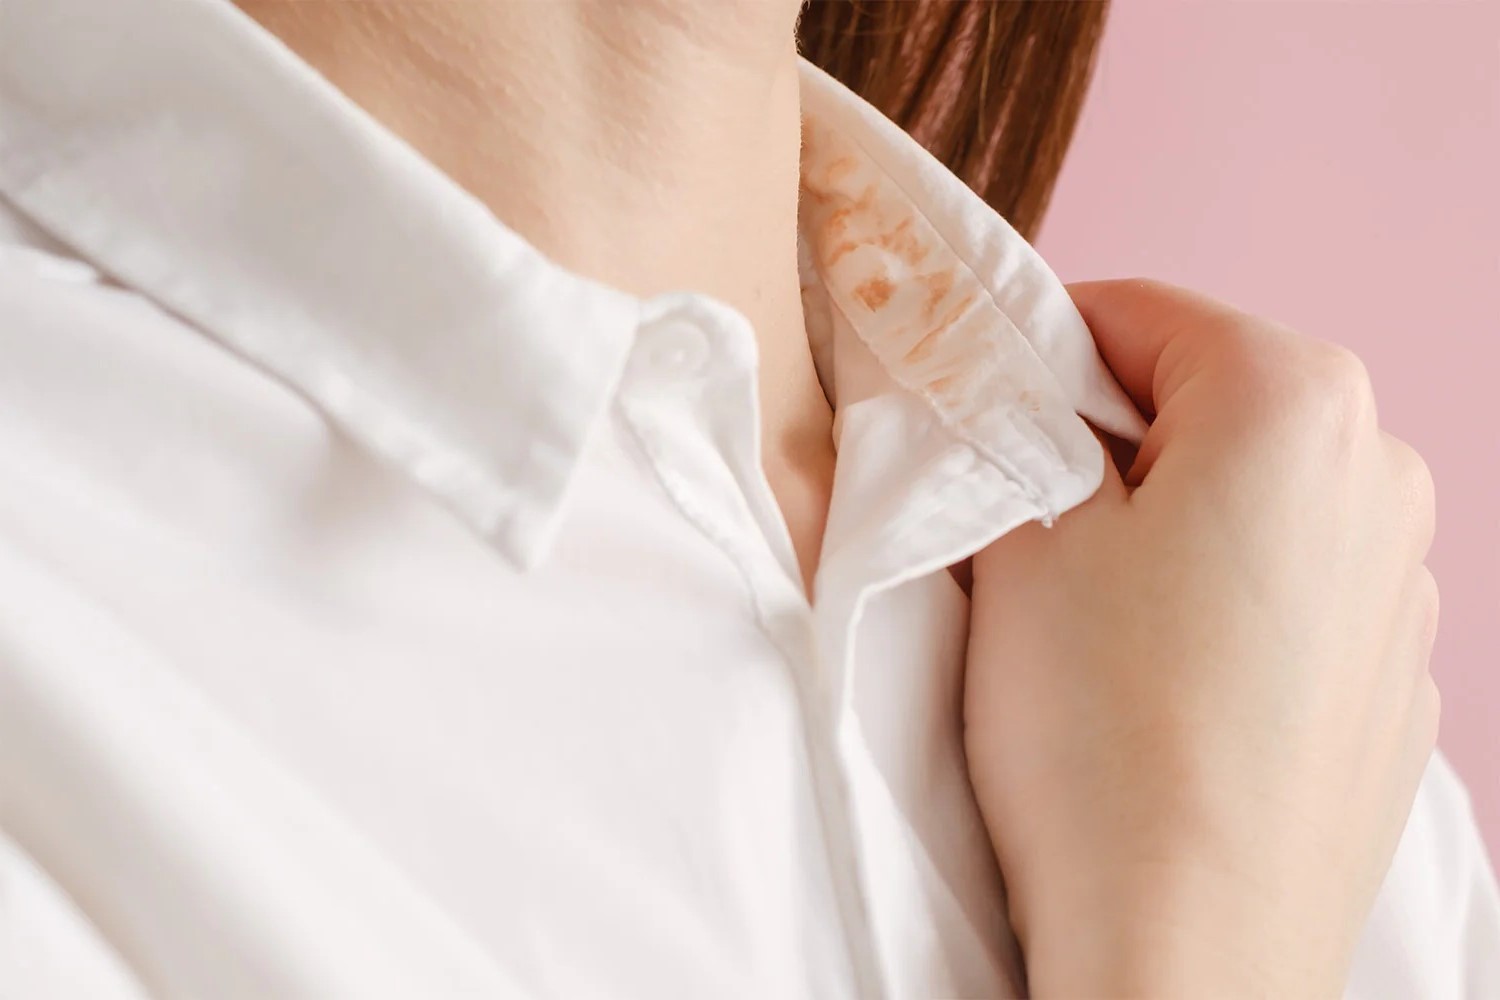
1. Food and Beverage Stains
Food and beverage stains are among the most common culprits when it comes to car seat blemishes. Whether it's a spilled coffee, a smudge of ketchup, or a dropped piece of chocolate, these stains can quickly become ingrained in the fabric or upholstery. They often leave behind visible marks and, in some cases, unpleasant odors. Identifying food and beverage stains involves recognizing the color and texture of the residue, as well as any accompanying odors.
2. Grease and Oil Stains
Grease and oil stains can result from accidental spills or contact with greasy substances. These stains often appear as dark, oily patches on the car seat surface, and they can be particularly challenging to remove. Identifying grease and oil stains involves assessing the texture and appearance of the affected area, as well as any residual slickness or sheen.
3. Dirt and Mud Stains
Dirt and mud stains are common, especially if you frequently use your vehicle for outdoor activities or off-road adventures. These stains can vary in color and texture, depending on the type of soil or mud involved. Identifying dirt and mud stains involves examining the color, consistency, and distribution of the residue on the car seat.
Read more: How To Get Stain Out Of Polyester
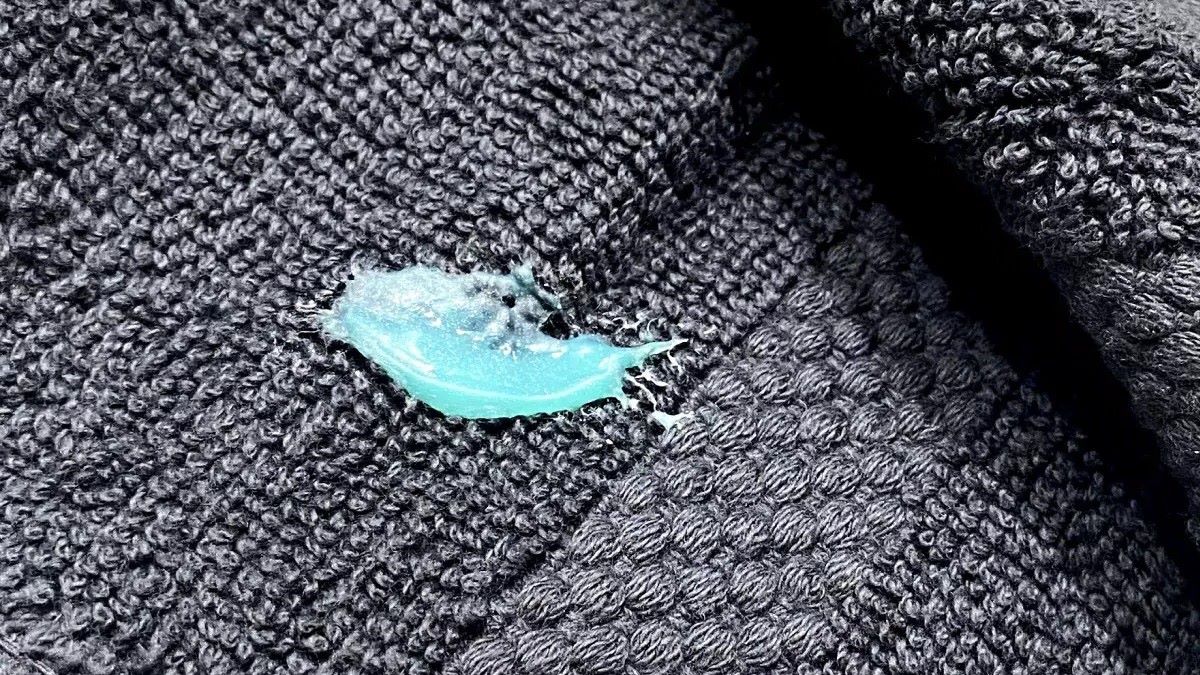
4. Ink and Dye Stains
Ink and dye stains can be particularly stubborn and visually prominent. Whether it's a leaky pen or accidental contact with dye-containing materials, these stains often present as dark, concentrated spots on the car seat. Identifying ink and dye stains involves assessing the color, spread, and intensity of the staining, as well as any accompanying discoloration of the seat material.
5. Pet Stains
For pet owners, dealing with pet-related stains is a common challenge. Whether it's urine, saliva, or other bodily fluids, these stains can be both unsightly and malodorous. Identifying pet stains involves recognizing the specific odor, discoloration, and texture of the affected area, as well as any residual marks left by the pet.
By understanding the type of stain you're dealing with, you can tailor your cleaning approach to effectively target and eliminate the blemish. This knowledge will guide the selection of appropriate cleaning solutions and techniques, ensuring that you address the specific characteristics of the stain without causing damage to the car seat material.
Preparing the cleaning solution
When it comes to removing stains from car seats, the right cleaning solution can make all the difference. Preparing an effective cleaning solution involves selecting the appropriate ingredients and ensuring the proper dilution to maximize its stain-fighting capabilities without compromising the integrity of the car seat material.
1. Selecting the Cleaning Agents
The first step in preparing a cleaning solution is to identify the most suitable cleaning agents for the type of stain you're dealing with. Different stains require specific ingredients to break down and lift the residue effectively. Here are some common cleaning agents and their respective uses:
-
Mild Detergent: Ideal for general cleaning and light stains, a mild detergent can help remove surface dirt and grime without being overly harsh on the car seat material.
-
Vinegar Solution: A mixture of white vinegar and water can be effective for combating stubborn stains such as those caused by food and beverages. The acidic nature of vinegar helps break down organic residues and neutralize odors.
-
Enzyme-Based Cleaner: Particularly useful for pet-related stains, an enzyme-based cleaner can target and break down organic matter such as urine, saliva, and other biological residues.
-
Rubbing Alcohol: Effective for ink and dye stains, rubbing alcohol can help dissolve and lift the pigments from the car seat material.
Read more: How To Get Detergent Stains Out Of Clothes
2. Dilution and Mixing
Once the appropriate cleaning agents are selected, the next step is to determine the proper dilution and mixing ratios. Diluting the cleaning agents ensures that they are potent enough to tackle the stains while minimizing the risk of causing damage to the car seat material. Here are general guidelines for diluting common cleaning agents:
-
Mild Detergent: Mix a small amount of mild detergent with water to create a soapy solution. Avoid using excessive detergent, as it can leave behind residue and require extensive rinsing.
-
Vinegar Solution: Combine white vinegar with water in a 1:1 ratio to create a balanced cleaning solution. This dilution ensures that the acidity of the vinegar is effective without being too harsh on the car seat material.
-
Enzyme-Based Cleaner: Follow the manufacturer's instructions for diluting the enzyme-based cleaner. These products often require specific dilution ratios to optimize their stain-removing capabilities.
-
Rubbing Alcohol: Use rubbing alcohol sparingly and apply it directly to a clean cloth or cotton swab for targeted application. Avoid excessive use, as alcohol can potentially dry out certain types of car seat materials.
By carefully selecting the appropriate cleaning agents and ensuring the correct dilution, you can prepare a cleaning solution that is tailored to the specific type of stain you're dealing with. This proactive approach sets the stage for effective stain removal while safeguarding the condition of your car seats.
Testing the solution on a small area
Before applying the cleaning solution to the entire stained area of the car seat, it is crucial to conduct a preliminary test on a small, inconspicuous area. This test serves as a safeguard against potential adverse effects on the car seat material and allows you to assess the compatibility and effectiveness of the cleaning solution.
To begin the testing process, identify a discreet section of the car seat, such as the underside or a concealed area along the seat's edge. It's essential to choose a spot that is not prominently visible to ensure that any potential reactions or discoloration will not detract from the overall appearance of the seat.
Once the test area is selected, apply a small amount of the prepared cleaning solution to a clean, soft cloth or sponge. Gently dab or rub the solution onto the test area, ensuring that it is adequately saturated without excessive dripping. Allow the solution to sit on the test area for a brief period, typically around 5 to 10 minutes, to observe any immediate reactions.
During this waiting period, monitor the test area closely for any signs of adverse effects, such as discoloration, fading, or changes in texture. Additionally, pay attention to any unusual odors or indications of the cleaning solution interacting with the car seat material.
After the designated waiting period, use a clean, damp cloth to gently blot and remove the cleaning solution from the test area. Take note of any residual marks, discoloration, or alterations to the appearance of the car seat material. It's essential to assess both the immediate impact of the cleaning solution and any lingering effects once the area has been rinsed and dried.
By conducting this small-scale test, you can effectively evaluate the compatibility and safety of the cleaning solution before proceeding to treat the entire stained area. If the test area exhibits adverse reactions or unexpected changes, it may indicate that the selected cleaning solution is not suitable for the specific type of car seat material or the nature of the stain.
In the event of adverse reactions during the test, it is advisable to seek alternative cleaning agents or methods to avoid compromising the integrity of the car seat. Conversely, if the test area shows no adverse effects and the cleaning solution effectively addresses the stain, you can proceed with confidence to apply the solution to the remaining affected areas of the car seat.
By prioritizing this preliminary testing step, you can mitigate the risk of unintended damage to the car seat and ensure that the chosen cleaning solution is well-suited for the task at hand. This proactive approach sets the stage for a successful and safe stain removal process, ultimately preserving the quality and appearance of your car's interior.
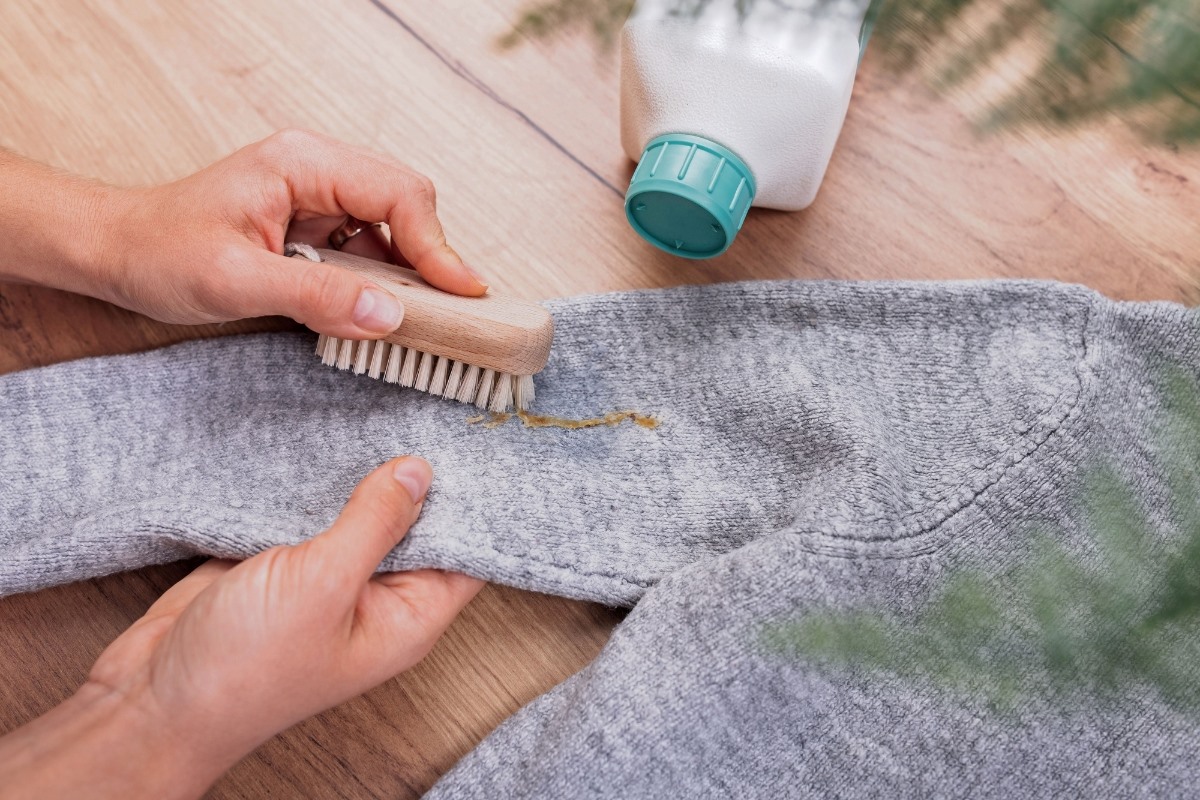
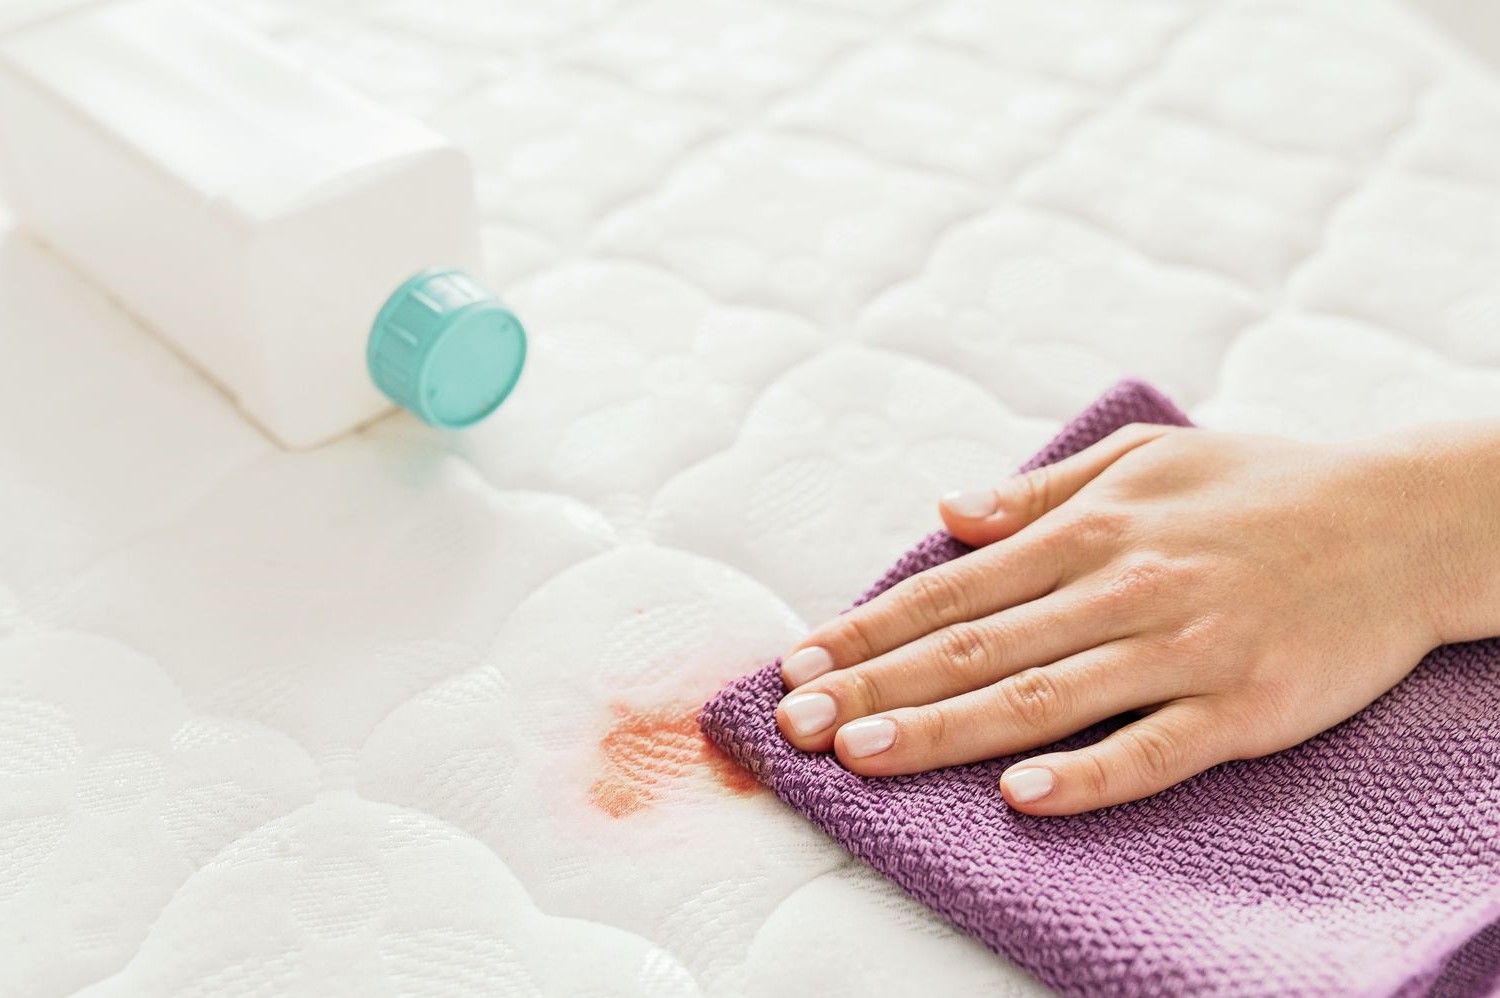
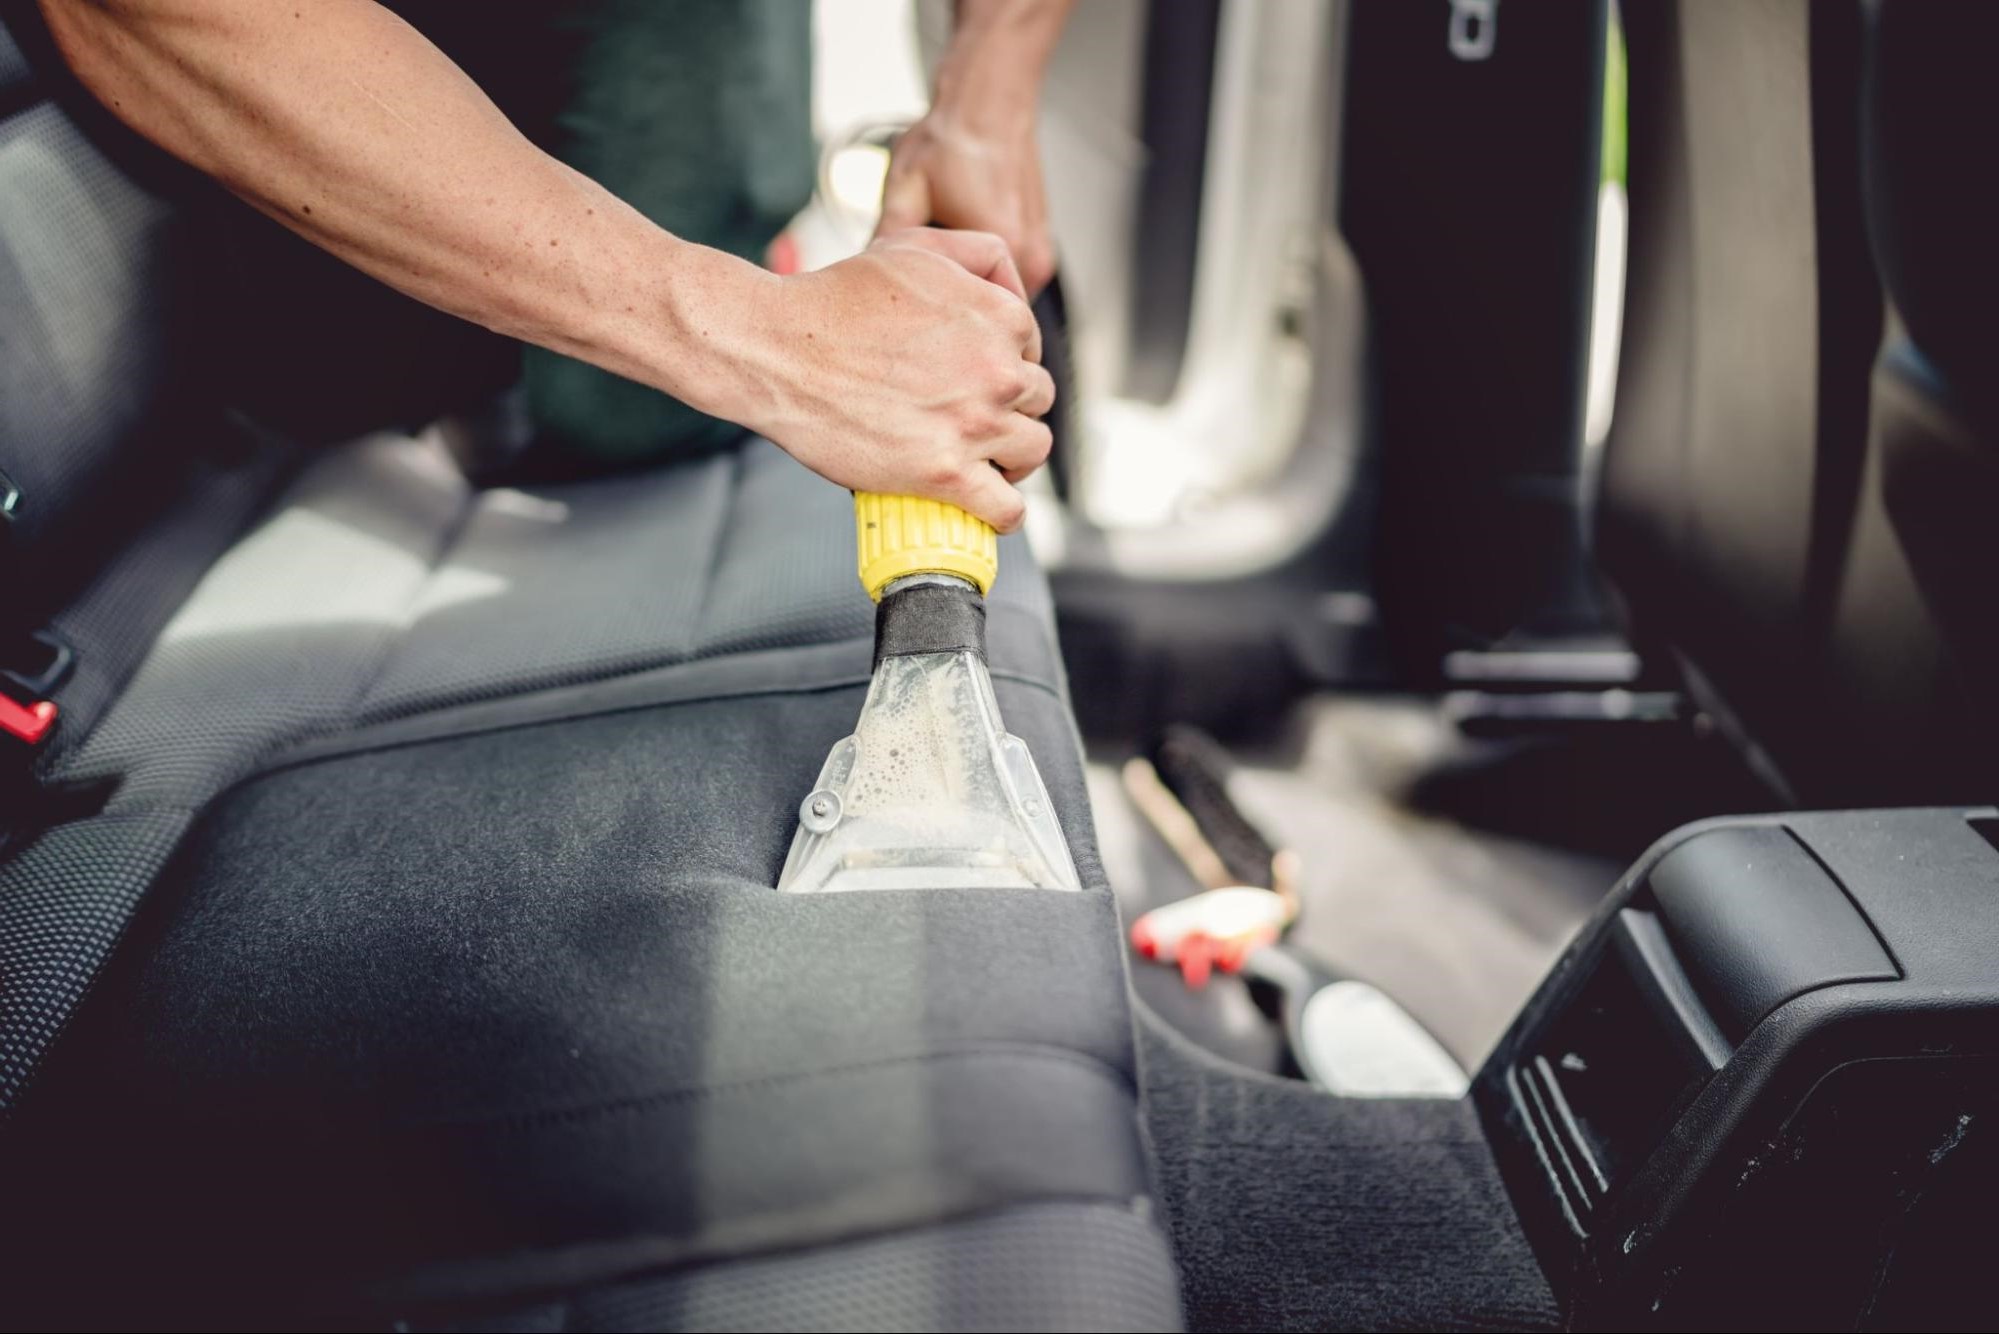
Applying the solution to the stain
Once you have successfully tested the cleaning solution on a small area of the car seat and confirmed its compatibility and effectiveness, it's time to proceed with treating the actual stain. This step involves the precise application of the cleaning solution to the affected area, ensuring thorough coverage and targeted treatment to maximize stain removal.
Begin by reapplying the prepared cleaning solution to a clean, soft cloth or sponge. It's essential to use an appropriate amount of the solution, ensuring that the cloth or sponge is adequately saturated without excessive dripping. This careful application approach helps prevent over-saturation of the car seat material while allowing the cleaning solution to effectively penetrate the stain.
With the cleaning solution evenly distributed on the cloth or sponge, gently dab or rub the affected area of the car seat. It's important to use light pressure and circular motions to work the solution into the stain without agitating or damaging the seat material. This methodical approach helps dislodge and lift the residue from the fabric or upholstery, targeting the source of the stain for comprehensive removal.
As you apply the cleaning solution, pay close attention to the specific characteristics of the stain, such as its color, texture, and extent of penetration into the car seat material. By observing these details, you can gauge the progress of the stain removal process and adjust your application technique as needed to effectively address the blemish.
For particularly stubborn or deeply ingrained stains, you may need to repeat the application process multiple times, allowing the cleaning solution to dwell on the stain for a brief period between applications. This incremental approach can gradually break down and lift the residue, gradually diminishing the visibility of the stain with each subsequent treatment.
Throughout the application process, it's important to maintain a patient and methodical approach, ensuring that the cleaning solution has ample time to work on the stain without rushing the treatment. By allowing the solution to penetrate and interact with the residue, you can maximize its stain-fighting capabilities and improve the likelihood of successful removal.
Once the cleaning solution has been thoroughly applied to the stain and worked into the affected area, allow it to sit for a designated period, typically around 10 to 15 minutes. This dwell time enables the cleaning agents to effectively break down and lift the residue, preparing it for the next crucial step in the stain removal process.
By following these meticulous steps and applying the cleaning solution with precision and care, you can effectively target the stain and initiate the process of comprehensive removal. This proactive approach sets the stage for the subsequent stages of the stain removal process, ultimately leading to a successful restoration of your car seat's pristine condition.
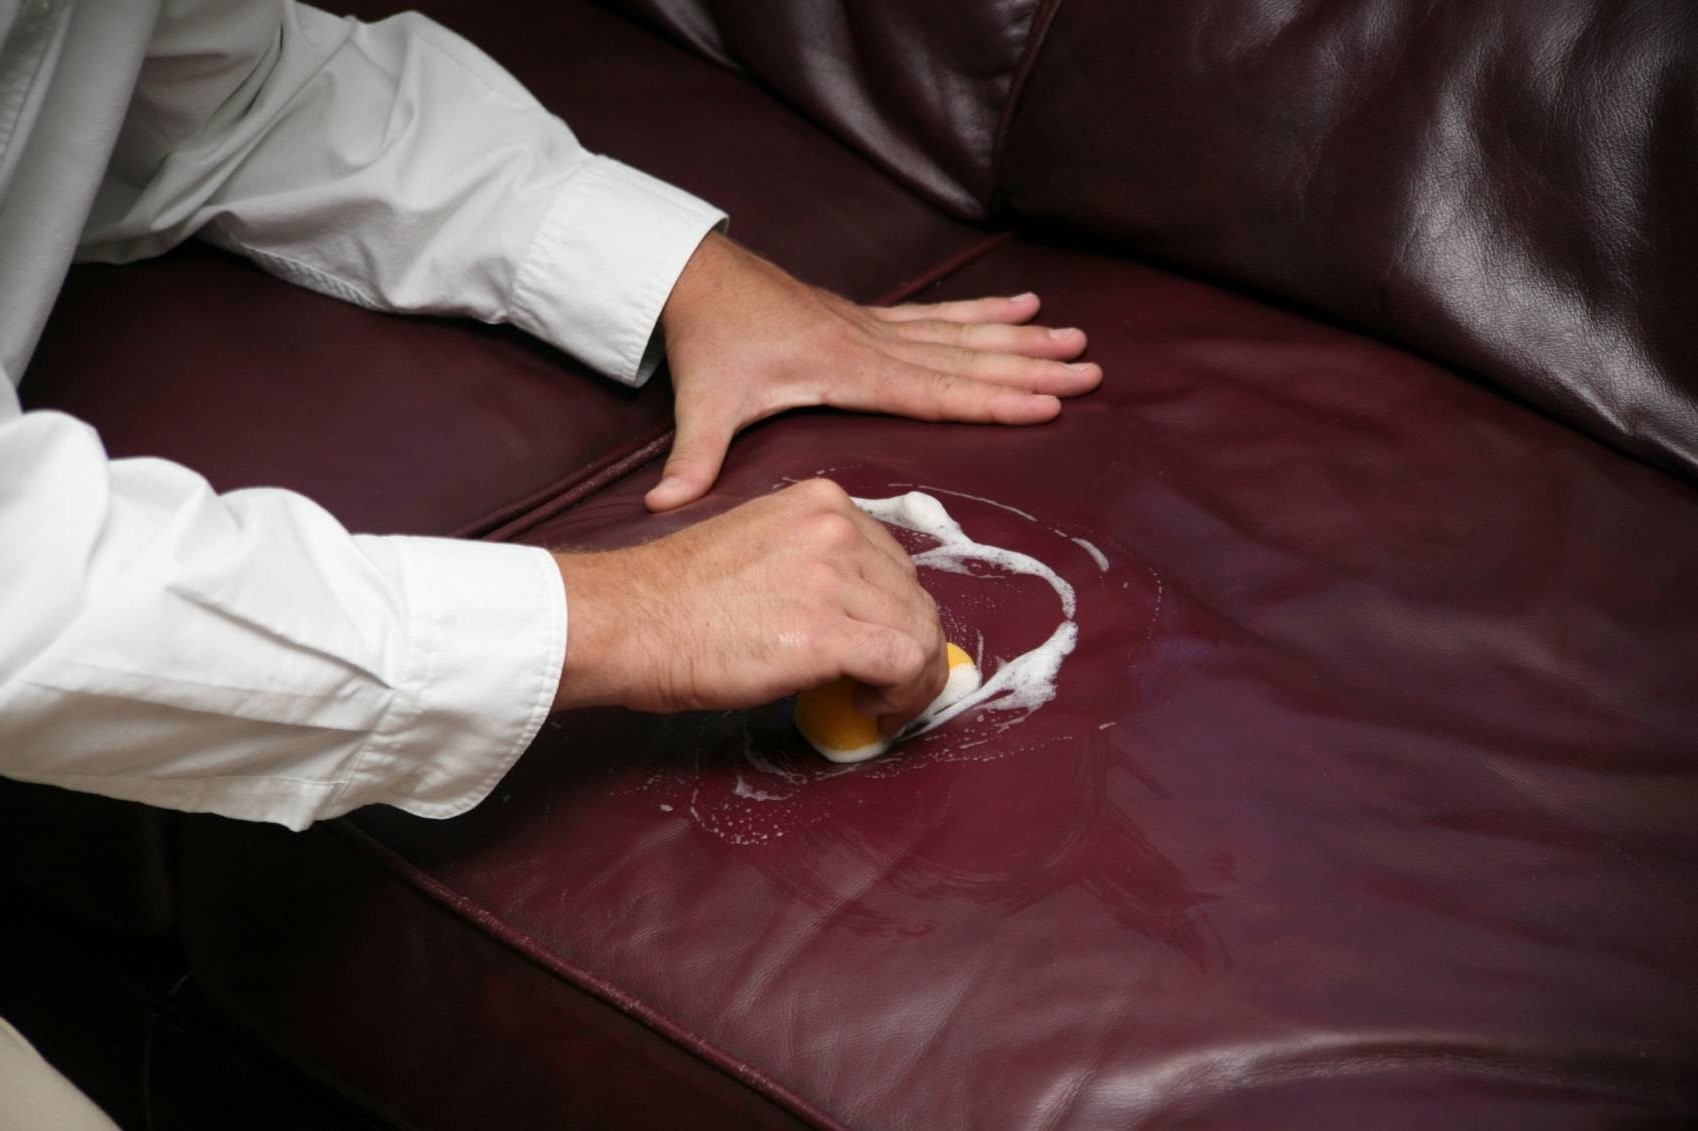
Scrubbing and blotting the stain
After allowing the cleaning solution to dwell on the stain and work its magic, the next crucial step in the stain removal process involves scrubbing and blotting the affected area. This hands-on approach is essential for dislodging the residue from the car seat material and lifting it away, gradually diminishing the visibility of the stain. Here's a detailed breakdown of the scrubbing and blotting process:
Read more: How To Get A Red Stain Out Of Carpet
Scrubbing Technique
Using a soft-bristled brush or a clean, soft cloth, gently scrub the stained area in circular motions. The goal is to agitate the cleaning solution and residue, encouraging the stain to loosen and release from the fabric or upholstery. It's important to maintain a gentle yet persistent scrubbing motion, avoiding excessive force that could potentially damage the car seat material. By systematically working the affected area, you can effectively dislodge the stain and prepare it for removal.
Blotting Method
Following the scrubbing process, employ a clean, dry cloth to blot the treated area. Lightly press the cloth onto the stain, absorbing the loosened residue and cleaning solution. This blotting action helps lift the stain from the car seat material, transferring it onto the cloth and gradually reducing its visibility. It's crucial to use a dabbing motion rather than vigorous rubbing, as excessive friction could spread the stain or push it deeper into the fabric.
Assessing Progress
As you scrub and blot the stain, periodically assess the progress of the removal process. Observe the cloth used for blotting to gauge the amount of residue being lifted from the car seat. Additionally, inspect the treated area for any signs of the stain diminishing in intensity or visibility. This ongoing assessment allows you to adjust your scrubbing and blotting technique as needed, ensuring that you effectively target the stain and achieve gradual improvement.
Incremental Treatment
For persistent or deeply ingrained stains, it may be necessary to repeat the scrubbing and blotting process multiple times. Each cycle of scrubbing and blotting allows for further dislodging and removal of the residue, gradually reducing the prominence of the stain. By approaching the treatment incrementally, you can systematically address the stain without risking damage to the car seat material, ultimately achieving a more thorough and successful removal.
By meticulously executing the scrubbing and blotting process, you can actively participate in the stain removal journey, working to dislodge and lift the residue from the car seat material. This hands-on approach, when combined with the earlier steps of applying the cleaning solution, sets the stage for a comprehensive and effective stain removal process, ultimately leading to a revitalized and blemish-free car seat.
Read more: How To Get Dog Hair Out Of Car
Allowing the seat to dry
After completing the meticulous process of treating the stain with the cleaning solution, scrubbing, and blotting, the next critical phase in the stain removal journey is allowing the car seat to thoroughly dry. This essential step is integral to ensuring that the cleaning agents, moisture, and residual residue are effectively eliminated, culminating in a restored and refreshed car seat.
To initiate the drying process, it's crucial to allow the treated area to air dry naturally. Open the vehicle's doors or windows to promote air circulation, facilitating the evaporation of any remaining moisture from the car seat. This exposure to fresh air aids in dissipating the cleaning solution and moisture, gradually revealing the results of the stain removal efforts.
As the car seat begins to dry, it's important to refrain from using artificial heat sources such as hairdryers or heat guns. Excessive heat can potentially damage the fabric or upholstery, leading to shrinkage, discoloration, or distortion of the material. Instead, rely on gentle air circulation and ambient room temperature to facilitate the drying process in a safe and controlled manner.
Throughout the drying period, periodically inspect the treated area to monitor the progress. Observe any residual marks or discoloration that may require further attention, ensuring that the stain removal process has been thorough and effective. Additionally, assess the overall cleanliness and freshness of the car seat, noting any lingering odors or signs of residual moisture.
Depending on the climate and environmental conditions, the drying duration may vary. In warmer, drier climates, the car seat may dry more quickly, while in cooler or humid environments, additional time may be required. Exercise patience and allow the car seat to dry completely before assessing the final outcome of the stain removal process.
Once the car seat is fully dry, conduct a visual and tactile inspection to evaluate the results. Run your hand over the treated area to assess the texture and smoothness, ensuring that no residual moisture or cleaning agents remain. Additionally, visually examine the car seat under natural light to confirm that the stain has been effectively removed, leaving behind a clean and revitalized surface.
By allowing the car seat to thoroughly dry, you complete the stain removal process with a crucial final step, ensuring that the efforts invested in treating the stain yield a successful outcome. This patient and attentive approach contribute to the overall restoration of your car seat's appearance and cleanliness, ultimately enhancing the comfort and visual appeal of your vehicle's interior.
Final tips and considerations
-
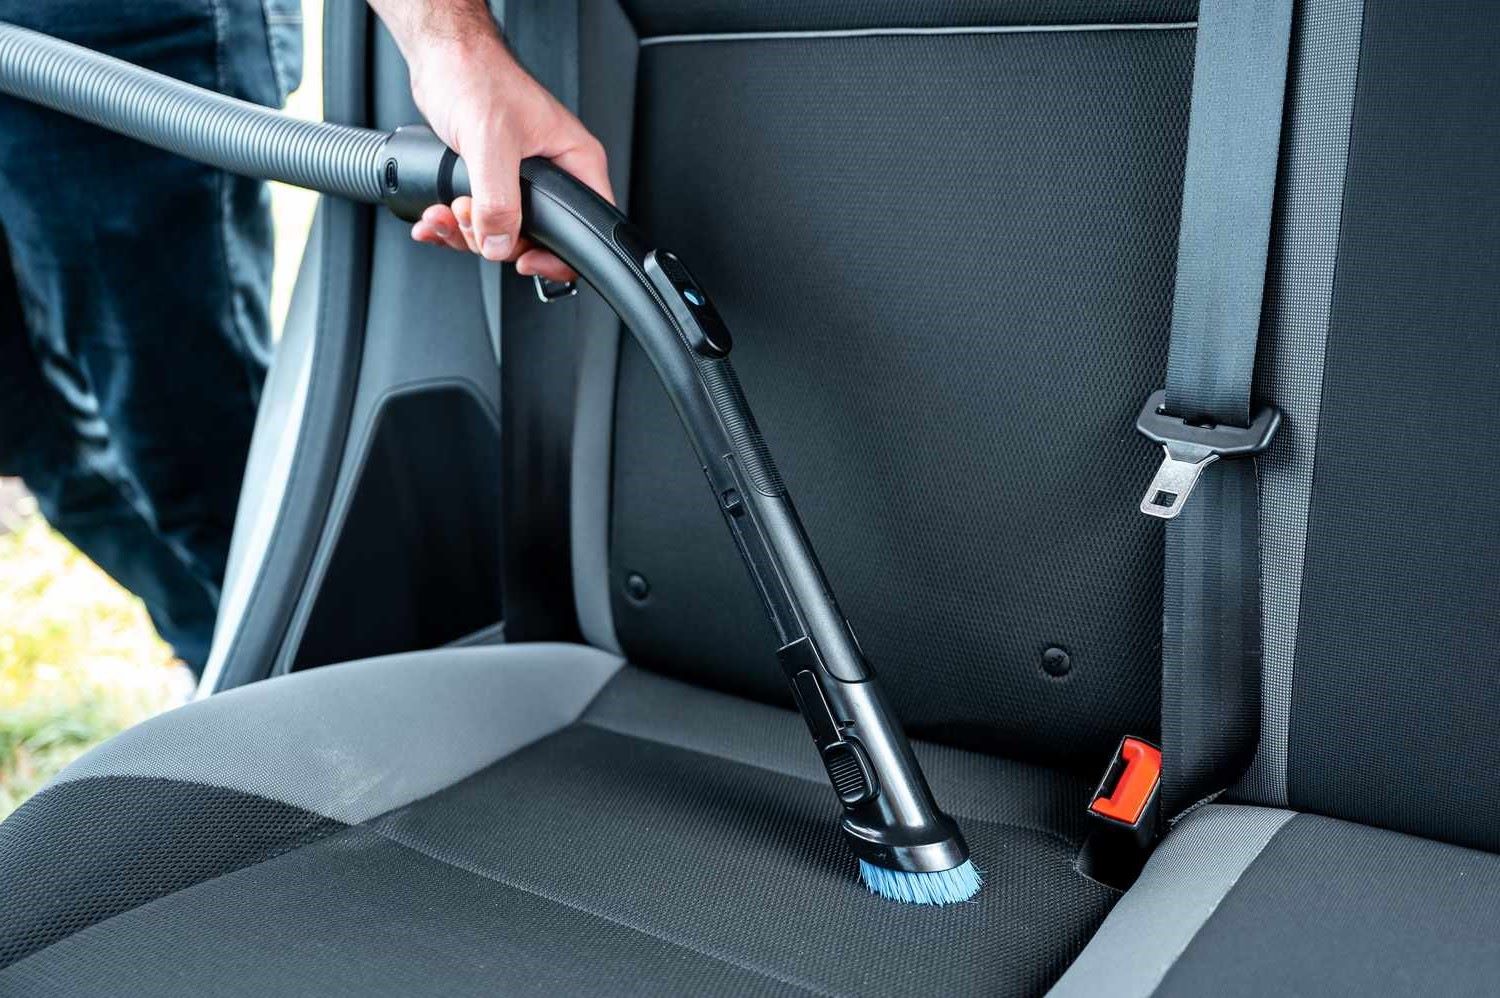
Regular Maintenance: To prevent future stains and maintain the cleanliness of your car seats, consider implementing regular maintenance routines. Simple practices such as vacuuming, spot cleaning, and using protective seat covers can significantly extend the lifespan of your car seats and minimize the occurrence of stubborn stains.
-
Prompt Action: Address stains as soon as they occur to prevent them from setting into the fabric or upholstery. Promptly blotting up spills and attending to soiled areas can prevent the need for extensive stain removal procedures in the future.
-
Material Compatibility: Always consider the specific material of your car seats when selecting cleaning solutions and methods. Different materials, such as leather, cloth, or vinyl, may require tailored approaches to ensure effective stain removal without causing damage.
-
Test in an inconspicuous area: Before applying any cleaning solution or treatment to the entire stained area, conduct a preliminary test in a discreet spot to ensure compatibility and assess potential reactions with the car seat material.
-
Professional Assistance: For particularly stubborn or extensive stains, or if you are uncertain about the appropriate cleaning methods, consider seeking professional detailing services. Professional detailers have the expertise and specialized tools to tackle challenging stains while safeguarding the integrity of your car seats.
-
Protective Measures: Consider using protective products such as fabric guards or leather conditioners to create a barrier against future stains and enhance the durability of your car seats. These products can provide an added layer of defense against spills and soiling.
-
Ventilation and Drying: After treating stains, ensure that the car interior is adequately ventilated to facilitate thorough drying. Proper ventilation not only expedites the drying process but also helps eliminate residual odors and moisture.
-
Regular Inspection: Periodically inspect your car seats for any signs of new stains or soiling. By addressing minor issues early, you can prevent them from escalating into more challenging cleaning tasks.
-
Professional Maintenance: Consider scheduling professional cleaning and maintenance for your car seats at regular intervals. Professional detailing services can deep clean and rejuvenate the interior of your vehicle, ensuring that your car seats remain in optimal condition.
By incorporating these final tips and considerations into your approach to car seat stain removal and maintenance, you can proactively preserve the cleanliness and visual appeal of your vehicle's interior. These proactive measures not only contribute to a more enjoyable driving experience but also extend the longevity of your car seats, enhancing the overall value and comfort of your vehicle.