Home>Home and Garden>How To Get Foundation Out Of Clothes
Home and Garden
How To Get Foundation Out Of Clothes
Published: March 6, 2024
Learn effective home and garden tips for removing foundation stains from clothes. Discover simple solutions to keep your wardrobe looking fresh and clean.
(Many of the links in this article redirect to a specific reviewed product. Your purchase of these products through affiliate links helps to generate commission for Noodls.com, at no extra cost. Learn more)
Table of Contents
Introduction
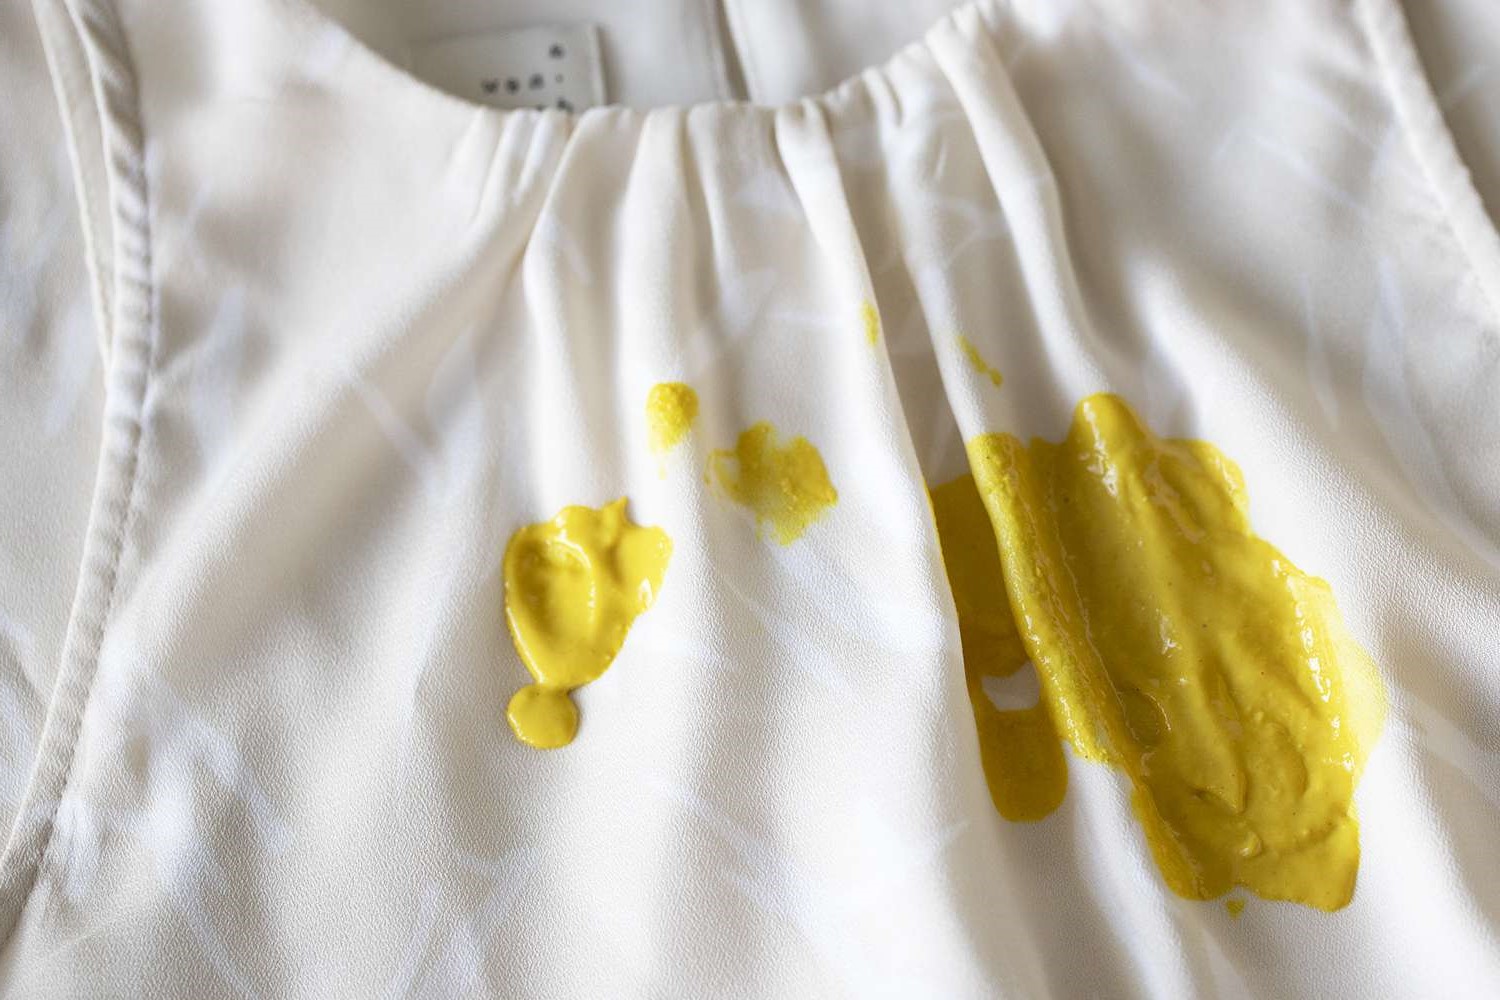
Removing foundation stains from clothes can be a frustrating experience, especially when you're in a rush to get ready. Whether it's a small smudge or a large spill, dealing with foundation on your favorite outfit can seem daunting. However, with the right approach and a few simple steps, you can effectively tackle this common issue and restore your clothing to its pristine condition.
In this guide, we will explore a step-by-step process for removing foundation stains from clothes. By following these methods, you can effectively address both oil-based and water-based foundation stains, ensuring that your garments remain free from unsightly blemishes. From blotting the stain to laundering the clothing, each step is designed to help you achieve the best results without causing damage to the fabric.
So, if you've ever found yourself panicking over a foundation stain on your clothes, fear not. With the following techniques at your disposal, you'll be equipped to handle these mishaps with confidence and ease. Let's dive into the methods and discover how to get foundation out of clothes, so you can keep your wardrobe looking fresh and flawless.
Read more: How To Get Butter Out Of Clothes
Step 1: Blot the Stain
When it comes to dealing with a foundation stain on clothing, the first and most crucial step is to act quickly. As soon as you notice the blemish, grab a clean cloth or paper towel and gently blot the affected area. Avoid rubbing the stain, as this can cause the foundation to spread and penetrate deeper into the fabric fibers, making it more challenging to remove.
Blotting helps to lift the excess foundation from the garment, preventing it from setting further into the fabric. By dabbing the stain with a gentle pressing motion, you can effectively absorb a significant portion of the makeup, minimizing the overall impact on the clothing.
It's essential to approach this step with care and patience, ensuring that you cover the entire stained area. If the foundation has a thick consistency, you may need to repeat the blotting process several times to remove as much of the product as possible.
Remember, the goal at this stage is to remove the surface layer of the foundation without pushing it deeper into the fabric. By taking swift and deliberate action to blot the stain, you set the stage for the subsequent steps in the stain removal process, increasing the likelihood of achieving a successful outcome.
Once you've completed the blotting process, take a moment to assess the stain. While some of the foundation may have been lifted, it's common for a residue to remain on the fabric. This is perfectly normal and will be addressed in the following steps. With the initial blotting complete, you're now ready to move on to the next phase of the stain removal process.
By promptly and effectively blotting the foundation stain, you've taken a proactive step towards restoring your clothing to its original condition. With the excess makeup lifted from the fabric, you're well-positioned to proceed to the subsequent stages of the removal process, ultimately ensuring that your garment emerges free from the unsightly blemish.
Now that the first step is accomplished, let's delve into the next phase of the process, where we'll address the foundation stain with a targeted cleaning approach.
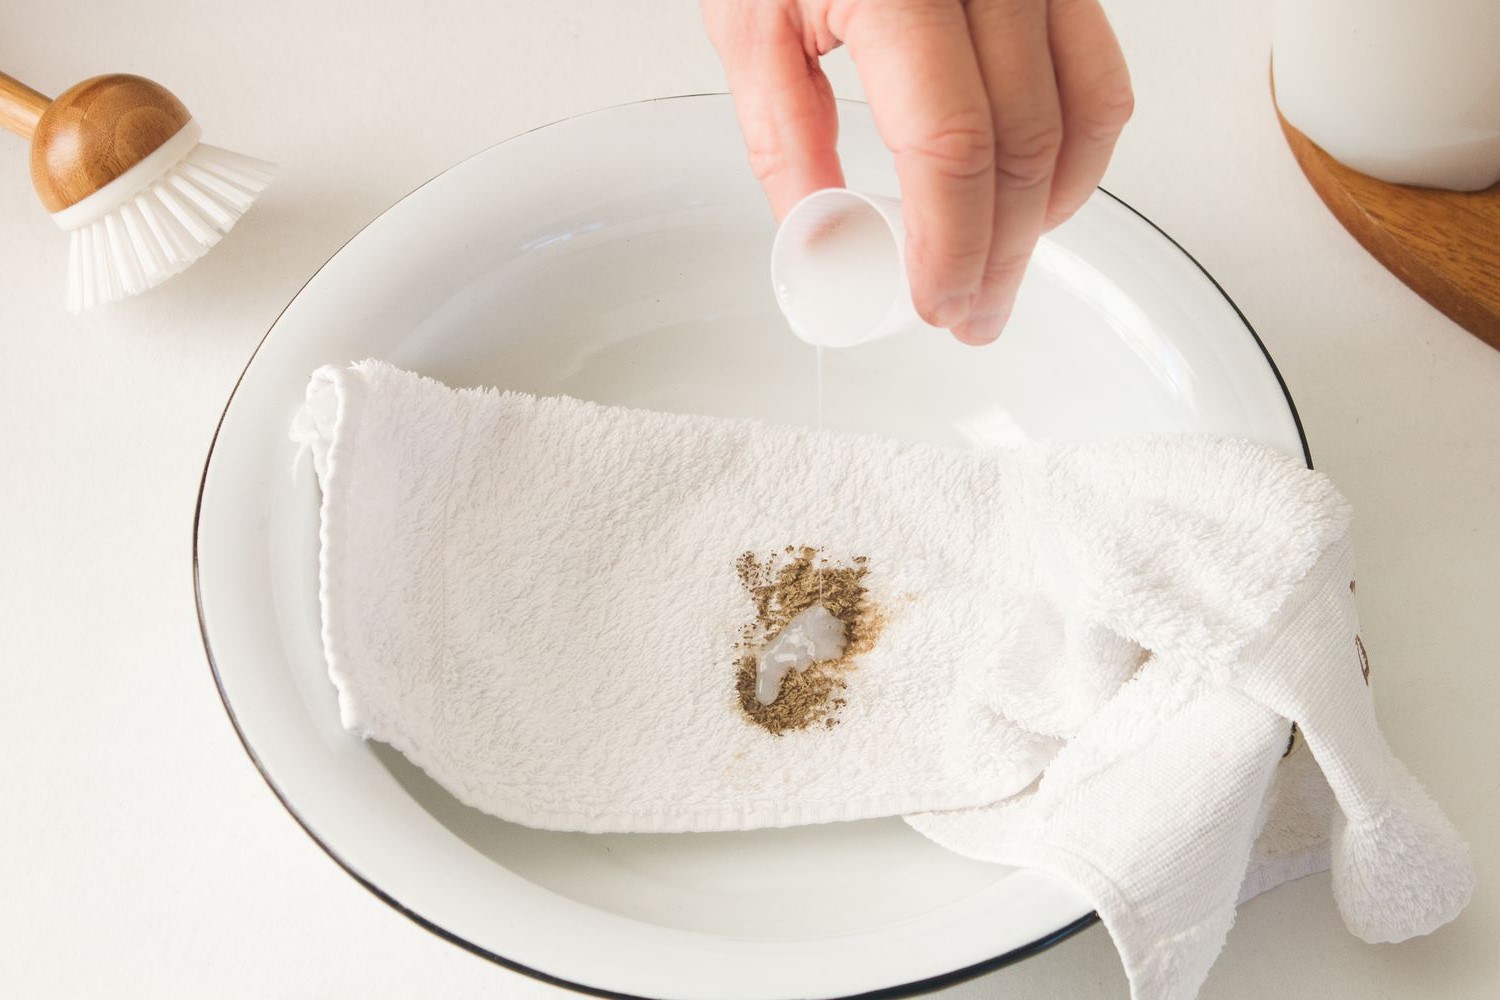
Step 2: Apply Dish Soap
After successfully blotting the foundation stain from your clothing, the next step involves the application of dish soap to further combat the lingering blemish. Dish soap is a versatile and effective cleaning agent that can help break down the oily components of foundation, making it easier to remove from the fabric.
To begin, gather a small bowl or container and fill it with lukewarm water. Add a few drops of mild dish soap to the water and mix it gently to create a soapy solution. It's important to opt for a gentle dish soap that does not contain harsh chemicals or dyes, as these can potentially damage the fabric of your clothing.
Once the soapy solution is prepared, dip a clean cloth or sponge into the mixture, ensuring that it is sufficiently saturated without dripping excessively. With the dampened cloth in hand, gently dab the foundation stain, working from the outer edges towards the center. This method helps prevent the stain from spreading while allowing the soap to penetrate the fabric and begin lifting the remaining makeup residue.
As you apply the dish soap solution, be mindful of the fabric type and the intensity of the stain. For delicate fabrics, such as silk or lace, it's advisable to use a light touch to avoid causing damage. Conversely, for tougher fabrics, you can apply slightly more pressure to effectively work the soap into the fibers.
After treating the entire stained area with the dish soap solution, allow it to sit for a few minutes to facilitate the breakdown of the foundation residue. This brief period of soaking enables the soap to loosen the makeup particles, making them easier to lift from the fabric during the subsequent rinsing process.
Following the brief soaking period, rinse the soapy solution from the garment under cold running water. Ensure that you thoroughly remove all traces of the dish soap, as any residual soap left on the fabric can lead to potential discoloration or damage.
Upon completing the rinsing process, carefully inspect the treated area to assess the progress. You may notice a significant reduction in the foundation stain, indicating that the dish soap has effectively contributed to the removal process. However, if traces of the stain persist, there's no need to worry, as we'll address this in the next step.
By applying dish soap to the foundation stain, you've taken a proactive step towards breaking down the makeup residue and preparing the fabric for the subsequent stages of the removal process. With the soap's cleansing properties at work, you're well on your way to achieving a successful outcome in restoring your clothing to its pristine condition.
With the application of dish soap complete, it's time to proceed to the next phase of the stain removal process, where we'll further target the remaining foundation residue with a specialized cleaning approach.
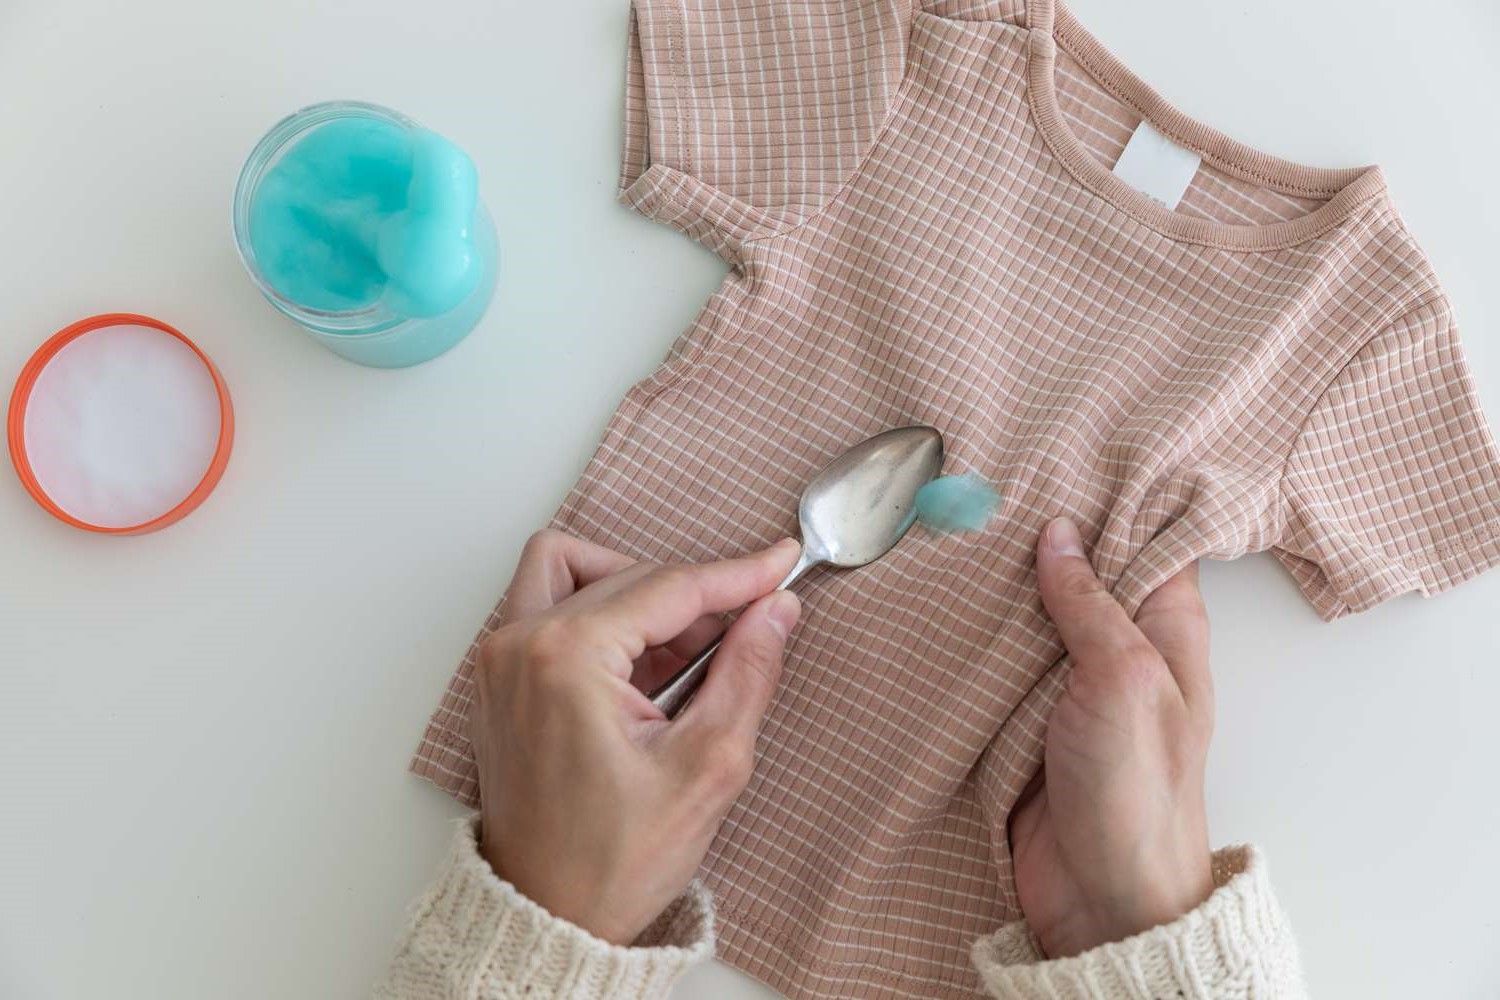
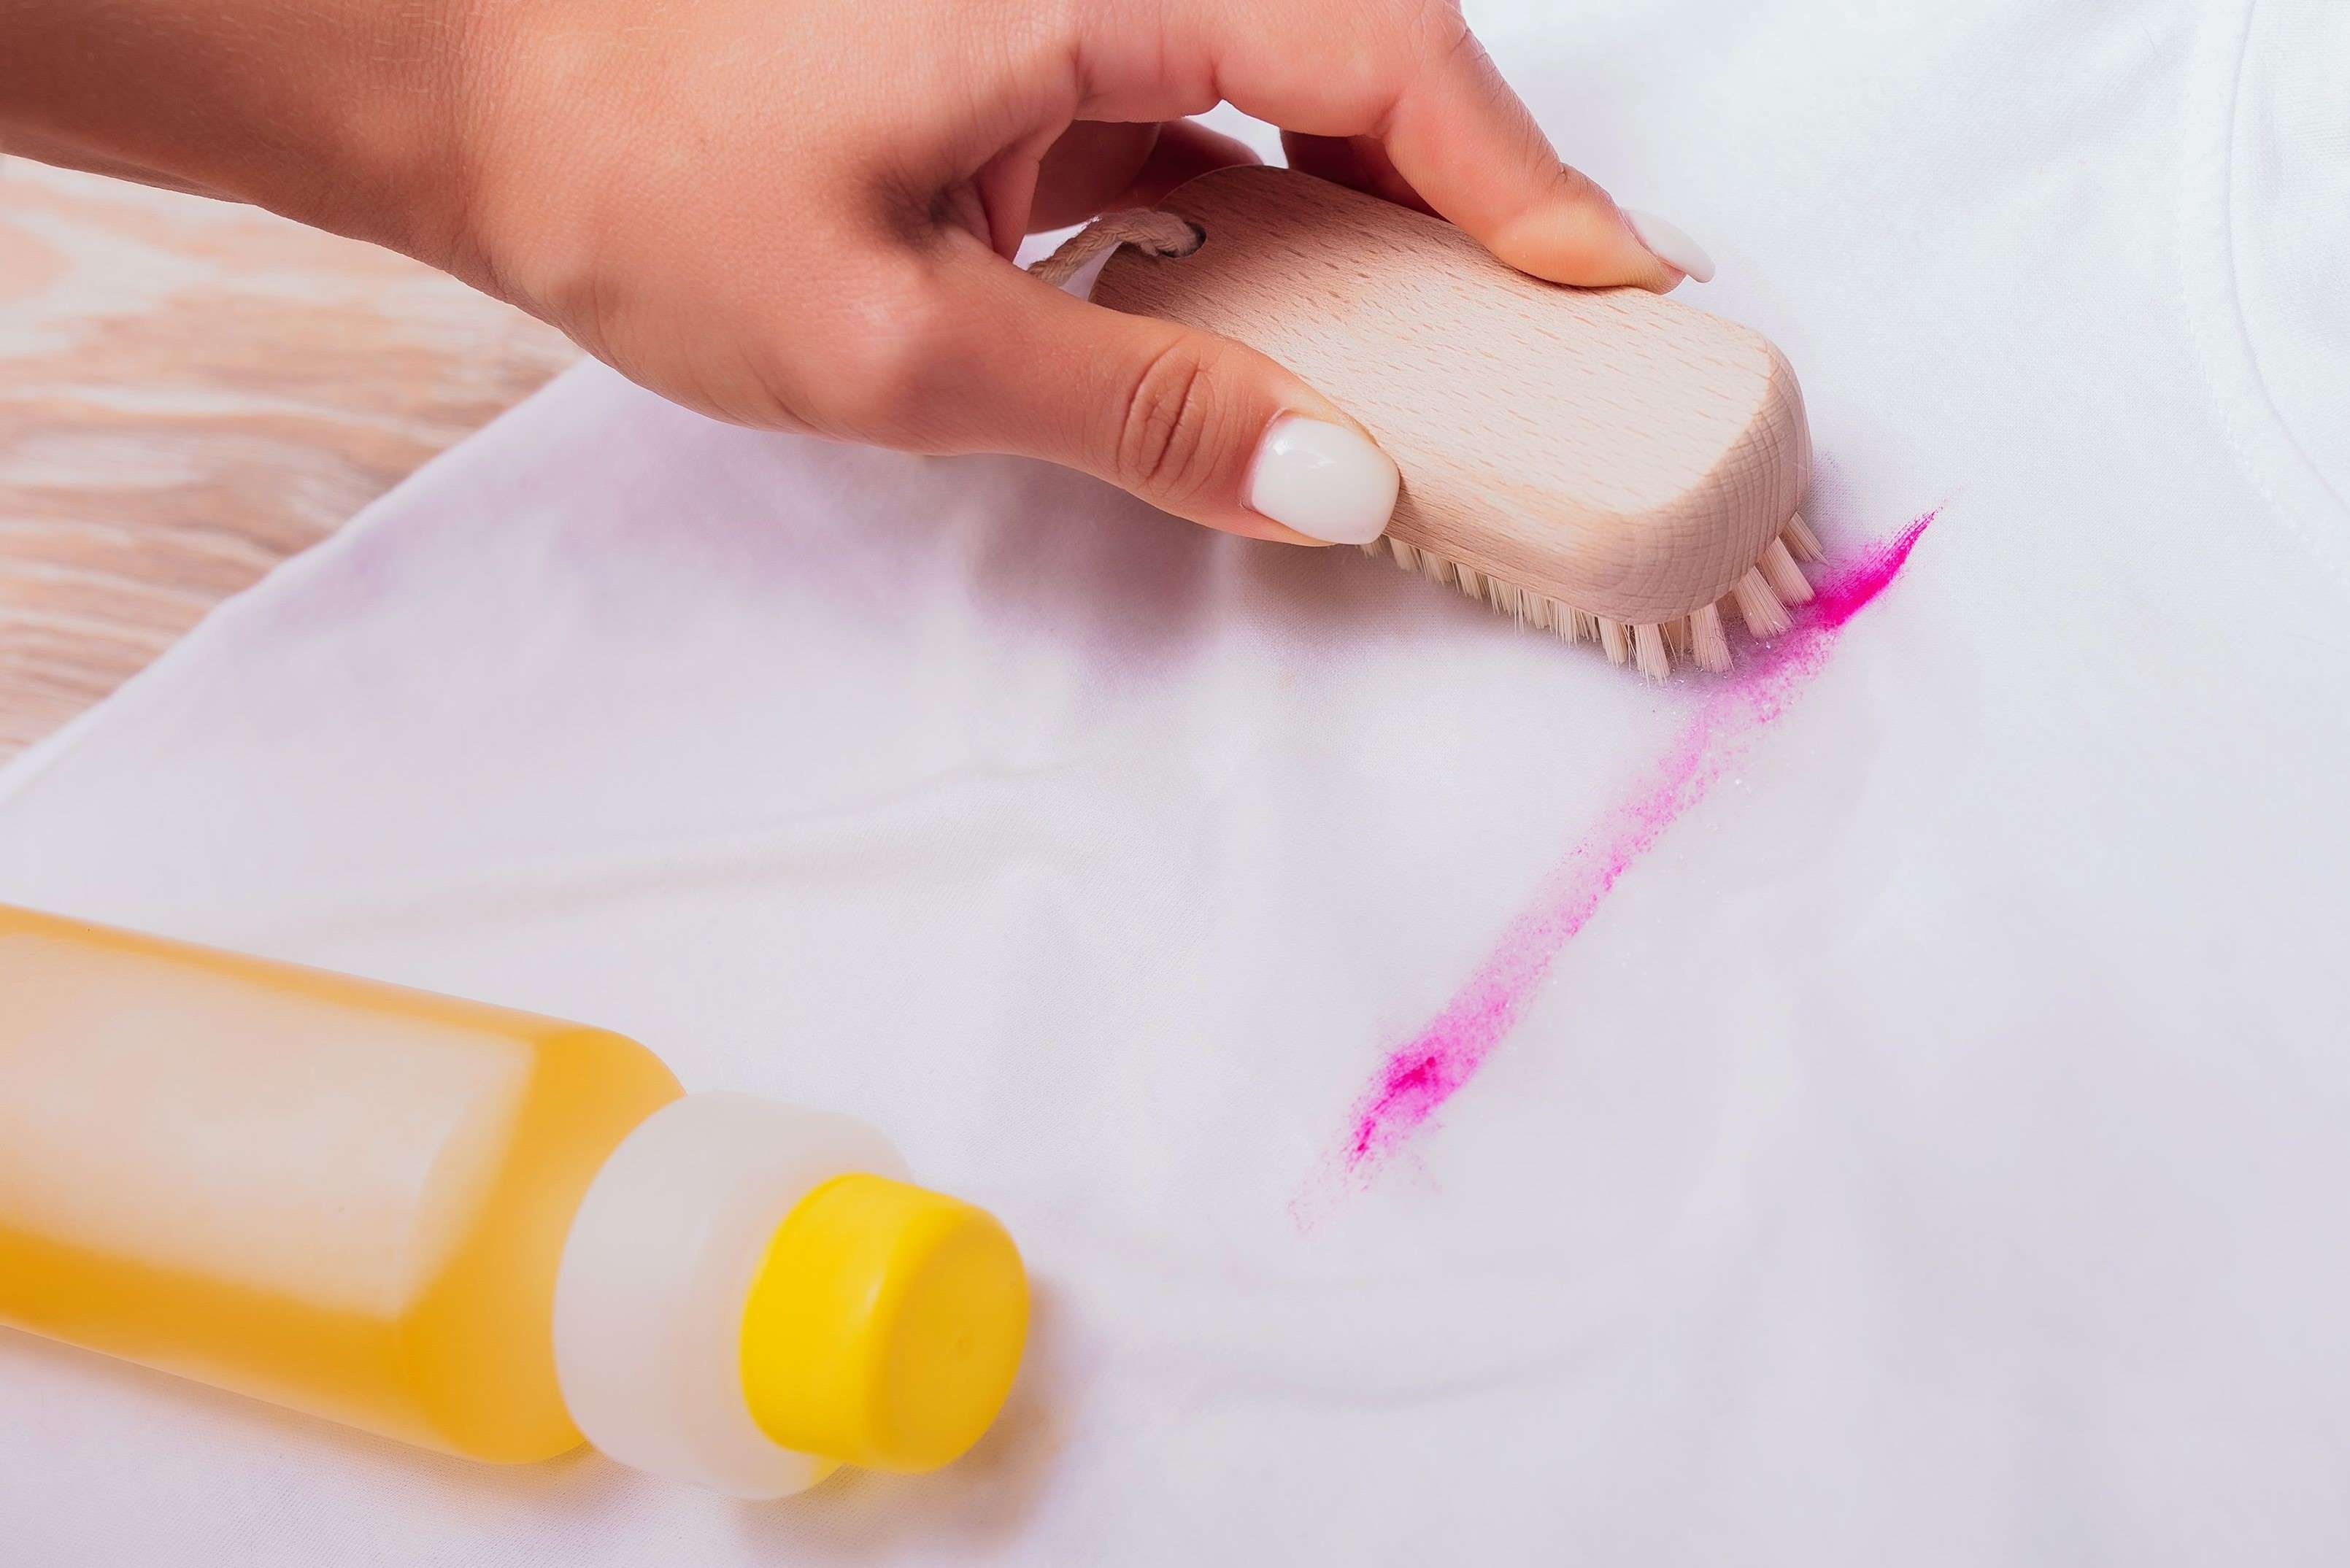
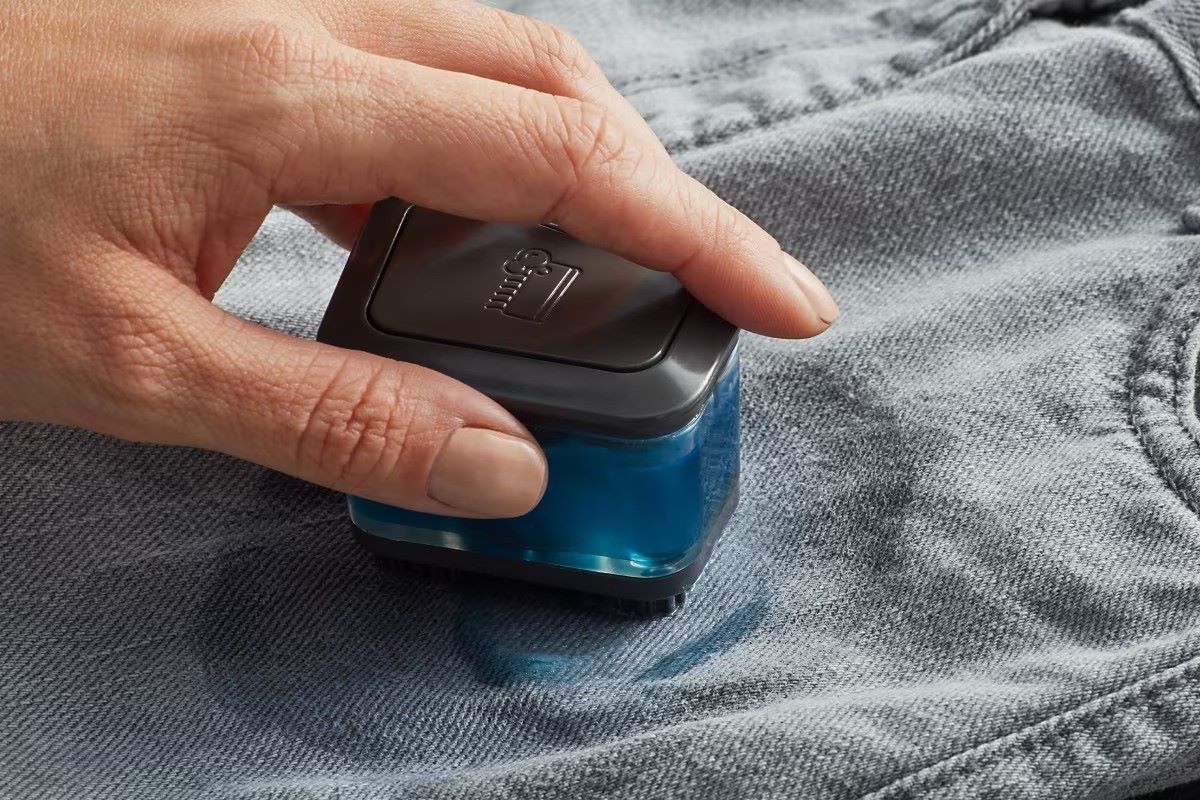
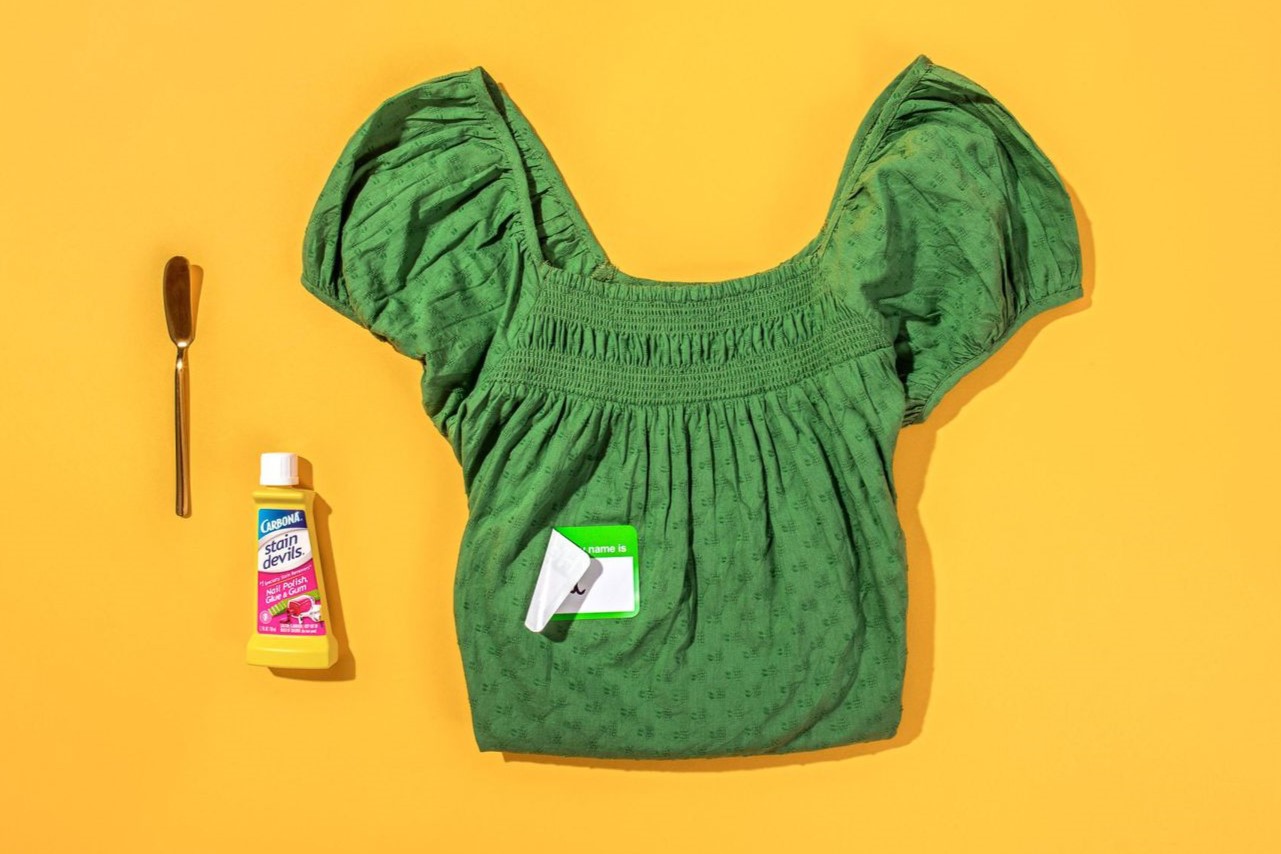
Step 3: Use a Stain Remover
After treating the foundation stain with dish soap and thoroughly rinsing the garment, the next step involves the application of a specialized stain remover to further address any remaining traces of the blemish. Stain removers are specifically formulated to target stubborn stains, including those caused by makeup products such as foundation. By leveraging the potent cleaning properties of a stain remover, you can effectively tackle any residual foundation residue and enhance the overall success of the stain removal process.
To begin, select a high-quality stain remover that is suitable for the fabric type of your clothing. It's essential to choose a product that aligns with the specific requirements of the garment, ensuring that it effectively addresses the foundation stain without causing damage. Whether you opt for a commercial stain remover or a homemade solution, it's crucial to prioritize the compatibility of the product with the fabric to safeguard the integrity of your clothing.
Once you have chosen the appropriate stain remover, carefully follow the instructions provided by the manufacturer to ensure safe and effective application. Begin by applying a small amount of the stain remover directly to the remaining foundation stain, taking care to cover the affected area thoroughly. Avoid oversaturating the fabric, as excessive product application can lead to potential discoloration or damage.
After applying the stain remover, gently work it into the fabric using a soft-bristled brush or cloth, employing a circular motion to help the product penetrate the fibers. This targeted approach allows the stain remover to effectively lift the remaining foundation residue from the garment, maximizing its cleaning potential and enhancing the overall success of the removal process.
Following the application and gentle agitation of the stain remover, allow it to sit on the fabric for the duration recommended by the product instructions. This period of dwell time enables the stain remover to effectively break down the makeup residue, preparing it for removal during the subsequent laundering phase.
Once the dwell time has elapsed, proceed to launder the garment according to the care instructions provided on the clothing label. Ensure that you use the appropriate water temperature and laundry detergent, taking care to select settings that align with the fabric type and the garment's specific care requirements.
Upon completing the laundering process, carefully inspect the treated area to assess the outcome. You may find that the foundation stain has been effectively eradicated, leaving your clothing free from the unsightly blemish. However, if traces of the stain persist, you can repeat the application of the stain remover and laundering process to further enhance the results.
By utilizing a targeted stain remover to address the foundation stain, you've taken a proactive step towards maximizing the effectiveness of the removal process. With the potent cleaning properties of the stain remover at work, you're well-positioned to achieve a successful outcome and restore your clothing to its pristine condition.
With the application of the stain remover complete, you've successfully navigated through the crucial steps of the foundation stain removal process, effectively addressing the blemish and enhancing the overall appearance of your garment.
Step 4: Launder the Clothing
After treating the foundation stain with the previous steps, the next crucial phase involves laundering the clothing to complete the stain removal process. Laundering serves as a vital step in ensuring that the fabric is thoroughly cleansed and restored to its original state, free from any lingering traces of the foundation stain.
To begin, carefully review the care label attached to the garment to determine the appropriate laundering instructions. This includes identifying the recommended water temperature, laundry detergent, and any specific care requirements that align with the fabric type. Adhering to these guidelines is essential to prevent potential damage to the clothing and to optimize the effectiveness of the laundering process.
Once you have familiarized yourself with the garment's care instructions, proceed to place it in the washing machine, ensuring that it is not overcrowded to allow for adequate water circulation. Select the appropriate water temperature as indicated on the care label, opting for a setting that aligns with the fabric type and the severity of the foundation stain.
When it comes to selecting the laundry detergent, opt for a gentle yet effective formula that is suitable for the fabric type and is capable of thoroughly cleansing the garment. Avoid using harsh or abrasive detergents, as these can potentially compromise the integrity of the fabric and lead to undesirable outcomes.
As the washing machine begins its cycle, closely monitor the laundering process to ensure that the garment is effectively cleansed. Once the cycle is complete, carefully remove the clothing and inspect the treated area to assess the outcome. You may find that the foundation stain has been successfully eradicated, leaving your garment looking fresh and blemish-free.
In the event that traces of the stain persist after the initial laundering cycle, you can opt to repeat the process, taking care to apply the appropriate adjustments based on the fabric type and the severity of the blemish. By doing so, you can further enhance the effectiveness of the stain removal process and ensure that your clothing emerges in pristine condition.
With the laundering process complete, you have successfully navigated through the essential steps of the foundation stain removal process, culminating in the thorough cleansing of the garment. By diligently following the recommended laundering guidelines and exercising care throughout the process, you have effectively restored your clothing to its original state, free from the unsightly foundation stain.
Now that the garment has been laundered and the foundation stain effectively addressed, you can confidently proceed to the final step of the process, where you'll ensure that no residue remains on the fabric, leaving your clothing looking fresh and flawless.
Read more: How To Get Sap Out Of Clothes
Step 5: Check for Residue
After completing the laundering process, it's essential to meticulously inspect the treated area to ensure that no residue from the foundation stain remains on the fabric. This critical step serves as a final assessment to confirm the success of the stain removal process and to address any potential lingering traces of the blemish.
Begin by carefully examining the previously affected area under bright lighting, ensuring that you have a clear view of the fabric's surface. Look for any remaining discoloration or makeup residue that may have persisted despite the previous treatment steps. It's important to approach this inspection with thoroughness and attention to detail, as even minor traces of the foundation stain can detract from the garment's overall appearance.
If you detect any residual traces of the stain, you can opt to repeat the targeted cleaning steps, such as applying a gentle dish soap solution or utilizing a specialized stain remover. By revisiting these methods, you can effectively address any lingering residue and enhance the overall success of the stain removal process.
In the event that the fabric appears free from any remaining traces of the foundation stain, you can proceed to gently pat the treated area with a clean, dry cloth to absorb any excess moisture. This final step helps to ensure that the fabric is left in optimal condition, free from any potential dampness that may have resulted from the cleaning process.
With the inspection and final assessment complete, take a moment to admire the restored garment, now free from the unsightly foundation stain. By diligently following the step-by-step process and exercising care throughout each phase, you have effectively revitalized your clothing and preserved its pristine condition.
By conducting a thorough inspection for any residual residue, you have demonstrated a commitment to achieving the best possible outcome in the foundation stain removal process. With the garment now restored to its original state, you can confidently return it to your wardrobe, knowing that it remains free from the blemish that once marred its appearance.
With the completion of the final assessment, you have successfully navigated through the comprehensive process of removing foundation stains from clothing, ensuring that your garments remain fresh, flawless, and ready to be showcased once again.
Conclusion
In conclusion, successfully removing foundation stains from clothing requires a systematic approach and careful attention to detail. By following the step-by-step process outlined in this guide, you can effectively address both oil-based and water-based foundation stains, ensuring that your garments remain free from unsightly blemishes.
The initial step of blotting the stain is crucial, as it helps to lift the excess foundation from the fabric, preventing it from setting further into the fibers. By taking swift and deliberate action to blot the stain, you set the stage for the subsequent steps in the stain removal process, increasing the likelihood of achieving a successful outcome.
The application of dish soap serves as a pivotal phase in the removal process, as it helps to break down the oily components of the foundation, making it easier to remove from the fabric. By gently working the soapy solution into the stained area and thoroughly rinsing the garment, you can effectively combat the lingering blemish and prepare the fabric for the next stage of treatment.
Utilizing a targeted stain remover further enhances the effectiveness of the removal process, ensuring that any residual foundation residue is effectively addressed. By carefully following the product instructions and laundering the garment according to the care label, you can maximize the success of the stain removal process and restore your clothing to its pristine condition.
The final steps of inspecting the treated area for any residual residue and conducting a thorough assessment serve as a critical measure to confirm the success of the removal process. By diligently addressing any lingering traces of the stain, you can ensure that your garment emerges free from the unsightly blemish, ready to be showcased once again.
In essence, by promptly and effectively addressing foundation stains using the methods outlined in this guide, you can maintain the impeccable appearance of your clothing and confidently handle any future mishaps with ease. With a proactive approach and the right techniques at your disposal, you can keep your wardrobe looking fresh and flawless, free from the impact of foundation stains.