Home>Home and Garden>How To Get Silly Putty Out Of Clothes
Home and Garden
How To Get Silly Putty Out Of Clothes
Published: March 6, 2024
Learn effective home and garden solutions for removing silly putty from clothes. Keep your wardrobe looking fresh and clean with these simple tips.
(Many of the links in this article redirect to a specific reviewed product. Your purchase of these products through affiliate links helps to generate commission for Noodls.com, at no extra cost. Learn more)
Table of Contents
Introduction
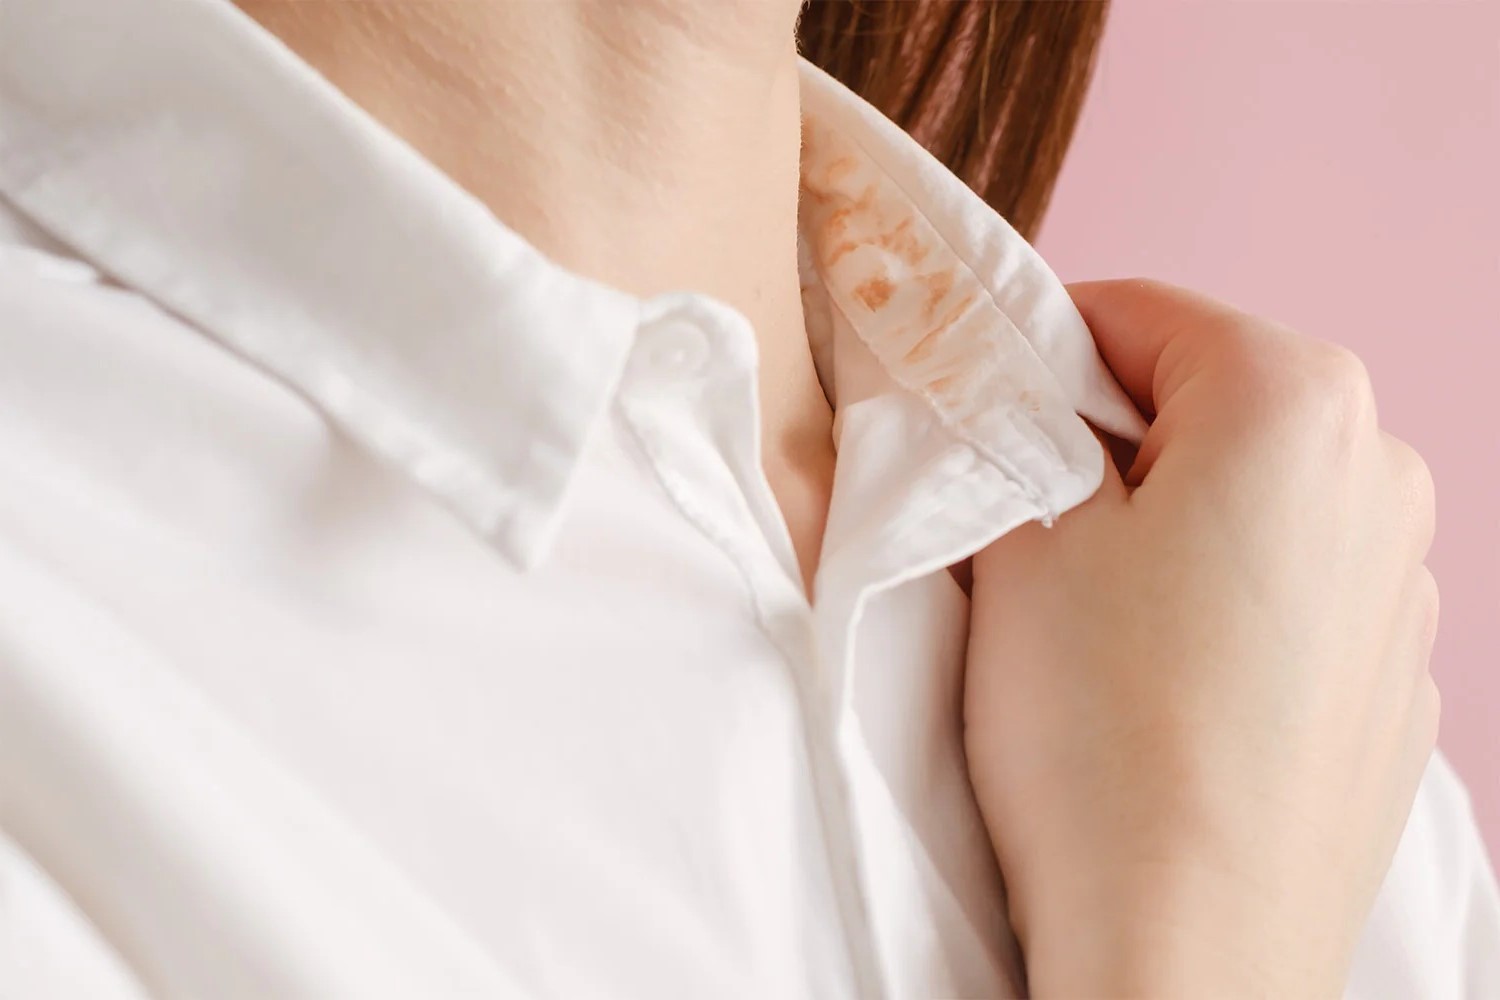
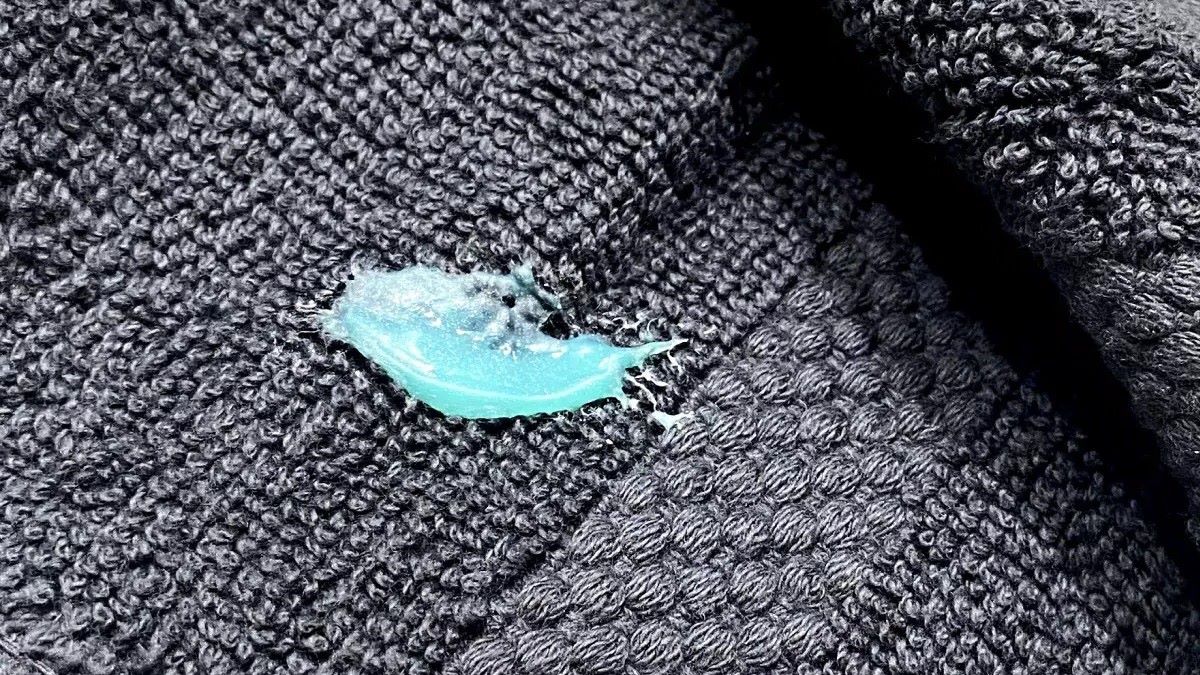
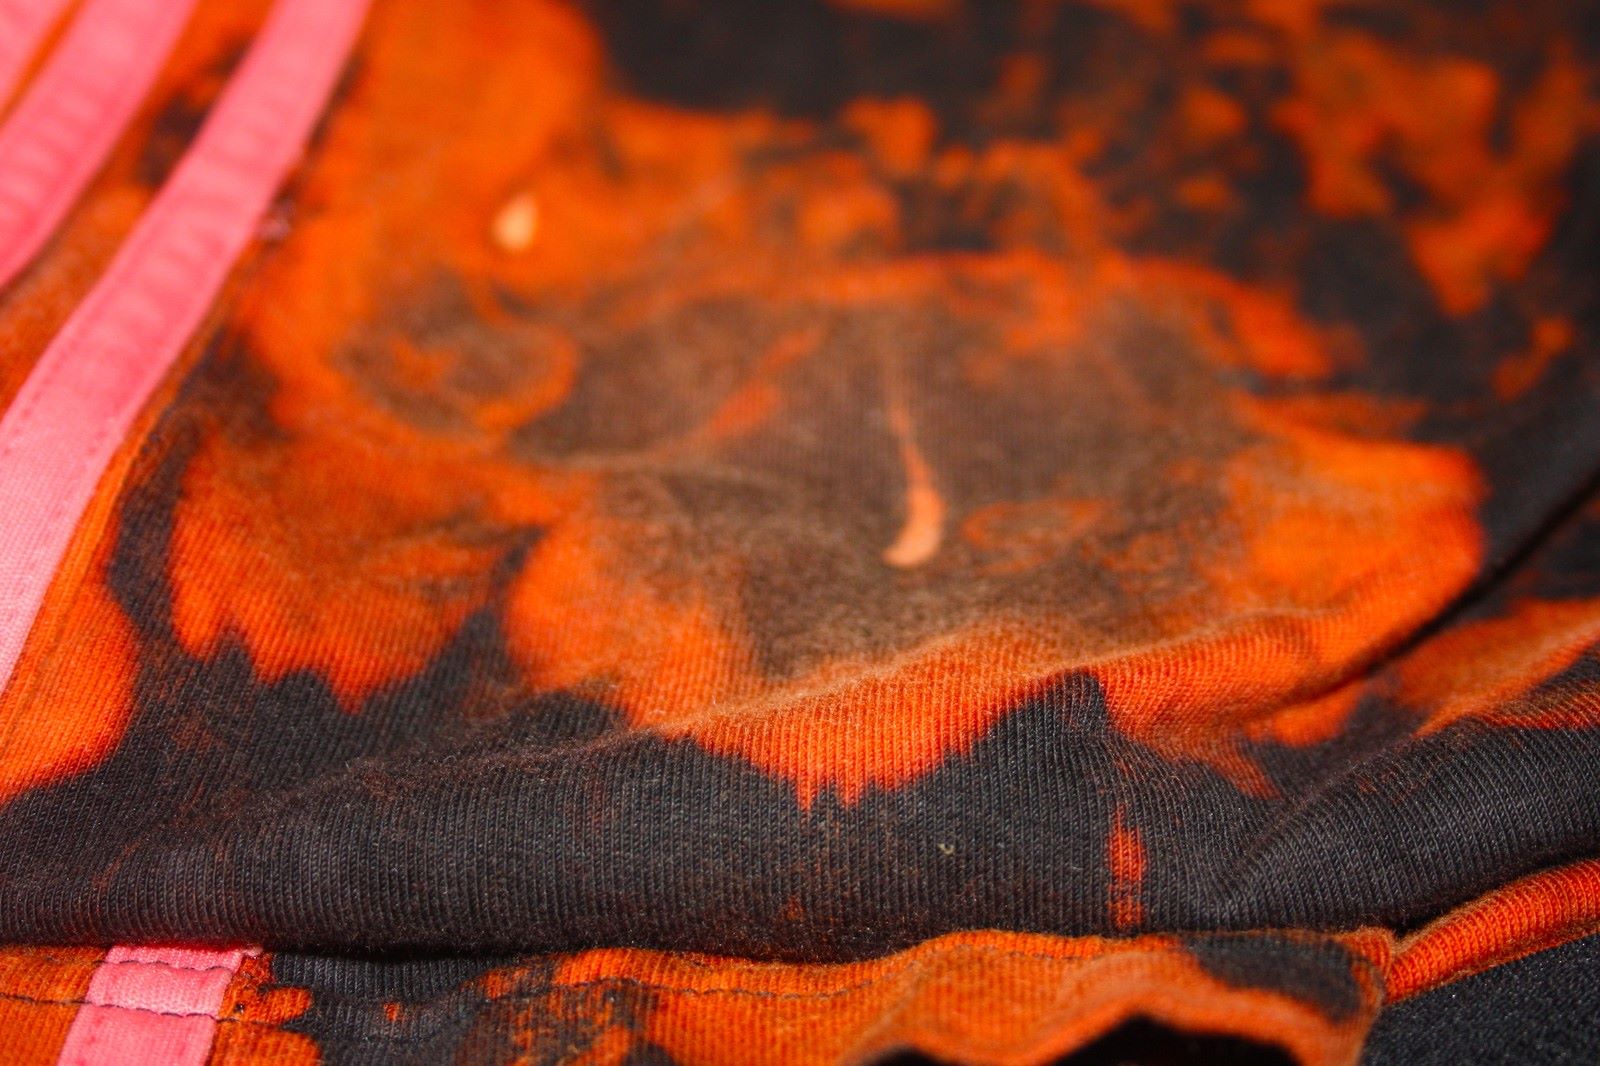
Dealing with a mishap involving silly putty and clothing can be a frustrating experience. Whether it's a playful accident or a result of forgetfulness, finding a blob of silly putty stuck to your favorite shirt or pants can be disheartening. However, fear not, as there are effective methods to rescue your garment from this sticky situation. In this guide, we will explore a step-by-step approach to removing silly putty from clothes, ensuring that you can restore your clothing to its former glory.
Silly putty, known for its stretchy and adhesive properties, can be a challenge to remove from fabric. However, with the right techniques and a bit of patience, you can successfully eliminate the pesky putty without causing damage to your clothing. From scraping off excess putty to utilizing common household items, such as rubbing alcohol and stain removers, we will walk you through the process of salvaging your garment.
By following the methods outlined in this guide, you can tackle silly putty stains with confidence, knowing that there are practical solutions at your disposal. Whether the mishap occurred during a crafting session or through accidental contact, these tried-and-true techniques will empower you to address the issue promptly and effectively. With a positive mindset and the right approach, you can bid farewell to silly putty stains and preserve the integrity of your cherished clothing items.
Now, let's delve into the step-by-step process of removing silly putty from clothes, equipping you with the knowledge and strategies needed to conquer this common household dilemma.
Read more: How To Get Butter Out Of Clothes
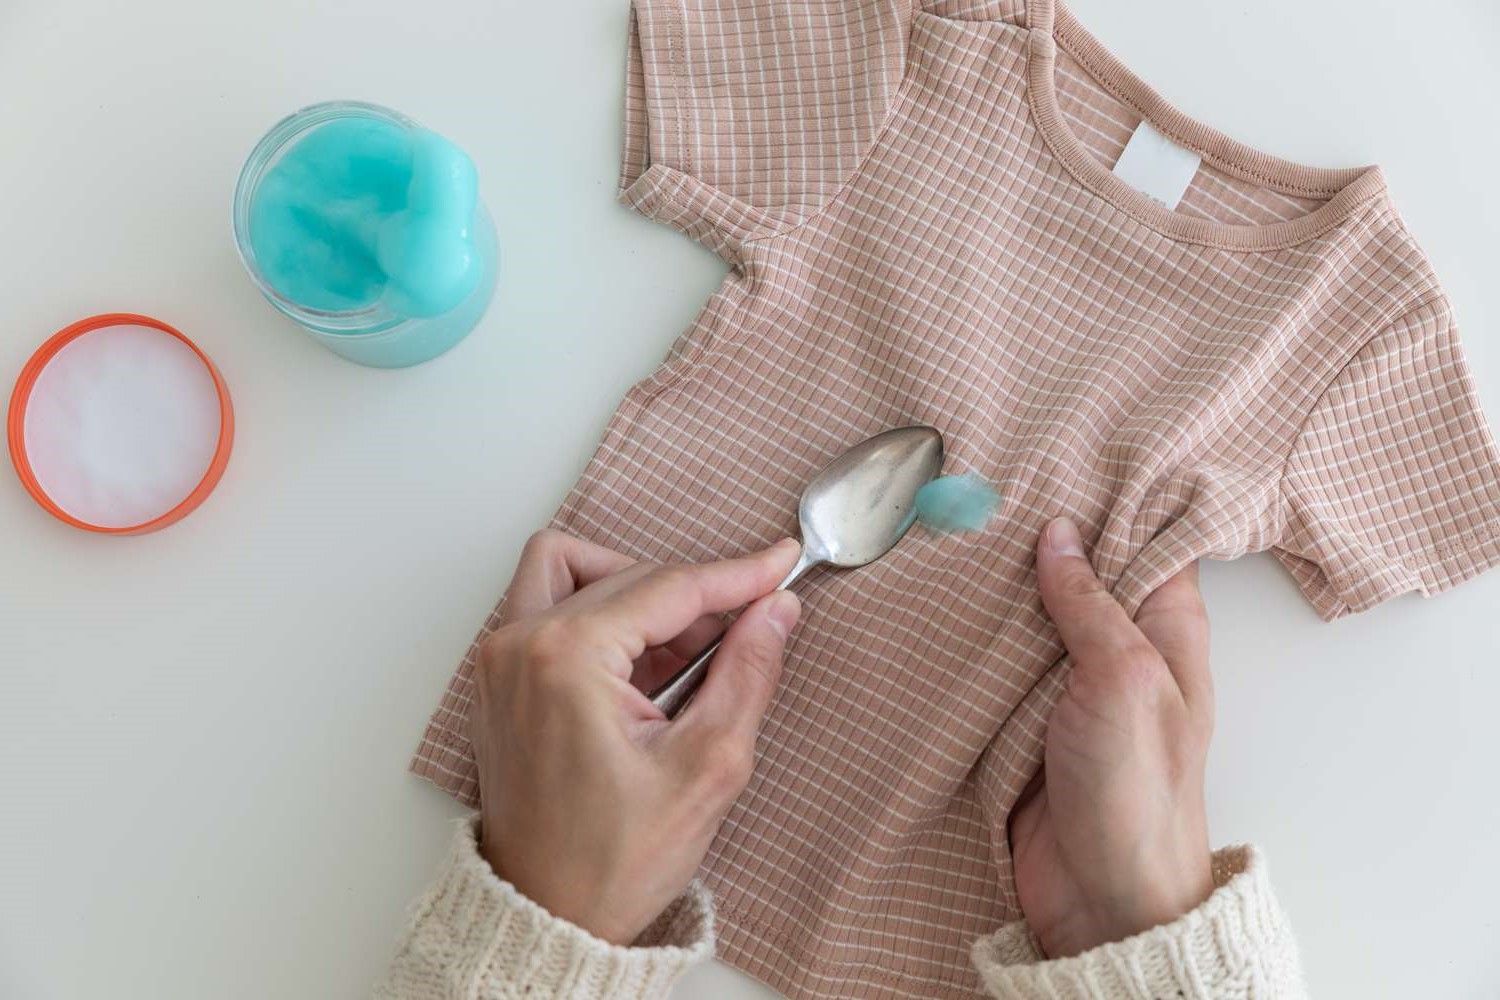
Step 1: Scrape off excess silly putty
When faced with the challenge of removing silly putty from clothing, the initial step is to carefully scrape off any excess putty from the fabric. This process requires a gentle touch to avoid spreading the putty further or embedding it deeper into the fibers. Here's a detailed approach to effectively scraping off excess silly putty:
-
Assess the Situation: Begin by evaluating the extent of the silly putty stain on the clothing. Identify the areas where the putty has adhered to the fabric, taking note of any thick or hardened sections.
-
Use a Blunt Tool: Locate a blunt tool, such as a butter knife, spoon, or the edge of a credit card. Avoid sharp objects that could damage the fabric. Hold the fabric taut and gently scrape the edge of the tool against the putty, working from the outer edges towards the center of the stain.
-
Patience is Key: Approach the task with patience, as it may take some time to loosen and lift the putty from the fabric. Apply light pressure and continue to scrape in a consistent motion, being mindful not to tug forcefully on the fabric.
-
Repeat as Needed: If the putty has spread over a larger area, work methodically to scrape off as much excess putty as possible. It may be necessary to repeat the scraping process multiple times to gradually reduce the amount of putty on the clothing.
-
Check the Fabric: Periodically pause to assess the progress and ensure that the fabric is not being damaged during the scraping process. If the putty begins to soften or ball up, carefully remove it from the tool to prevent re-depositing it onto the fabric.
By diligently scraping off excess silly putty from the clothing, you can effectively minimize the impact of the stain and prepare the fabric for subsequent removal methods. This initial step sets the stage for the application of additional techniques to fully eradicate the silly putty from the garment, ultimately restoring its pristine condition.
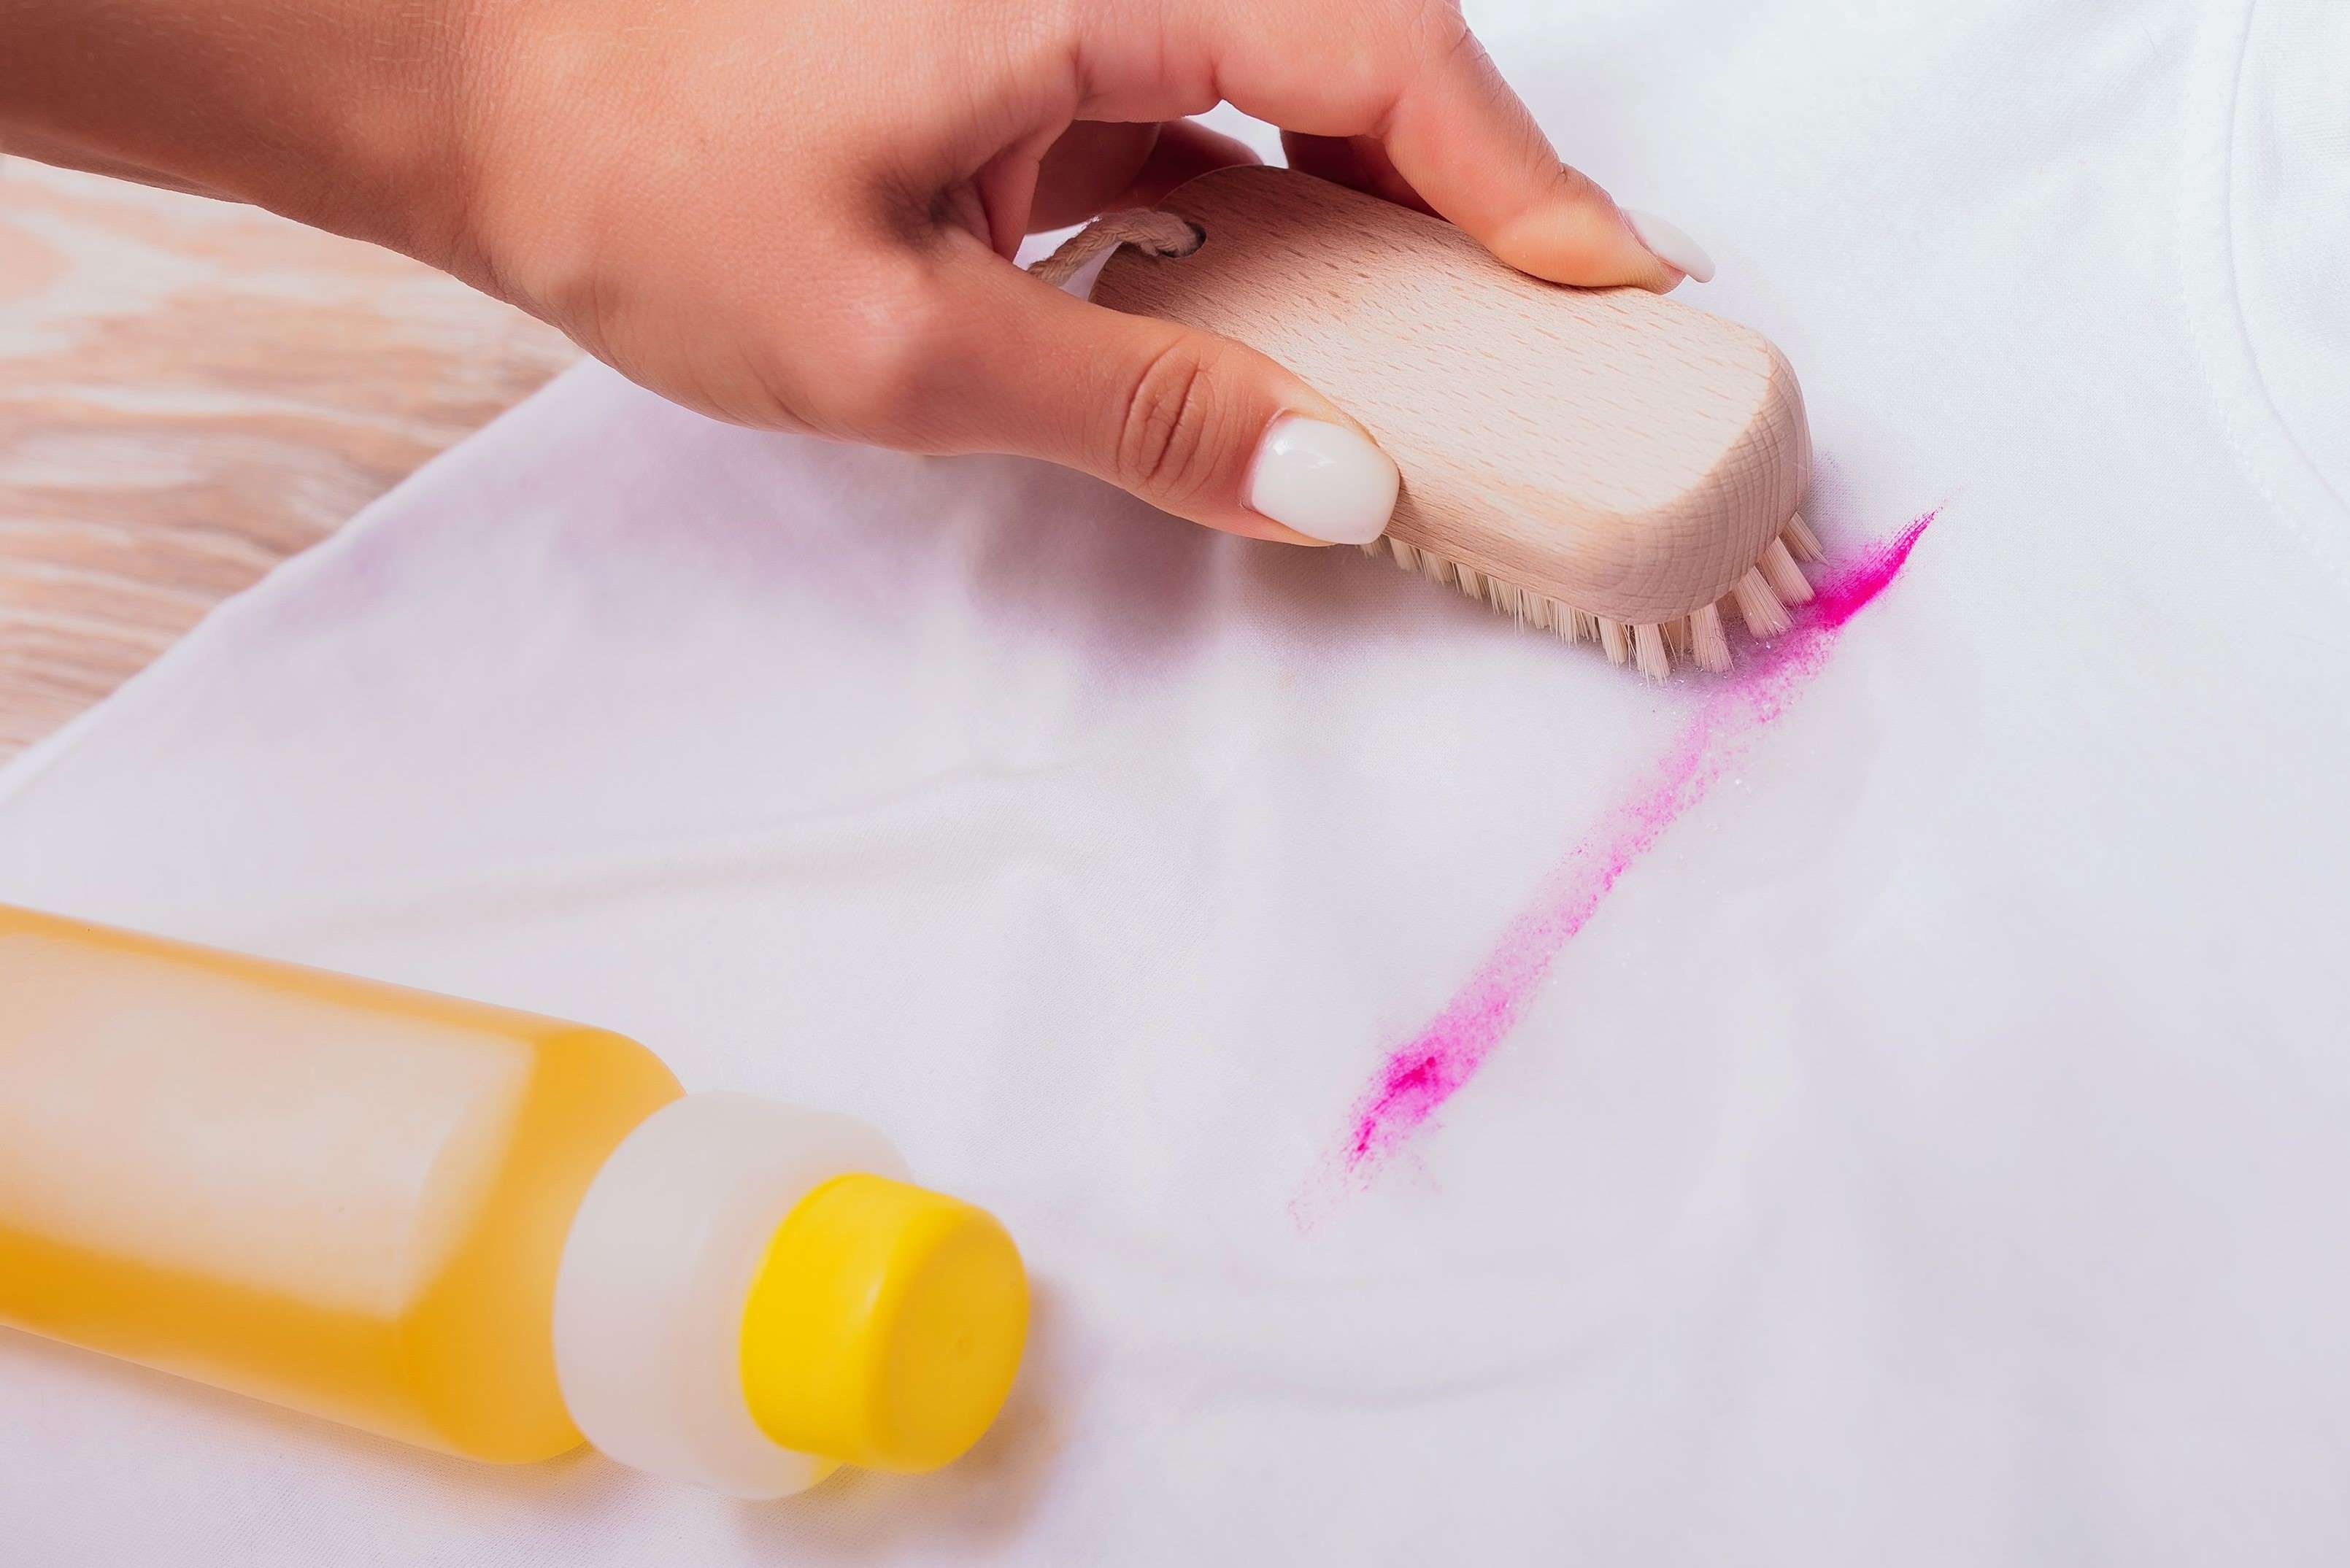
Step 2: Apply rubbing alcohol
After successfully scraping off excess silly putty from the clothing, the next crucial step in the removal process involves the application of rubbing alcohol. This household staple serves as an effective solvent to break down the adhesive properties of the putty, facilitating its detachment from the fabric. Here's a detailed exploration of the application of rubbing alcohol to combat silly putty stains:
-
Gather the Necessary Supplies: Before commencing the rubbing alcohol treatment, assemble the required supplies, including a clean white cloth or cotton balls, a bottle of rubbing alcohol (isopropyl alcohol), and a basin or sink for rinsing.
-
Perform a Patch Test: Prior to applying rubbing alcohol to the stained area, it is advisable to conduct a patch test on a small, inconspicuous section of the fabric. Dampen a corner of the white cloth or a cotton ball with rubbing alcohol and gently dab it on the test area. Allow it to sit for a few minutes and observe any adverse reactions, such as color fading or fabric damage. If the fabric exhibits no negative response, proceed with confidence to treat the silly putty stain.
-
Apply Rubbing Alcohol: Moisten a clean white cloth or cotton ball with rubbing alcohol, ensuring that it is sufficiently damp but not dripping. Place the garment on a flat surface and gently blot the affected area with the alcohol-soaked cloth, working from the outer edges of the stain towards the center. Avoid vigorous rubbing, as this may spread the stain or cause the fabric's dye to transfer.
-
Allow Penetration Time: Once the rubbing alcohol is applied, allow it to penetrate the fabric and interact with the putty stain. The alcohol works to weaken the adhesive bond of the putty, making it easier to lift from the clothing fibers. Depending on the severity of the stain, let the rubbing alcohol sit for several minutes to maximize its effectiveness.
-
Blot and Lift: After the alcohol has had time to work its magic, use a clean section of the cloth or a fresh cotton ball to gently blot and lift the loosened putty from the fabric. Repeat this process with a new area of the cloth as needed, ensuring that the putty is being transferred from the garment onto the cloth.
-
Rinse and Assess: Once the majority of the putty has been lifted, rinse the treated area under cold water to remove any residual alcohol and remaining putty particles. Assess the progress of the stain removal, and if necessary, repeat the rubbing alcohol application to further diminish the remaining traces of putty.
By diligently following the steps outlined above, you can harness the solvent properties of rubbing alcohol to effectively combat silly putty stains on clothing. This method serves as a pivotal stage in the overall removal process, setting the stage for subsequent treatments to fully restore the garment to its original condition.
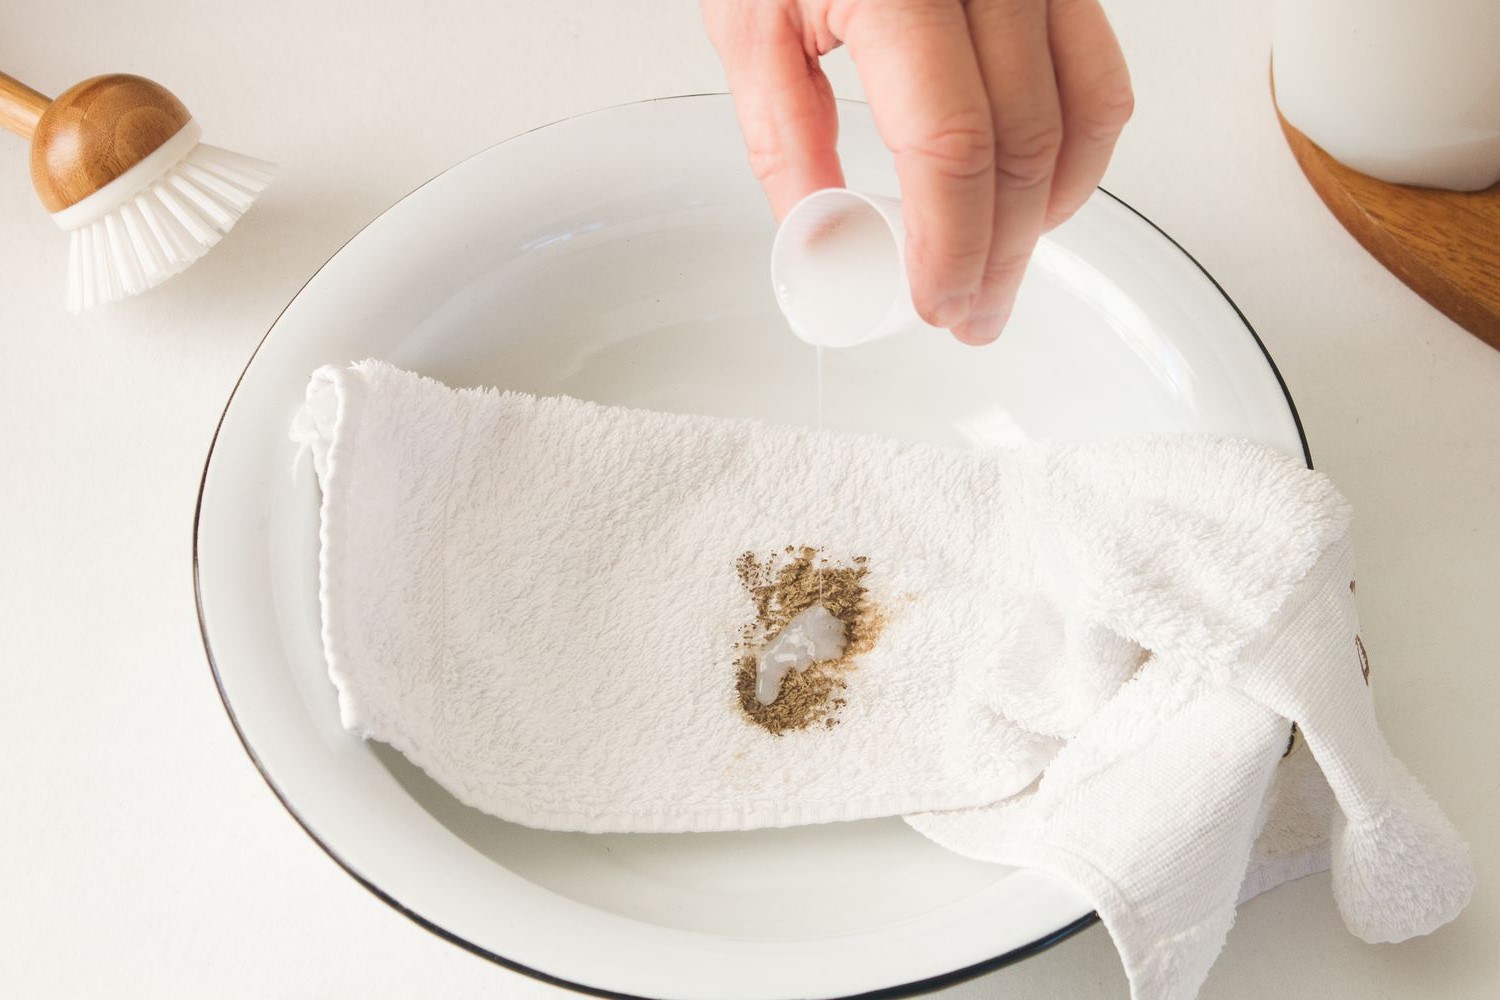
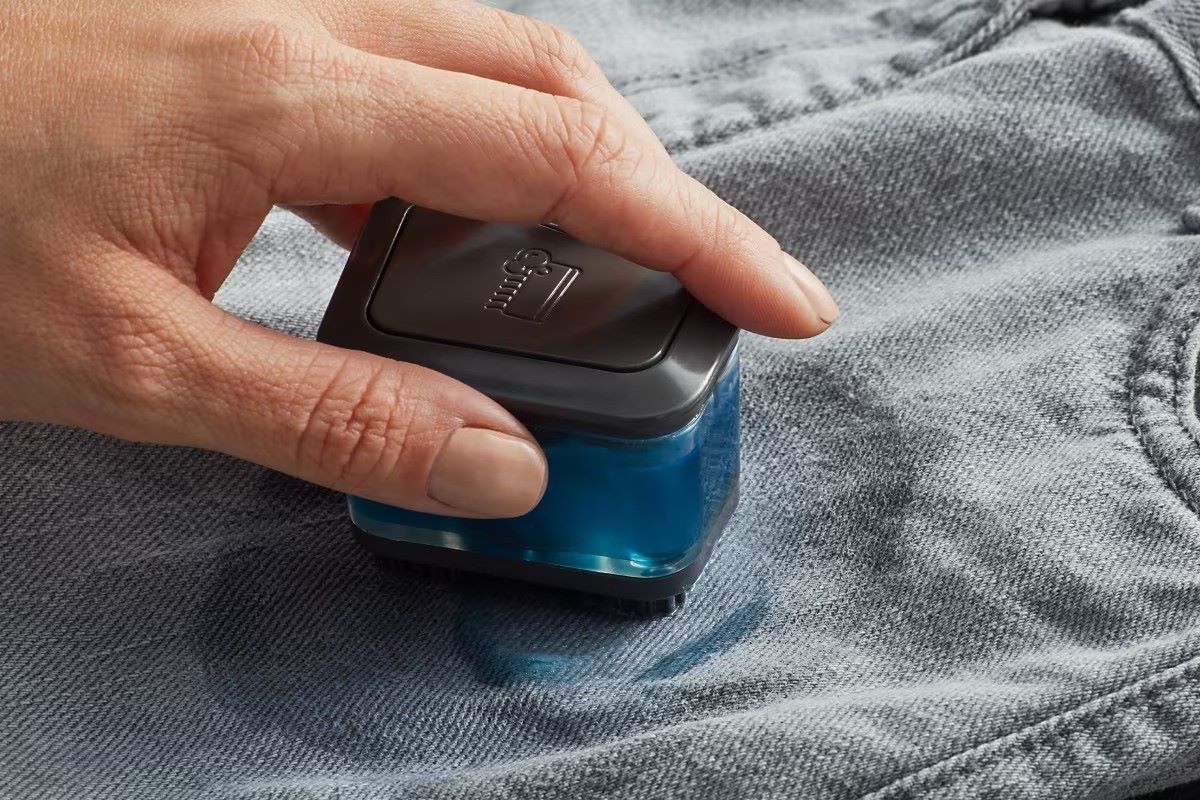
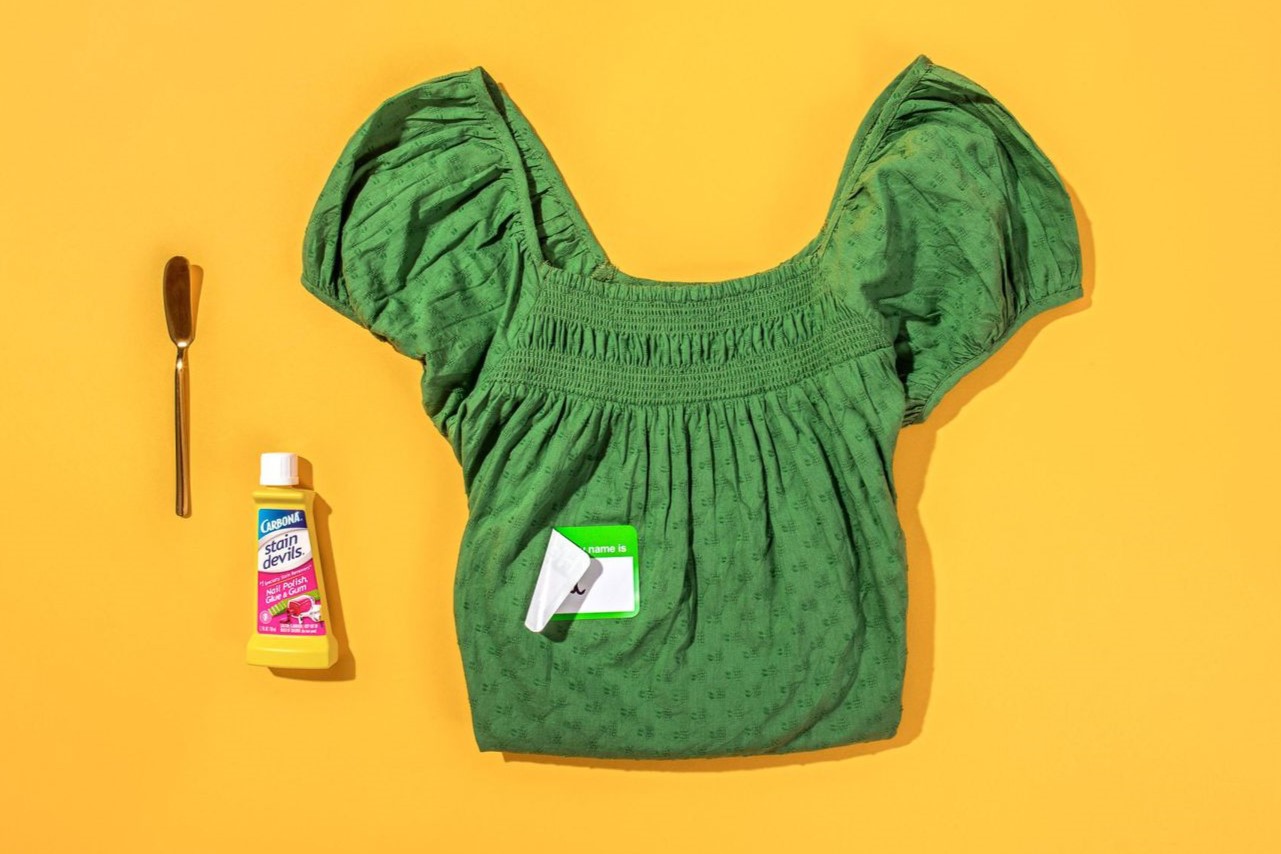
Step 3: Use a stain remover
Once the excess silly putty has been scraped off and the rubbing alcohol has been applied to the affected area, the next step in the process of removing silly putty from clothes involves the use of a stain remover. This additional treatment serves as a potent solution to target any lingering traces of the putty and further lift the stain from the fabric. Here's a detailed exploration of the application of a stain remover to effectively combat silly putty stains:
-
Select an Appropriate Stain Remover: When choosing a stain remover, opt for a product specifically formulated to tackle adhesive or oily stains. Look for a stain remover that is safe for use on the fabric of the garment and suitable for treating stubborn residues such as silly putty. It's advisable to read the manufacturer's instructions and any cautionary notes before proceeding with the application.
-
Pretest on a Small Area: Before applying the stain remover to the affected area, perform a pretest on a discreet section of the fabric to ensure compatibility and assess any potential adverse reactions. Apply a small amount of the stain remover to the test area and allow it to sit for the recommended duration. Afterward, check for any color fading, fabric damage, or other unwanted effects. If the fabric exhibits no negative response, proceed with confidence to treat the silly putty stain.
-
Apply the Stain Remover: Following the pretest, apply a liberal amount of the stain remover directly onto the remaining silly putty stain. Ensure that the affected area is adequately saturated with the product, allowing it to penetrate the fabric and target the stubborn residue. Use a gentle rubbing motion to work the stain remover into the fabric, focusing on the areas where the putty was previously adhered.
-
Allow Dwell Time: Once the stain remover is applied, allow it to dwell on the fabric for the recommended duration as per the product's instructions. This dwell time allows the active ingredients in the stain remover to effectively break down the remaining putty and lift it from the clothing fibers. Patience during this phase is crucial to maximize the stain remover's efficacy.
-
Rinse and Launder: After the dwell time has elapsed, thoroughly rinse the treated area under cold water to remove the stain remover and any loosened putty particles. Following the rinse, launder the garment as usual, employing a quality laundry detergent to ensure a comprehensive cleaning process. Check the fabric post-wash to confirm the successful removal of the silly putty stain.
By incorporating a stain remover into the removal process, you can effectively target any residual putty and elevate the overall success of restoring your garment to its original condition. This method serves as a pivotal stage in the comprehensive approach to eradicating silly putty stains from clothing, ensuring a thorough and effective treatment.
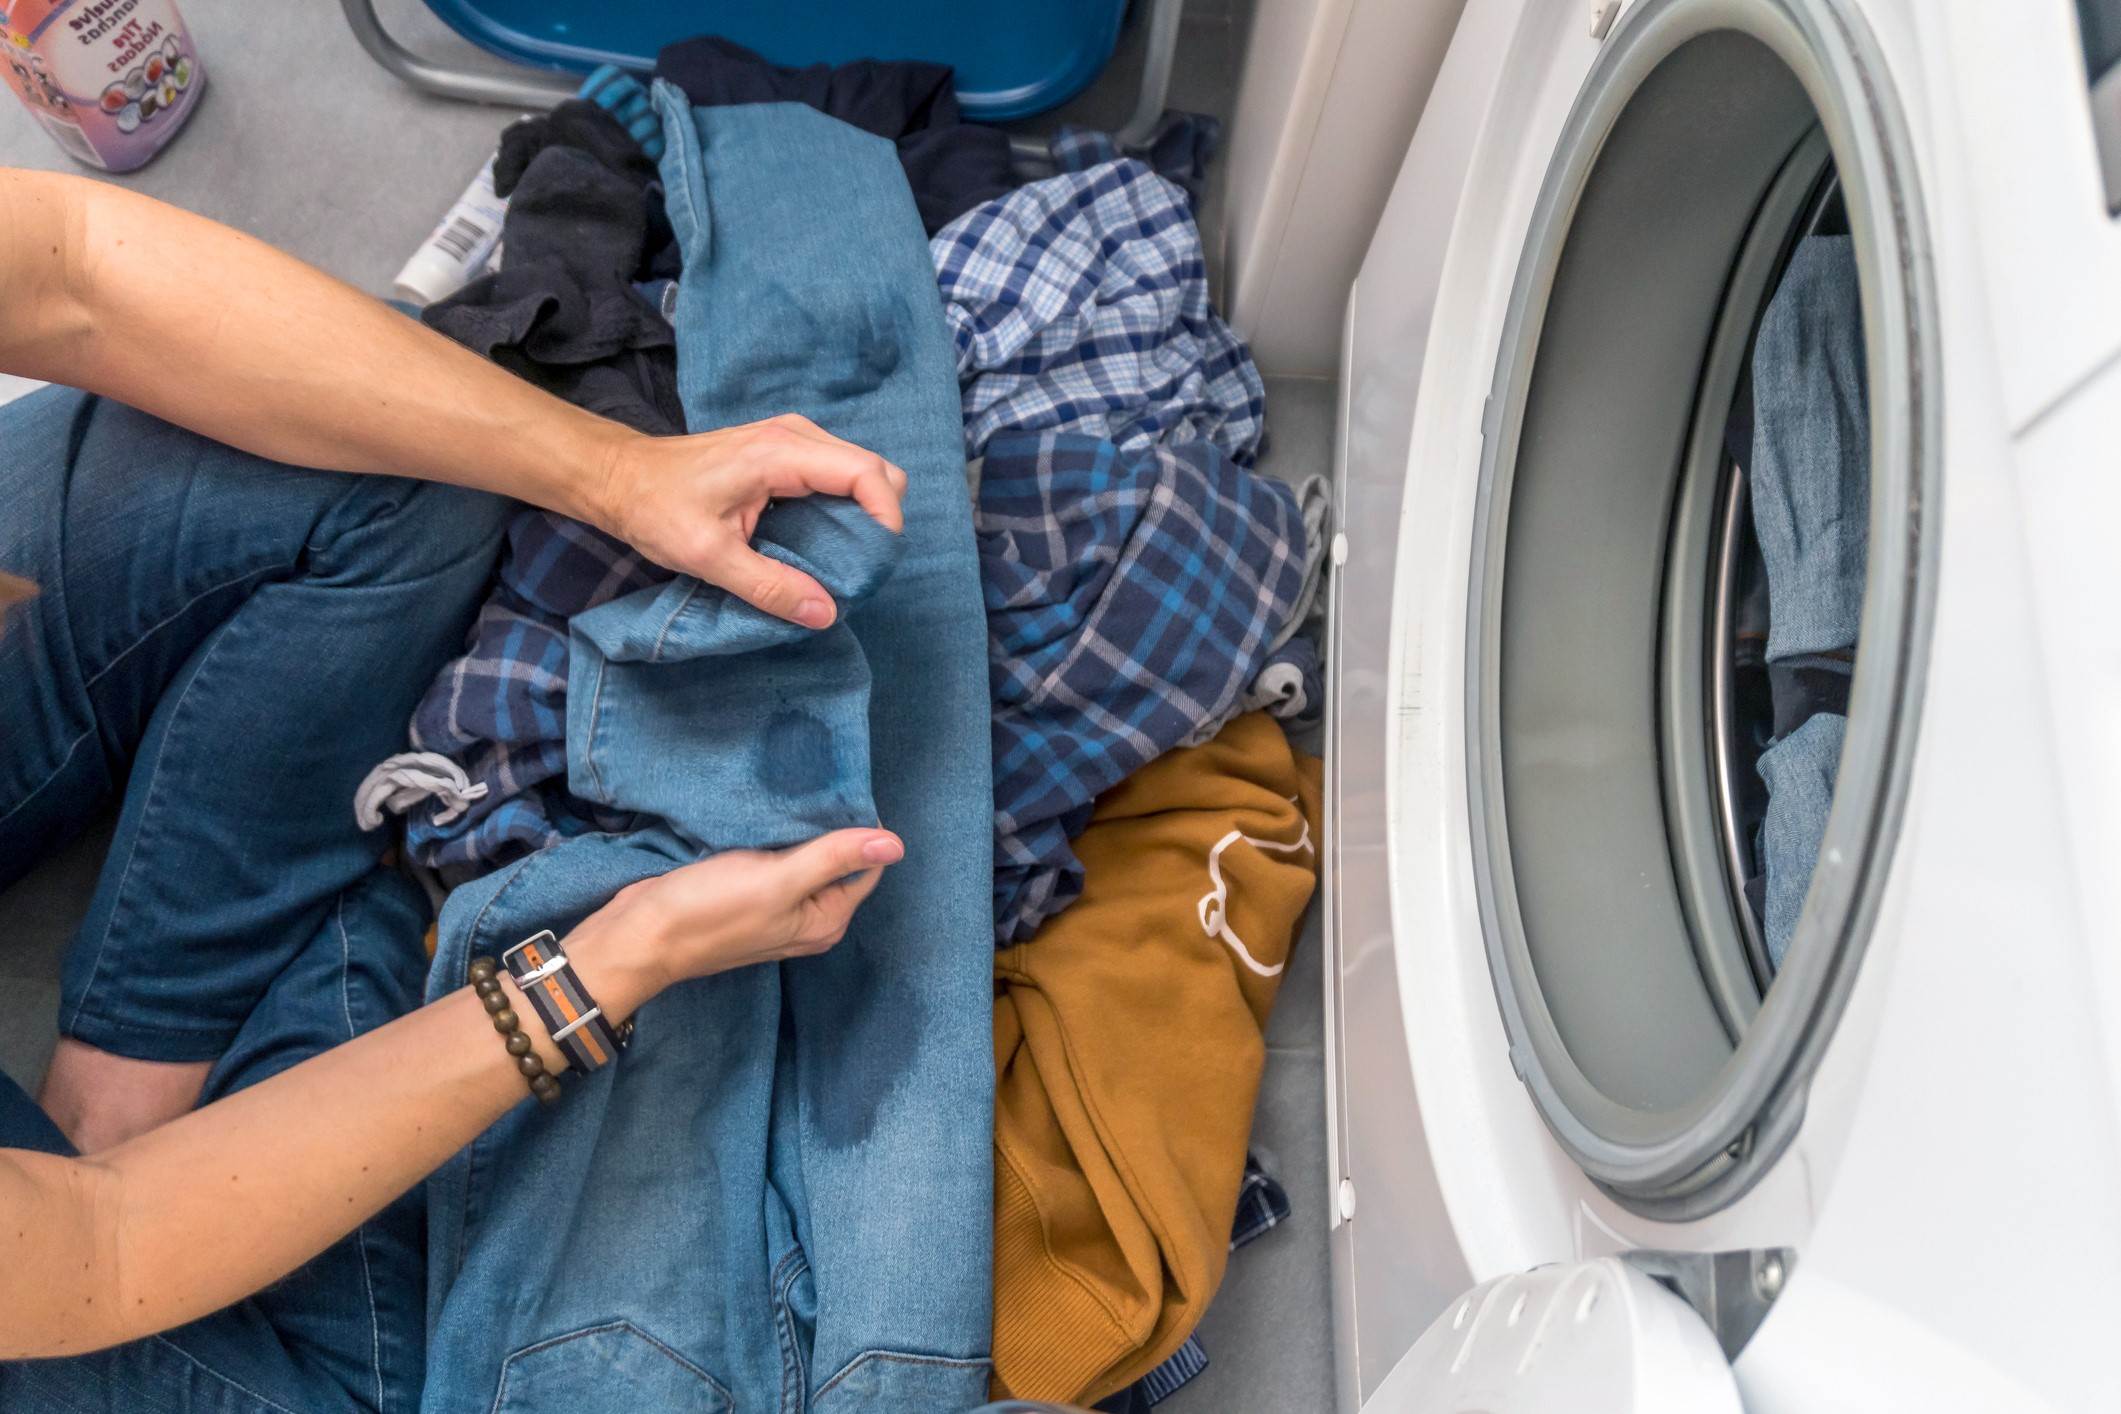
Step 4: Wash the clothing item
After diligently applying the scraping, rubbing alcohol, and stain remover methods to combat the silly putty stain, the next crucial step involves washing the clothing item to complete the comprehensive removal process. Washing the garment serves as the final stage in the endeavor to eliminate any remaining traces of the putty and restore the fabric to its pristine state. Here's a detailed exploration of the washing process to effectively cleanse the clothing item:
-
Prepare for Laundering: Prior to washing the garment, assess the treated area to ensure that the majority of the silly putty stain has been successfully lifted. If any residual traces of putty are still visible, consider reapplying the stain remover or utilizing a pre-treatment solution to further address the remaining discoloration.
-
Select the Appropriate Detergent: Choose a high-quality laundry detergent suitable for the fabric type and the nature of the stain. Opt for a detergent with strong stain-fighting properties to ensure a thorough cleansing of the affected area. If the garment is made of delicate or specialty fabric, select a detergent specifically formulated for such materials.
-
Follow Fabric Care Instructions: Refer to the care label on the garment to determine the recommended washing conditions, including water temperature, cycle settings, and any specific care instructions. Adhering to the manufacturer's guidelines ensures that the fabric is treated with the appropriate level of care during the laundering process.
-
Pre-Treat if Necessary: If any faint remnants of the silly putty stain persist, consider pre-treating the affected area with a targeted stain remover or a gentle solution of water and detergent. Gently massage the pre-treatment into the fabric and allow it to sit for a brief period before proceeding with the washing cycle.
-
Load the Garment with Care: Place the treated garment into the washing machine, taking care to position it in a manner that maximizes exposure to the water and detergent. Avoid overcrowding the machine to allow for adequate water circulation and thorough cleaning of the fabric.
-
Select the Appropriate Cycle: Choose a washing cycle that aligns with the fabric type and the degree of cleaning required. Opt for a cycle with a suitable water temperature and agitation level to effectively dislodge any remaining putty particles and lift them from the fabric.
-
Monitor the Washing Process: Throughout the washing cycle, periodically check the garment to ensure that the treated area is responding favorably to the cleansing process. If the silly putty stain persists after the initial cycle, consider re-washing the garment or employing targeted spot treatments to address any lingering discoloration.
-
Inspect the Fabric Post-Wash: Once the washing cycle is complete, carefully inspect the fabric to confirm the successful removal of the silly putty stain. If any traces of the stain remain, consider repeating the washing process or employing alternative stain-fighting methods to achieve the desired outcome.
By meticulously following the steps outlined above, you can effectively complete the removal process by washing the clothing item, ensuring a thorough and comprehensive treatment of the silly putty stain. This final stage serves as a pivotal component in the overall endeavor to restore the garment to its original condition, allowing you to bid farewell to the remnants of the pesky putty and enjoy your revitalized clothing once more.
Read more: How To Get Sap Out Of Clothes
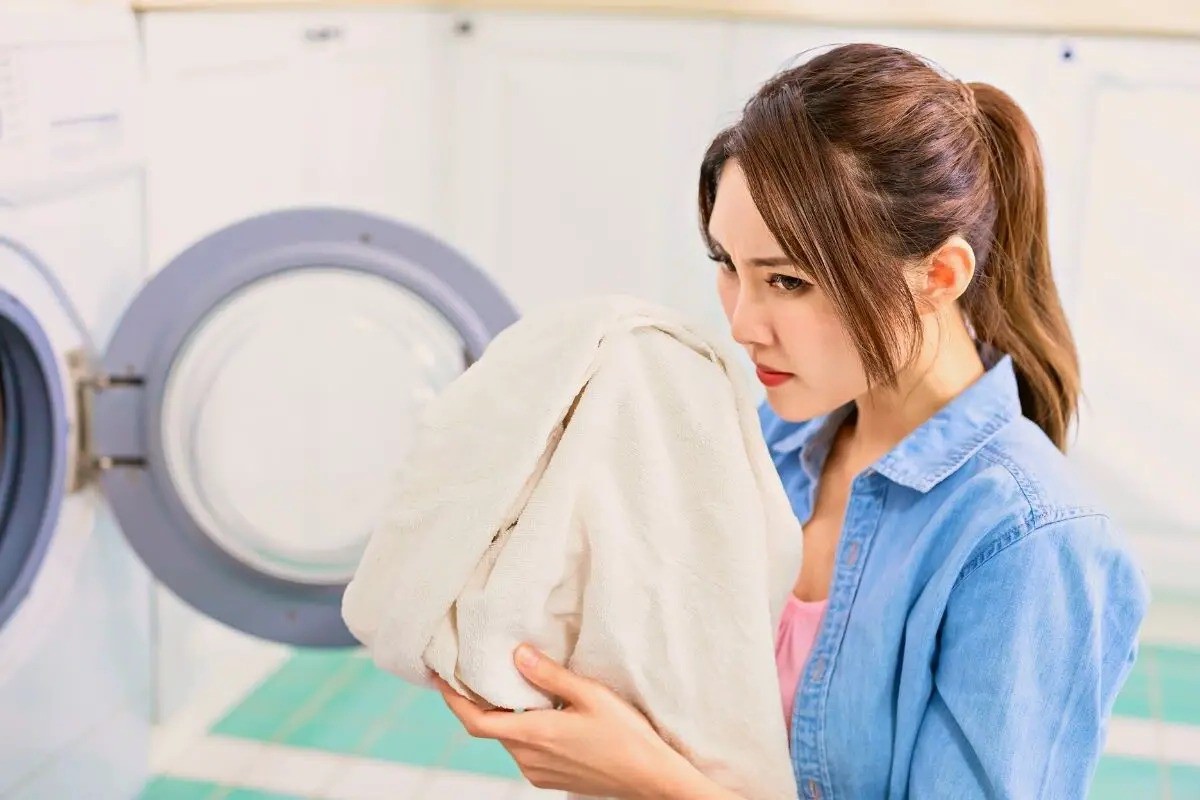
Step 5: Air dry the clothing item
After completing the comprehensive process of removing silly putty from the clothing item, the final step involves air drying the garment to complete the restoration process. Air drying serves as a gentle and effective method to ensure that the fabric retains its integrity and that any remaining moisture evaporates naturally. Here's a detailed exploration of the air drying process to safeguard the freshly treated garment:
-
Prepare the Drying Area: Select a well-ventilated area for air drying the garment, ensuring that it is away from direct sunlight and sources of heat. Lay a clean, dry towel on a flat surface to serve as the base for placing the garment during the drying process.
-
Position the Garment: Carefully place the treated clothing item onto the prepared towel, arranging it in a manner that allows for adequate air circulation around the fabric. Smooth out any wrinkles or folds to facilitate even drying and maintain the garment's shape.
-
Allow Ample Drying Time: Patience is key during the air drying process. Allow the garment to air dry naturally, avoiding the use of artificial heat sources such as hair dryers or radiators, which can potentially damage the fabric or set any remaining stains.
-
Periodic Check and Reassessment: Periodically check the garment to monitor the drying progress and assess the treated area for any lingering signs of the silly putty stain. If necessary, consider reapplying stain remover or targeted treatments to address any residual discoloration before the fabric fully dries.
-
Confirm Dryness: Once the garment has air dried, confirm that the fabric is completely dry to the touch. Check for any remaining traces of the silly putty stain and ensure that the fabric's texture and color appear uniform and restored.
By diligently following the steps outlined above, you can successfully complete the removal process by air drying the clothing item, allowing the fabric to regain its natural texture and appearance. This final stage serves as a crucial component in the overall endeavor to restore the garment to its original condition, ensuring that the freshly treated fabric is ready to be worn and enjoyed once more.
Conclusion
In conclusion, the successful removal of silly putty from clothing demands a systematic and diligent approach, encompassing a series of targeted methods and treatments. By adhering to the step-by-step process outlined in this guide, individuals can effectively address the challenge of silly putty stains, restoring their cherished garments to their former pristine state.
The initial step of scraping off excess silly putty sets the foundation for subsequent treatments, allowing for the removal of visible putty and preparation of the fabric for further cleaning. The application of rubbing alcohol serves as a pivotal stage, harnessing the solvent properties of alcohol to weaken the adhesive bond of the putty and facilitate its detachment from the fabric. This method effectively combats the stubborn nature of silly putty, laying the groundwork for comprehensive stain removal.
Furthermore, the utilization of a stain remover represents a potent solution to target any lingering traces of the putty and further lift the stain from the fabric. This additional treatment enhances the overall success of the removal process, ensuring a thorough and effective treatment of the affected area.
The subsequent washing of the clothing item serves as a vital stage, completing the comprehensive removal process by thoroughly cleansing the fabric and eliminating any remaining traces of the putty. By adhering to fabric care instructions and employing suitable detergents, individuals can achieve a thorough cleansing of the affected area, ensuring the successful eradication of the silly putty stain.
Finally, the gentle and effective method of air drying the garment completes the restoration process, allowing the fabric to regain its natural texture and appearance. This final stage safeguards the freshly treated garment, ensuring that it is ready to be worn and enjoyed once more.
In essence, the successful removal of silly putty from clothing is achievable through a combination of patience, diligence, and the application of targeted treatments. By following the comprehensive process outlined in this guide, individuals can confidently address silly putty stains, preserving the integrity of their cherished garments and bidding farewell to the remnants of the pesky putty.