Home>Home and Garden>How To Get Chapstick Out Of Clothes
Home and Garden
How To Get Chapstick Out Of Clothes
Published: March 6, 2024
Learn effective methods to remove chapstick stains from clothes using common household items. Keep your home and garden looking fresh and clean with these simple tips.
(Many of the links in this article redirect to a specific reviewed product. Your purchase of these products through affiliate links helps to generate commission for Noodls.com, at no extra cost. Learn more)
Table of Contents
Introduction
Accidents happen, and getting chapstick on your clothes is a common mishap that can leave unsightly stains. Whether it's from a forgotten tube in a pocket or a playful encounter with a curious pet, dealing with chapstick stains on clothing can be frustrating. However, with the right approach, you can effectively remove these stains and restore your garments to their former glory.
In this comprehensive guide, we will explore a step-by-step process to help you tackle the challenge of removing chapstick from clothes. From scraping off excess residue to utilizing common household items, we will walk you through the methods that can effectively eliminate chapstick stains and restore your clothing to its pristine condition.
So, if you've found yourself in the unfortunate situation of dealing with chapstick stains on your favorite shirt, pants, or any other garment, fear not! By following the techniques outlined in this guide, you'll be equipped with the knowledge and tools to effectively address this common laundry dilemma. Let's dive into the step-by-step process and bid farewell to those pesky chapstick stains!
Read more: How To Get Butter Out Of Clothes
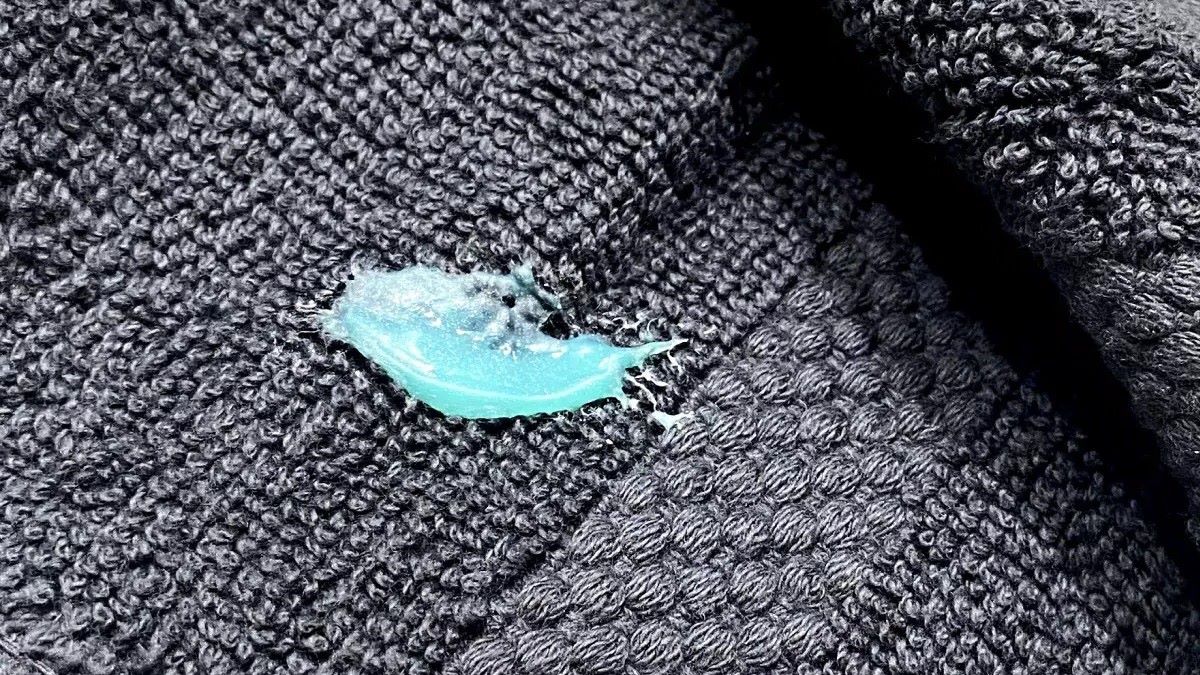
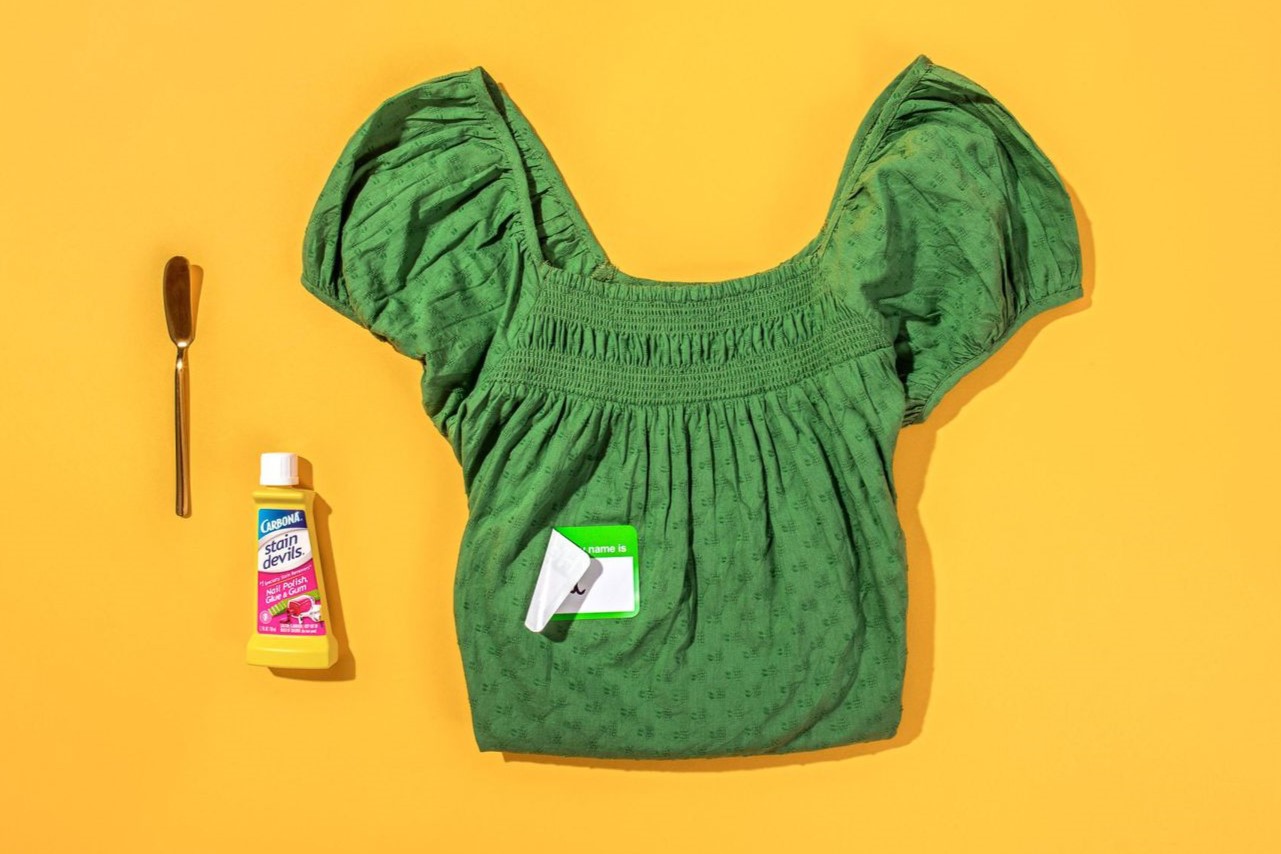
Step 1: Scrape off excess chapstick
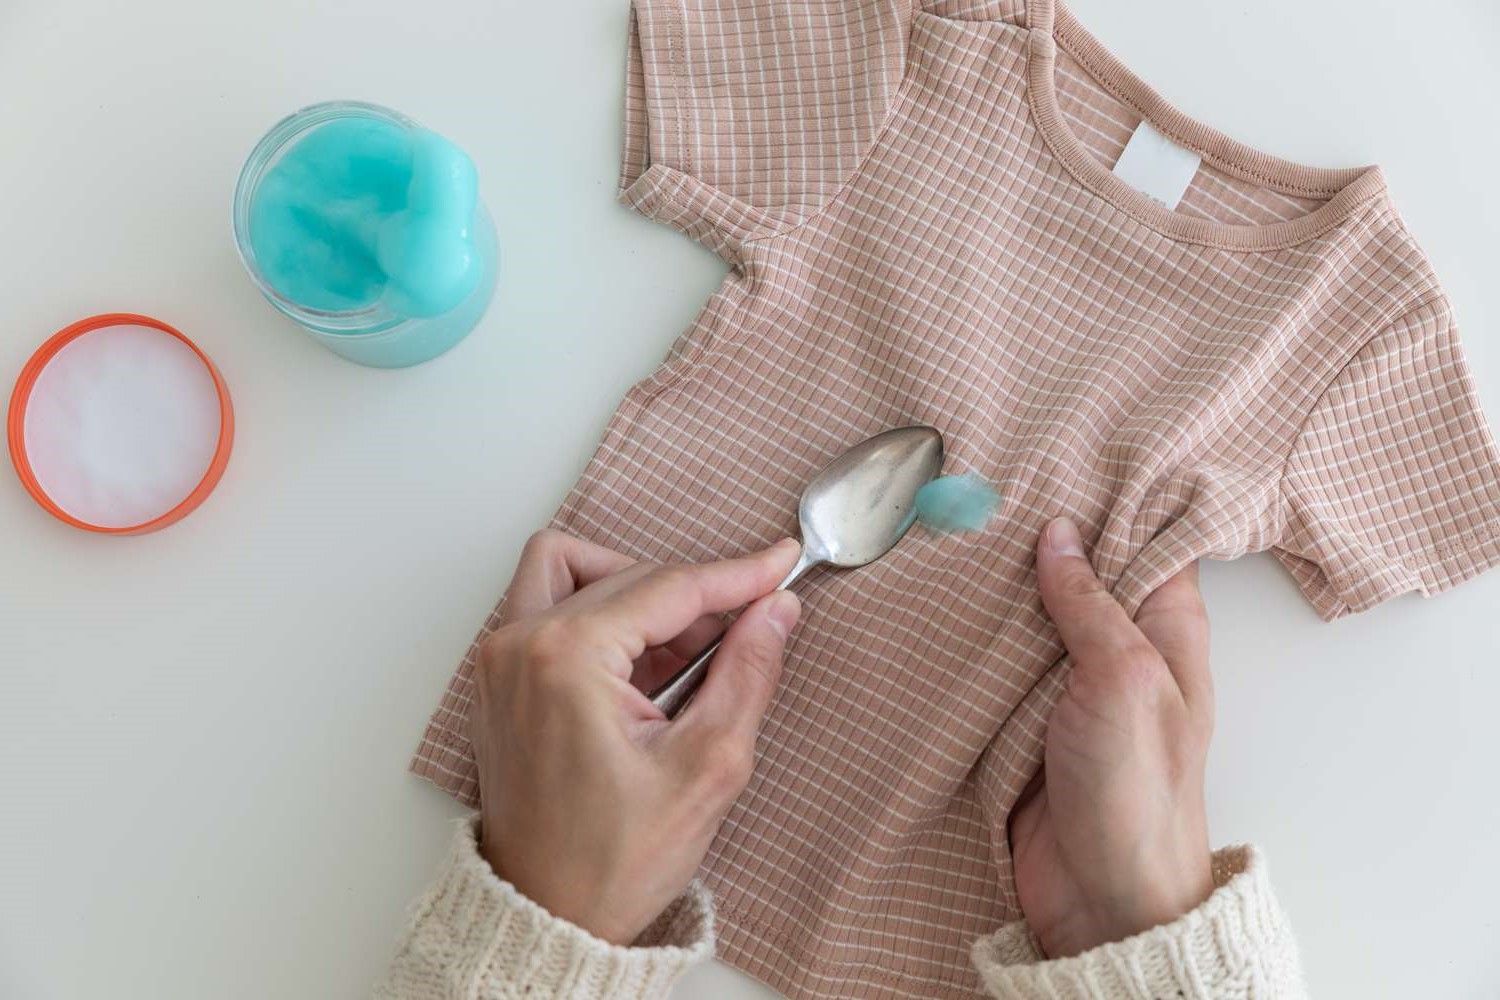
When you discover a chapstick stain on your clothing, the first step is to gently scrape off any excess chapstick residue from the fabric. This initial action helps prevent the stain from setting further into the fibers, making the subsequent removal process more manageable.
To begin, locate a dull-edged tool, such as a butter knife or a plastic spoon, that can be used to carefully lift and remove the excess chapstick from the fabric. It's important to approach this step with caution to avoid spreading the stain or causing damage to the garment. Using gentle and deliberate motions, lightly scrape the affected area to dislodge and lift as much of the chapstick residue as possible.
It's crucial to refrain from rubbing the fabric vigorously, as this can embed the chapstick deeper into the fibers, making it more challenging to remove. Instead, focus on gently lifting the excess chapstick from the surface of the clothing. If the stain has caused the fabric to become stiff or hardened, you may carefully use your fingernail to break up the residue before proceeding with the scraping process.
Once you have removed as much excess chapstick as possible, you can proceed to the next step in the stain removal process with the confidence that you have effectively minimized the impact of the stain on your clothing.
By diligently scraping off the excess chapstick, you are taking the crucial first step towards restoring your garment to its original condition. This proactive approach sets the stage for the subsequent cleaning and treatment methods, increasing the likelihood of successfully eliminating the chapstick stain from your clothing.
With the excess chapstick removed, you are now ready to move on to the next step in the process, which involves applying a common household item to further address the stain and restore your clothing to its pristine state.
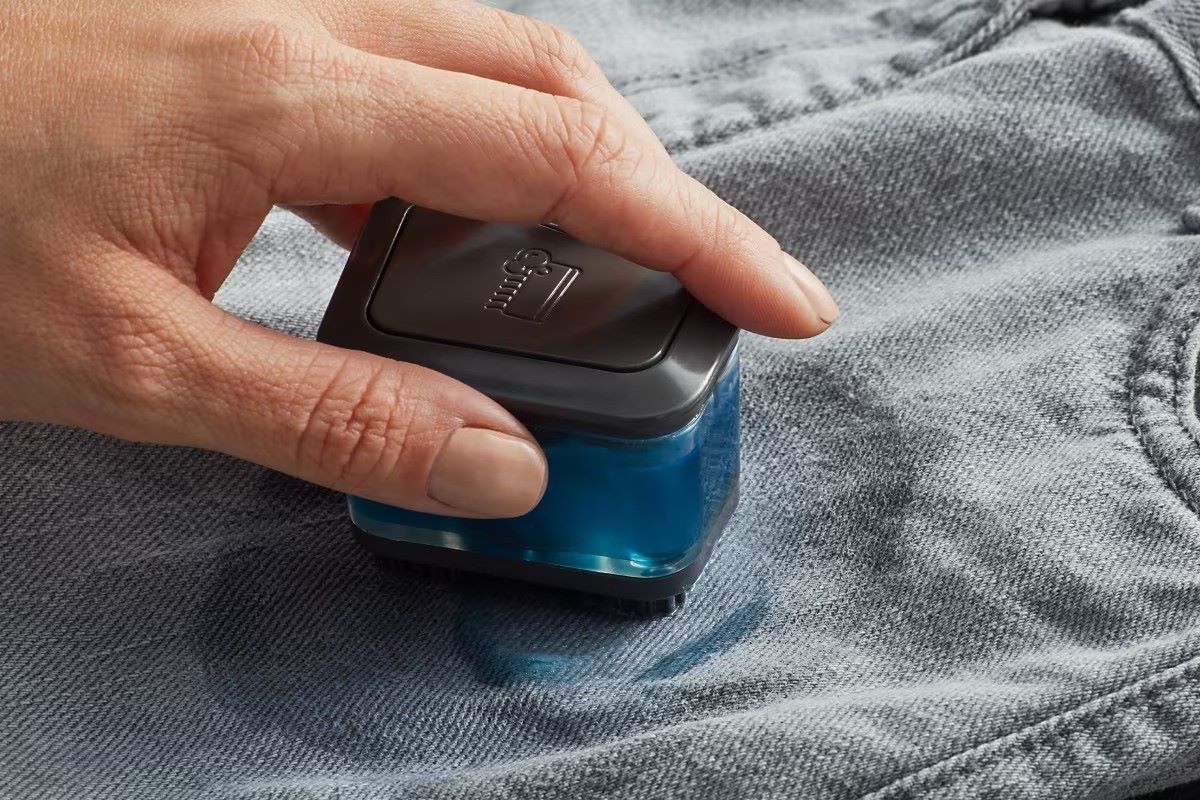
Step 2: Apply dish soap
After successfully scraping off the excess chapstick from the affected clothing, the next step in the stain removal process involves the application of dish soap. This common household item is a versatile and effective tool for combating various stains, including those caused by oily substances like chapstick.
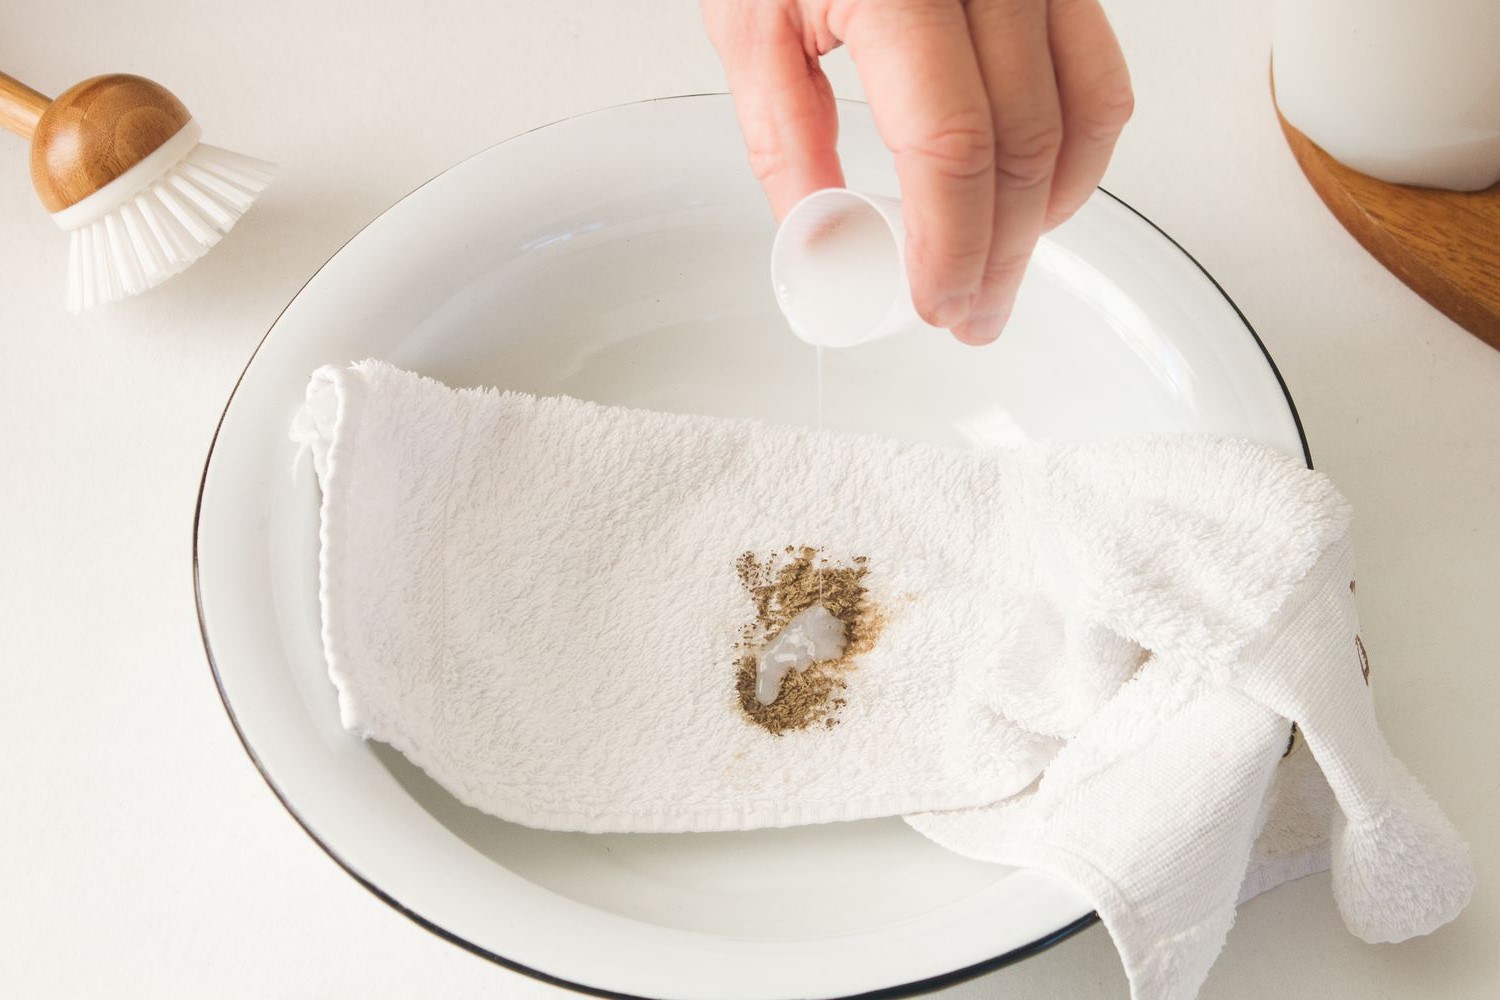
To begin, gather a small bowl or container and fill it with lukewarm water. Then, add a small amount of dish soap to the water and mix it gently to create a soapy solution. It's important to use a mild dish soap that does not contain bleach or strong chemicals, as these can potentially damage the fabric.
Once the soapy solution is prepared, dip a clean cloth or sponge into the mixture, ensuring that it is sufficiently saturated but not dripping. With the dampened cloth, gently dab and blot the stained area on the clothing. The dish soap works to break down the oily components of the chapstick, helping to lift the stain from the fabric.
As you apply the soapy solution, be mindful of the fabric type and the intensity of the stain. Avoid excessive rubbing or scrubbing, as this can cause damage or spread the stain further. Instead, focus on gently working the soapy solution into the affected area, allowing it to penetrate the fabric and begin loosening the chapstick residue.
After applying the dish soap, allow the soapy solution to remain on the stained area for a few minutes. This dwell time enables the soap to effectively interact with the stain, facilitating the process of breaking down and lifting the oily residue from the fabric.
Following the dwell time, rinse the soapy solution from the clothing by blotting the area with a clean, damp cloth. It's essential to remove any excess soap and residue to prevent it from leaving its own mark on the fabric. Once the area has been thoroughly rinsed, gently pat it with a dry cloth to absorb any remaining moisture.
By applying dish soap to the chapstick stain, you are harnessing the cleansing power of this household staple to target and address the oily residue embedded in the fabric. This method sets the stage for the subsequent laundering process, as the dish soap effectively prepares the stained area for thorough cleaning, bringing you one step closer to restoring your clothing to its original condition.
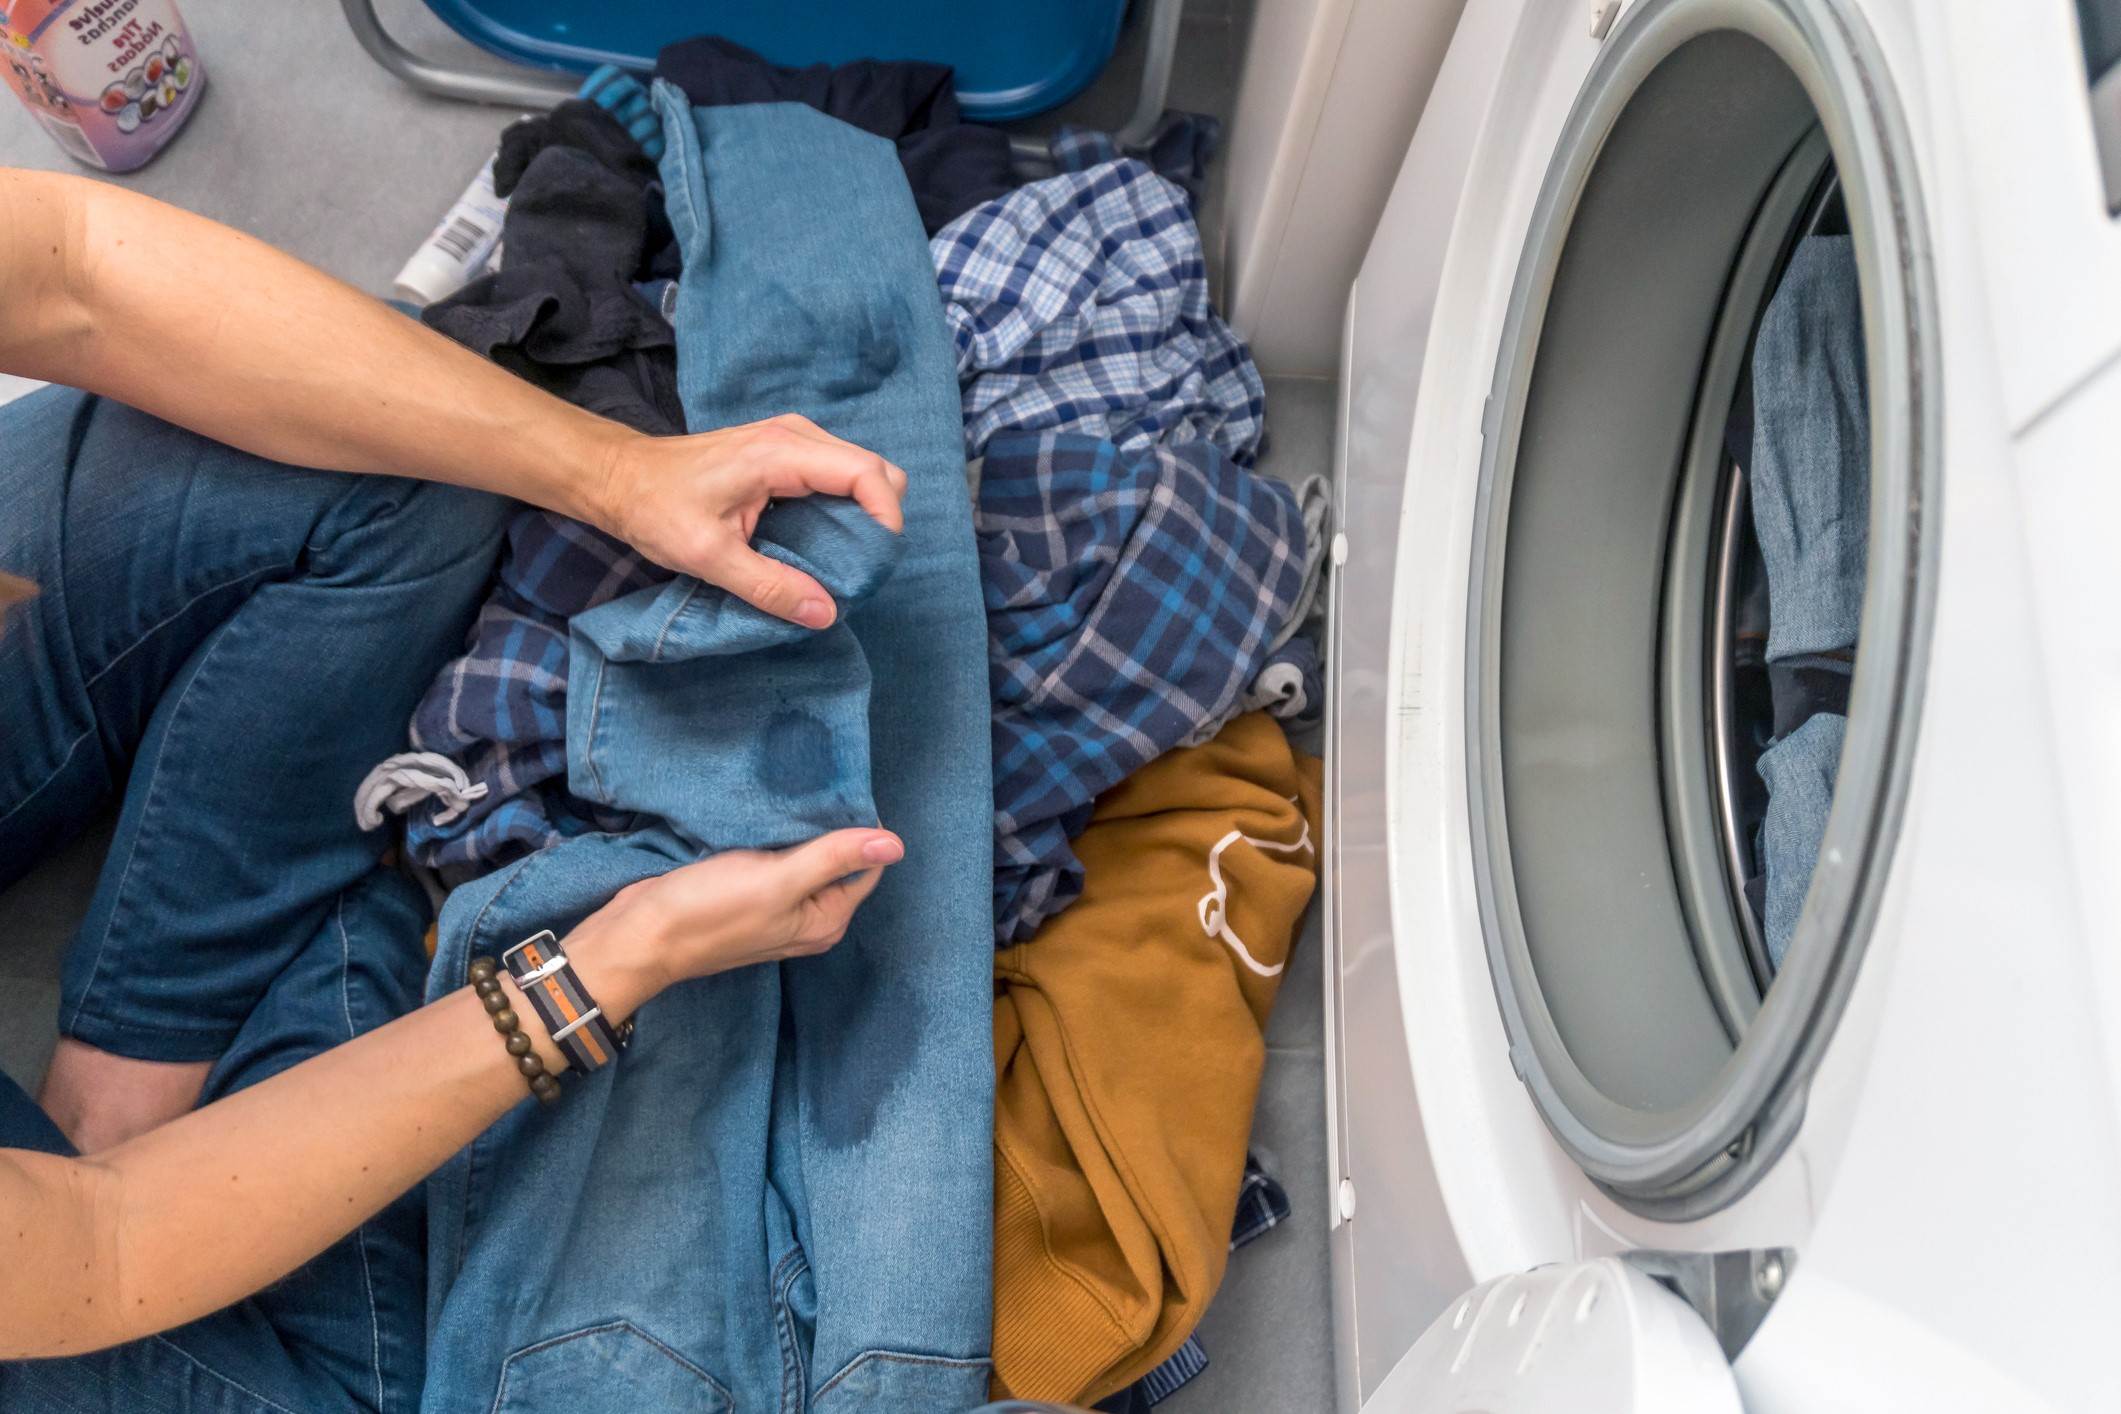
Step 3: Wash the clothing
With the excess chapstick removed and the application of dish soap to target the stubborn stain, the next crucial step in the stain removal process involves laundering the affected clothing. Washing the garment using an appropriate cleaning method is essential for thoroughly eliminating any remaining traces of chapstick and restoring the fabric to its pristine state.
Before proceeding with the washing process, it's important to review the care label on the garment to determine the recommended washing instructions. Different fabrics and clothing items may require specific care, such as machine washing, hand washing, or dry cleaning. Adhering to the manufacturer's guidelines ensures that the clothing is treated with the appropriate method, minimizing the risk of damage during the cleaning process.
For machine-washable garments, prepare the washing machine by selecting the appropriate water temperature and cycle based on the fabric type and the garment's care label instructions. It's advisable to use the warmest water temperature suitable for the fabric, as heat can help to dissolve and lift oily residues from the clothing. Additionally, consider using a gentle or delicate cycle to prevent excessive agitation that may exacerbate the stain or damage the fabric.
When preparing the washing machine, add a quality laundry detergent to the designated dispenser or directly into the drum. Opt for a detergent that is formulated to tackle tough stains and is suitable for the fabric type of the affected clothing. The detergent works in conjunction with the water and agitation of the washing machine to effectively cleanse the fabric and remove any remaining chapstick residue.
Once the washing machine is prepared, place the stained clothing item into the machine, ensuring that it is not overcrowded to allow for proper agitation and cleaning. Avoid including other heavily soiled items or those with potential color transfer, as this can compromise the effectiveness of the stain removal process.
After the washing cycle is complete, carefully remove the garment from the machine and inspect the previously stained area. If the chapstick stain persists, refrain from drying the clothing, as heat from the dryer can set the stain further into the fabric. Instead, consider repeating the washing process or proceeding with targeted stain treatment methods to address any remaining traces of the stain.
By laundering the clothing, you are leveraging the cleansing power of water and detergent to thoroughly cleanse the fabric and eliminate any lingering chapstick residue. This pivotal step brings you closer to achieving a successful stain removal outcome, allowing you to enjoy your freshly laundered garment free from the remnants of the pesky chapstick stain.
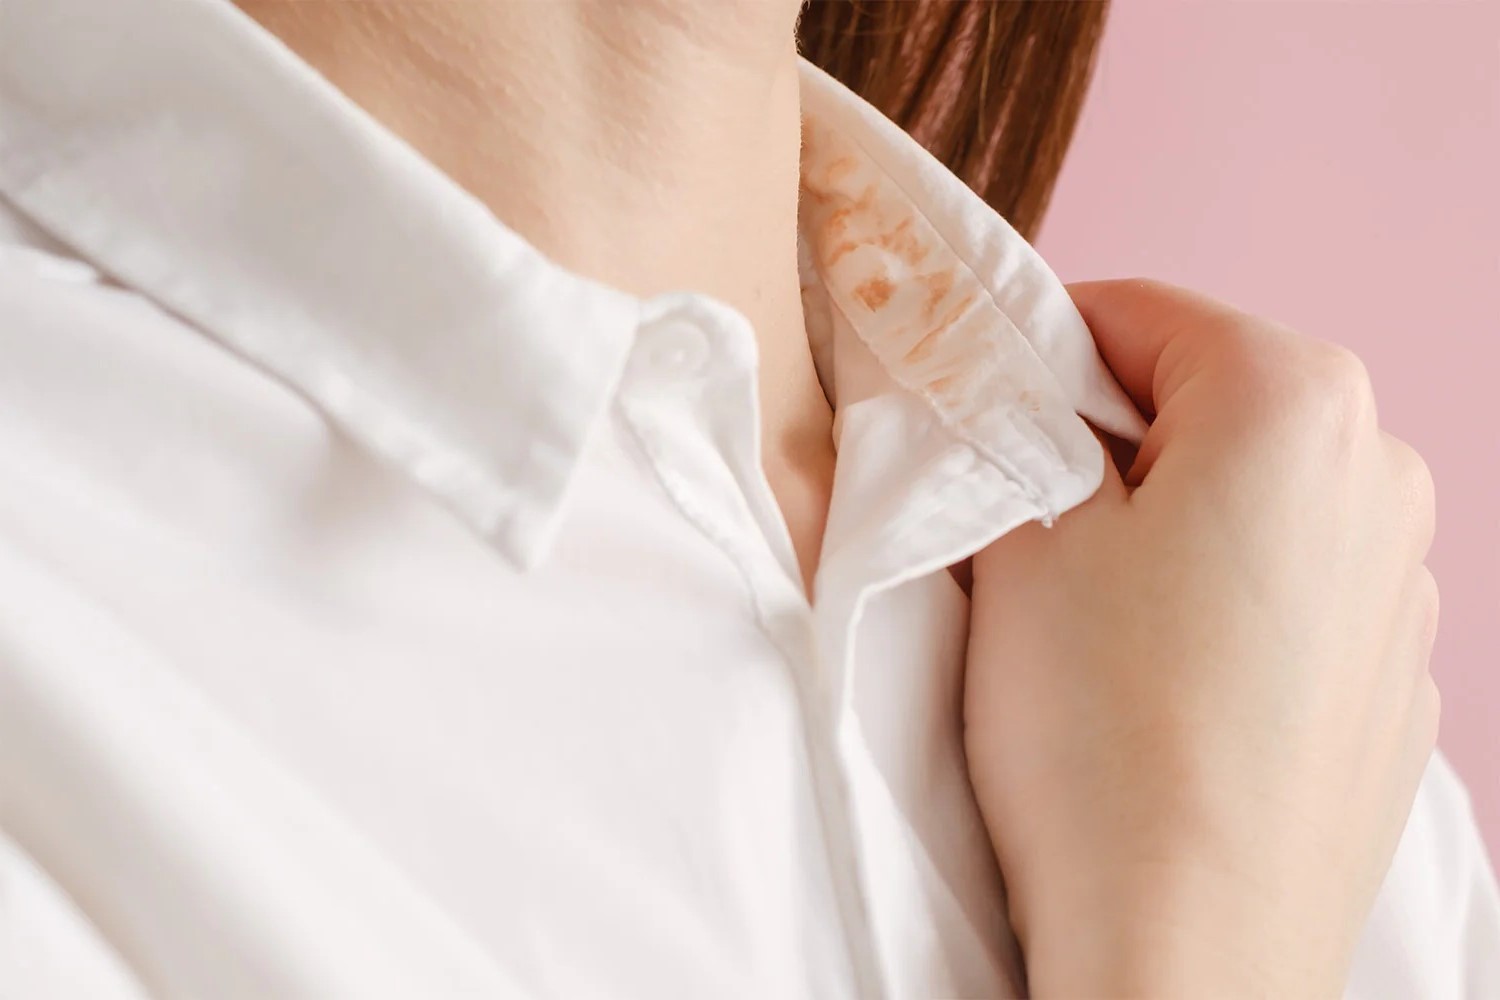
Step 4: Check for any remaining stains
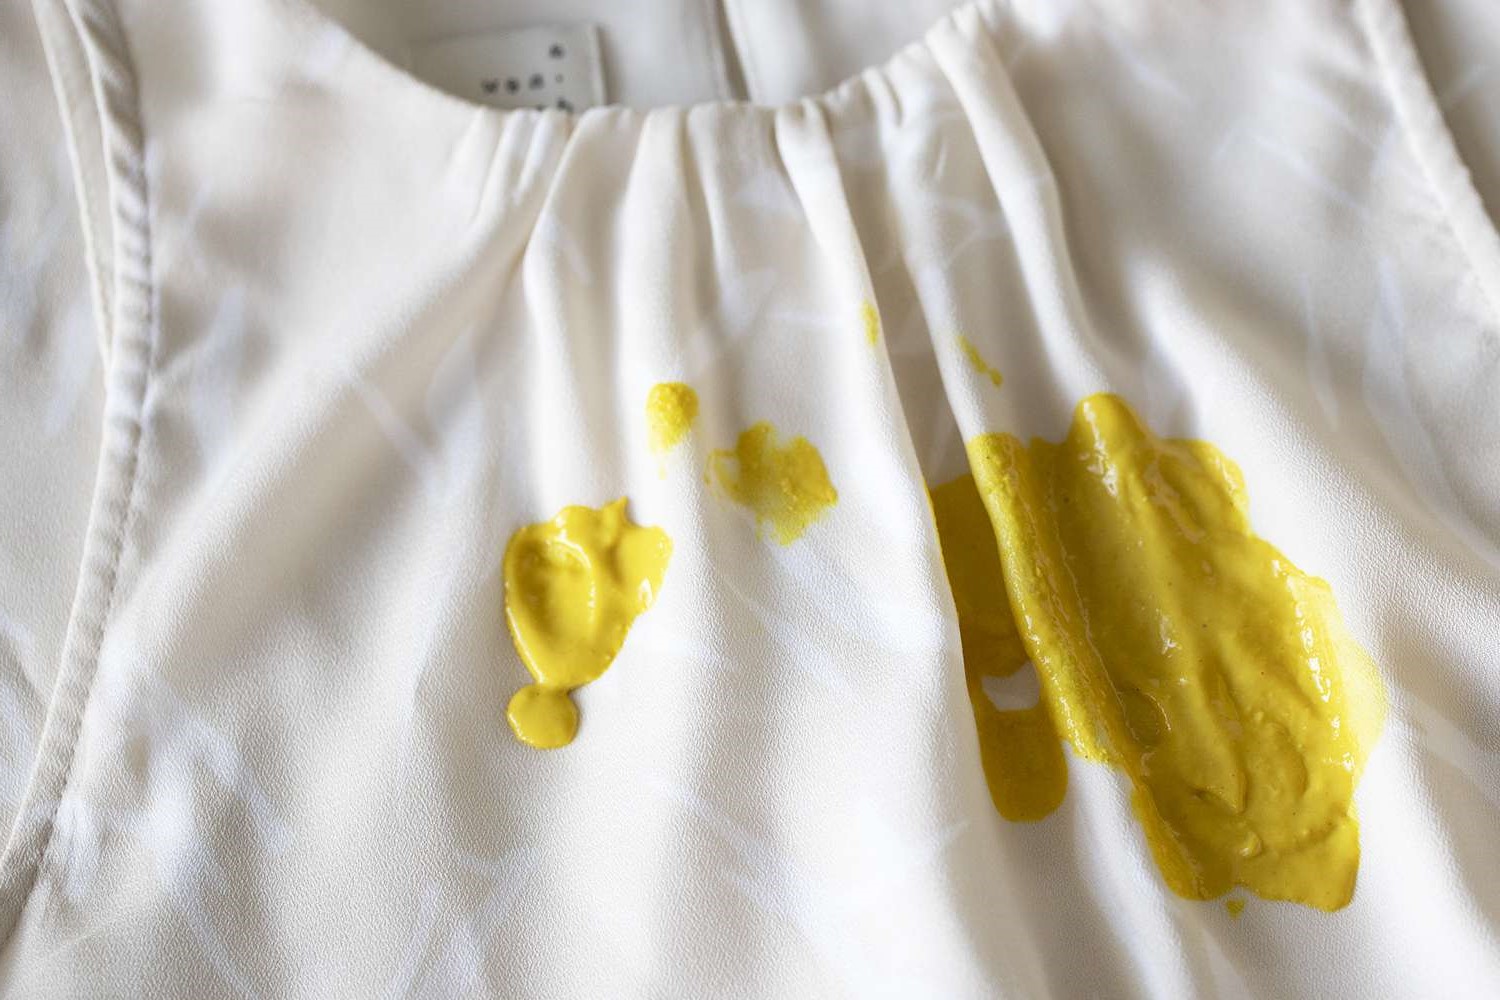
After completing the washing process, it is essential to thoroughly inspect the previously stained area to assess whether any traces of the chapstick stain persist. This meticulous examination allows you to identify any remaining discoloration or oily residue, enabling you to take targeted measures to address the stubborn remnants of the stain.
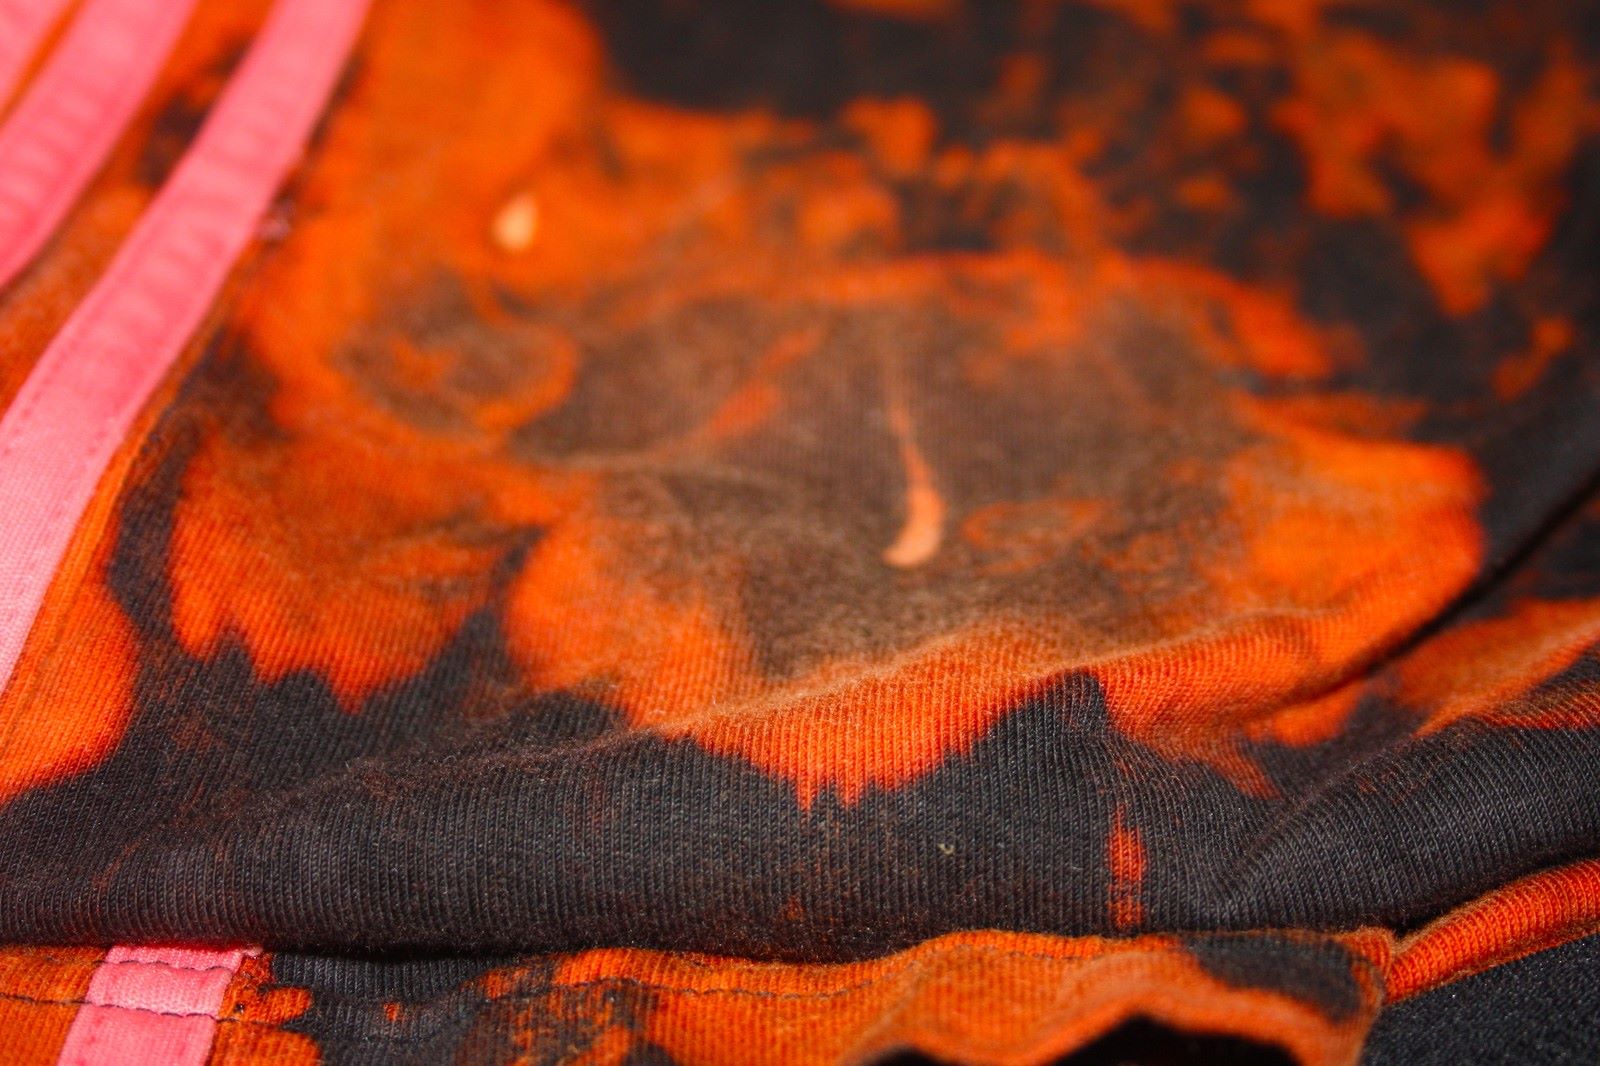
Begin by carefully examining the affected area under good lighting to detect any lingering signs of the chapstick stain. It is advisable to gently stretch the fabric and view it from different angles to ensure a comprehensive assessment. Look for any discoloration, greasy patches, or residual marks that may indicate the presence of remaining chapstick residue.
If you observe any lingering traces of the stain, it is important to refrain from drying the garment, as heat from the drying process can set the stain further into the fabric, making it more challenging to remove. Instead, consider reapplying the dish soap treatment or utilizing a targeted stain remover specifically designed to address oily residues.
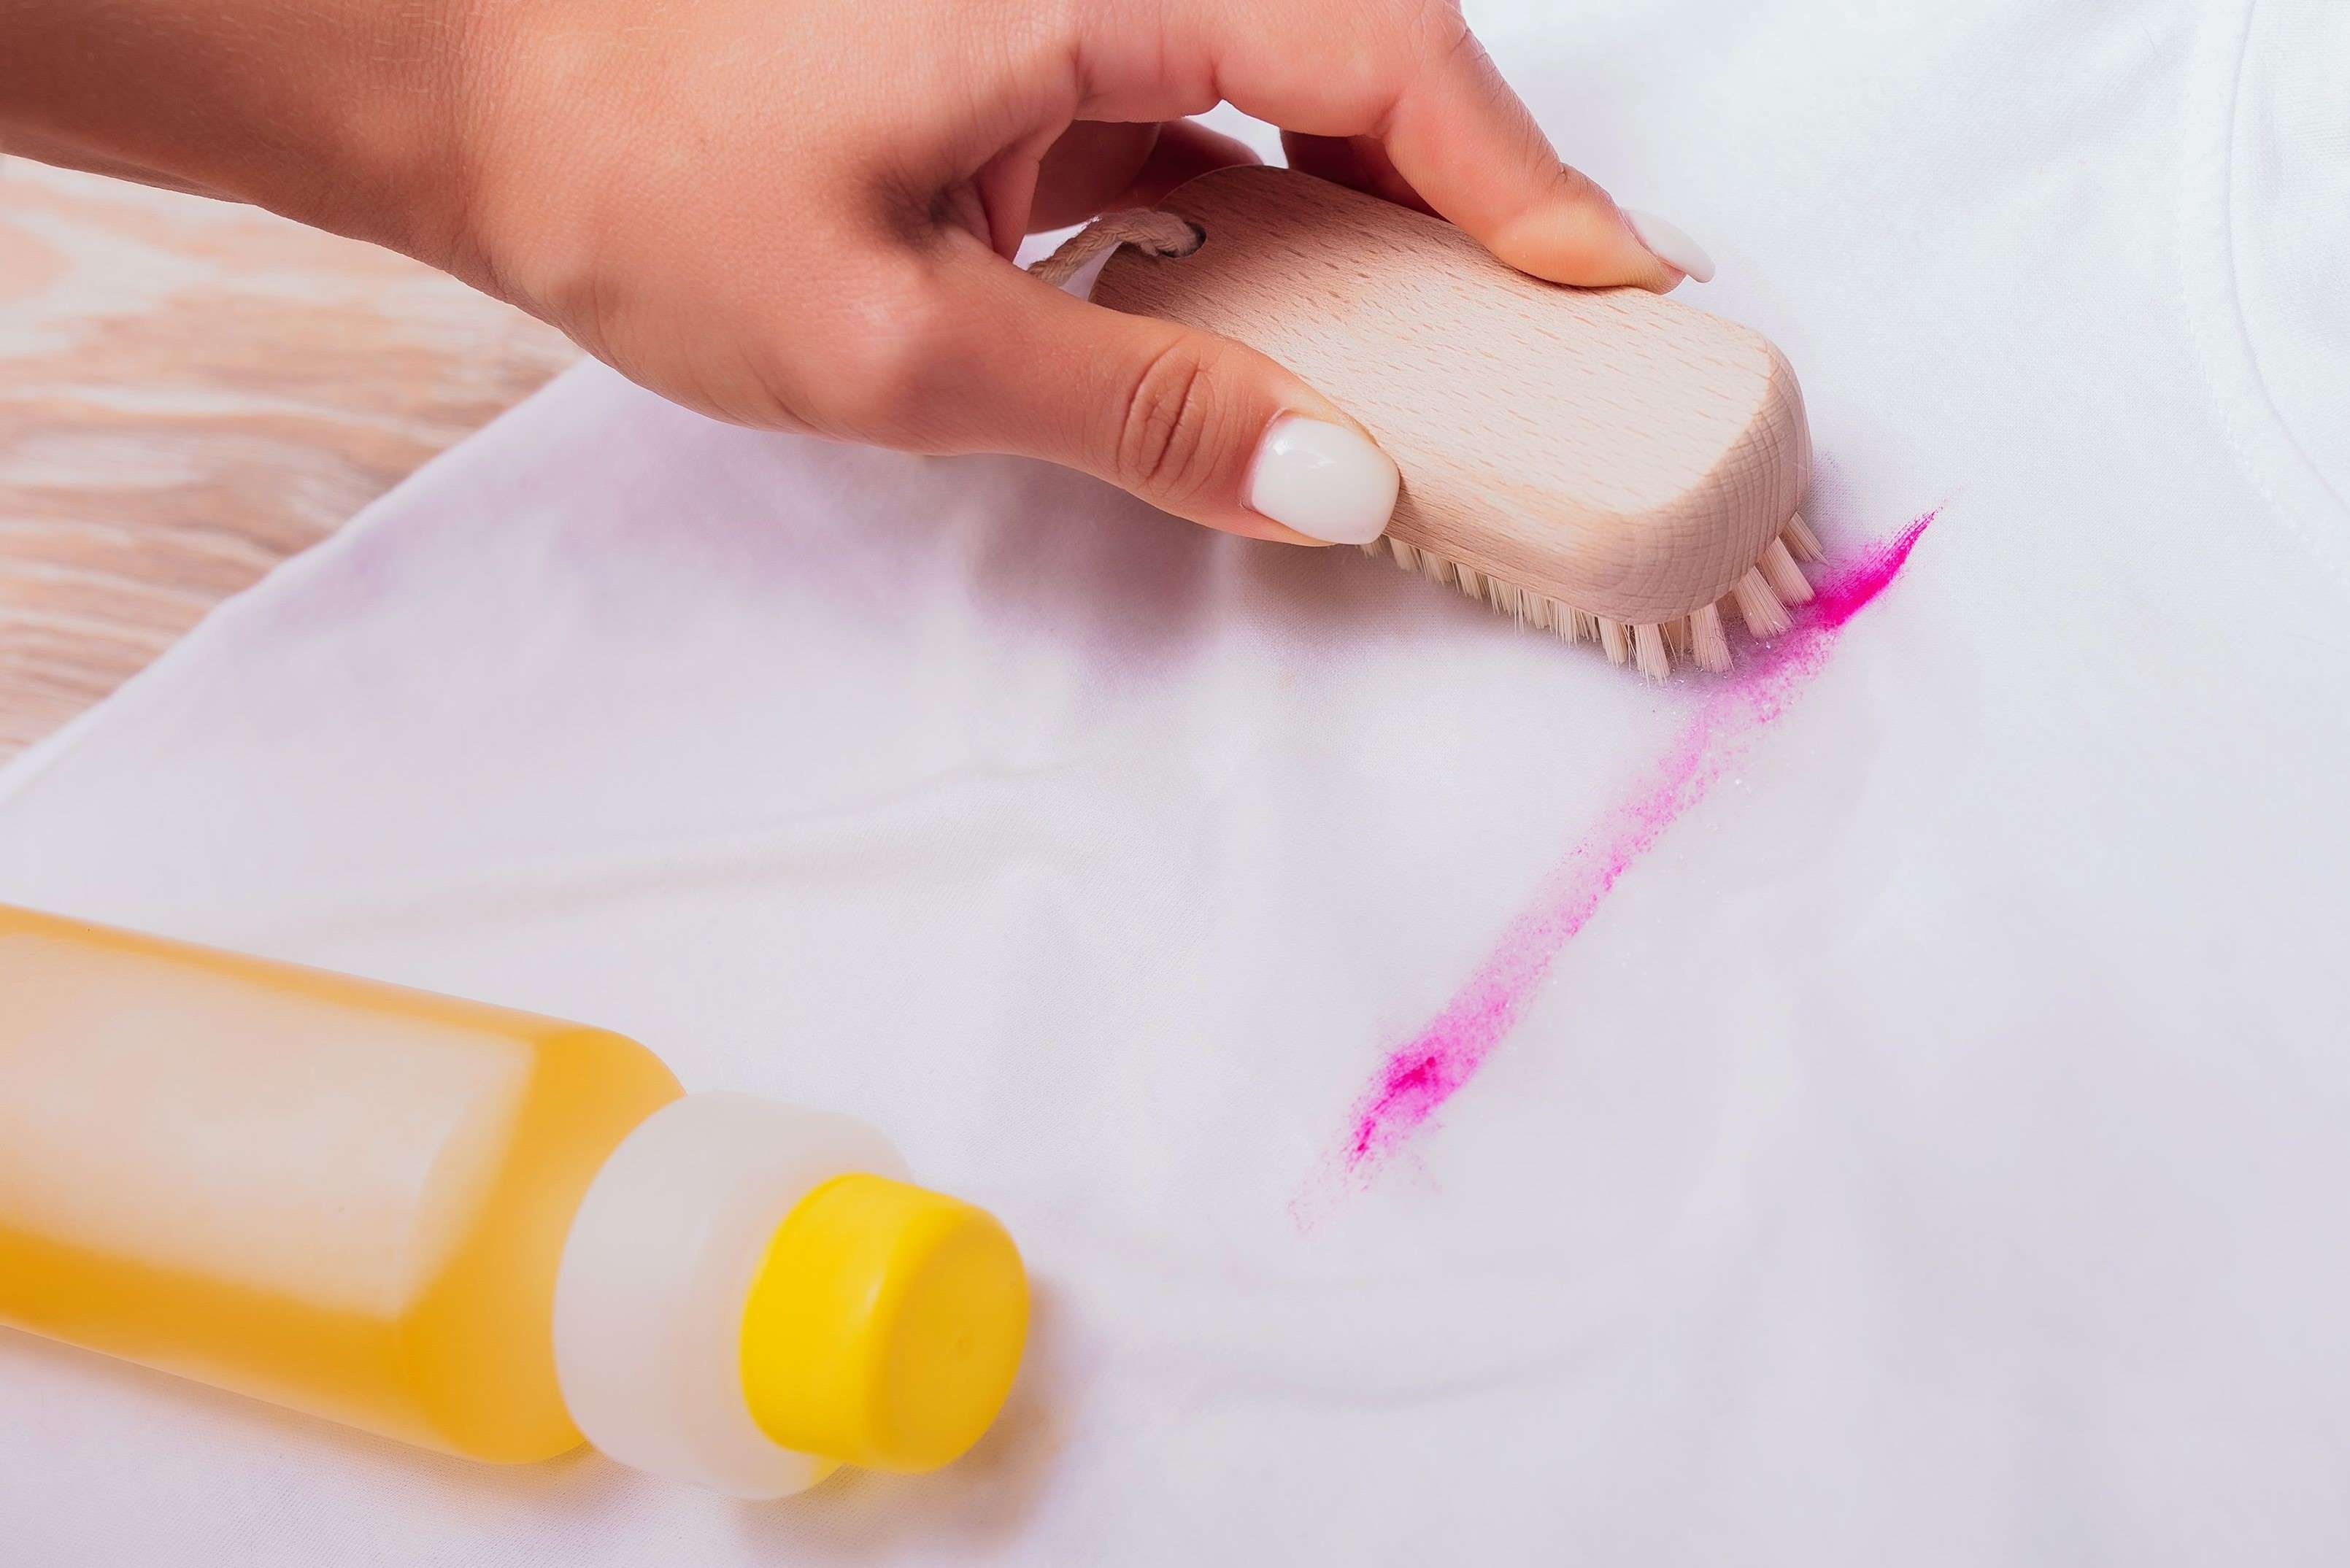
When using a stain remover, carefully follow the product's instructions and perform a spot test on an inconspicuous area of the garment to ensure compatibility with the fabric. Apply the stain remover directly to the remaining stain, gently working it into the fabric with a soft-bristled brush or cloth. Allow the stain remover to dwell on the fabric for the recommended duration to effectively target and lift the residual chapstick residue.
Following the application of the stain remover, rewash the garment using the appropriate washing method and detergent, as previously outlined in Step 3. This additional cleaning cycle helps to further address any remaining traces of the chapstick stain, ensuring that the fabric is thoroughly cleansed and restored to its original condition.
After the additional treatment and washing cycle, reevaluate the previously stained area to determine the effectiveness of the stain removal efforts. If the stain persists, consider seeking professional dry cleaning services or consulting with a garment care specialist for tailored recommendations on addressing the stubborn chapstick residue.
By diligently checking for any remaining stains and taking targeted measures to address them, you are demonstrating a proactive approach to achieving a successful stain removal outcome. This thorough assessment and targeted treatment process enhance the likelihood of completely eliminating the chapstick stain, allowing you to enjoy your freshly cleaned and revitalized garment without the burden of lingering stains.
Read more: How To Get Sap Out Of Clothes
Conclusion
In conclusion, dealing with chapstick stains on clothing may initially seem daunting, but with the right approach and effective stain removal methods, it is entirely possible to restore your garments to their pristine condition. By following the step-by-step process outlined in this comprehensive guide, you have equipped yourself with the knowledge and tools to effectively address and eliminate chapstick stains from your clothing.
From the initial step of scraping off excess chapstick to the application of dish soap and the thorough laundering process, each stage of the stain removal journey plays a crucial role in restoring the affected garments. By diligently adhering to these methods, you have taken proactive measures to combat the oily residue and discoloration caused by chapstick stains, ultimately revitalizing your clothing and preserving its aesthetic appeal.
It is important to emphasize the significance of patience and thoroughness when addressing chapstick stains. By carefully inspecting the clothing for any remaining traces of the stain and taking targeted measures to address them, you have demonstrated a commitment to achieving a successful stain removal outcome. This meticulous approach enhances the likelihood of completely eliminating the chapstick residue, allowing you to enjoy your freshly cleaned and revitalized garment without the burden of lingering stains.
As you reflect on the journey of removing chapstick stains from your clothing, it is essential to acknowledge the resilience and versatility of common household items, such as dish soap, in combating stubborn stains. The effective utilization of these everyday resources underscores the practicality and accessibility of stain removal solutions, empowering you to address laundry dilemmas with confidence and resourcefulness.
Furthermore, the knowledge gained from this stain removal process extends beyond chapstick stains, equipping you with valuable insights and techniques that can be applied to address a wide range of oily residues and stubborn marks on clothing. This newfound expertise positions you as a capable steward of garment care, ready to tackle future challenges with a proactive and informed approach.
In essence, the successful removal of chapstick stains from your clothing serves as a testament to your resourcefulness and commitment to preserving the quality and appearance of your garments. By embracing the methods outlined in this guide and approaching the stain removal process with diligence and care, you have effectively restored your clothing to its original condition, allowing you to confidently wear and enjoy your revitalized garments once more.