Home>Food and Cooking>How To Toast Bread In Air Fryer
Food and Cooking
How To Toast Bread In Air Fryer
Published: February 29, 2024
Learn how to perfectly toast bread in the air fryer with our easy step-by-step guide. Enjoy delicious, crispy results every time. Perfect for food and cooking enthusiasts!
(Many of the links in this article redirect to a specific reviewed product. Your purchase of these products through affiliate links helps to generate commission for Noodls.com, at no extra cost. Learn more)
Table of Contents
Introduction
Toasting bread is a simple yet delightful culinary technique that can elevate the flavor and texture of this beloved staple. While traditional toasting methods involve using a toaster or oven, the air fryer has emerged as a versatile and efficient alternative for achieving perfectly toasted bread. With its rapid hot air circulation, the air fryer can produce crispy and golden-brown toast in a fraction of the time it takes to use a conventional toaster or oven.
Whether you're a seasoned home cook or a novice in the kitchen, mastering the art of toasting bread in an air fryer can open up a world of culinary possibilities. From creating delectable avocado toasts to crafting mouthwatering bruschettas, the air fryer's toasting capabilities can inspire a myriad of creative and delicious dishes.
In this comprehensive guide, we will delve into the step-by-step process of toasting bread in an air fryer, providing you with the knowledge and confidence to achieve the perfect toast every time. From selecting the right type of bread to mastering the ideal temperature and timing, this guide will equip you with the essential skills to transform ordinary bread into a delectable and versatile culinary canvas.
So, whether you're craving a simple slice of buttered toast for breakfast or aiming to impress your guests with gourmet toasted appetizers, join us as we embark on a flavorful journey through the art of toasting bread in an air fryer. Get ready to elevate your toast game and unlock the full potential of this humble yet versatile culinary staple.
Read more: How To Reheat Wings In An Air Fryer
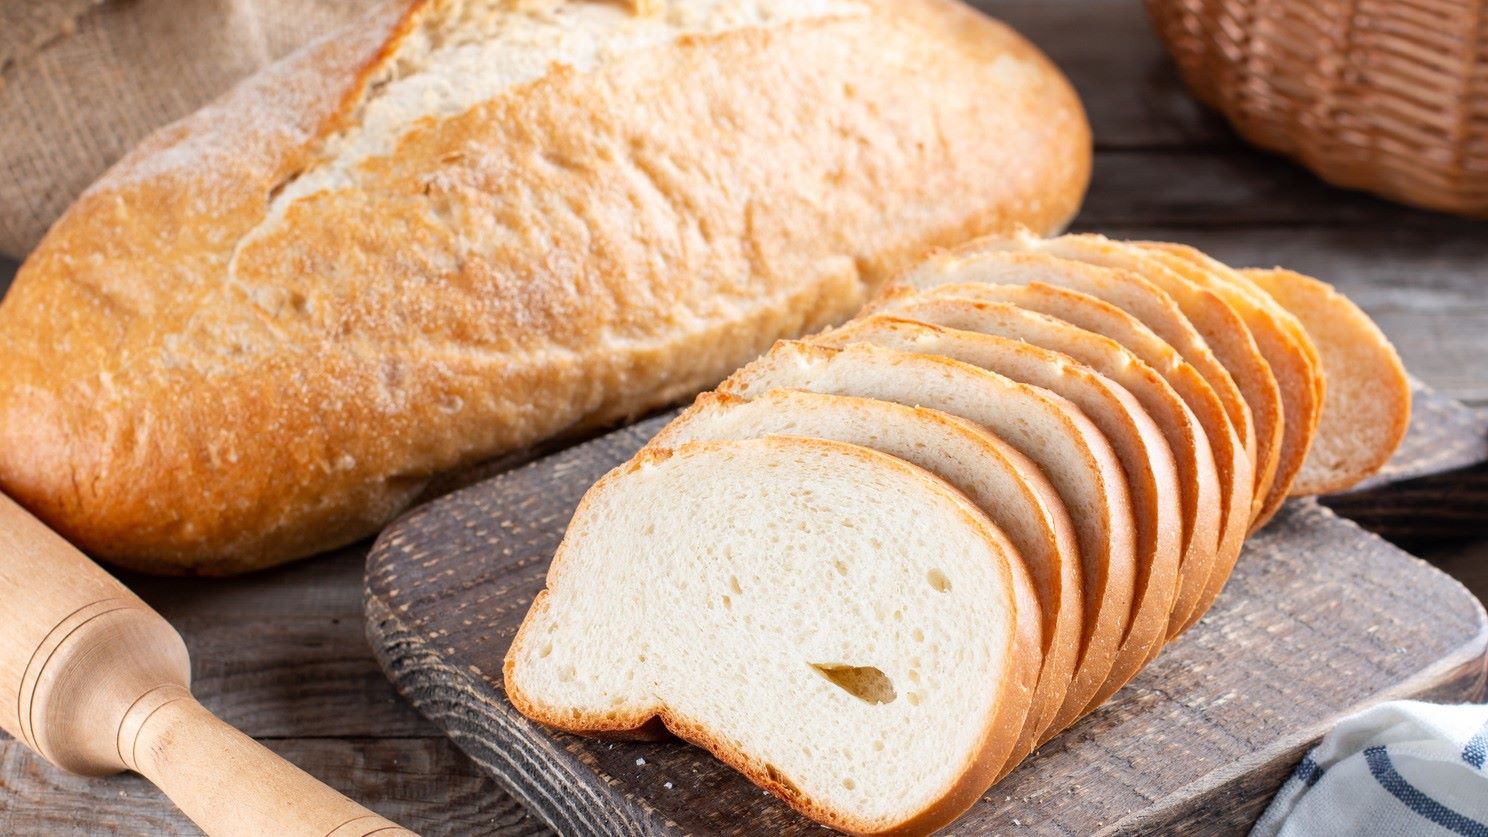
Step 1: Preparing the Bread
Before embarking on the toasting process, it's crucial to start with the right type of bread. Opt for a fresh loaf of your favorite bread variety, whether it's classic white bread, whole wheat, sourdough, or artisanal bread with seeds and grains. The key is to choose a bread that suits your taste preferences and culinary intentions.
Once you've selected the perfect loaf, it's time to prepare the bread for toasting. Begin by slicing the bread into evenly sized pieces, ensuring that the slices are neither too thick nor too thin. A standard thickness of around 1/2 inch (1.27 cm) is ideal for achieving a balanced texture, with a crisp exterior and a soft, fluffy interior.
Next, consider whether you'd like to enhance the flavor and texture of the bread through various embellishments. For a classic touch, you might opt to lightly butter the bread slices, imparting a rich and savory note to the finished toast. Alternatively, you could brush the slices with olive oil or melted butter to add a subtle richness and golden hue to the exterior.
For those seeking a savory or aromatic dimension, consider sprinkling the bread slices with herbs, such as rosemary, thyme, or oregano, along with a pinch of sea salt or garlic powder. These additions can infuse the bread with enticing aromas and nuanced flavors, elevating the overall toasting experience.
If you're craving a touch of sweetness, a sprinkle of cinnamon sugar or a drizzle of honey on the bread slices can yield a delightful caramelized crust and a hint of sweetness that pairs beautifully with various toppings and spreads.
By taking the time to thoughtfully prepare the bread, you can customize the flavor profile and texture of the toast to align with your culinary vision. Whether you prefer a simple and classic approach or wish to experiment with bold flavors and textures, the preparation stage sets the foundation for a delightful toasting journey in the air fryer.
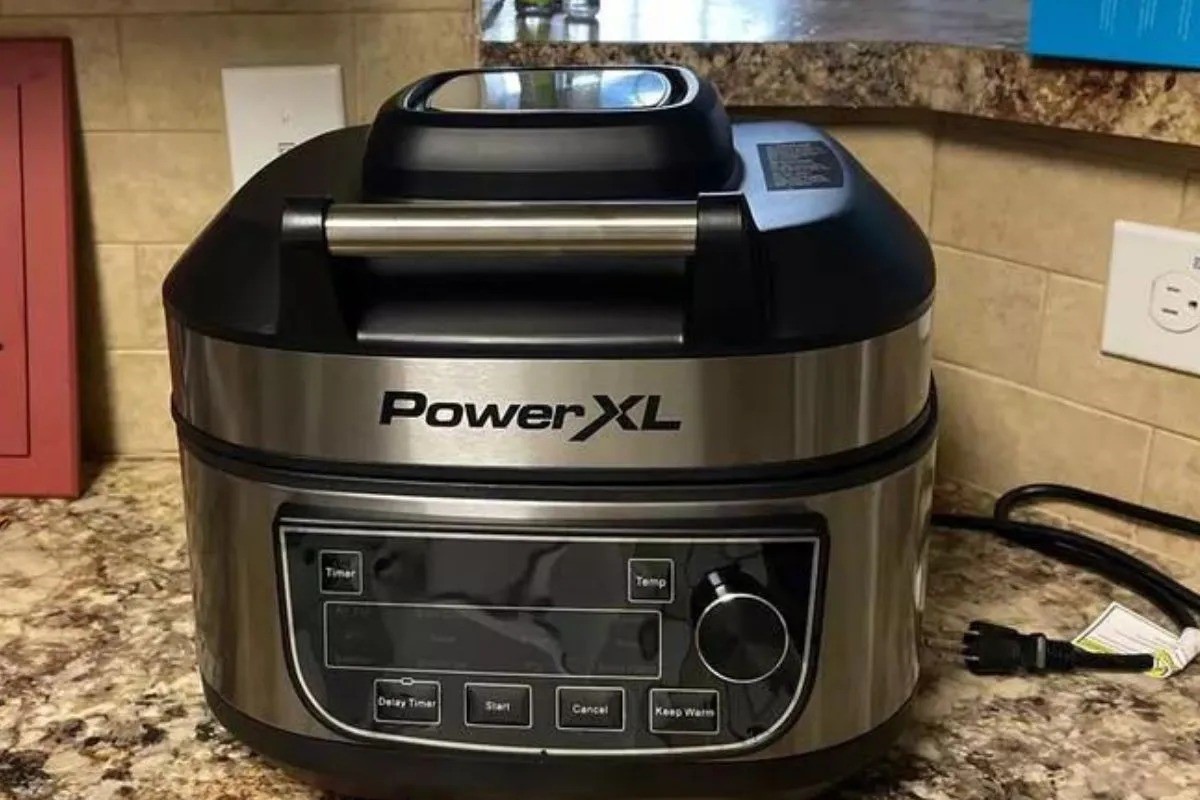
Step 2: Placing the Bread in the Air Fryer
Once the bread is meticulously prepared and customized to your liking, it's time to embark on the next crucial step: placing the bread in the air fryer. This step sets the stage for the toasting process, allowing the hot air circulation within the air fryer to work its magic and transform the bread into delectably crispy and golden-brown toast.
To begin, carefully preheat the air fryer to the recommended temperature for toasting bread. Typically, a temperature of around 350°F (175°C) is ideal for achieving a perfect balance between a crisp exterior and a soft, fluffy interior. Preheating the air fryer ensures that the bread slices are immediately exposed to the optimal toasting conditions, promoting even browning and a consistent texture.
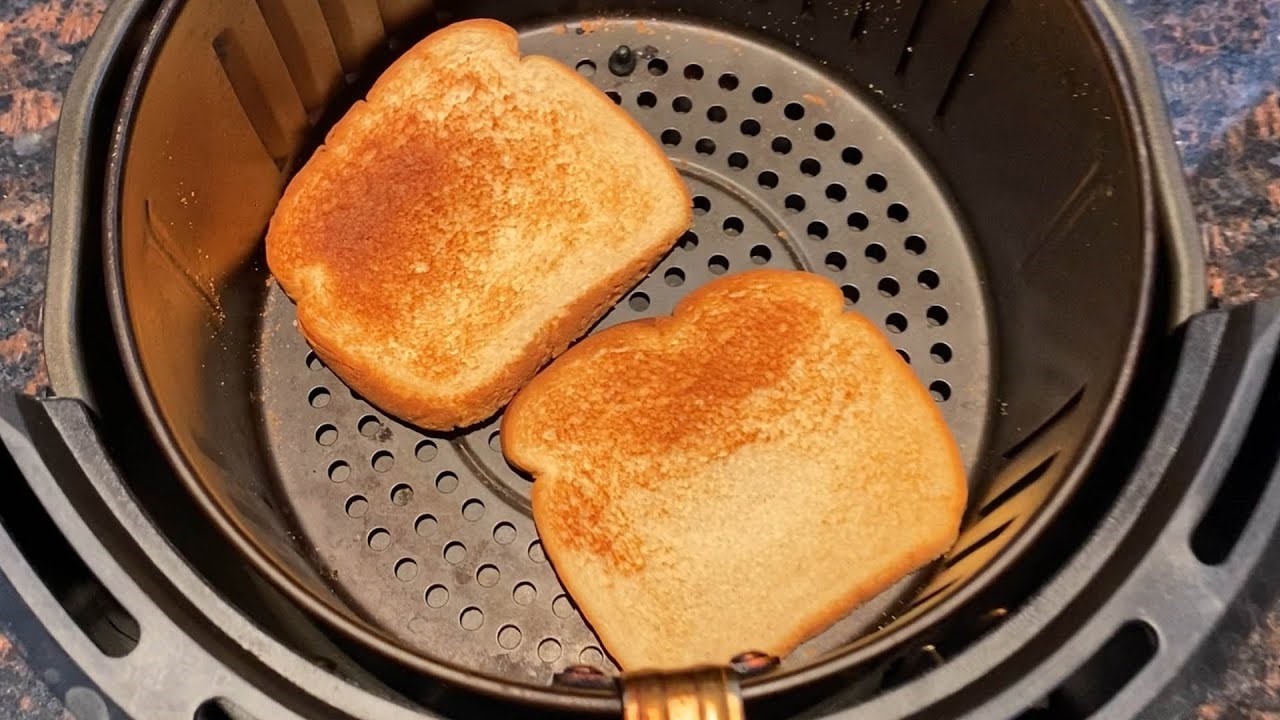
Next, arrange the prepared bread slices in a single layer within the air fryer basket, ensuring that there is ample space between each slice. This arrangement allows the hot air to circulate freely around each slice, ensuring uniform toasting and preventing any areas from becoming overly crisp or undercooked.
It's important to note that the air fryer basket should not be overcrowded, as overcrowding can impede the air circulation and result in uneven toasting. If necessary, toast the bread in batches to maintain an optimal toasting environment and achieve consistent results across all slices.
As you carefully place the bread slices in the air fryer, take a moment to appreciate the anticipation of the toasting process. The sight of the bread nestled within the air fryer, poised to undergo a remarkable transformation, is a testament to the culinary potential and versatility of this innovative kitchen appliance.
With the bread slices neatly arranged in the air fryer, you're now ready to proceed to the next pivotal step: setting the air fryer temperature and time to initiate the toasting process. As the air fryer hums to life and the hot air envelops the bread slices, the stage is set for the magic of toasting to unfold, culminating in perfectly golden-brown and irresistibly crisp toast.
The placement of the bread in the air fryer marks the transition from preparation to execution, signaling the imminent fulfillment of your toasting endeavors. As the air fryer takes center stage in the toasting process, the anticipation builds, heralding the imminent delight of savoring freshly toasted bread, ready to be adorned with an array of delectable toppings and spreads.
Step 3: Setting the Air Fryer Temperature and Time
Setting the air fryer temperature and time is a critical phase in the toasting process, as it directly influences the texture, color, and overall doneness of the bread slices. By carefully calibrating these parameters, you can ensure that the bread emerges from the air fryer with the perfect balance of crispy exterior and tender interior, ready to serve as a delectable canvas for an array of toppings and spreads.
Begin by referring to the recommended temperature settings for toasting bread in your specific air fryer model. While the standard temperature for toasting bread typically hovers around 350°F (175°C), it's essential to consult the manufacturer's guidelines to align with the nuances of your air fryer's heating elements and airflow dynamics. Adhering to the recommended temperature range optimizes the toasting process, yielding consistent and desirable results with each batch of bread slices.
Once the appropriate temperature is selected, turn your attention to the element of time, a pivotal factor in achieving the desired level of toasting. The duration for toasting bread in an air fryer can vary based on factors such as the thickness of the bread slices, the moisture content of the bread, and individual preferences for toast doneness. As a general guideline, a toasting duration of 3 to 5 minutes is often sufficient to achieve a golden-brown exterior and a warm, yielding interior.
It's important to exercise vigilance during the toasting process, periodically checking the bread slices to gauge their progress and prevent over-toasting. Many air fryer models feature a convenient pause or stop function, allowing you to inspect the toast without interrupting the overall toasting cycle. This feature empowers you to make real-time adjustments to the toasting duration, ensuring that the bread reaches the perfect level of doneness without crossing into the realm of excessive crispiness.
As the air fryer hums with the gentle whir of hot air enveloping the bread slices, the anticipation builds, signaling the imminent transformation of the humble bread into a culinary delight. The interplay of temperature and time within the air fryer's chamber represents a harmonious dance, orchestrating the gradual metamorphosis of the bread slices into golden-brown masterpieces, poised to delight the senses and elevate a myriad of culinary creations.
With the air fryer temperature and time meticulously set, the toasting process unfolds with precision and purpose, culminating in the emergence of perfectly toasted bread slices, ready to be adorned with an array of delectable toppings and spreads. As the air fryer works its magic, the kitchen is suffused with the tantalizing aroma of freshly toasted bread, heralding the imminent delight of savoring this timeless culinary classic in its most exquisite form.
Step 4: Checking and Flipping the Bread
As the air fryer envelops the bread slices in a gentle whirl of hot air, it's essential to remain vigilant and attentive to the toasting process. Checking and flipping the bread at strategic intervals is a pivotal step that ensures even browning and optimal texture, resulting in uniformly toasted slices that are a delight to behold and savor.
Approximately halfway through the toasting duration, carefully open the air fryer to inspect the progress of the bread slices. Using tongs or a spatula, gently lift each slice to assess the degree of browning on the underside. This visual inspection provides valuable insight into the toasting process, allowing you to gauge the evenness of browning and make any necessary adjustments to achieve uniform crispness and color.
Should the underside of the bread slices exhibit a desirable golden-brown hue, it's time to proceed with the flipping process. With precision and care, flip each slice using the tongs or spatula, ensuring a seamless transition to expose the opposite side to the circulating hot air. This simple yet crucial maneuver promotes consistent toasting on both sides, resulting in a harmonious marriage of crispness and tenderness throughout each slice.
Upon completing the flipping process, take a moment to appreciate the transformation taking place within the air fryer. The sight of the bread slices transitioning from one side to the other, bathed in the warm glow of the air fryer's chamber, is a testament to the artistry and precision inherent in the toasting process. As the bread continues to toast, the symphony of aromas and textures harmonizes, heralding the imminent emergence of perfectly toasted slices ready to grace the palate with their irresistible allure.
With the bread slices now flipped and the toasting process in full swing, the air fryer resumes its gentle orchestration of hot air circulation, infusing the slices with the final touches of golden perfection. The act of checking and flipping the bread represents a pivotal juncture in the toasting journey, ensuring that each slice emerges from the air fryer with a symphony of flavors and textures, ready to serve as a delectable canvas for an array of culinary creations.
The interplay of vigilance and precision during the checking and flipping process sets the stage for the grand finale of the toasting journey, culminating in the emergence of perfectly toasted bread slices, poised to elevate a myriad of culinary delights with their irresistible allure and delectable crunch.
Read more: How To Toast Bread In Oven
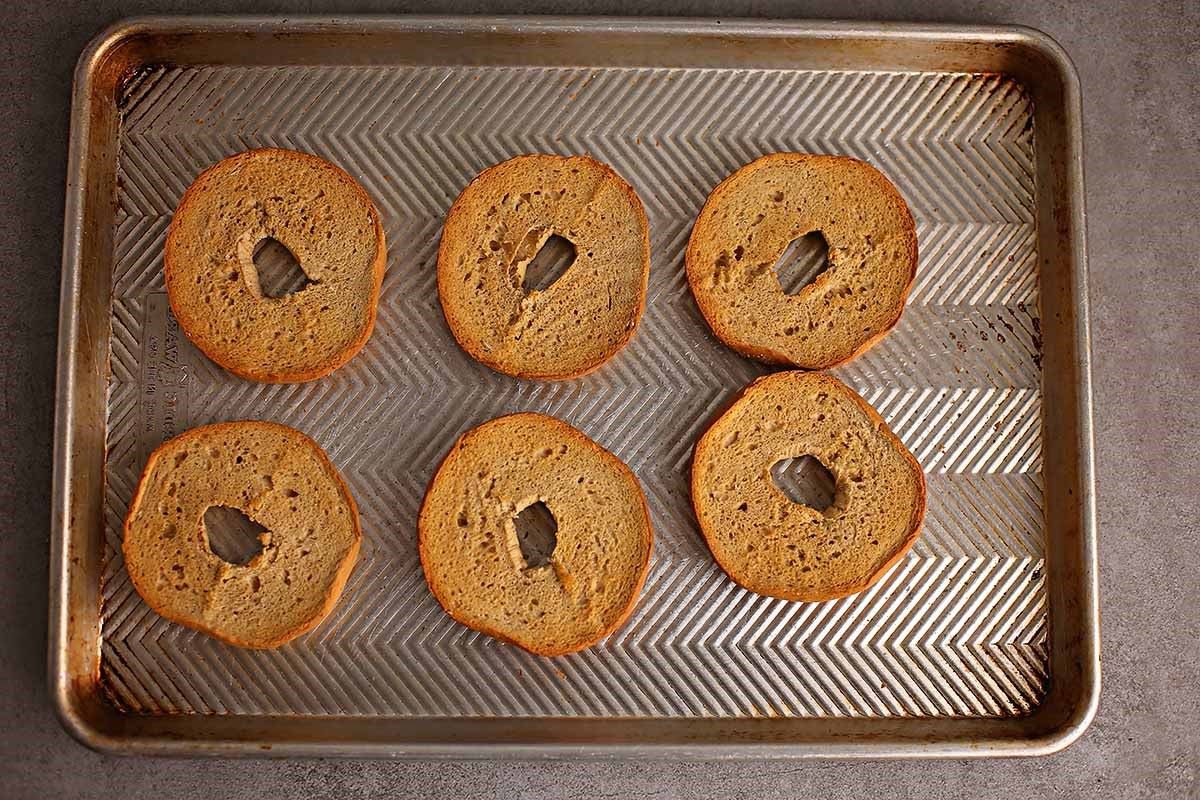
Step 5: Removing the Toasted Bread
As the toasting process nears its culmination, the air fryer emanates a tantalizing aroma, signaling the transformation of the humble bread slices into golden-brown masterpieces. With precision and anticipation, the moment arrives to remove the toasted bread from the air fryer, unveiling the fruits of the toasting journey.
Carefully open the air fryer, using oven mitts or heat-resistant gloves to ensure safe handling of the hot components. As the warm air dissipates, the sight of the perfectly toasted bread slices nestled within the air fryer's basket is a testament to the artistry and precision that have guided the toasting process.
Using tongs or a spatula, gently transfer the toasted bread slices to a clean, heat-resistant surface, such as a cutting board or a wire cooling rack. As the slices make their transition, the symphony of aromas and textures harmonizes, heralding the imminent delight of savoring these golden-brown masterpieces in their most exquisite form.
Take a moment to appreciate the visual and aromatic allure of the freshly toasted bread, noting the enticing contrast between the crisp, golden exterior and the warm, yielding interior. The symphony of flavors and textures encapsulated within each slice is a testament to the meticulous orchestration of the toasting process, resulting in a culinary canvas ready to be adorned with an array of delectable toppings and spreads.
With the toasted bread now resting on the heat-resistant surface, it's time to savor the fruits of the toasting journey. Whether you opt to enjoy the toast as a standalone delight, adorned simply with a pat of butter or a drizzle of honey, or embark on a culinary adventure by crafting elaborate open-faced sandwiches or bruschettas, the possibilities are as diverse as they are enticing.
As the kitchen is suffused with the tantalizing aroma of freshly toasted bread, the act of removing the bread from the air fryer marks the culmination of the toasting journey, heralding the imminent delight of savoring this timeless culinary classic in its most exquisite form. Each slice stands as a testament to the artistry and precision inherent in the toasting process, ready to elevate a myriad of culinary creations with its irresistible allure and delectable crunch.
Conclusion
In conclusion, the art of toasting bread in an air fryer transcends the realm of a mundane culinary task, evolving into a captivating journey that celebrates precision, creativity, and the transformative power of simple ingredients. From the meticulous preparation of the bread to the orchestration of temperature and time within the air fryer, each step in the toasting process contributes to the emergence of perfectly golden-brown and irresistibly crisp toast, ready to serve as a versatile canvas for an array of culinary creations.
As the air fryer hums with the gentle whir of hot air enveloping the bread slices, the anticipation builds, heralding the imminent transformation of the humble bread into a culinary delight. The interplay of temperature and time within the air fryer's chamber represents a harmonious dance, orchestrating the gradual metamorphosis of the bread slices into golden-brown masterpieces, poised to delight the senses and elevate a myriad of culinary creations.
The act of checking and flipping the bread represents a pivotal juncture in the toasting journey, ensuring that each slice emerges from the air fryer with a symphony of flavors and textures, ready to serve as a delectable canvas for an array of culinary creations. The interplay of vigilance and precision during the checking and flipping process sets the stage for the grand finale of the toasting journey, culminating in the emergence of perfectly toasted bread slices, poised to elevate a myriad of culinary delights with their irresistible allure and delectable crunch.
With the toasted bread now resting on the heat-resistant surface, it's time to savor the fruits of the toasting journey. Whether you opt to enjoy the toast as a standalone delight, adorned simply with a pat of butter or a drizzle of honey, or embark on a culinary adventure by crafting elaborate open-faced sandwiches or bruschettas, the possibilities are as diverse as they are enticing.
In essence, the journey of toasting bread in an air fryer is a testament to the artistry and precision inherent in the culinary process. It invites us to embrace the transformative potential of a humble ingredient, elevating it into a versatile and delectable culinary canvas. As the kitchen is suffused with the tantalizing aroma of freshly toasted bread, the act of removing the bread from the air fryer marks the culmination of the toasting journey, heralding the imminent delight of savoring this timeless culinary classic in its most exquisite form. Each slice stands as a testament to the artistry and precision inherent in the toasting process, ready to elevate a myriad of culinary creations with its irresistible allure and delectable crunch.