Lifestyle
How To Tie Jordans
Published: February 28, 2024
Learn the best techniques for tying your Jordans and step up your sneaker game with our lifestyle tips and tricks. Elevate your style with our expert advice.
(Many of the links in this article redirect to a specific reviewed product. Your purchase of these products through affiliate links helps to generate commission for Noodls.com, at no extra cost. Learn more)
Table of Contents
Introduction
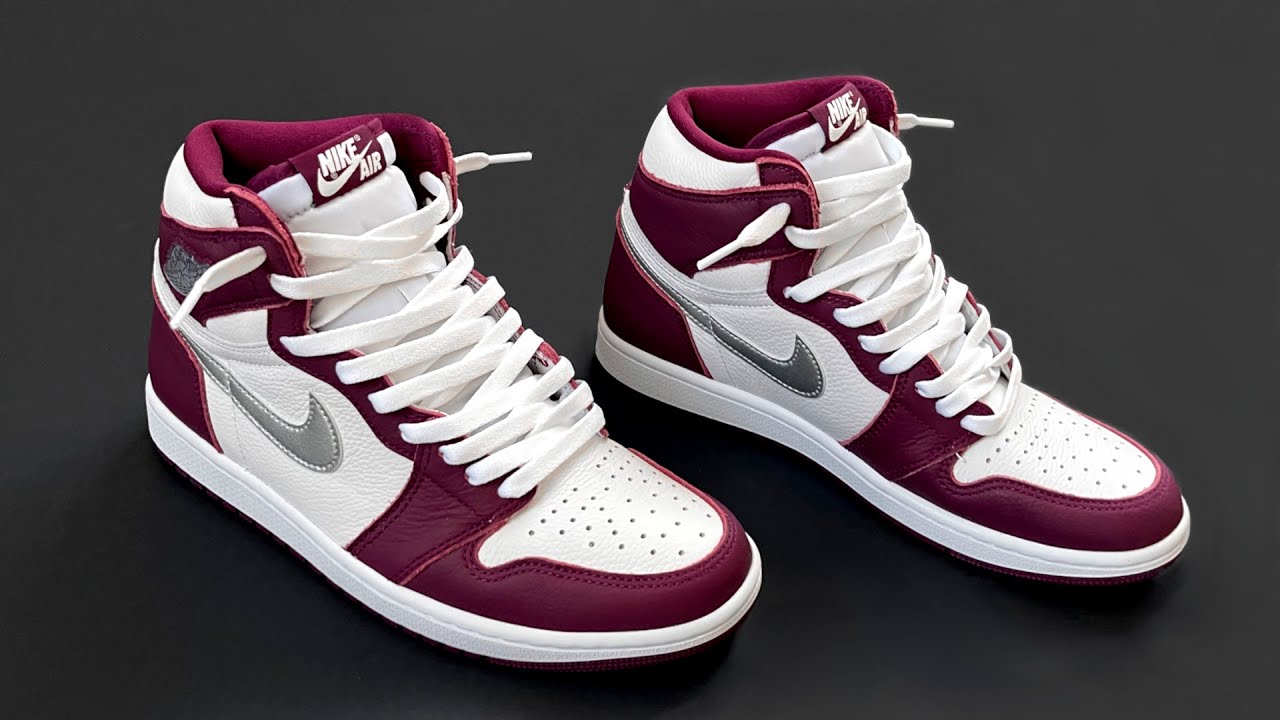
Tying your Jordans is an essential skill that not only ensures a secure and comfortable fit but also adds a touch of personal style to your footwear. Whether you're gearing up for a game on the court, hitting the streets for a casual stroll, or simply aiming to elevate your fashion game, knowing how to tie your Jordans effectively is a valuable skill.
In this comprehensive guide, we will walk you through the step-by-step process of tying your Jordans with finesse. From preparing your Jordans for lacing to creating the perfect knot, this tutorial will equip you with the knowledge and techniques needed to achieve a snug and stylish finish every time you lace up your favorite pair.
So, grab your Jordans, and let's dive into the art of tying them with precision and flair. Whether you're a seasoned sneaker enthusiast or a newcomer to the world of Jordans, this guide will empower you to master the art of lacing up your kicks like a pro.
Read more: How To Tie A Shemagh
Step 1: Prepare your Jordans
Before diving into the intricate process of lacing up your Jordans, it's crucial to ensure that your sneakers are prepped and ready for the task at hand. Proper preparation sets the foundation for a secure and comfortable fit, allowing you to move with confidence and style. Here's a detailed breakdown of how to prepare your Jordans for the lacing process:
-
Clean Your Jordans: Begin by inspecting your Jordans for any dirt, dust, or debris that may have accumulated on the surface. Use a soft-bristled brush or a damp cloth to gently remove any impurities, ensuring that your sneakers are clean and ready for the lacing process.
-
Straighten Out the Laces: Take a moment to straighten out the laces of your Jordans, ensuring that they are free from tangles or knots. This step is essential for achieving a neat and uniform lacing pattern, allowing you to maintain a sleek and polished look once the lacing process is complete.
-
Adjust the Tongue: Position the tongue of your Jordans to ensure that it is centered and aligned with the opening of the sneakers. This step not only enhances the overall aesthetic appeal of your footwear but also contributes to a comfortable and secure fit once the lacing process is complete.
-
Loosen the Existing Lacing: If your Jordans are already laced up, take a moment to loosen the existing lacing to provide ample room for the re-lacing process. Loosening the laces will make it easier to create the desired lacing pattern and adjust the tightness to suit your comfort preferences.
By meticulously preparing your Jordans for the lacing process, you set the stage for a seamless and visually appealing outcome. With your sneakers now primed and ready, it's time to move on to the next step and begin the intricate process of lacing up your Jordans with finesse.
Step 2: Lace up your Jordans
Lacing up your Jordans is a pivotal step that not only ensures a secure and personalized fit but also adds a touch of individuality to your footwear. The lacing pattern you choose can reflect your unique style and preferences, making it an integral part of the sneaker lacing process. Here's a detailed breakdown of how to lace up your Jordans with precision and flair:
-
Select Your Lacing Style: Before diving into the lacing process, consider the myriad of lacing styles available, each offering a distinct aesthetic and functional appeal. From the classic criss-cross pattern to the trendy straight bar lacing, the choice is yours. Select a lacing style that resonates with your personal style and complements the design of your Jordans.
-
Begin Lacing: Start by inserting the lace through the bottom eyelets of your Jordans, ensuring that both ends are of equal length. This foundational step sets the stage for the subsequent lacing pattern, dictating the overall look and feel of your sneakers once the lacing process is complete.
-
Maintain Consistency: As you progress with the lacing process, strive to maintain consistency in the tension and spacing of the laces. A uniform lacing pattern not only enhances the visual appeal of your Jordans but also contributes to a balanced and comfortable fit.
-
Adjust Tightness: As you ascend the eyelets, consider adjusting the tightness of the laces to accommodate your comfort preferences. Whether you prefer a snug and secure fit for athletic activities or a relaxed fit for casual wear, fine-tuning the tightness of the laces is key to achieving the desired comfort level.
-
Secure the Final Eyelets: Once you reach the topmost eyelets, secure the laces by tying them in a knot or a stylish bow, depending on your personal preference. This final step not only ensures that your Jordans are securely laced up but also adds a touch of finesse to the overall look of your sneakers.
By following these steps and infusing your personal style into the lacing process, you can elevate your Jordans to new heights of sophistication and comfort. With your sneakers now expertly laced up, you're ready to step out with confidence and flair, showcasing your unique lacing style to the world.
Step 3: Create the first knot
Creating the first knot in the lacing process is a crucial step that sets the foundation for a secure and tailored fit for your Jordans. This initial knot not only ensures that the laces are firmly anchored but also allows for further adjustments to achieve the desired level of comfort and support. Let's delve into the intricacies of creating the first knot and the key considerations to keep in mind.
-
Positioning the Laces: As you reach the topmost eyelets of your Jordans, ensure that the lace ends are of equal length. This symmetrical arrangement forms the basis for a balanced and visually appealing knot, laying the groundwork for a polished and stylish finish.
-
Forming the Cross-Over: Take one lace end and cross it over the other, creating an "X" shape at the top of the eyelets. This simple yet effective maneuver sets the stage for the subsequent knot formation, allowing for a seamless transition to the next step in the lacing process.
-
Looping and Tucking: With the "X" formation in place, loop one lace end under the other, creating a secure foundation for the first knot. This looping action not only reinforces the integrity of the knot but also ensures that the laces are firmly secured, preventing any slippage during wear.
-
Adjusting the Tightness: As you finalize the first knot, take a moment to adjust the tightness to align with your comfort preferences. Whether you prefer a snug and supportive fit for athletic activities or a relaxed fit for casual wear, fine-tuning the tightness of the knot is essential for achieving the desired level of comfort and security.
-
Ensuring Symmetry: Double-check the symmetry and alignment of the knot to maintain a uniform and visually appealing finish. A well-executed first knot not only enhances the overall aesthetic of your Jordans but also contributes to a comfortable and secure fit, allowing you to move with confidence and style.
By mastering the art of creating the first knot, you lay the groundwork for a seamlessly laced and stylish pair of Jordans. This foundational step not only ensures a secure fit but also allows you to infuse your personal style into the lacing process, setting the stage for a customized and sophisticated finish. With the first knot expertly crafted, you're now ready to proceed to the next stage of the lacing process, bringing you one step closer to showcasing your impeccably laced Jordans to the world.
Step 4: Create the loops
Creating the loops in the lacing process is a pivotal step that adds a touch of finesse and personalization to your Jordans. The loops not only contribute to the overall aesthetic appeal of your sneakers but also play a crucial role in ensuring a secure and tailored fit. Let's delve into the intricacies of creating the loops and the key considerations to keep in mind.
-
Positioning the Laces: As you approach the topmost eyelets of your Jordans, ensure that the lace ends are of equal length. This symmetrical arrangement sets the stage for the seamless creation of loops, allowing for a balanced and visually appealing finish.
-
Forming the Initial Loop: Take one lace end and create a simple loop by folding it back on itself. This foundational loop serves as the anchor for the subsequent lacing maneuvers, laying the groundwork for a secure and stylish finish.
-
Looping and Crossing Over: With the initial loop in place, take the other lace end and cross it over the initial loop, creating a stylish and functional crossover. This maneuver not only adds a touch of individuality to your lacing style but also reinforces the integrity of the loops, ensuring a secure fit.
-
Creating the Second Loop: Following the crossover, form a second loop with the lace end that was crossed over, mirroring the initial loop. This symmetrical loop formation not only enhances the visual appeal of your Jordans but also contributes to a balanced and comfortable fit.
-
Adjusting the Tightness: As you finalize the loops, take a moment to adjust the tightness to align with your comfort preferences. Whether you prefer a snug and supportive fit for athletic activities or a relaxed fit for casual wear, fine-tuning the tightness of the loops is essential for achieving the desired level of comfort and security.
By mastering the art of creating the loops, you infuse your personal style into the lacing process, setting the stage for a customized and sophisticated finish. With the loops expertly crafted, you're now one step closer to showcasing your impeccably laced Jordans to the world.
Read more: How To Tie A Durag
Step 5: Tie the loops together
Tying the loops together is the final and crucial step in the process of lacing up your Jordans. This step not only ensures that your sneakers are securely fastened but also adds a touch of finesse to the overall look, reflecting your personal style and attention to detail. Let's delve into the intricacies of tying the loops together and the key considerations to keep in mind.
-
Crossing Over: Begin by crossing one loop over the other, creating an "X" shape at the top of your Jordans. This simple yet effective maneuver sets the stage for the subsequent knot formation, allowing for a seamless transition to the final securing step.
-
Looping and Tucking: With the "X" formation in place, loop one loop under the other, creating a secure foundation for the final knot. This looping action not only reinforces the integrity of the knot but also ensures that the loops are firmly secured, preventing any slippage during wear.
-
Adjusting the Tightness: As you finalize the tying process, take a moment to adjust the tightness to align with your comfort preferences. Whether you prefer a snug and supportive fit for athletic activities or a relaxed fit for casual wear, fine-tuning the tightness of the loops is essential for achieving the desired level of comfort and security.
-
Ensuring Symmetry: Double-check the symmetry and alignment of the tied loops to maintain a uniform and visually appealing finish. A well-executed tying process not only enhances the overall aesthetic of your Jordans but also contributes to a comfortable and secure fit, allowing you to move with confidence and style.
By mastering the art of tying the loops together, you elevate your Jordans to new heights of sophistication and comfort. This final step not only ensures a secure fit but also allows you to infuse your personal style into the lacing process, setting the stage for a customized and polished finish. With the loops expertly tied together, you're now ready to step out with confidence and flair, showcasing your impeccably laced Jordans to the world.
Conclusion
Congratulations! You've now mastered the art of tying your Jordans with finesse and style. By following the step-by-step guide outlined in this tutorial, you've gained valuable insights into the intricate process of lacing up your favorite pair of sneakers. From preparing your Jordans for the lacing process to creating the perfect knots and loops, you've honed your skills and transformed the act of tying your Jordans into a personalized and stylish endeavor.
As you step out into the world with your impeccably laced Jordans, remember that the lacing process is not merely a functional task but an opportunity to showcase your individuality and attention to detail. Whether you opt for a classic criss-cross pattern, a trendy straight bar lacing style, or a personalized variation of your own, your choice of lacing reflects your unique style and sets you apart from the crowd.
Beyond the aesthetic appeal, mastering the art of tying your Jordans contributes to a comfortable and secure fit, allowing you to move with confidence and ease. The attention to detail in creating symmetrical knots and loops ensures that your sneakers not only look great but also provide the support and stability you need for various activities, from sports to casual outings.
As you continue to explore the world of sneaker culture and fashion, remember that the lacing process is a dynamic and creative aspect of personal expression. Feel free to experiment with different lacing styles, knot variations, and color combinations to further personalize your Jordans and make a statement that is uniquely yours.
So, lace up your Jordans with pride, knowing that you've mastered the art of tying them with precision and flair. Whether you're hitting the court, strolling through the urban landscape, or simply showcasing your style, your expertly laced Jordans are a reflection of your personality and a testament to your attention to detail. Embrace the journey of lacing up your sneakers as an opportunity to infuse your unique flair and make a lasting impression with every step you take.