Home>Home and Garden>How To Lace Jordan 1 Low
Home and Garden
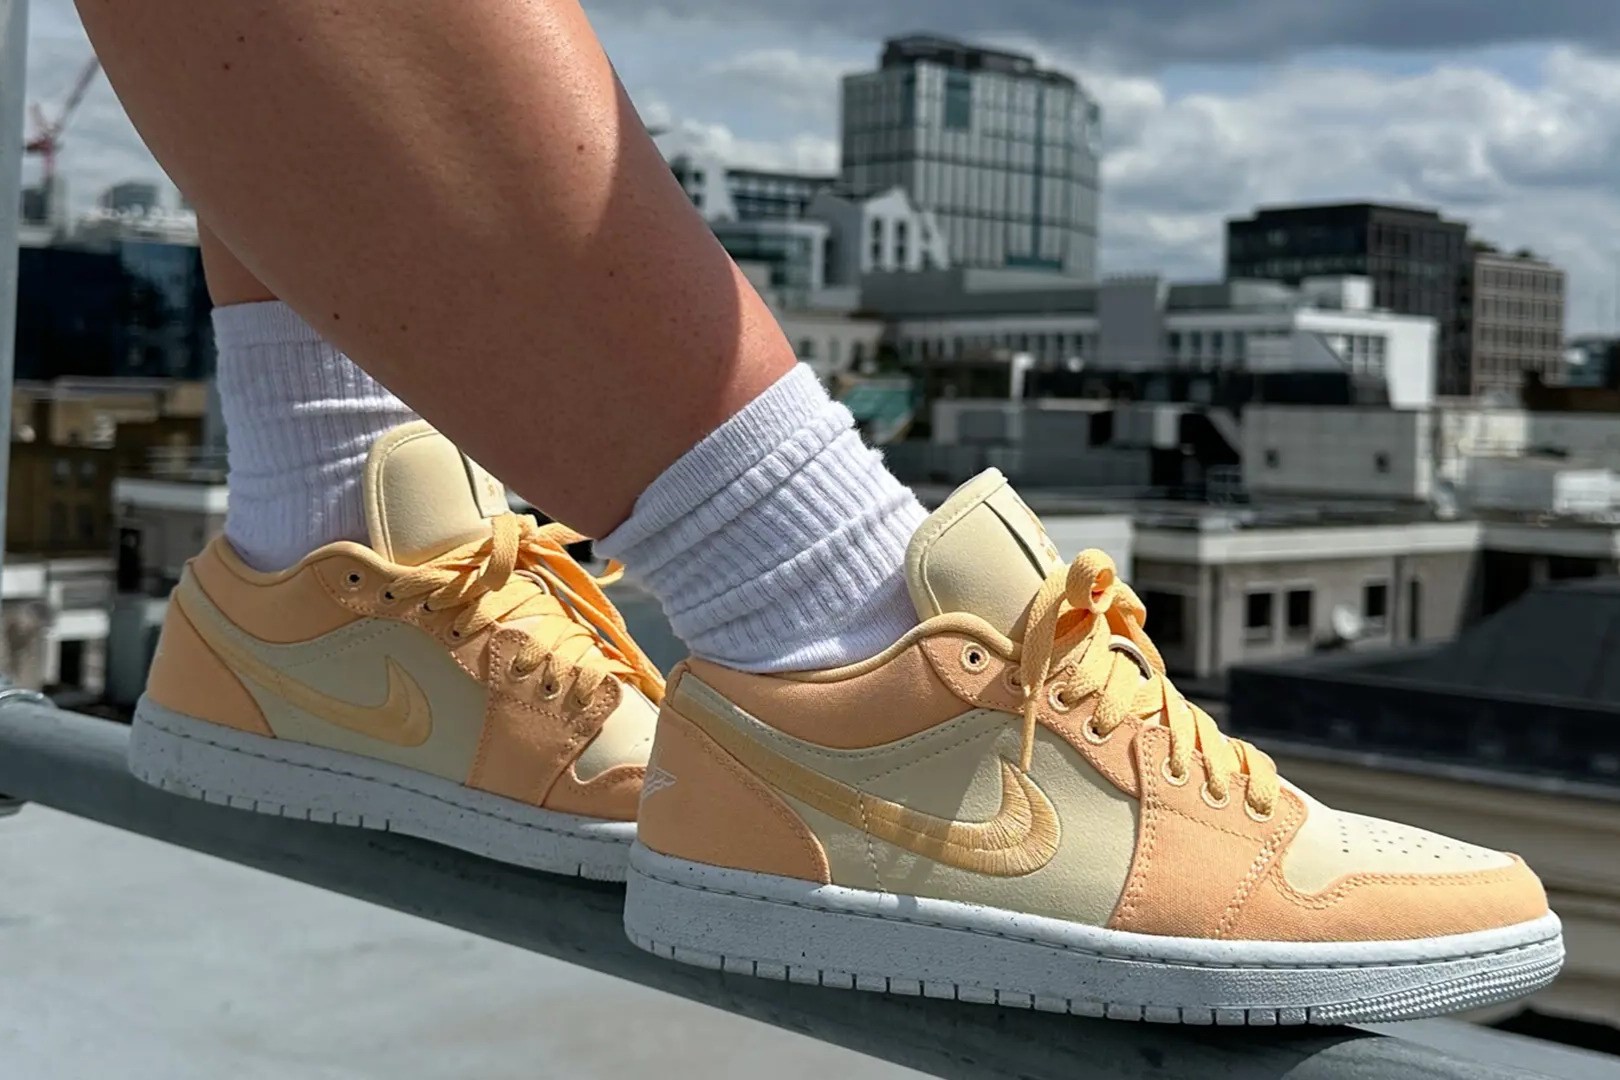
How To Lace Jordan 1 Low
Published: March 1, 2024
Discover the best ways to lace your Jordan 1 Low sneakers with our expert tips and tricks. Elevate your style game with unique lacing techniques for a standout look. Perfect for sneakerheads and fashion enthusiasts.
(Many of the links in this article redirect to a specific reviewed product. Your purchase of these products through affiliate links helps to generate commission for Noodls.com, at no extra cost. Learn more)
Table of Contents
Introduction
Lacing up your Jordan 1 Low sneakers is a simple yet effective way to add a personal touch to your footwear. Whether you're looking to refresh the look of your beloved kicks or simply want to experiment with different lacing styles, this guide will walk you through the process step by step. By following these instructions, you'll be able to lace your Jordan 1 Low sneakers with ease and confidence, giving them a fresh new look that reflects your unique style.
Lacing your sneakers can be a fun and creative way to express yourself. With a wide variety of lacing techniques available, you have the freedom to choose a style that best suits your personality and preferences. Whether you prefer a classic, straight-laced look or a more intricate and eye-catching pattern, the lacing process allows you to customize your sneakers to match your individual taste.
In addition to the aesthetic benefits, properly lacing your Jordan 1 Low sneakers is essential for ensuring a comfortable and secure fit. By following the steps outlined in this guide, you can achieve the ideal balance of style and functionality, allowing you to enjoy your sneakers to the fullest.
So, gather your tools and get ready to embark on a lacing adventure that will breathe new life into your Jordan 1 Low sneakers. Whether you're a seasoned sneaker enthusiast or a newcomer to the world of lacing, this guide is designed to equip you with the knowledge and skills needed to elevate your sneaker game. Let's dive in and discover the art of lacing your Jordan 1 Low sneakers!
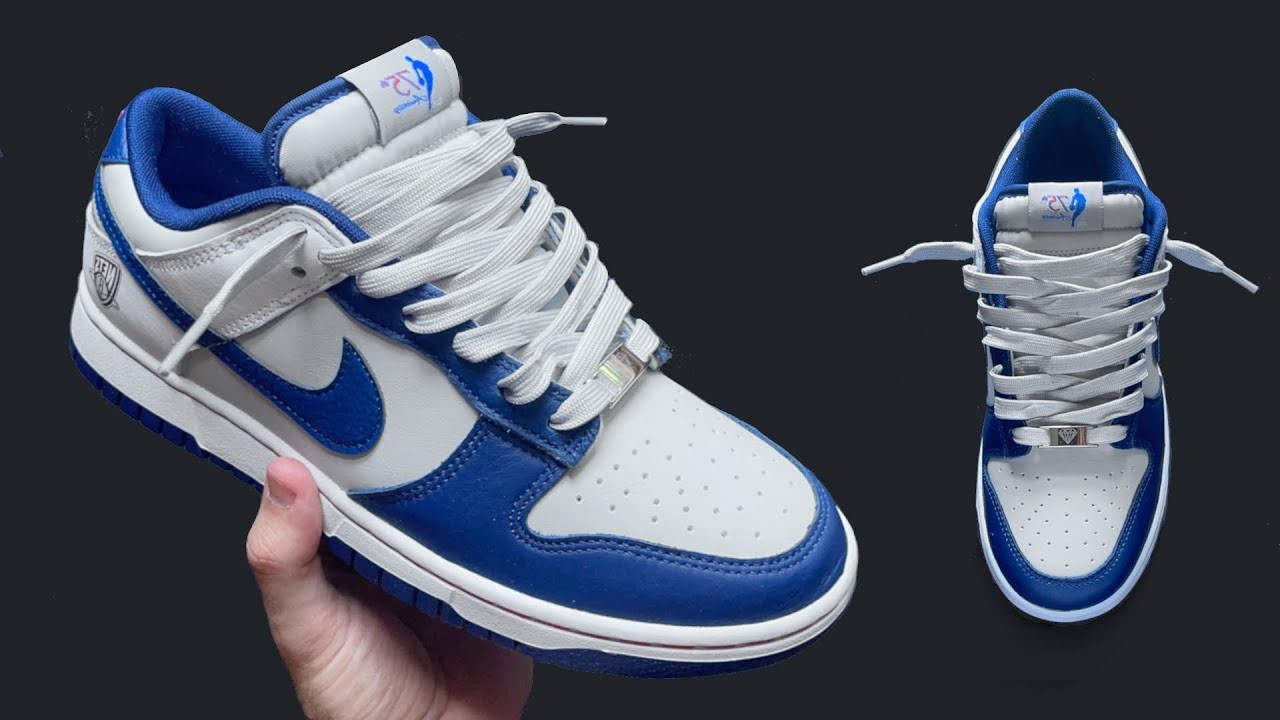
Read more: How To Lace Jordan 1
Tools and Materials Needed
Before you embark on the journey of lacing up your Jordan 1 Low sneakers, it's essential to gather the necessary tools and materials to ensure a smooth and successful lacing process. Here's what you'll need:
-
Jordan 1 Low Sneakers: The focal point of this endeavor, your Jordan 1 Low sneakers serve as the canvas for your lacing creativity. Ensure that the sneakers are clean and free of any obstructions that may hinder the lacing process.
-
Replacement Laces: If you're looking to switch out the original laces for a fresh pair or experiment with different colors and materials, make sure you have replacement laces on hand. Opt for laces that complement the color scheme of your sneakers and align with your desired aesthetic.
-
Tape Measure (Optional): While not essential, a tape measure can be useful for ensuring uniform lace length and symmetry, especially if you're aiming for a precise and consistent lacing pattern.
-
Lace Locks (Optional): If you want to add a unique touch to your lacing style, lace locks can be a stylish and functional addition. These small accessories can help secure the laces and add a personalized flair to your sneakers.
-
Scissors: A pair of scissors will come in handy for cutting the laces to the desired length, especially if you're customizing the fit and appearance of your laces.
-
Lighter (Optional): For laces made of synthetic materials, a lighter can be used to seal the ends and prevent fraying, ensuring a clean and polished look.
-
Patience and Creativity: While not tangible items, patience and creativity are invaluable assets in the lacing process. Embrace the opportunity to experiment with different lacing techniques and unleash your creative vision to achieve a lacing style that reflects your personality.
By assembling these tools and materials, you'll be well-prepared to embark on the lacing journey and transform your Jordan 1 Low sneakers into a personalized and stylish expression of your individuality. With everything in place, you're ready to dive into the step-by-step process of lacing your sneakers with confidence and enthusiasm.
Step 1: Remove the Old Laces
Before you can embark on lacing up your Jordan 1 Low sneakers with a fresh new style, it's essential to start with a clean slate. Removing the old laces is the first step in this transformative process. Here's a detailed guide on how to effectively remove the old laces from your sneakers:
-
Prepare Your Workspace: Find a comfortable and well-lit area to work on your sneakers. Having ample space and good lighting will make the process more manageable and enjoyable.
-
Loosen the Laces: Starting at the top of the sneaker, gently loosen the laces by pulling them out of each set of eyelets. This will create slack in the laces, making it easier to untie and remove them from the sneakers.
-
Untie the Knots: Carefully untie the knots at the top of the laces. Take your time to avoid tugging or pulling forcefully, as this can cause unnecessary strain on the eyelets and the lace material.
-
Remove the Laces: Once the knots are undone, carefully pull the laces out of each set of eyelets, working your way down the sneaker. Be mindful of any resistance or snags, and gently maneuver the laces to prevent any damage to the eyelets or the sneakers themselves.
-
Inspect the Eyelets: As you remove the laces, take the opportunity to inspect the eyelets for any debris or buildup that may have accumulated over time. Use a soft brush or cloth to gently clean the eyelets, ensuring that they are free from any obstructions that could hinder the lacing process.
-
Set Aside the Old Laces: Once the old laces have been removed, set them aside for future use or disposal, depending on their condition and your personal preference. If you plan to reuse the laces, take a moment to inspect them for any signs of wear or damage that may warrant replacement.
By following these steps, you can effectively remove the old laces from your Jordan 1 Low sneakers, setting the stage for the exciting journey of lacing them up with a fresh new style. With the old laces out of the way, you're now ready to prepare the new laces and embark on the next phase of this creative and transformative process.
Step 2: Prepare the New Laces
With the old laces removed, it's time to prepare the new laces that will breathe fresh life into your Jordan 1 Low sneakers. This step is crucial in ensuring that the laces are ready for the lacing process, aligning with your desired style and fit. Here's a detailed guide on how to effectively prepare the new laces for your sneaker lacing adventure:
-
Select the Replacement Laces: If you've opted for replacement laces to infuse a new aesthetic into your sneakers, take a moment to select the laces that best complement the color scheme and design of your Jordan 1 Low sneakers. Consider the length and material of the laces, ensuring that they align with your desired lacing style and fit.
-
Measure and Cut (If Necessary): Depending on the lacing technique you intend to use and the length of the new laces, you may need to measure and cut the laces to achieve the desired fit. A tape measure can be useful for ensuring uniform lace length, especially if you're aiming for a precise and consistent lacing pattern.
-
Seal the Ends (If Applicable): For laces made of synthetic materials, using a lighter to seal the ends can prevent fraying and ensure a clean and polished look. Carefully apply heat to the lace ends, taking caution to avoid scorching or damaging the material. This step is particularly important if you've trimmed the laces to achieve a custom fit.
-
Inspect the Laces: Before proceeding with the lacing process, take a moment to inspect the new laces for any imperfections or irregularities. Check for fraying, discoloration, or any other issues that may affect the overall appearance and functionality of the laces. This inspection ensures that the laces are in optimal condition for lacing up your sneakers.
-
Optional Accessories: If you've chosen to incorporate lace locks or other accessories into your lacing style, now is the time to prepare and position them on the laces. Lace locks can add a stylish and functional element to your sneakers, providing a unique touch to your lacing design.
By meticulously preparing the new laces, you set the stage for a seamless and enjoyable lacing experience, allowing you to infuse your Jordan 1 Low sneakers with a personalized and stylish flair. With the new laces ready and waiting, you're now poised to embark on the next phase of the lacing process and bring your vision to life.
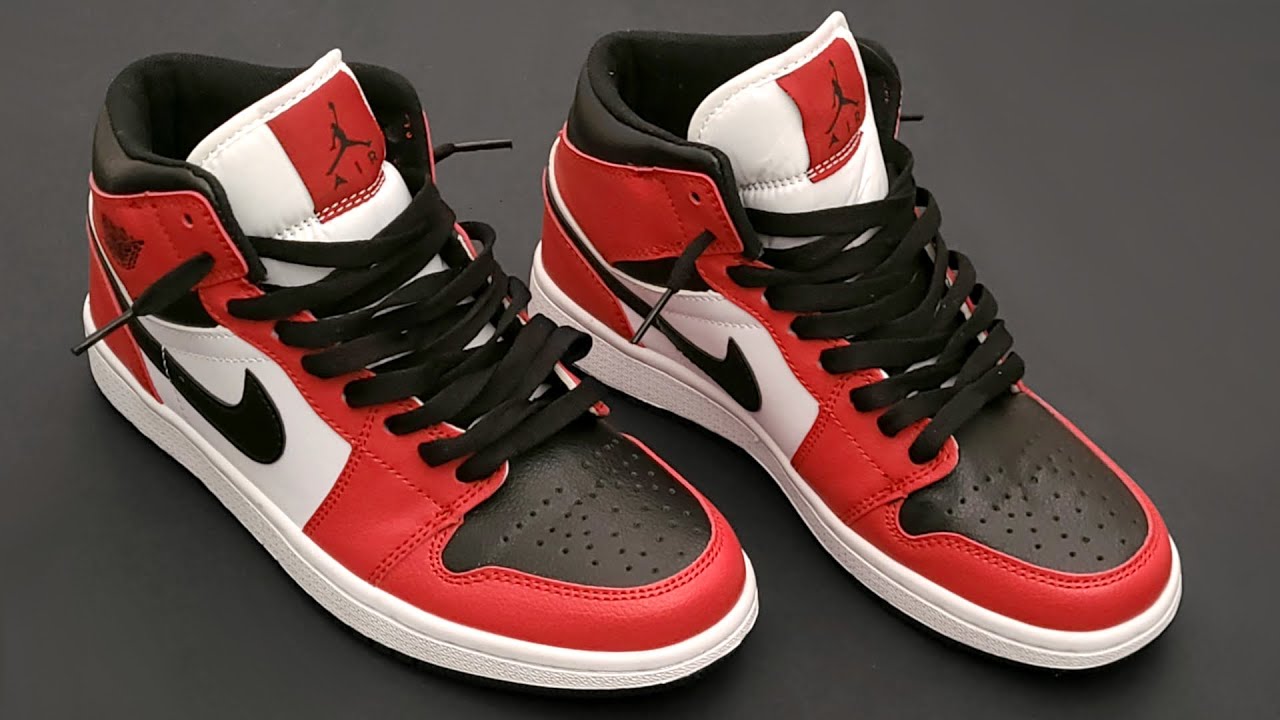
Step 3: Start Lacing the Shoe
With the old laces removed and the new laces prepared, it's time to embark on the exciting process of lacing up your Jordan 1 Low sneakers. This step is where your creativity and personal style truly come to life, as you begin to weave the laces through the eyelets, shaping the visual identity and fit of your sneakers. Here's a detailed guide on how to effectively start lacing your shoes, ensuring a seamless and visually appealing outcome:
-
Choose Your Lacing Style: Before diving into the lacing process, consider the style you want to achieve. Whether you opt for a classic criss-cross pattern, a stylish straight-bar lacing, or a more intricate and eye-catching lattice design, the choice is yours. Each lacing style offers a unique aesthetic and can complement different sneaker designs, so take a moment to envision the look you desire for your Jordan 1 Low sneakers.
-
Begin at the Bottom: Starting at the bottom of the sneaker, insert one end of the lace into the bottom set of eyelets, ensuring that the lace is evenly distributed on both sides. This foundational step sets the stage for the lacing pattern and provides a stable base for the subsequent weaving of the laces.
-
Weave Through the Eyelets: With the lace inserted at the bottom, begin weaving it through the eyelets, alternating between the left and right sides as you ascend towards the top of the sneaker. Depending on your chosen lacing style, you may criss-cross the laces, create parallel lines, or experiment with other creative patterns to achieve your desired look.
-
Maintain Tension and Symmetry: As you lace up the sneaker, pay attention to the tension and symmetry of the laces. Ensure that the tension is consistent on both sides, creating a balanced and visually appealing lacing pattern. This attention to detail contributes to a polished and professional finish, elevating the overall aesthetic of your sneakers.
-
Secure the Top: Once you reach the top set of eyelets, carefully tie a knot or secure the laces using your preferred method. This final step not only ensures a snug and comfortable fit but also adds a touch of personal flair to your lacing style.
By following these steps, you can confidently start lacing your Jordan 1 Low sneakers, infusing them with a fresh new look that reflects your individuality and style. As you weave the laces through the eyelets, embrace the opportunity to experiment with different patterns and techniques, allowing your creativity to shine through in every intricate detail. With the sneakers taking shape as a canvas for your personal expression, the lacing process becomes a captivating journey of self-expression and style customization.
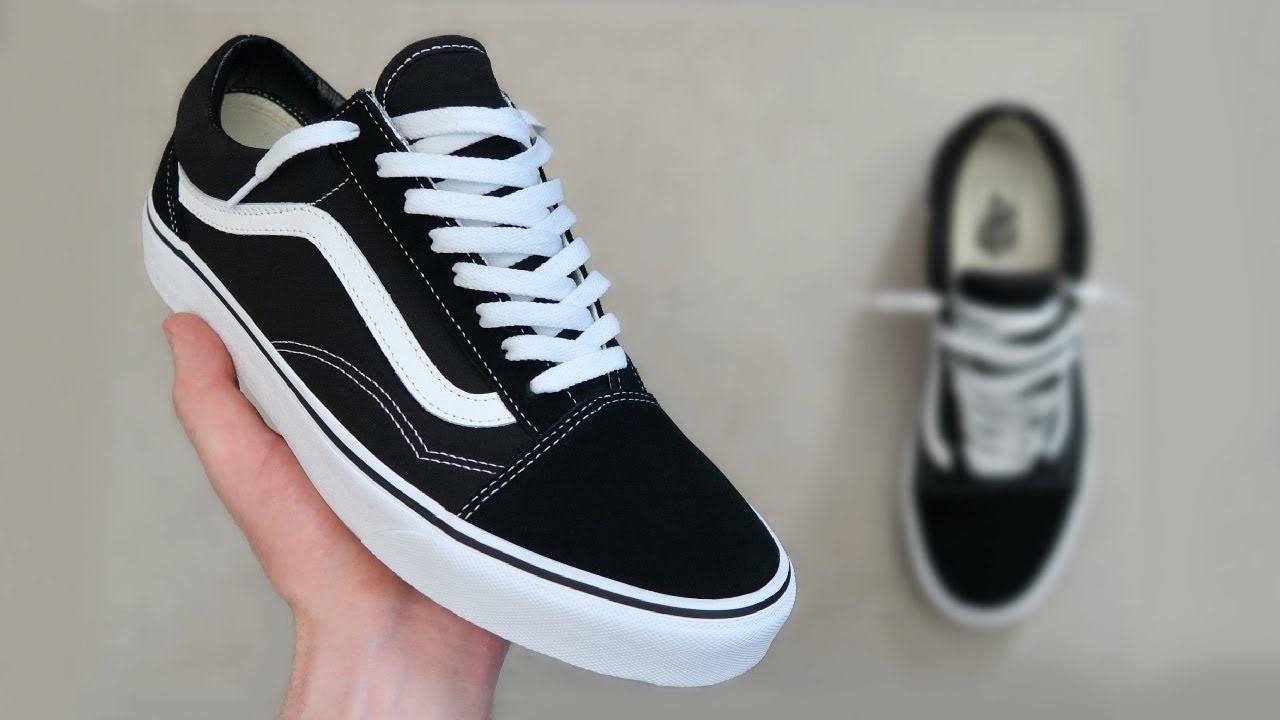
Read more: How To Lace Air Force 1
Step 4: Lace the Other Shoe
After successfully lacing up one of your Jordan 1 Low sneakers, it's time to mirror the process and lace up the other shoe to achieve a harmonious and balanced look. Lacing the second shoe is an opportunity to replicate the style and fit of the first shoe, ensuring that both sneakers exude a cohesive and polished appearance. Here's a detailed guide on how to effectively lace the other shoe, maintaining consistency and precision throughout the process:
-
Reference the First Shoe: Begin by referencing the lacing style and pattern of the first shoe. This serves as a visual guide to ensure that the lacing of the second shoe mirrors the design and fit of the first. Pay attention to the symmetry, tension, and overall aesthetic of the laces on the first shoe, using it as a reference point for the lacing of the second.
-
Align the Laces: Lay out the second shoe alongside the first, positioning them in a manner that allows for easy comparison and alignment. This side-by-side setup enables you to assess the lacing of both shoes simultaneously, facilitating adjustments to achieve uniformity and consistency between the pair.
-
Match the Lacing Pattern: With the first shoe as a reference, begin lacing the second shoe, ensuring that the pattern and style align with the initial lacing. Whether you've opted for a classic criss-cross pattern, straight-bar lacing, or a custom design, strive to replicate the same technique on the second shoe to maintain a cohesive look.
-
Maintain Symmetry and Tension: As you weave the laces through the eyelets of the second shoe, pay close attention to symmetry and tension, aiming to achieve a balanced and visually appealing lacing pattern. Consistency in tension and alignment contributes to a polished and professional finish, elevating the overall aesthetic of both sneakers.
-
Final Adjustments: Once the lacing of the second shoe is complete, take a moment to make any final adjustments to ensure that both sneakers exhibit a harmonious and uniform appearance. Check for any discrepancies in the lacing pattern or tension, making subtle tweaks as needed to achieve a seamless and balanced look.
By meticulously lacing the second shoe to mirror the style and fit of the first, you can elevate the overall presentation of your Jordan 1 Low sneakers, creating a cohesive and visually striking ensemble. With both shoes laced to perfection, your sneakers become a canvas for your personal expression, reflecting a harmonious blend of style, creativity, and attention to detail.
Step 5: Adjust the Laces
After lacing both of your Jordan 1 Low sneakers, it's time to focus on the crucial step of adjusting the laces to achieve the perfect fit and aesthetic appeal. This step allows you to fine-tune the lacing tension, length, and overall presentation, ensuring that your sneakers exude a comfortable and stylish allure. Here's a detailed guide on how to effectively adjust the laces, elevating the overall look and feel of your Jordan 1 Low sneakers.
-
Tension Check: Begin by assessing the tension of the laces on both sneakers. Ensure that the tension is consistent across the entire lacing pattern, avoiding any areas of excessive tightness or looseness. A balanced tension not only contributes to a polished appearance but also enhances the comfort and stability of the sneakers.
-
Fit Evaluation: Put on both sneakers and walk around to assess the fit and feel. Pay attention to any areas of discomfort or pressure points caused by the lacing. If necessary, make adjustments to alleviate any discomfort and ensure a snug yet comfortable fit. This step is crucial for optimizing the wearability of your sneakers.
-
Symmetry Alignment: Take a moment to evaluate the symmetry of the lacing pattern on both sneakers. Ensure that the laces are aligned uniformly on both sides, creating a visually pleasing and balanced presentation. Adjust any discrepancies in the lacing to achieve a harmonious and symmetrical appearance.
-
Length Adjustment: If you find that the laces are too long or too short, consider making length adjustments to achieve the desired look and functionality. Use scissors to trim the laces to the appropriate length, taking care to seal the ends if necessary. This customization allows you to tailor the laces to your preferred aesthetic and fit.
-
Final Styling Touches: Once the laces are adjusted to your satisfaction, take a moment to style them according to your personal preference. Whether you prefer a neatly tucked lace arrangement or a more relaxed and casual look, this step allows you to add a final touch of individuality to your lacing style.
By meticulously adjusting the laces, you can elevate the overall presentation and comfort of your Jordan 1 Low sneakers, ensuring that they reflect your unique style and attention to detail. With the laces perfectly tailored to your preferences, your sneakers become a true embodiment of personalized expression and refined craftsmanship.
Conclusion
In conclusion, the art of lacing up your Jordan 1 Low sneakers is a captivating journey that goes beyond mere functionality, transcending into a realm of personal expression and style customization. By following the step-by-step process outlined in this guide, you've embarked on a transformative adventure that has empowered you to infuse your sneakers with a fresh new look that reflects your individuality and creativity.
Through the meticulous removal of the old laces, the careful preparation of the new laces, and the deliberate weaving of intricate patterns, you've breathed new life into your sneakers, elevating them from footwear to a canvas for self-expression. The lacing process has allowed you to experiment with different styles, from classic criss-cross patterns to innovative lattice designs, enabling you to tailor your sneakers to match your unique personality and preferences.
As you laced up your Jordan 1 Low sneakers, you've not only enhanced their aesthetic appeal but also ensured a comfortable and secure fit, aligning with the functional essence of footwear. The attention to detail in maintaining symmetry, tension, and overall presentation has resulted in a polished and professional finish, elevating the visual allure of your sneakers.
Furthermore, the process of adjusting the laces has allowed you to fine-tune the fit and feel of your sneakers, ensuring that they not only look stylish but also provide optimal comfort and wearability. By customizing the length, tension, and styling of the laces, you've tailored your sneakers to your exact specifications, creating a personalized and refined footwear experience.
Ultimately, the journey of lacing your Jordan 1 Low sneakers has been a testament to your creativity, patience, and attention to detail. Each step of the process has been an opportunity to infuse your personal touch into your sneakers, transforming them into a unique and expressive reflection of your style.
As you lace up your sneakers and step out into the world, you carry with you the pride of having transformed a simple pair of shoes into a statement of individuality and craftsmanship. Your Jordan 1 Low sneakers now bear the mark of your creativity, serving as a testament to the art of lacing and the power of personal expression.
In the end, the lacing process is not merely about shoes; it's about the journey of self-discovery and the celebration of individuality. With your newly laced Jordan 1 Low sneakers, you've not only adorned your feet but also expressed a piece of yourself, one step at a time.