Lifestyle
How To Tie A Durag
Published: March 1, 2024
Learn how to tie a durag and elevate your lifestyle with our step-by-step guide. Discover the latest trends and tips for wearing a durag. Unlock your style potential today!
(Many of the links in this article redirect to a specific reviewed product. Your purchase of these products through affiliate links helps to generate commission for Noodls.com, at no extra cost. Learn more)
Table of Contents
Introduction
Tying a durag is not just a practical way to keep your hair in place; it's also a fashion statement and a symbol of cultural pride. Whether you're looking to maintain your waves, protect your hair while sleeping, or simply add a touch of style to your outfit, knowing how to tie a durag is a valuable skill. This simple yet versatile accessory has been a staple in the fashion world for decades, and mastering the art of tying it can elevate your look and boost your confidence.
The process of tying a durag may seem straightforward, but there are various techniques and styles to consider. From the classic two-strap tie to the trendy cross-strap method, each approach offers a unique blend of functionality and flair. Additionally, the type of fabric and design of the durag can influence the tying process, making it essential to choose the right durag for your specific needs and preferences.
In this comprehensive guide, we will walk you through the step-by-step process of tying a durag, covering everything from preparing your hair to achieving the perfect fit and style. Whether you're a durag aficionado or a newcomer to this iconic accessory, this guide will equip you with the knowledge and skills to tie a durag with confidence and finesse.
So, grab your favorite durag, and let's dive into the art of tying this timeless and versatile headwear. Whether you're aiming for a laid-back, casual look or a more polished and refined style, mastering the art of tying a durag will undoubtedly enhance your fashion repertoire and leave you feeling effortlessly stylish.
Read more: How To Tie A Bandana
Materials Needed
To begin the process of tying a durag, you will need a few essential materials to ensure a smooth and successful experience. These items are not only practical for achieving the desired style but also contribute to the overall comfort and functionality of the durag. Here's a list of the materials you'll need:
-
Durag: The most crucial item for tying a durag is, of course, the durag itself. When selecting a durag, consider the fabric, size, and design that best suits your preferences and hair care needs. Whether you prefer a silky, velvet, or breathable mesh fabric, choosing a durag that aligns with your style and comfort is essential.
-
Mirror: A mirror is an indispensable tool for ensuring precision and accuracy while tying your durag. Whether you're a beginner or an experienced durag wearer, having a mirror handy allows you to assess your progress and make any necessary adjustments to achieve the desired fit and style.
-
Hair Product: Depending on your hair type and styling goals, you may want to use hair products such as moisturizers, pomades, or wave creams before tying your durag. These products can help condition and style your hair, ensuring that it stays in place and maintains its desired texture while the durag is worn.
-
Comb or Brush: Before tying your durag, it's essential to prepare your hair by ensuring it's free of tangles and evenly distributed. A comb or brush can help you achieve a smooth and well-groomed look, making it easier to position the durag and achieve a comfortable fit.
-
Patience and Practice: While not tangible items, patience and practice are invaluable materials for mastering the art of tying a durag. It's essential to approach the process with patience, especially if you're new to tying a durag. With consistent practice and a positive mindset, you'll gradually develop the skills and confidence to tie your durag with ease and finesse.
By gathering these materials and embracing a patient and determined mindset, you'll be well-equipped to embark on the journey of tying a durag with style and precision. With the right materials at your disposal, you can confidently move on to the next steps and begin the process of achieving the perfect durag tie.
Step 1: Prepare Your Hair
Before diving into the art of tying a durag, it's crucial to prepare your hair to ensure a smooth and comfortable experience. Regardless of your hair type or preferred durag style, taking the time to properly prepare your hair sets the foundation for a successful and stylish durag tie. Here's a detailed look at the essential steps to prepare your hair before tying a durag:
Cleanse and Condition
Begin by cleansing and conditioning your hair to create a clean and manageable canvas for the durag. Depending on your hair care routine, you may choose to shampoo and condition your hair, ensuring that it's free of excess oils and product buildup. This step not only promotes scalp health but also sets the stage for a polished and well-groomed look once the durag is in place.
Moisturize and Style
After cleansing, consider applying a moisturizing product or styling agent to your hair. This step is particularly important for individuals with textured or curly hair, as it helps maintain moisture and define natural patterns. Whether you prefer a leave-in conditioner, hair cream, or styling gel, incorporating a suitable product can enhance the overall appearance and manageability of your hair when wearing a durag.
Read more: How To Tie A Shemagh
Brush or Comb
Using a brush or comb, gently detangle and smooth your hair to ensure an even distribution of products and a neat, well-groomed appearance. This step is essential for achieving a sleek and uniform look under the durag, as it minimizes the risk of lumps or uneven hair distribution. By taking the time to brush or comb your hair, you're setting the stage for a seamless and comfortable durag tie.
Consider Your Hairstyle
Depending on your desired outcome, consider the hairstyle you'd like to maintain or achieve while wearing the durag. Whether you're aiming to preserve waves, curls, or a specific hair texture, preparing your hair accordingly can help you achieve the desired look once the durag is tied. By keeping your hairstyle goals in mind, you can tailor your hair preparation to align with your unique preferences and styling objectives.
By following these preparatory steps, you'll ensure that your hair is primed and ready for the durag tying process. Taking the time to cleanse, moisturize, and groom your hair sets the stage for a comfortable and stylish durag tie, allowing you to showcase your individuality and personal flair with confidence. With your hair prepared, you're now ready to move on to the next steps and embark on the exciting journey of tying a durag.
Step 2: Fold the Durag
Folding the durag is a crucial step that sets the stage for a secure and stylish tie. The way you fold your durag can significantly impact the overall fit, comfort, and appearance, making it essential to approach this step with precision and care. Whether you're aiming for a classic fold or a more intricate style, mastering the art of folding your durag will elevate your look and ensure a snug and secure fit.
Classic Triangle Fold
Begin by laying the durag flat, with the inside facing up and the ties extended on either side. Next, fold the top corner of the durag down to the bottom corner, creating a triangle shape. Ensure that the edges are aligned and the fabric is smooth to achieve a neat and uniform fold.
Read more: How To Tie Jordans
Tail Tuck Technique
For a variation on the classic fold, consider tucking the ties into the folded triangle before tying the durag. This technique not only adds a touch of flair to your style but also helps secure the ties in place, preventing them from dangling or becoming loose during wear.
Double Fold for Added Compression
If you're looking to enhance compression and hold, consider folding the durag twice before tying it. Start by folding the durag in half from the bottom to the top, creating a rectangular shape. Then, fold it once more from the left to the right, resulting in a narrower band that provides additional compression and support.
Consider Your Hairline and Desired Coverage
When folding the durag, take into account your hairline and the level of coverage you prefer. Adjust the fold accordingly to ensure that it sits comfortably along your forehead and covers the desired area of your head. By customizing the fold to align with your hairline and styling goals, you can achieve a tailored and comfortable fit.
By mastering the art of folding your durag, you'll lay the groundwork for a successful and stylish tie. Whether you opt for a classic triangle fold, incorporate the tail tuck technique, or experiment with double folds, the key is to prioritize precision and alignment. With your durag neatly folded and ready for the next steps, you're well on your way to achieving a confident and fashionable durag tie.
Step 3: Place the Durag on Your Head
Once you have prepared and folded your durag, it's time to position it on your head with precision and care. This step is crucial for achieving a comfortable fit and ensuring that the durag sits securely in place throughout the day or night. By following these detailed instructions, you can seamlessly transition from folding to wearing your durag with confidence and style.
-
Align the Center: Begin by holding the folded durag with the triangle or folded edge facing upward. Position the center of the durag at the front of your head, aligning it with your hairline. Ensuring that the center is properly placed sets the foundation for a balanced and symmetrical fit.
-
Secure the Ties: With the center of the durag in position, gently pull the ties around to the back of your head. Cross the ties at the back, then bring them back around to the front. This crisscross motion helps create a snug and secure hold, preventing the durag from shifting or slipping during wear.
-
Adjust the Flaps: Once the ties are brought back to the front, adjust the flaps to cover your ears and forehead as desired. The flaps should provide ample coverage without feeling too tight or restrictive. Take a moment to ensure that the durag is positioned comfortably and that the flaps are evenly distributed on both sides of your head.
-
Check the Center Seam: As you position the durag, pay attention to the center seam or fold. Ensure that it runs along the center of your head, creating a visually appealing and balanced look. The center seam also plays a practical role in maintaining the durag's stability and fit, making it essential to position it accurately.
-
Smooth Out Any Wrinkles: Once the durag is in place, gently smooth out any wrinkles or creases to achieve a polished and neat appearance. This step contributes to the overall comfort and aesthetic of the durag tie, ensuring that the fabric lays smoothly against your head without any unnecessary tension or discomfort.
By following these detailed steps, you can confidently position your durag on your head, achieving a secure and stylish fit. Whether you're wearing your durag for practical purposes or as a fashion statement, the way you place it on your head sets the stage for a comfortable and confident experience. With the durag securely in place, you're now ready to proceed to the next steps and complete the tying process with finesse.
Read more: How To Tie A Scarf
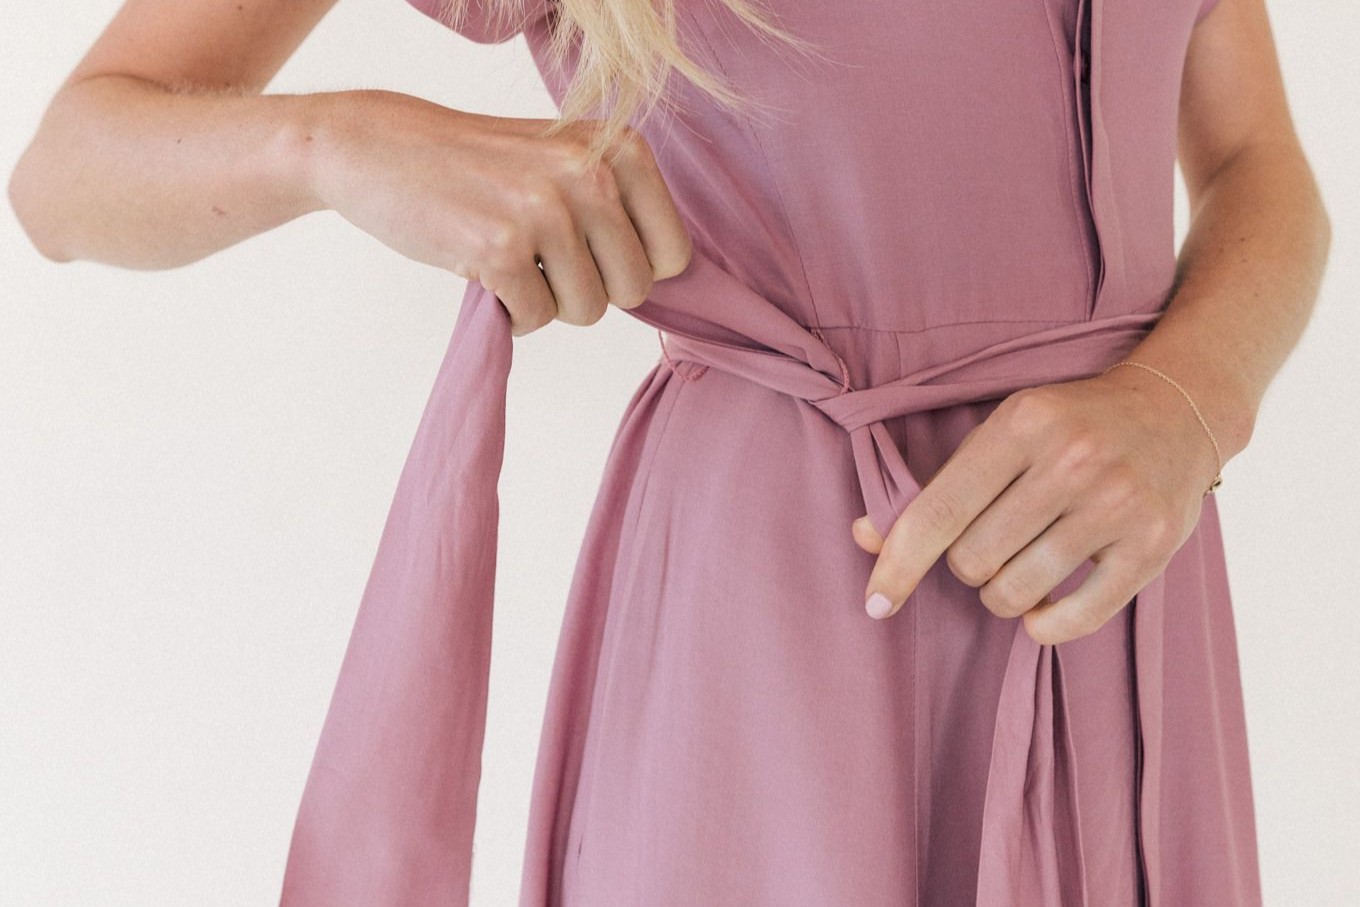
Step 4: Tie the Straps
Tying the straps of your durag is the pivotal step that ensures a secure and personalized fit. The way you tie the straps not only influences the overall comfort but also adds a touch of individual style to your look. Whether you prefer a classic knot or a more intricate tying technique, mastering this step is essential for achieving a polished and confident durag tie.
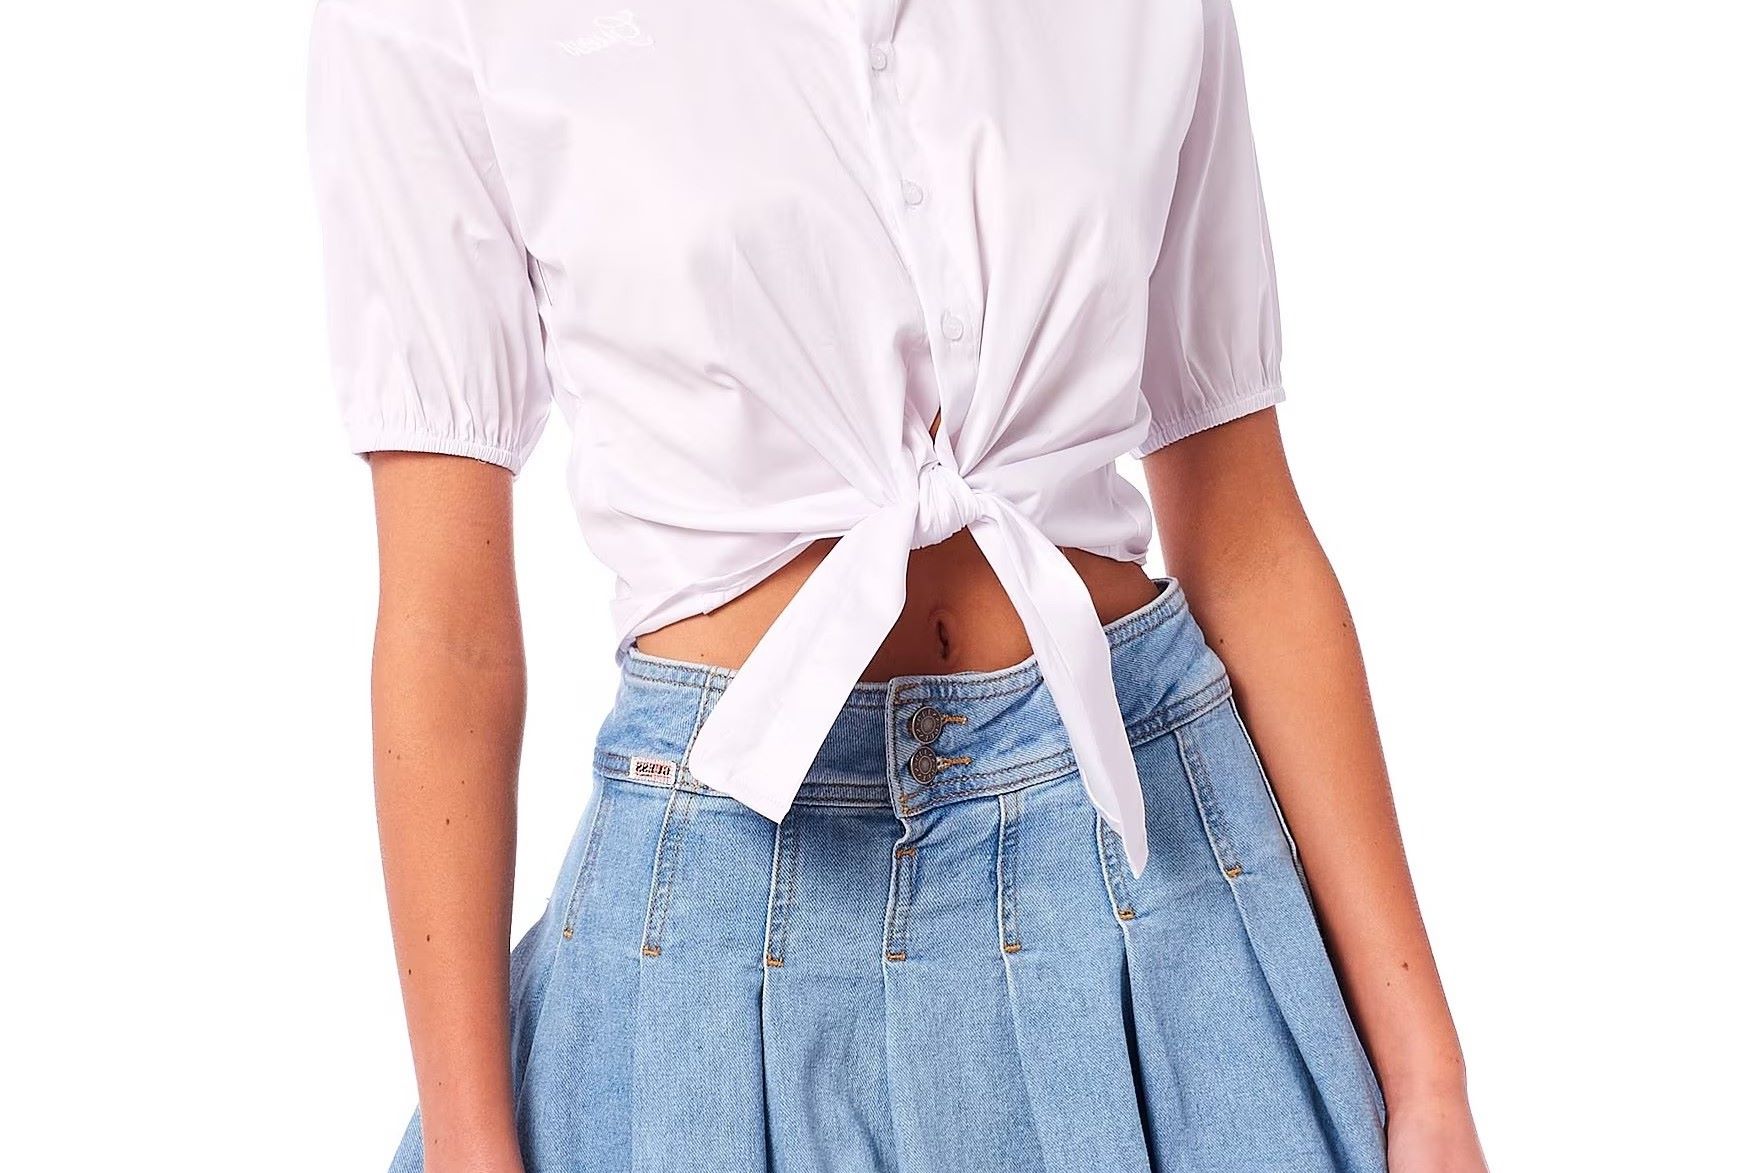
Classic Two-Strap Tie
Begin by crossing the two straps at the back of your head, ensuring that they are securely intertwined. Next, bring the straps around to the front, crossing them over each other once more. Then, tie a firm knot at the front, adjusting the tension to achieve a snug yet comfortable fit. This classic method provides a timeless and reliable way to secure your durag in place, making it a popular choice for many durag wearers.
Cross-Strap Technique
For a contemporary and stylish approach, consider the cross-strap technique. After crossing the straps at the back, bring them forward and cross them over each other at the front of your head. Then, take each strap to the back again, crossing them once more before tying a knot. This method not only offers a unique and eye-catching look but also provides additional stability and hold, making it a versatile option for various hair textures and styles.
Tail Tuck and Fold
To add a personalized touch to your durag tie, incorporate the tail tuck and fold technique. After crossing and bringing the straps to the front, tuck the ends into the folded triangle of the durag. This method not only secures the straps in place but also creates a clean and streamlined appearance, eliminating any excess fabric or dangling ends. By tucking and folding the tails, you can achieve a refined and tailored look that complements your individual style.
Read more: How To Tie A Man Bun
Adjusting Tension and Fit
As you tie the straps, pay attention to the tension and fit to ensure optimal comfort and security. Avoid tying the durag too tightly, as this can cause discomfort and restrict circulation. Conversely, tying it too loosely may result in the durag slipping or shifting during wear. Finding the right balance of tension and fit is key to achieving a personalized and comfortable durag tie that suits your unique preferences and styling goals.
By mastering the art of tying the straps, you can elevate your durag tie with confidence and flair. Whether you opt for the classic two-strap tie, the contemporary cross-strap technique, or a personalized tail tuck and fold, the key is to prioritize comfort, security, and individual style. With the straps securely tied, you're now ready to move on to the final step and put the finishing touches on your durag tie.
Step 5: Adjust and Style
After tying the straps of your durag, the next crucial step is to adjust and style it to achieve the perfect fit and personalized look. This step allows you to fine-tune the positioning of the durag and add individual flair to your overall appearance. By paying attention to the following details, you can ensure that your durag tie reflects your unique style and provides the desired level of comfort and functionality.
Positioning and Alignment
Begin by assessing the positioning of your durag to ensure that it sits comfortably and securely on your head. Check that the front edge aligns with your hairline, providing the desired coverage without feeling too tight or restrictive. Additionally, ensure that the durag is centered and symmetrical, creating a balanced and polished look. Adjust the placement as needed to achieve optimal comfort and visual appeal.
Flap Arrangement
Take a moment to arrange the flaps of the durag to cover your ears and forehead as desired. The flaps should provide ample coverage without feeling overly tight or obstructive. By adjusting the flaps, you can customize the fit of the durag to align with your personal preferences and styling goals. Whether you prefer a slightly raised or fully covered flap arrangement, this step allows you to tailor the durag tie to suit your individual comfort and aesthetic preferences.
Read more: How To Tie Belt On Dress
Smooth Out Any Wrinkles
Once the durag is in place, gently smooth out any wrinkles or creases to ensure a neat and polished appearance. This step contributes to the overall comfort and aesthetic of the durag tie, ensuring that the fabric lays smoothly against your head without any unnecessary tension or discomfort. By taking the time to smooth out the fabric, you can enhance the overall look and feel of your durag tie, creating a refined and well-groomed appearance.
Personalized Styling
Consider incorporating personalized styling touches to elevate your durag tie. Whether you prefer to leave the ties hanging loose for a relaxed and casual look or tuck them neatly under the durag for a streamlined appearance, these subtle styling choices can add a touch of individuality to your overall look. Additionally, you may choose to adjust the angle of the durag slightly to create a unique and personalized silhouette that complements your facial features and personal style.
By focusing on these adjustments and styling details, you can refine your durag tie to reflect your individuality and preferences. Whether you're aiming for a laid-back, casual look or a more polished and refined style, this step allows you to put the finishing touches on your durag tie, ensuring that it aligns with your unique personality and fashion sensibilities. With the durag adjusted and styled to perfection, you're now ready to showcase your confident and effortlessly stylish look to the world.
Conclusion
Mastering the art of tying a durag is not just about achieving a practical and secure fit; it's a journey that allows you to express your individuality, embrace cultural significance, and elevate your personal style. As you've navigated through the step-by-step process of preparing, folding, placing, tying, and styling your durag, you've embarked on a transformative experience that goes beyond fashion and functionality.
Tying a durag is a celebration of self-expression and heritage, reflecting the rich history and cultural significance of this iconic headwear. Whether you wear a durag to maintain your waves, protect your hair, or make a bold fashion statement, the process of tying it is a testament to the timeless artistry and versatility of this accessory.
As you've learned, the journey of tying a durag is marked by attention to detail, precision, and personalization. From selecting the right fabric and design to customizing the fit and style, every step reflects your unique preferences and individual flair. The durag becomes a canvas for self-expression, allowing you to showcase your personality and confidence with every tie and adjustment.
Beyond the practical aspects, tying a durag is a nod to tradition and a celebration of cultural pride. It's a symbol of resilience, creativity, and identity, carrying with it a legacy of style and significance that transcends generations. By mastering the art of tying a durag, you honor this legacy and contribute to its ongoing narrative in the world of fashion and self-expression.
As you continue to refine your durag tying skills, remember that each tie is a reflection of your journey, growth, and evolving sense of style. Whether you opt for a classic, no-nonsense tie or experiment with innovative techniques, the process of tying a durag is a testament to your adaptability and creativity.
In conclusion, the art of tying a durag is a deeply personal and empowering experience. It's a journey that intertwines tradition, style, and self-expression, allowing you to embrace your unique identity and make a bold statement with every tie. So, as you embark on your durag tying endeavors, may each tie be a testament to your confidence, individuality, and unwavering sense of style.