Home>Home and Garden>How To Grow Orange Seeds
Home and Garden
How To Grow Orange Seeds
Published: March 3, 2024
Learn how to grow orange seeds at home and create a beautiful garden with our expert tips and advice. Start your home and garden project today!
(Many of the links in this article redirect to a specific reviewed product. Your purchase of these products through affiliate links helps to generate commission for Noodls.com, at no extra cost. Learn more)
Table of Contents
Introduction
Growing orange trees from seeds can be a rewarding and fulfilling experience. Whether you're a seasoned gardener or a novice enthusiast, nurturing orange seeds into thriving trees offers a sense of accomplishment and the promise of delicious, homegrown fruit. While it may take several years for the trees to bear fruit, the journey from seed to sapling is a fascinating and gratifying process.
The process of growing orange seeds begins with selecting the right seeds, preparing them for planting, and providing the necessary care as they develop into healthy seedlings. As the seedlings mature, they will require proper attention to ensure they grow into robust trees capable of producing juicy, flavorful oranges.
In this comprehensive guide, we will walk you through the step-by-step process of growing orange seeds into flourishing trees. From selecting the best seeds to transplanting your young orange trees, each stage of the journey is filled with opportunities to learn and connect with nature. By following these steps and providing the right care, you can cultivate your own citrus oasis and enjoy the fruits of your labor for years to come.
So, roll up your sleeves, gather your gardening tools, and let's embark on this exciting horticultural adventure together. Whether you have a spacious backyard or a cozy balcony, growing orange trees from seeds is a delightful and fulfilling endeavor that anyone can undertake. With patience, dedication, and a touch of green-thumb magic, you can transform tiny orange seeds into thriving trees that will brighten your surroundings and provide an abundant harvest of luscious, vitamin-packed oranges.
Read more: How To Grow A Mango Seed
Step 1: Selecting the Right Seeds
Selecting the right seeds is the crucial first step in growing orange trees from scratch. When it comes to choosing seeds for your orange trees, it's essential to prioritize quality and viability. Here's a detailed guide to help you select the best seeds for your orange tree cultivation:
-
Choose Fresh Seeds: Opt for fresh seeds from ripe, healthy oranges. Fresh seeds have a higher chance of germination and are more likely to yield robust seedlings. Avoid using seeds from overripe or damaged fruits, as they may have lower viability.
-
Varietal Consideration: Consider the variety of orange you wish to grow. Whether it's the sweet and tangy flavor of Valencia oranges or the aromatic fragrance of Navel oranges, different varieties offer unique characteristics. Select seeds from oranges that align with your taste preferences and growing conditions.
-
Seed Viability: Test the viability of the seeds before planting. One method is to place the seeds in a bowl of water – viable seeds will sink, while non-viable ones will float. Additionally, inspect the seeds for any signs of damage or mold, and discard any that appear compromised.
-
Organic Sources: Whenever possible, obtain seeds from organic oranges. Organic fruits are less likely to contain chemical residues that could affect seed germination and the long-term health of the trees.
-
Local Adaptation: If feasible, source seeds from local, thriving orange trees. Seeds from locally adapted trees are more likely to flourish in your specific climate and soil conditions, increasing the chances of successful cultivation.
By carefully selecting fresh, viable seeds from a preferred orange variety and considering factors such as seed viability and local adaptation, you set the stage for a successful journey in growing orange trees from seeds. With the right seeds in hand, you're ready to move on to the next step: preparing the seeds for planting.
Step 2: Preparing the Seeds for Planting
Before planting the selected orange seeds, it's essential to prepare them adequately to optimize their chances of successful germination and healthy growth. Proper preparation sets the foundation for robust seedlings and, ultimately, thriving orange trees. Here's a detailed guide on how to prepare the seeds for planting:
-
Cleaning the Seeds: Begin by gently rinsing the selected seeds under running water to remove any residual pulp or fruit remnants. Use a soft brush or cloth to delicately scrub the seeds, ensuring they are clean and free from any clinging debris. This step helps prevent mold or bacterial growth during the germination process.
-
Seed Scarification (Optional): Some gardeners opt to scarify orange seeds to enhance germination. This process involves gently nicking or scratching the seed coat to facilitate water absorption and encourage sprouting. Use a nail file or sandpaper to lightly abrade the outer seed coat, taking care not to damage the inner embryo. While scarification is optional, it can promote quicker and more uniform germination in some cases.
-
Seed Soaking: After cleaning and, if desired, scarifying the seeds, soak them in room-temperature water for 24 hours. This soaking period helps hydrate the seeds and kick-start the germination process. Ensure the water covers the seeds entirely and change it if it becomes discolored.
-
Moisture Retention: Following the soaking period, place the seeds on a damp paper towel or in a moistened, breathable medium such as peat moss or vermiculite. Enclose the seeds and the moist medium in a plastic bag or container to maintain high humidity levels, mimicking the conditions necessary for germination. Check the moisture levels regularly and replenish as needed to prevent the seeds from drying out.
-
Temperature and Light: Store the prepared seeds in a warm, well-lit area, but shield them from direct sunlight. Ideal temperatures for seed germination typically range between 70-85°F (21-29°C). Ensure the chosen storage location provides consistent warmth and diffused light to support the germination process.
By meticulously preparing the selected orange seeds through cleaning, optional scarification, soaking, and maintaining optimal moisture, temperature, and light conditions, you pave the way for successful germination and the emergence of healthy orange seedlings. With the seeds primed for planting, you are now ready to proceed to the next exciting phase: planting the prepared seeds to initiate the growth of your future orange trees.
Step 3: Planting the Seeds
Planting the prepared orange seeds marks a pivotal moment in the journey of growing orange trees from scratch. This step requires attention to detail and a nurturing touch to provide the optimal conditions for seed germination and early growth. Here's a comprehensive guide on how to plant the prepared seeds to kick-start the growth of your future orange trees:
-
Selecting Planting Containers: Choose suitable planting containers with drainage holes to prevent waterlogging. Biodegradable pots or seedling trays filled with well-draining potting mix are ideal for providing a conducive environment for seed germination.
-
Planting Depth: Plant the prepared seeds approximately 1 inch deep in the potting mix. Gently press the soil over the seeds to ensure good soil-seed contact while avoiding compacting the soil excessively.
-
Moisture and Warmth: After planting, water the soil thoroughly to ensure adequate moisture. Place the planted seeds in a warm, well-lit area, shielded from direct sunlight. Consistent moisture and warmth are crucial for initiating the germination process.
-
Humidity Control: Maintain high humidity levels around the planted seeds to promote germination. Cover the containers with clear plastic domes or enclose them in plastic bags to create a mini greenhouse effect. This helps retain moisture and create a favorable microclimate for seedling emergence.
-
Germination Period: Be patient and attentive during the germination period, which typically ranges from 2 to 8 weeks. Regularly monitor the moisture levels in the soil and ensure the seeds are not exposed to extreme temperature fluctuations.
-
Seedling Care: Once the seeds germinate and the seedlings emerge, gradually acclimate them to slightly lower humidity levels. As the seedlings grow, provide gentle air circulation to strengthen their stems and prevent damping off.
By following these detailed steps for planting the prepared orange seeds, you set the stage for the emergence of healthy seedlings that will eventually develop into robust orange trees. This phase of the journey requires patience and attentive care, laying the groundwork for the next stages of nurturing and cultivating your growing orange trees.
Step 4: Caring for Your Orange Seedlings
Caring for your orange seedlings is a crucial phase in the journey of growing orange trees from seeds. As the delicate seedlings emerge and begin their early growth, providing attentive care and creating an optimal environment are essential for nurturing their development into healthy, resilient trees. Here's a comprehensive guide on how to care for your orange seedlings to ensure their successful transition from germination to robust young trees:
Read more: How To Grow Watermelon From Seed
1. Light and Temperature
Ensure that your orange seedlings receive ample, indirect sunlight to support their growth. Position them in a location with bright, diffused light, such as near a south-facing window. If natural light is limited, consider using grow lights to supplement the illumination. Maintain a consistent temperature range of 70-80°F (21-27°C) to provide a warm and favorable environment for the seedlings' development.
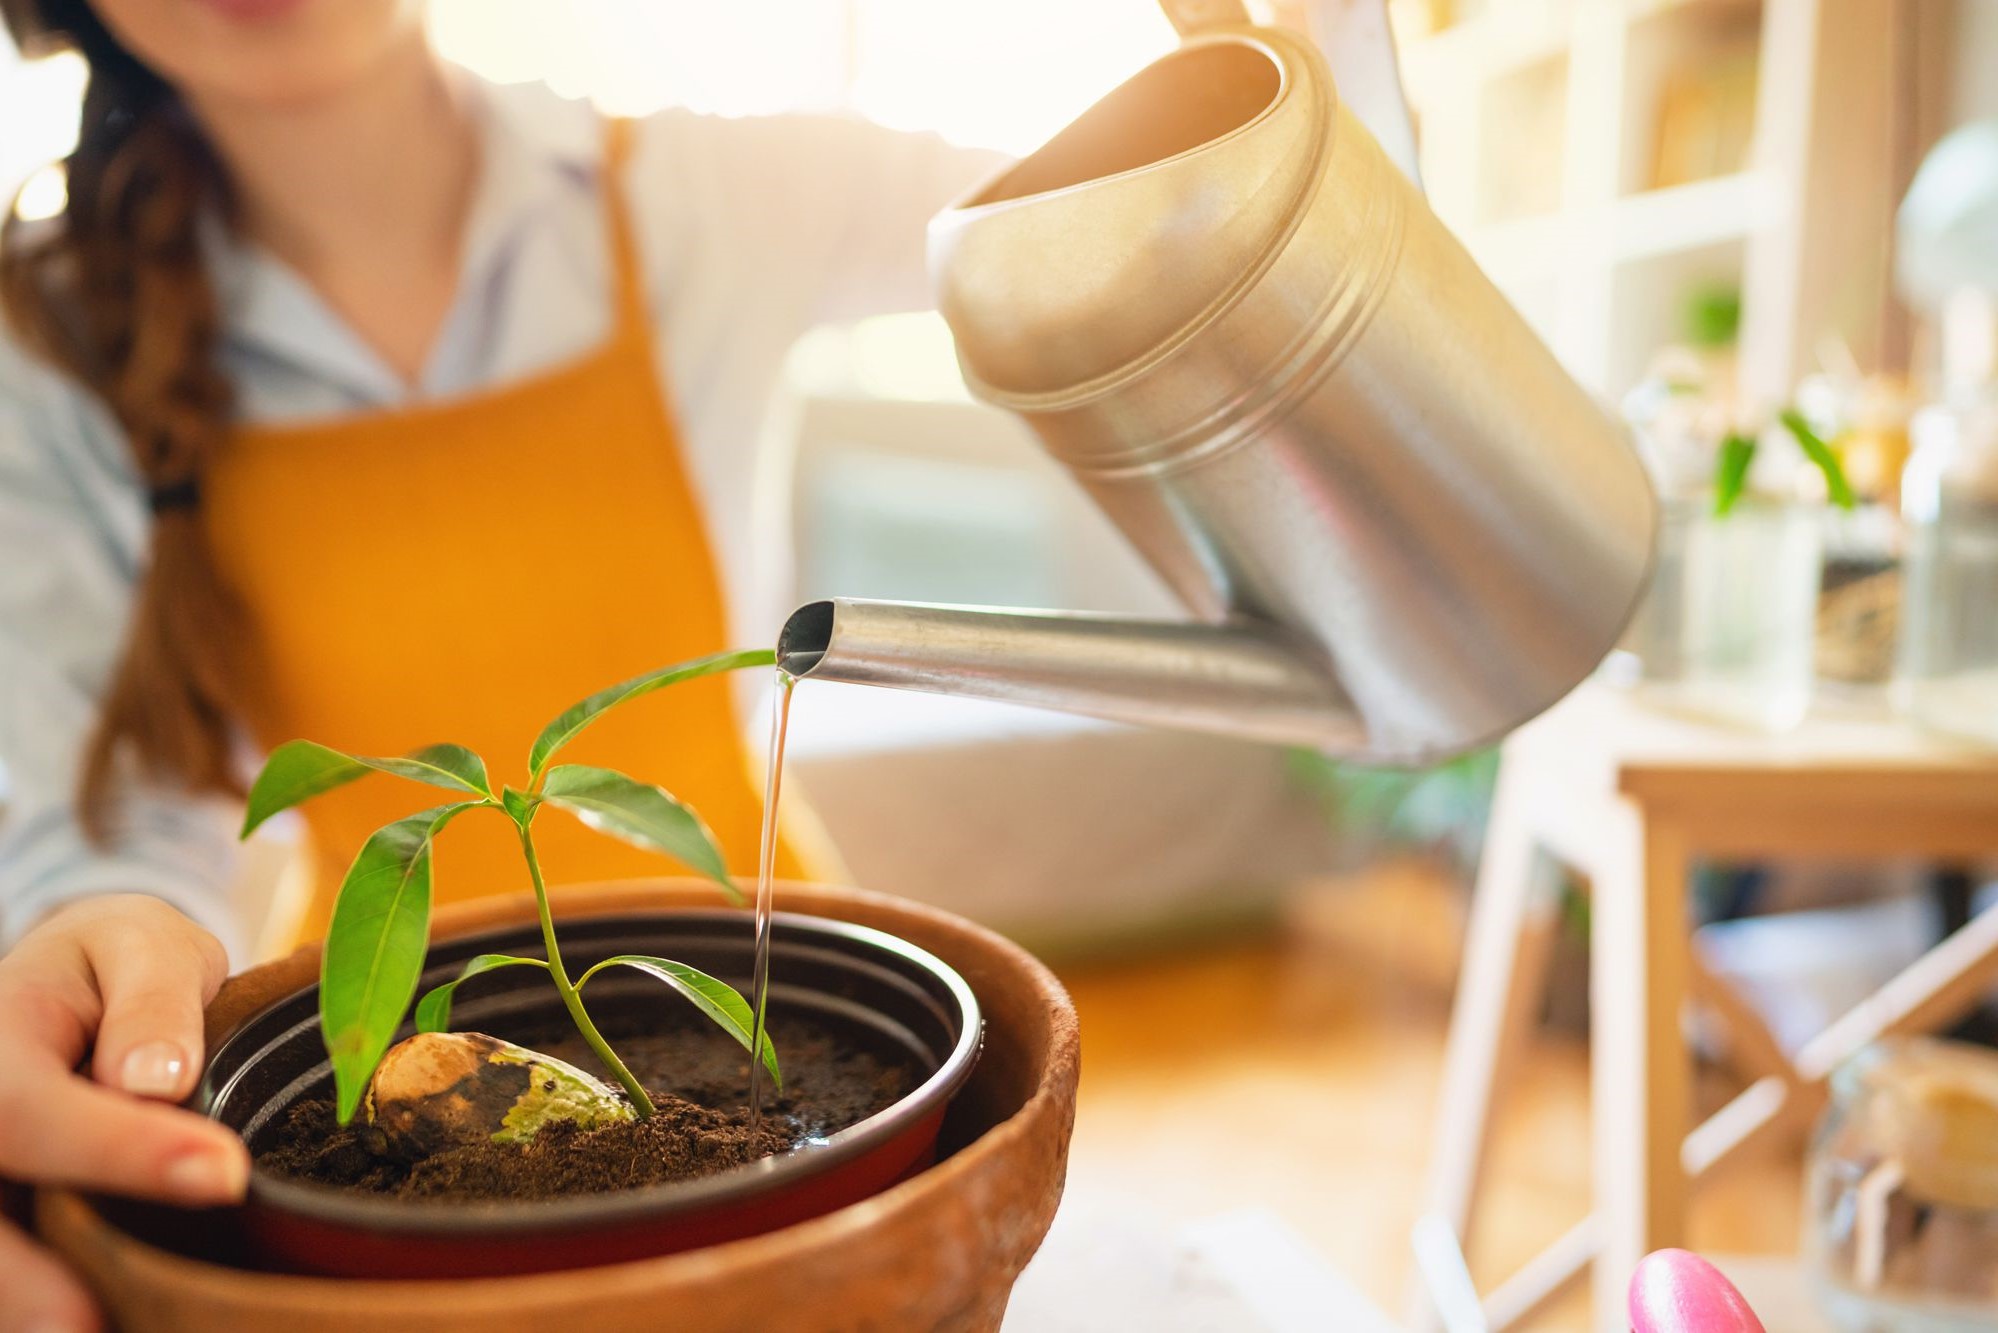
2. Watering
Carefully monitor the moisture levels in the soil and water the seedlings when the top inch of the soil feels dry to the touch. Use room-temperature water and ensure that the pots have adequate drainage to prevent waterlogging, which can lead to root rot. Avoid overwatering, as excessively damp soil can hinder the seedlings' growth and make them susceptible to fungal diseases.
3. Fertilization
After the seedlings develop their first set of true leaves, introduce a balanced, water-soluble fertilizer with a higher phosphorus content to support root development. Dilute the fertilizer according to the manufacturer's instructions and apply it every 2-4 weeks during the growing season. Avoid over-fertilizing, as it can cause fertilizer burn and harm the delicate seedlings.
4. Pruning and Thinning
As the seedlings grow, monitor their development and prune away any weak or leggy growth to encourage sturdy, compact growth. Additionally, if multiple seedlings have germinated in the same container, carefully thin them out, leaving only the healthiest and most robust seedling to ensure optimal growth and development.
5. Pest and Disease Management
Regularly inspect the seedlings for signs of pests such as aphids, scale insects, or mites. If any pests are detected, gently remove them with a soft brush or use a mild insecticidal soap to control infestations. Keep the growing area clean and free from debris to minimize the risk of fungal diseases and pests.
6. Transplanting
As the seedlings mature and develop a strong root system, they will outgrow their initial containers. When the seedlings have several sets of true leaves and sturdy stems, carefully transplant them into larger containers or directly into the ground, ensuring they have ample space to continue their growth.
By providing attentive care, maintaining optimal growing conditions, and addressing the specific needs of your orange seedlings, you set the stage for their successful transition into robust young trees. This phase of nurturing and tending to the seedlings is a vital part of the journey toward cultivating thriving orange trees that will eventually yield an abundant harvest of delicious, homegrown oranges.
Step 5: Transplanting Your Orange Trees
Transplanting your orange trees marks a significant milestone in their journey from delicate seedlings to robust, fruit-bearing trees. This crucial step requires careful planning, attention to detail, and a nurturing approach to ensure the successful transition of the young trees to their new growing environment. Here's a comprehensive guide on how to transplant your orange trees, providing them with the best possible start for continued growth and eventual fruit production.
1. Timing and Preparation
Before initiating the transplanting process, carefully consider the timing to ensure optimal conditions for the young trees. Ideally, transplant the orange trees in early spring, after the last frost has passed and when the soil has warmed up. Select a new planting site that receives ample sunlight, has well-draining soil, and offers sufficient space for the trees to thrive and expand their root systems.
Read more: How To Harvest Sunflower Seeds
2. Transplanting Procedure
Begin the transplanting process by carefully removing the young orange trees from their current containers or the ground, taking care to minimize root disturbance. Gently loosen the soil around the root ball and lift the trees, ensuring that the root systems remain intact. If the trees were initially grown in containers, carefully tease out any circling roots to encourage outward growth and prevent root binding.
3. Planting Hole Preparation
Prepare the planting holes at the new site, ensuring they are wide and deep enough to accommodate the root balls of the young trees without crowding or bending the roots. Amend the soil in the planting holes with organic matter such as compost to enrich the growing medium and provide essential nutrients for the trees' establishment.
4. Transplanting and Soil Adjustment
Carefully place the young orange trees in the prepared planting holes, ensuring they are positioned at the same depth as they were previously growing. Backfill the holes with the amended soil, gently firming it around the root balls to eliminate air pockets. Water the newly transplanted trees thoroughly to settle the soil and provide essential hydration to support their initial growth in the new location.
5. Post-Transplant Care
After transplanting, provide ongoing care and attention to the young orange trees to support their acclimatization and continued development. Monitor the soil moisture regularly and water the trees as needed, ensuring the soil remains consistently moist but not waterlogged. Apply a layer of organic mulch around the base of the trees to conserve moisture, suppress weed growth, and provide a gradual release of nutrients to the root zone.
Read more: How To Plant Lemon Seeds
6. Support and Protection
To aid the young trees in their transition, consider providing temporary support in the form of stakes or ties to prevent wind damage and promote upright growth. Additionally, shield the trees from extreme weather conditions and excessive sun exposure during the initial weeks following transplanting to minimize stress and encourage healthy establishment.
By following these detailed steps and providing attentive care during the transplanting process, you set the stage for the successful establishment and continued growth of your young orange trees in their new environment. This pivotal phase of the journey brings the trees one step closer to fulfilling their potential as flourishing, fruit-bearing additions to your garden or orchard.
Conclusion
In conclusion, the journey of growing orange trees from seeds is a captivating and rewarding endeavor that offers a profound connection to nature and the promise of bountiful harvests in the future. From the careful selection of viable seeds to the nurturing of delicate seedlings and the eventual transplanting of young trees, each step in this horticultural journey is filled with opportunities for learning, patience, and a deep appreciation for the wonders of plant growth.
As we reflect on the comprehensive process outlined in this guide, it becomes evident that growing orange trees from seeds is not merely a practical pursuit, but a transformative experience that fosters a sense of stewardship for the environment and a profound connection to the natural world. The journey from seed to sapling embodies the resilience and beauty of the plant kingdom, offering a glimpse into the intricate processes that underpin the growth and development of living organisms.
Throughout this journey, gardeners and enthusiasts alike are invited to witness the remarkable transformation of tiny seeds into thriving trees, each step serving as a testament to the power of patience, care, and the nurturing touch of human hands. The act of growing orange trees from seeds transcends the realm of mere cultivation; it embodies a harmonious partnership between individuals and the natural world, fostering a sense of responsibility and reverence for the cycles of life and growth.
As the young orange trees take root and begin their journey towards maturity, they symbolize the potential for abundance, vitality, and the enduring beauty of nature. The promise of future harvests, laden with juicy, vitamin-packed oranges, serves as a testament to the patience and dedication invested in nurturing the seeds into thriving trees.
In essence, the journey of growing orange trees from seeds is a testament to the transformative power of nature and the profound rewards that stem from tending to the delicate beginnings of life. It is a journey that encapsulates the beauty of growth, the resilience of living organisms, and the enduring connection between individuals and the natural world. By embarking on this journey, gardeners and enthusiasts alike partake in a timeless ritual that celebrates the wonders of creation and the boundless potential inherent in every tiny seed.