Home>Home and Garden>How To Grow Watermelon From Seed
Home and Garden
How To Grow Watermelon From Seed
Published: March 2, 2024
Learn how to grow watermelon from seed in your home garden with our expert tips and techniques. Start your own watermelon patch today!
(Many of the links in this article redirect to a specific reviewed product. Your purchase of these products through affiliate links helps to generate commission for Noodls.com, at no extra cost. Learn more)
Table of Contents
Introduction
Watermelon, with its juicy, sweet flesh and refreshing taste, is a beloved summer fruit that thrives in warm climates. Whether you're a gardening enthusiast or a novice looking to cultivate your own watermelon patch, the journey from seed to succulent fruit is a rewarding and fulfilling experience. In this comprehensive guide, we will delve into the intricacies of growing watermelon from seed, providing you with the knowledge and insights needed to nurture these vibrant fruits in your own backyard.
From selecting the right seeds to tending to the plants as they mature, each stage of the watermelon growing process offers its own set of challenges and rewards. As you embark on this horticultural adventure, you'll witness the miraculous transformation of tiny seeds into sprawling vines laden with the promise of delicious, sun-ripened watermelons.
Throughout this guide, we'll explore the essential steps required to cultivate watermelon from seed, including soil preparation, planting techniques, watering and fertilization, pest management, and the joyous moment of harvesting your homegrown watermelons. By understanding the intricacies of each stage, you'll be equipped with the knowledge to nurture your watermelon plants and savor the fruits of your labor.
Whether you're envisioning a bountiful harvest to share with friends and family or simply seeking the satisfaction of growing your own fresh produce, the journey of growing watermelon from seed is a delightful and enriching endeavor. So, roll up your sleeves, grab your gardening tools, and let's embark on this exciting journey to cultivate delectable watermelons right in your own backyard.
Choosing the Right Watermelon Seeds
Selecting the right watermelon seeds is a crucial first step in the journey of growing this beloved summer fruit. With a myriad of varieties available, each offering unique characteristics in terms of flavor, size, and growing conditions, it's essential to make an informed choice that aligns with your preferences and the specific requirements of your garden. When perusing the options, consider the following factors to ensure you choose the most suitable watermelon seeds for your cultivation venture.
Consider Your Climate and Growing Conditions
Before delving into the array of watermelon varieties, assess the climate and growing conditions of your region. Certain watermelon cultivars thrive in warm, arid climates, while others are better suited to cooler, more temperate environments. Take note of the average temperature, humidity levels, and the length of your growing season. This information will guide you in selecting seeds that are well-adapted to your local climate, increasing the likelihood of a successful harvest.
Determine Your Preferences
Watermelons come in an assortment of sizes, shapes, and colors, each offering a unique sensory experience. Consider your flavor preferences, whether you prefer a sweeter, more succulent flesh or a crisp, refreshing taste. Additionally, contemplate the size of the watermelons you envision harvesting. Some varieties yield petite, personal-sized fruits, while others produce larger, family-sized melons. By aligning your preferences with the characteristics of different watermelon cultivars, you can narrow down your options and select seeds that promise a harvest tailored to your tastes.
Research Varietal Traits
Delve into the specific traits of different watermelon varieties, such as their resistance to pests and diseases, their average maturation period, and their adaptability to various soil types. Some cultivars boast enhanced resistance to common pests and diseases, reducing the need for chemical interventions and promoting a more sustainable cultivation approach. Understanding the unique traits of each variety will empower you to make an informed decision that aligns with your gardening goals and the natural conditions of your garden.
Read more: How To Grow Orange Seeds
Seek Reliable Sources
When acquiring watermelon seeds, opt for reputable suppliers known for offering high-quality, authentic seeds. Whether you choose to purchase seeds from local nurseries, online retailers, or seed catalogs, prioritize suppliers with a track record of providing reliable, viable seeds. This ensures that you start your watermelon growing journey with seeds of the utmost quality, setting the stage for robust, healthy plants and a bountiful harvest.
By carefully considering your climate, preferences, varietal traits, and the reliability of seed sources, you can confidently select the right watermelon seeds to kickstart your cultivation endeavor. This thoughtful approach sets the foundation for a successful and gratifying journey as you nurture your watermelon plants from seed to harvest.
Preparing the Soil
Preparing the soil is a pivotal step in the process of growing watermelon from seed. By creating a nutrient-rich and well-aerated environment, you establish the foundation for robust plant growth and a bountiful harvest of succulent watermelons. Here's a detailed exploration of the essential tasks involved in preparing the soil for your watermelon patch.
Assessing Soil Composition and pH Levels
Before planting your watermelon seeds, it's crucial to assess the composition and pH levels of your soil. Watermelons thrive in well-draining soil with a slightly acidic to neutral pH range of 6.0 to 7.0. Conduct a soil test using a kit available at garden centers or through your local agricultural extension office. This test will provide valuable insights into the nutrient levels, pH balance, and composition of your soil, guiding you in making informed amendments to create an optimal growing environment for your watermelon plants.
Amending the Soil with Organic Matter
To enhance the fertility and structure of the soil, incorporate organic matter such as compost, well-rotted manure, or peat moss. These organic amendments bolster the soil's ability to retain moisture, improve drainage, and provide essential nutrients to support healthy plant growth. Work the organic matter into the soil to a depth of at least 12 inches, ensuring that it is evenly distributed to create a nutrient-rich foundation for your watermelon plants.
Read more: How To Grow A Mango Seed
Creating Mounds or Raised Beds
Watermelons benefit from well-drained soil, making raised beds or mounds an advantageous option for cultivation. By elevating the planting area, you can mitigate the risk of waterlogging, which can be detrimental to watermelon plants. Forming raised beds or mounds also facilitates better root aeration and encourages healthy root development, contributing to the overall vigor and productivity of the plants.
Incorporating Nutrient-Rich Fertilizers
In addition to organic matter, consider incorporating a balanced, slow-release fertilizer into the soil prior to planting. Opt for a fertilizer with a formulation such as 10-10-10, ensuring that it provides a balanced blend of essential nutrients, including nitrogen, phosphorus, and potassium. This proactive approach fortifies the soil with vital nutrients, equipping your watermelon plants with the resources they need to thrive as they progress through the stages of growth and fruit development.
Ensuring Adequate Drainage
Proper drainage is paramount for the success of watermelon cultivation. If your soil has a tendency to retain excess moisture, take measures to improve drainage by amending the soil with coarse sand or perlite. This enhances the soil's permeability, reducing the risk of water stagnation and the associated issues of root rot and fungal diseases.
By meticulously preparing the soil through soil testing, organic amendments, raised beds or mounds, nutrient-rich fertilizers, and enhanced drainage, you establish an optimal growing environment for your watermelon plants. This proactive approach sets the stage for vigorous growth, robust fruit development, and a rewarding harvest of delectable watermelons.
Planting the Seeds
Planting the seeds marks a pivotal moment in the journey of growing watermelon from seed. By carefully tending to this crucial phase, you set the stage for the emergence of robust seedlings and the eventual development of luscious watermelons. Here's a detailed exploration of the essential steps involved in planting watermelon seeds, guiding you through the process with precision and insight.
Read more: How To Cut A Watermelon
Selecting the Optimal Planting Site
Before sowing the watermelon seeds, carefully select the planting site, ensuring it receives ample sunlight and offers well-drained soil. Watermelons thrive in full sunlight, so choose a location that receives at least 6 to 8 hours of direct sunlight daily. Additionally, verify that the soil is well-draining to prevent waterlogging, which can impede seed germination and plant growth.
Sowing the Seeds at the Right Depth
When planting watermelon seeds, it's crucial to sow them at the appropriate depth to facilitate successful germination. Create mounds or hills with a diameter of approximately 5 to 6 feet, as this provides ample space for the sprawling vines to develop. Plant 4 to 6 seeds in each mound, spacing them approximately 12 to 24 inches apart. The seeds should be sown at a depth of 1 inch, covering them with soil and gently patting it down to ensure good seed-to-soil contact.
Providing Adequate Water and Warmth
After sowing the seeds, ensure they receive adequate water to kickstart the germination process. Keep the soil consistently moist but not waterlogged, as excessive moisture can hinder germination. Additionally, watermelon seeds require warm soil to germinate, with an optimal temperature range of 70 to 90°F (21 to 32°C). Utilize row covers or black plastic mulch to help retain soil warmth and expedite the germination process.
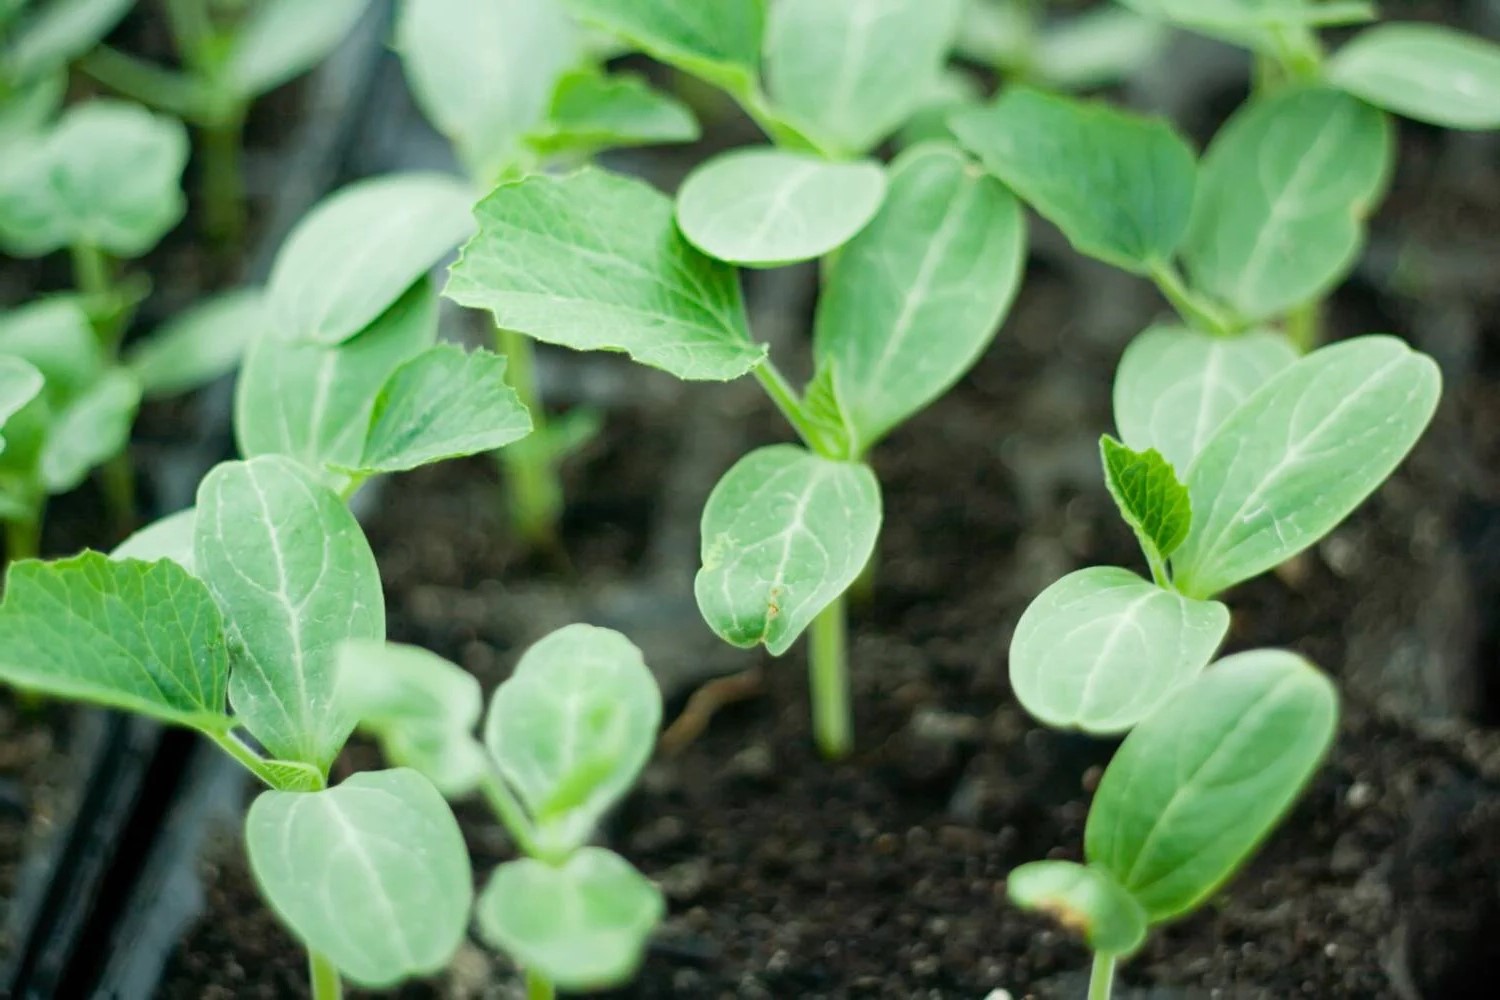
Thinning and Caring for Seedlings
Once the seedlings emerge and develop their first true leaves, it's essential to thin them to ensure optimal spacing and vigorous growth. Select the healthiest, most robust seedlings in each mound, retaining 2 to 3 plants while removing the weaker ones. This allows the remaining seedlings to thrive without competing for resources. As the seedlings continue to grow, provide consistent moisture, and monitor for signs of pests or diseases, addressing any issues promptly to safeguard the young plants.
Encouraging Vine Development
As the seedlings mature into robust plants, encourage the development of sprawling vines by providing ample space for them to spread. Watermelon plants are known for their vigorous growth, with vines extending several feet in all directions. Ensure that the plants have sufficient room to sprawl, and consider providing support for the developing fruits to prevent them from resting directly on the ground.
By meticulously tending to each step of the planting process, from selecting the optimal site to nurturing the emerging seedlings, you establish the groundwork for a thriving watermelon patch. This attentive approach sets the stage for the progression of the watermelon plants through their growth stages, culminating in the anticipation of a bountiful harvest of ripe, succulent watermelons.
Watering and Fertilizing
Watering and fertilizing are integral aspects of nurturing watermelon plants, playing a pivotal role in sustaining their growth and promoting the development of flavorful, juicy fruits. By understanding the specific watering needs of watermelon plants and implementing a strategic fertilization regimen, you can optimize their health and productivity, ultimately yielding a plentiful harvest of delectable watermelons.
Watering Considerations
Watermelon plants have distinct water requirements, particularly during critical growth stages such as flowering and fruit development. Adequate moisture is essential to support the expansion of the fruits and prevent issues such as blossom end rot. When establishing a watering routine for your watermelon patch, consider the following guidelines to ensure optimal hydration for the plants:
-
Consistent Moisture: Maintain consistent soil moisture throughout the growing season, particularly during the period of fruit set and enlargement. While watermelons are relatively drought-tolerant, irregular watering can lead to issues such as fruit cracking or diminished fruit quality. Aim to provide approximately 1 to 2 inches of water per week, either through rainfall or supplemental irrigation, adjusting the frequency based on weather conditions and soil moisture levels.
-
Morning Watering: Water the plants in the morning to allow foliage and fruits to dry during the day, reducing the risk of fungal diseases. Direct the water to the base of the plants, ensuring that the soil is thoroughly moistened while minimizing moisture contact with the leaves.
-
Mulching: Apply a layer of organic mulch, such as straw or shredded leaves, around the base of the watermelon plants. Mulch helps conserve soil moisture, suppresses weed growth, and moderates soil temperature, creating a favorable microclimate for the plants.
Fertilization Practices
Strategic fertilization is essential for providing watermelon plants with the nutrients they need to thrive and produce high-quality fruits. When devising a fertilization strategy for your watermelon patch, consider the following practices to support the plants' nutritional requirements:
-
Soil Testing: Conduct a soil test to assess the nutrient levels and pH balance of the soil. This information guides the formulation of a targeted fertilization plan, ensuring that the plants receive the specific nutrients they require for robust growth and fruit development.
-
Balanced Fertilizer Application: Prior to planting, incorporate a balanced, slow-release fertilizer into the soil, ensuring it is well-distributed in the planting area. Opt for a fertilizer with a balanced formulation, such as 10-10-10, to provide essential nutrients, including nitrogen, phosphorus, and potassium, which are vital for healthy plant growth and fruit production.
-
Side-Dressing: As the watermelon plants begin to vine and develop fruits, consider side-dressing them with a nitrogen-rich fertilizer to bolster their growth and fruiting potential. Apply the fertilizer alongside the plants, ensuring it is worked into the soil and watered thoroughly to facilitate nutrient uptake.
By adhering to these watering and fertilization practices, you can provide your watermelon plants with the optimal growing conditions, fostering their vigor and productivity. This proactive approach sets the stage for the progression of the plants through their growth stages, culminating in the anticipation of a bountiful harvest of ripe, succulent watermelons.
Read more: How To Harvest Sunflower Seeds
Managing Pests and Diseases
Effectively managing pests and diseases is crucial to safeguarding the health and productivity of watermelon plants throughout their growth stages. By implementing proactive measures and vigilant monitoring, you can mitigate the impact of common pests and diseases, ensuring the robust development of your watermelon patch.
Pest Management
-
Cucumber Beetles and Aphids: These voracious pests can inflict significant damage to watermelon plants by feeding on foliage and transmitting diseases. Employ row covers during the early stages of plant growth to shield the young seedlings from infestations. Additionally, consider introducing natural predators such as ladybugs or lacewings to help control aphid populations.
-
Squash Bugs: These resilient pests can pose a threat to watermelon plants, causing wilting and decline. Regularly inspect the undersides of leaves for the presence of eggs and nymphs, promptly removing and destroying them to prevent infestations. Utilize insecticidal soaps or neem oil as targeted interventions to manage squash bug populations.
-
Spider Mites: These tiny arachnids can inflict damage by piercing plant cells and extracting sap, leading to stippling and discoloration of leaves. Mitigate spider mite infestations by maintaining adequate moisture levels, as dry conditions exacerbate their proliferation. Consider using a strong blast of water to dislodge mites from the foliage, reducing their numbers and minimizing damage.
Disease Management
-
Powdery Mildew: This fungal disease can affect watermelon plants, manifesting as powdery white patches on leaves and stems. To prevent powdery mildew, ensure proper air circulation by spacing plants adequately and avoiding overhead watering. Apply fungicidal sprays containing sulfur or potassium bicarbonate as preventive measures to inhibit the development of powdery mildew.
-
Fusarium Wilt and Anthracnose: These soil-borne diseases can pose significant challenges to watermelon cultivation, causing wilting, leaf necrosis, and fruit rot. Implement crop rotation practices to mitigate the impact of these diseases, avoiding planting watermelon in the same area for consecutive seasons. Additionally, select disease-resistant watermelon varieties to bolster the plants' ability to withstand these pathogens.
-
Blossom End Rot: This physiological disorder can affect watermelon fruits, leading to the development of sunken, discolored areas at the blossom end. Maintain consistent soil moisture levels to prevent fluctuations that contribute to blossom end rot. Incorporate calcium-rich amendments into the soil to address potential calcium deficiencies, which can exacerbate this condition.
By diligently implementing integrated pest management strategies and disease prevention tactics, you can fortify your watermelon plants against potential threats, fostering their resilience and vitality. This proactive approach sets the stage for the progression of the plants through their growth stages, culminating in the anticipation of a bountiful harvest of ripe, succulent watermelons.
Harvesting and Enjoying Your Watermelon
As the days lengthen and the sun-kissed watermelon fruits reach their peak of ripeness, the time for harvesting and savoring the fruits of your labor draws near. The anticipation of indulging in the sweet, succulent flesh of homegrown watermelons is a culmination of the meticulous care and nurturing bestowed upon the plants throughout their growth journey. Here's a detailed exploration of the gratifying process of harvesting and relishing your homegrown watermelons.
Read more: How To Plant Lemon Seeds
Determining Ripeness
Before embarking on the harvest, it's essential to ascertain the optimal ripeness of the watermelon fruits. Several indicators signal that the fruits are ready for picking, ensuring they deliver the quintessential sweetness and juiciness characteristic of ripe watermelons. Look for these key signs to gauge the ripeness of the fruits:
- Thump Test: Gently thump the watermelon with your knuckles and listen for a deep, hollow sound, indicating that the fruit is mature and ready for harvest.
- Yellowing of the Underside: Examine the underside of the watermelon, where it rests on the ground. A creamy yellow hue developing on the skin suggests ripeness, signaling that the fruit has reached its flavor peak.
- Drying of the Tendril: Note the tendril closest to the stem of the watermelon. When it turns brown and begins to wither, it signifies that the fruit is ripe and prepared for harvesting.
Harvesting Techniques
When the watermelon fruits exhibit these telltale signs of ripeness, it's time to embark on the harvest. Employ these techniques to ensure a successful and enjoyable harvesting experience:
- Careful Cutting: Utilize a sharp knife or shears to carefully sever the watermelon from the vine, ensuring a clean cut without damaging the fruit or the plant.
- Leave a Stem: Leave a short portion of the stem attached to the fruit, as this can prolong its shelf life and preserve its freshness.
- Support the Fruit: Cradle the harvested watermelons gently to prevent bruising or damage, preserving their pristine quality for consumption.
Savoring the Fruits
With the watermelon fruits safely harvested, it's time to revel in the delightful experience of savoring the fruits of your labor. Whether enjoyed freshly sliced, blended into refreshing beverages, or incorporated into vibrant fruit salads, the succulent flesh of homegrown watermelons offers a myriad of culinary possibilities. Embrace the joy of sharing these delectable fruits with loved ones, savoring the sweetness and juiciness that epitomize the essence of summer.
Reflecting on the Journey
As you relish the delightful flavors of your homegrown watermelons, take a moment to reflect on the journey from seed to harvest. The dedication, patience, and nurturing care invested in cultivating these vibrant fruits have culminated in a gratifying harvest, embodying the essence of the bountiful rewards that gardening bestows. Let the experience of growing and savoring watermelons inspire future horticultural endeavors, fostering a deep appreciation for the natural wonders of the garden.
In the realm of home gardening, the process of growing watermelon from seed transcends mere cultivation; it embodies a journey of patience, nurturing, and the joy of reaping the fruits of one's labor. As you revel in the sweetness of your homegrown watermelons, let the experience serve as a testament to the enriching rewards of tending to the earth and witnessing the miraculous transformation of seeds into bountiful harvests.