Home>Home and Garden>How To Iron On Patches
Home and Garden
How To Iron On Patches
Published: March 3, 2024
Learn how to iron on patches with our step-by-step guide. Transform your home and garden with this easy DIY technique. Discover the best tips and tricks for flawless results.
(Many of the links in this article redirect to a specific reviewed product. Your purchase of these products through affiliate links helps to generate commission for Noodls.com, at no extra cost. Learn more)
Table of Contents
Introduction
Iron-on patches are a fantastic way to add a personal touch to your garments, whether you want to spruce up an old denim jacket or customize a plain tote bag. This simple and versatile method of embellishment allows you to express your individuality and creativity with ease. Whether you're a seasoned DIY enthusiast or a novice crafter, learning how to iron on patches is a valuable skill that opens up a world of possibilities for personalizing your wardrobe.
By mastering the art of ironing on patches, you can breathe new life into worn-out clothing, transform basic items into unique statement pieces, and showcase your personality through your fashion choices. Whether you're drawn to quirky embroidered designs, vintage-inspired motifs, or bold graphic patches, the process of ironing on these decorative embellishments is a fun and rewarding way to elevate your style.
In this comprehensive guide, we'll walk you through the step-by-step process of selecting the right patch, preparing the garment for application, ironing on the patch with precision, and adding those finishing touches to ensure a professional-looking result. Whether you're looking to repair a tear, cover a stain, or simply inject a dose of personality into your clothing, mastering the art of ironing on patches will empower you to unleash your creativity and make a stylish statement with every garment you adorn.
So, roll up your sleeves, gather your favorite patches, and get ready to embark on a journey of self-expression and sartorial flair as we delve into the wonderful world of iron-on patches.
Read more: How To Use A Curling Iron
Choosing the Right Patch
When it comes to choosing the right patch for your garment, the options are virtually endless. From classic embroidered designs to modern graphic patches, the key is to select a patch that resonates with your personal style and complements the garment you intend to embellish. Here are some essential factors to consider when choosing the perfect patch:
-
Design and Theme: The first step in selecting a patch is to consider the overall design and theme. Whether you're drawn to floral motifs, vintage logos, or pop culture references, opt for a patch that reflects your personality and resonates with your individual style.
-
Size and Placement: Consider the size of the patch in relation to the garment and the desired placement. Larger patches can make a bold statement on the back of a jacket, while smaller patches can add subtle detail to pockets or sleeves.
-
Color Coordination: Pay attention to the color scheme of the patch and how it complements the color of the garment. Whether you prefer vibrant hues or muted tones, choosing a patch that harmonizes with the garment's color palette will ensure a cohesive and visually appealing result.
-
Fabric Compatibility: Take into account the fabric of the garment and the patch. While most patches are suitable for cotton, denim, and other common fabrics, it's important to ensure that the adhesive backing of the patch is compatible with the material you intend to apply it to.
-
Personalization and Customization: If you're looking to add a personal touch, consider customizable patches that allow you to add your initials, a meaningful date, or a personalized message. This can elevate the sentimental value of the garment and make it truly one-of-a-kind.
-
Quality and Detailing: Assess the quality of the patch, paying attention to the level of detailing, stitching, and overall craftsmanship. High-quality patches with intricate embroidery or vivid graphics can elevate the overall look of the garment.
By carefully considering these factors, you can confidently select the perfect patch that aligns with your style preferences and enhances the visual appeal of your garment. Whether you're aiming for a whimsical and playful aesthetic or a more refined and sophisticated look, the right patch has the power to transform a basic garment into a personalized masterpiece.
Preparing the Garment
Before embarking on the process of ironing on patches, it's crucial to prepare the garment to ensure optimal adhesion and a seamless application. Proper preparation not only facilitates a secure bond between the patch and the fabric but also helps maintain the integrity of the garment. Here's a detailed guide on preparing the garment for iron-on patches:
-
Garment Inspection: Begin by thoroughly inspecting the garment to identify the ideal placement for the patch. Whether you're adorning a denim jacket, a canvas tote bag, or a pair of jeans, envision the desired location for the patch and ensure that the fabric is clean and free from any wrinkles or creases.
-
Washing and Drying: If the garment is freshly laundered, ensure that it is completely dry before proceeding with the application of the patch. This helps to eliminate any moisture that could interfere with the adhesive backing of the patch.
-
Ironing Surface: Lay the garment on a flat, heat-resistant surface, such as an ironing board or a clean, smooth table. Smooth out any wrinkles or folds in the fabric to create a level and stable surface for the ironing process.
-
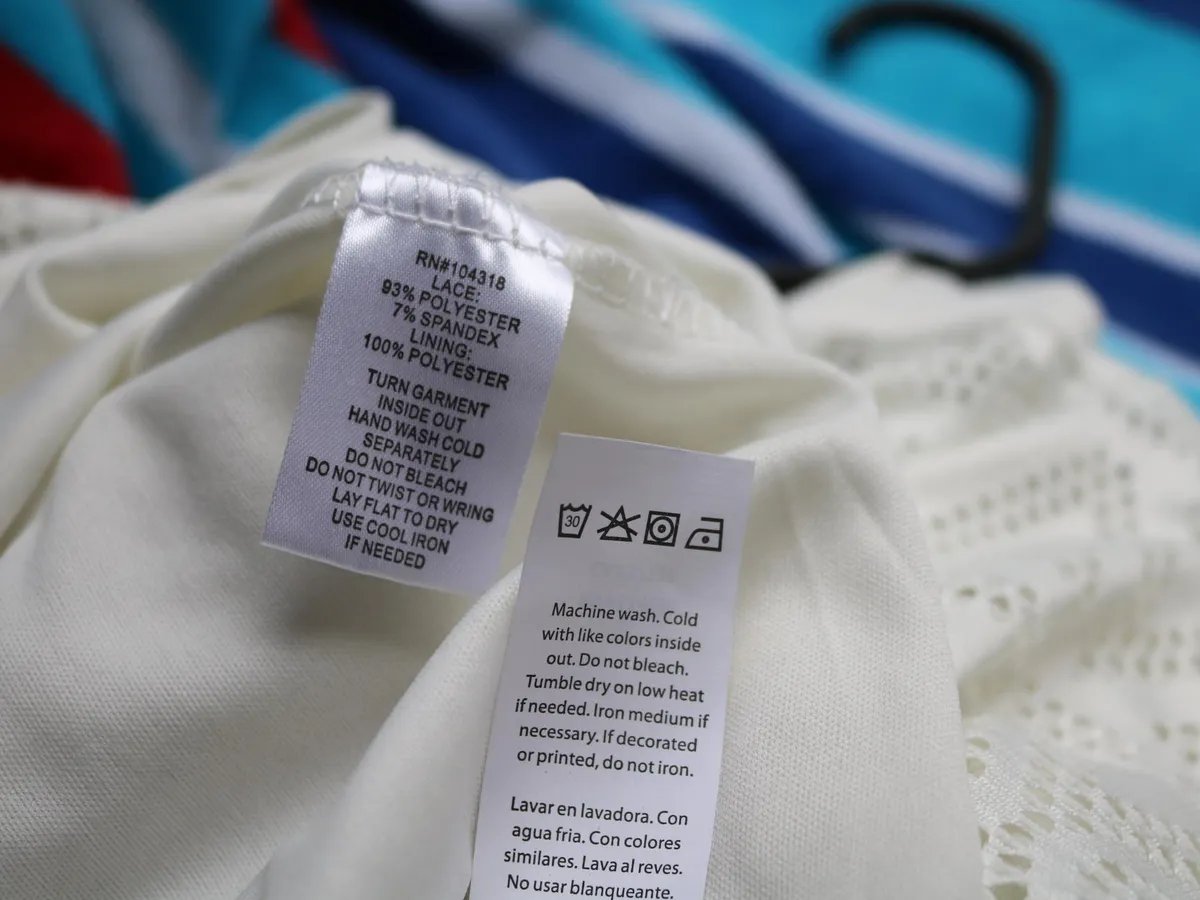
Heat Adjustment: If the garment fabric allows, adjust the iron to the appropriate heat setting based on the fabric type. Different fabrics require different heat levels to ensure effective adhesion without causing damage. Refer to the garment's care label for specific ironing instructions.
-
Protective Layer: For delicate fabrics or those prone to heat damage, place a thin cotton cloth or a pressing cloth over the area where the patch will be applied. This protective layer acts as a barrier between the iron and the fabric, preventing direct heat exposure and safeguarding the material.
-
Positioning: Once the garment is prepped and the ironing surface is ready, position the patch on the desired area, ensuring that it is centered and aligned as per your preference. Use pins or fabric chalk to mark the exact placement if necessary, especially for precise positioning.
By meticulously preparing the garment for the application of iron-on patches, you set the stage for a successful and professional-looking result. This preparatory phase not only ensures the longevity of the patch but also contributes to the overall aesthetic appeal of the garment. With the garment primed and ready, you're now poised to embark on the exciting process of ironing on the chosen patch, adding a personalized touch to your attire with confidence and finesse.
Ironing on the Patch
With the garment meticulously prepared and the chosen patch in position, it's time to embark on the crucial step of ironing on the patch. This process requires precision, patience, and attention to detail to ensure a secure and long-lasting bond between the patch and the fabric. Here's a comprehensive guide to ironing on the patch with finesse and expertise:
-
Heat Activation: Begin by preheating the iron to the appropriate temperature based on the fabric type and the patch's adhesive requirements. Most iron-on patches adhere effectively at medium to high heat settings, but it's essential to refer to the patch manufacturer's instructions for specific heat recommendations.
-
Pressing Technique: Once the iron reaches the desired temperature, place it directly onto the patch. Apply firm and even pressure, ensuring that the entire surface of the patch receives heat. Use smooth, circular motions to press the iron onto the patch, gradually covering the entire area for approximately 30-45 seconds. This allows the adhesive on the back of the patch to activate and bond with the fabric.
-
Heat Distribution: Pay close attention to the edges and corners of the patch, as these areas require extra heat to ensure a secure attachment. Gently maneuver the iron around the perimeter of the patch, applying consistent pressure to activate the adhesive along the edges. This step is crucial for preventing any lifting or peeling of the patch over time.
-
Cooling Period: After applying heat to the patch, allow it to cool for a few seconds before carefully lifting the iron. This cooling period is essential for the adhesive to set and create a strong bond with the fabric. Avoid disturbing the patch during this phase to prevent any displacement or compromise of the adhesion.
-
Peel Test: Once the patch has cooled, perform a gentle peel test to ensure that it is securely attached to the fabric. Lift a corner of the patch with your fingertips, applying slight pressure to assess the bond. If the patch lifts easily or feels loose, reapply the iron with firm pressure for an additional 10-15 seconds, focusing on the areas that require reinforcement.
By following these meticulous steps and exercising patience throughout the ironing process, you can achieve a professional and durable result. The careful application of heat, pressure, and attention to detail ensures that the patch adheres seamlessly to the fabric, creating a visually striking embellishment that withstands regular wear and tear.
With the patch successfully ironed on, you've transformed your garment into a personalized work of art, showcasing your unique style and creativity. This transformative process not only adds a distinctive touch to your attire but also reflects your individuality with every stitch and press. Now, with the patch securely in place, you're ready to showcase your personalized garment to the world, exuding confidence and flair with every step you take.
Finishing Touches
After successfully ironing on the patch, it's time to add those final touches that elevate the overall presentation and ensure a polished and professional result. These finishing touches not only contribute to the longevity of the patch but also enhance the aesthetic appeal of the garment. Here's a detailed guide to the essential steps for achieving impeccable finishing touches:
-
Cooling and Setting: Allow the garment to cool completely before handling it further. This cooling period is crucial for the adhesive to fully set and create a strong bond between the patch and the fabric. Avoid wearing or washing the garment immediately after ironing on the patch to ensure that the adhesive has ample time to solidify.
-
Reinforcement Stitching: For added durability and a tailored finish, consider reinforcing the patch with a few simple stitches. Using a needle and thread that complements the patch's color, carefully sew around the edges of the patch. This additional stitching not only enhances the patch's security but also adds a charming handmade touch to the garment.
-
Care and Maintenance: Once the patch is firmly attached, it's essential to follow proper care and maintenance practices to preserve its integrity. When laundering the garment, turn it inside out to protect the patch, and opt for gentle washing cycles to minimize wear on the embellishment. Additionally, avoid using harsh chemicals or bleach near the patch to prevent any damage to the design.
-
Personalization: If you're inclined towards personalization, consider adding further embellishments or decorative elements to complement the patch. Whether it's incorporating additional patches, embroidery, or fabric paints, infusing your creativity into the garment can result in a truly unique and expressive piece that reflects your individual style.
-
Showcasing Your Creation: Once the finishing touches are complete, proudly showcase your personalized garment to the world. Whether it's a customized denim jacket, a statement tote bag, or a pair of embellished jeans, wear your creation with confidence and pride, knowing that it embodies your unique personality and creative flair.
By attending to these crucial finishing touches, you ensure that the ironed-on patch becomes an enduring and eye-catching feature of the garment. These final steps not only enhance the visual impact of the patch but also imbue the garment with a sense of individuality and character. With the finishing touches complete, your personalized creation is ready to make a stylish statement, capturing attention and admiration with its distinctive charm and artful craftsmanship.
Read more: How To Remove Iron On Vinyl
Conclusion
In conclusion, mastering the art of ironing on patches opens up a world of creative possibilities for personalizing and reviving garments. This simple yet impactful technique allows individuals to infuse their unique style and personality into their clothing, transforming basic pieces into personalized works of art. By carefully selecting the right patch, preparing the garment with precision, and executing the ironing process with finesse, individuals can achieve professional-looking results that reflect their individuality and creativity.
The journey of ironing on patches begins with the thoughtful selection of patches that resonate with one's personal style and preferences. Whether it's a vintage-inspired emblem, a whimsical embroidered design, or a bold graphic motif, the chosen patch serves as a canvas for self-expression and sartorial storytelling. The process of preparing the garment is equally crucial, ensuring that the fabric is primed for the application of the patch, and the ironing process is executed with precision and care.
As the patch is seamlessly ironed onto the garment, it becomes a striking embellishment that captures attention and reflects the wearer's unique aesthetic. The finishing touches, including reinforcement stitching and thoughtful care and maintenance, further enhance the longevity and visual appeal of the patch, ensuring that it remains a cherished feature of the garment for years to come.
Ultimately, the art of ironing on patches transcends mere embellishment; it is a form of self-expression that empowers individuals to curate their style and make a statement through their clothing. Whether it's adding a touch of nostalgia to a favorite denim jacket, injecting personality into a plain tote bag, or customizing everyday apparel, iron-on patches offer a versatile and accessible means of showcasing creativity and individuality.
With each carefully ironed-on patch, a story unfolds – a story of personal style, creativity, and the joy of breathing new life into beloved garments. As individuals proudly showcase their personalized creations to the world, they embody the spirit of self-expression and originality, making a stylish statement with every stitch and press. The art of ironing on patches is not just a craft; it's a celebration of individuality and a testament to the transformative power of personal style.