Home>Home and Garden>How To Wire A Doorbell
Home and Garden
How To Wire A Doorbell
Published: March 4, 2024
Learn how to wire a doorbell in your home with our step-by-step guide. Get expert tips and advice for your home and garden projects.
(Many of the links in this article redirect to a specific reviewed product. Your purchase of these products through affiliate links helps to generate commission for Noodls.com, at no extra cost. Learn more)
Table of Contents
Introduction
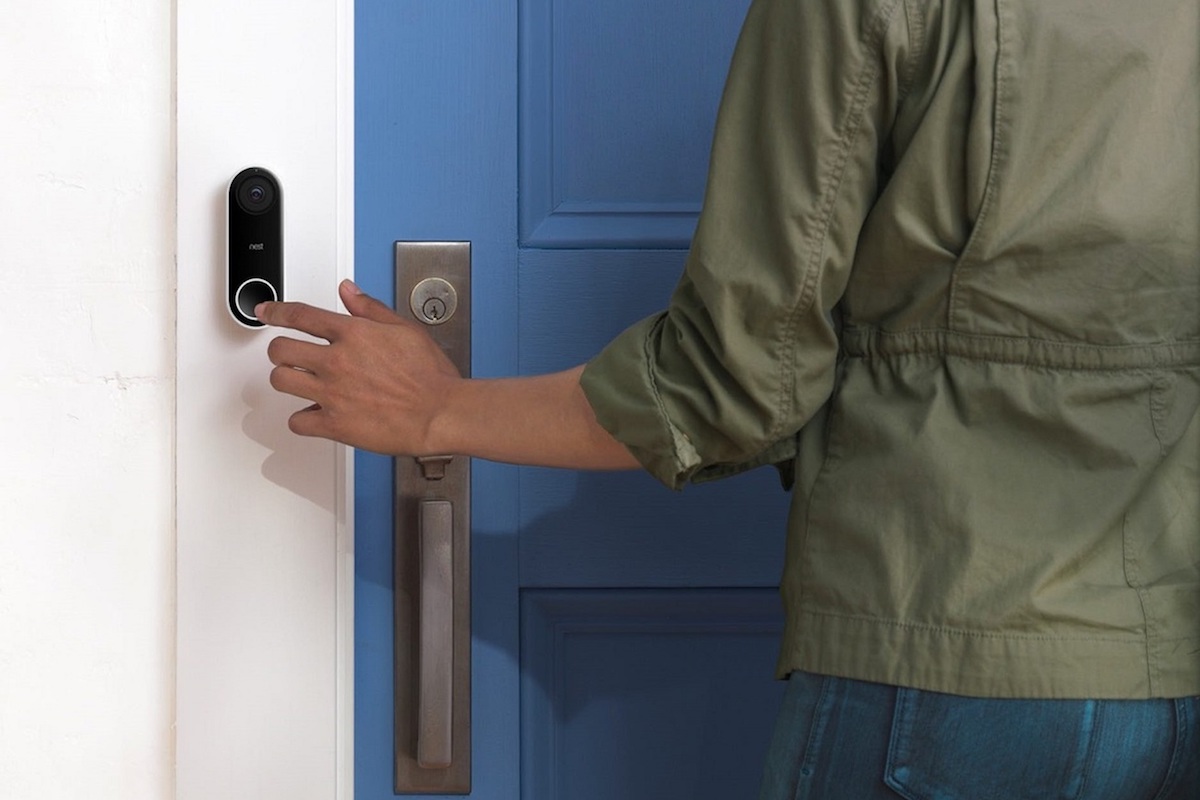
Wiring a doorbell is a practical and rewarding home improvement project that can enhance the functionality and aesthetic appeal of your home. Whether you're replacing an old doorbell or installing a new one, this guide will walk you through the process, providing clear and concise instructions to help you complete the task with confidence.
A doorbell serves as a welcoming signal for visitors and an essential alert for package deliveries, making it an integral part of any home. By understanding the basic steps involved in wiring a doorbell, you can ensure that this essential feature operates reliably and efficiently.
In this comprehensive guide, you will learn how to wire a doorbell, from turning off the power to testing the functionality of the new installation. By following these steps, you can successfully complete the project and enjoy the convenience of a fully functional doorbell system.
Wiring a doorbell may seem daunting at first, but with the right tools, materials, and guidance, you can tackle this project with ease. Whether you're a seasoned DIY enthusiast or a novice homeowner eager to learn new skills, this guide will equip you with the knowledge and confidence to complete the task effectively.
So, gather your tools, prepare the necessary materials, and let's dive into the step-by-step process of wiring a doorbell. With a little patience and attention to detail, you'll soon have a fully operational doorbell that adds both practicality and charm to your home.
Read more: How To Solder Wires
Tools and materials needed
Before embarking on the task of wiring a doorbell, it's essential to gather the necessary tools and materials to ensure a smooth and efficient installation process. Here's a comprehensive list of items you'll need to have on hand:
Tools:
- Screwdriver Set: A set of screwdrivers, including both flathead and Phillips head varieties, will be indispensable for removing the old doorbell and securing the new one in place.
- Wire Strippers: These tools will enable you to strip the insulation from the wires, preparing them for connection to the new doorbell.
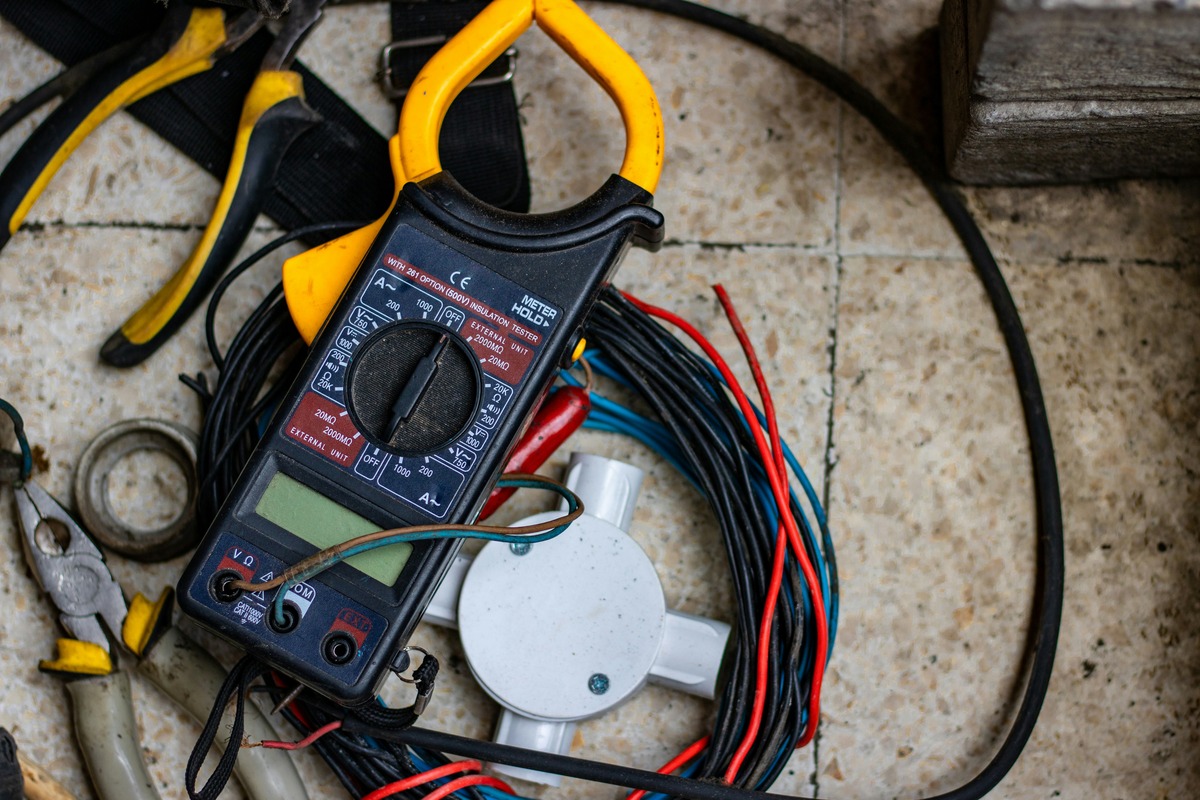
- Voltage Tester: Prior to working on the doorbell wiring, it's crucial to verify that the power is turned off. A voltage tester will help you confirm that the electrical circuit is safe to work on.
- Drill and Bits: If you're installing a new doorbell and need to create holes for mounting, a drill and appropriate drill bits will be necessary.
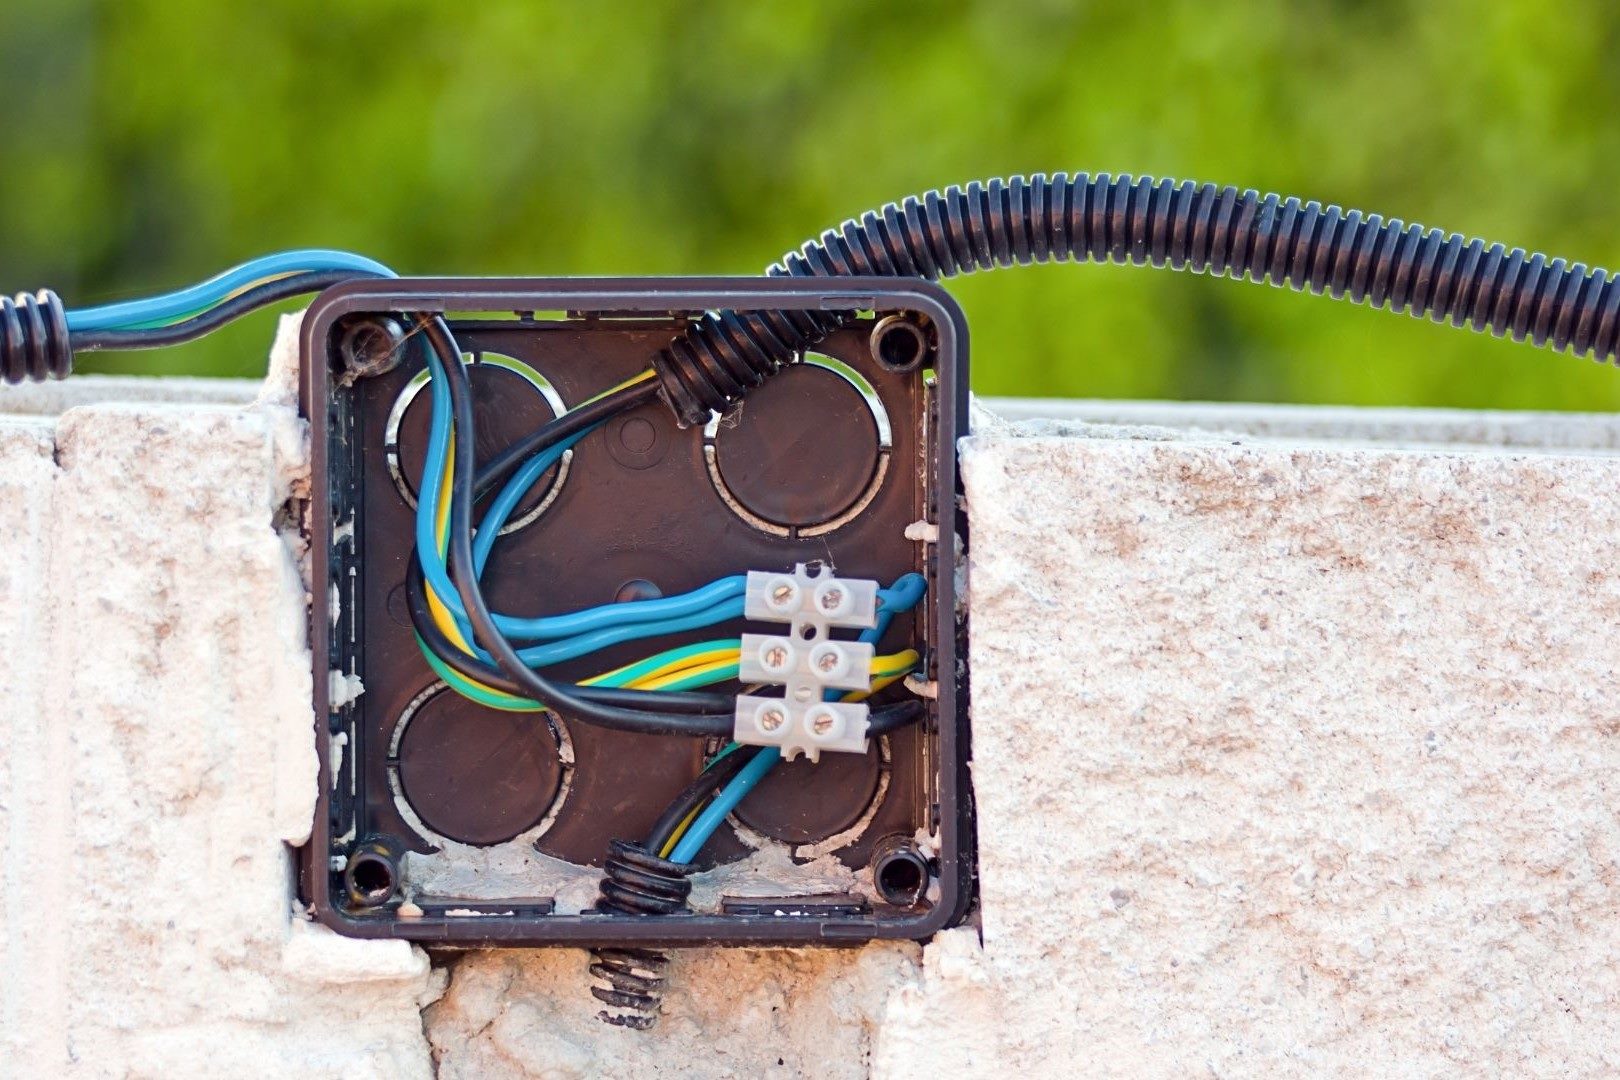
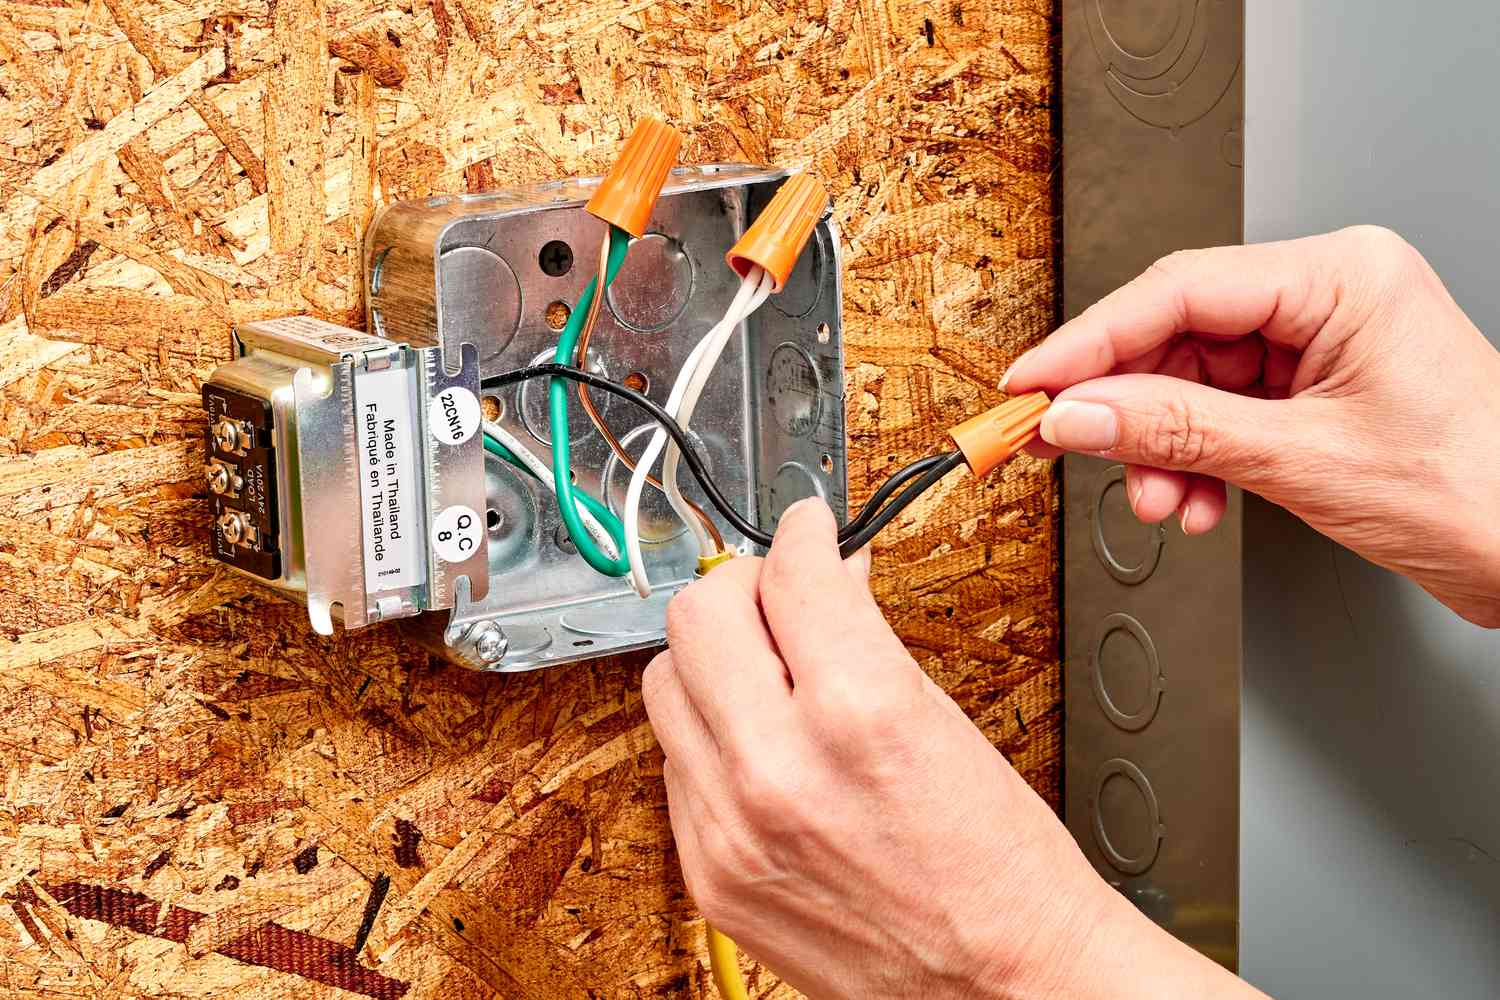
- Wire Nuts: These small, twist-on connectors are used to secure the electrical connections between the doorbell wires and the household wiring.
Materials:
- New Doorbell Kit: Whether you're replacing an existing doorbell or installing one for the first time, a new doorbell kit that includes the doorbell button, chime, and necessary wiring components is essential.
- Electrical Tape: This will be used to insulate and secure the electrical connections, providing an added layer of safety.
- Replacement Wires (if needed): If the existing doorbell wiring is damaged or inadequate, you may need to have replacement wires on hand to ensure a reliable connection.
- Mounting Screws: Depending on the type of doorbell kit you're installing, you may require mounting screws to secure the doorbell button and chime in place.
- Wall Anchors (if necessary): If the mounting surface for the doorbell components is made of drywall or a similar material, wall anchors may be needed to provide secure attachment points.
By ensuring that you have these tools and materials readily available, you'll be well-prepared to tackle the task of wiring a doorbell. With everything in place, you can proceed confidently through each step of the installation process, knowing that you have the necessary resources at your fingertips.
Step 1: Turn off the power
Before beginning any work on the doorbell wiring, it is crucial to prioritize safety by turning off the power to the existing doorbell circuit. This step is essential to prevent the risk of electrical shock or injury while handling the wiring components.
To start, locate the circuit breaker or fuse box in your home. Identify the circuit that powers the doorbell and switch it off by toggling the corresponding breaker to the "off" position. If your home's electrical system utilizes fuses, carefully unscrew and remove the fuse that controls the doorbell circuit.
Once the power is turned off, it's advisable to use a voltage tester to verify that the circuit is indeed inactive. This small handheld device can detect the presence of electrical current, providing a reliable indication of whether the power has been successfully shut off. Simply place the voltage tester against the doorbell wiring to confirm that there is no live electricity flowing through the circuit.
By taking these precautionary measures to deactivate the power supply and confirm its absence, you can proceed with the subsequent steps of the doorbell wiring process with confidence and peace of mind. Prioritizing safety at the outset of the project sets the stage for a secure and successful installation, ensuring that you can work on the doorbell wiring without any risk of electrical hazards.
Remember, when working with electrical systems, it's always better to err on the side of caution. By turning off the power and confirming its deactivation, you're taking a proactive approach to safeguarding yourself and others from potential electrical dangers. With the power safely turned off, you're now ready to move on to the next phase of the doorbell wiring process, knowing that you've laid a secure foundation for the task at hand.
Read more: How To Wire A Light Switch
Step 2: Remove the old doorbell
With the power safely turned off, it's time to proceed with the removal of the old doorbell. This step involves carefully detaching the existing doorbell button, chime, and associated wiring from the wall and electrical system. By following these detailed instructions, you can effectively remove the old doorbell and prepare the area for the installation of the new components.
-
Locate the Doorbell Components: Begin by identifying the location of the doorbell button and chime inside your home. The doorbell button is typically situated near the front entrance, while the chime, which emits the audible alert, is often found indoors, mounted on a wall.
-
Remove the Doorbell Button: Using a screwdriver, carefully loosen and remove the screws securing the doorbell button to the wall. Once the screws are removed, gently pull the button away from the wall, exposing the wiring connections behind it. Take note of the wires attached to the back of the button, as these will need to be disconnected.
-
Disconnect the Wiring: With the doorbell button removed, you'll now see the wires connected to the terminals on the back. Depending on the type of connection, you may need to unscrew the terminals or release the wires from their connectors. Take care to remember the arrangement of the wires, as this will be important when installing the new doorbell.
-
Uninstall the Chime: Moving indoors, locate the doorbell chime and its mounting screws. Use a screwdriver to remove the screws and detach the chime from the wall. Once the chime is free, carefully disconnect any wires connected to it, ensuring that they are free from the wall and ready for removal.
-
Inspect the Wiring: After removing the doorbell button and chime, take a moment to inspect the exposed wiring. Look for any signs of damage, wear, or corrosion that may necessitate repair or replacement. If the wiring appears to be in good condition, you can proceed to the next step with confidence.
By following these detailed steps to remove the old doorbell components, you can effectively clear the way for the installation of the new doorbell. With the old components safely removed and the wiring exposed, you're now ready to move on to the next phase of the doorbell wiring process, bringing you one step closer to a fully functional and updated doorbell system.
Step 3: Install the new doorbell
With the old doorbell components removed and the wiring exposed, it's time to proceed with the installation of the new doorbell. This step involves mounting the new doorbell button, positioning the chime, and connecting the wiring to ensure a seamless and functional setup.
-
Mount the Doorbell Button: Begin by positioning the new doorbell button at the desired location near your front entrance. Using the provided mounting screws, secure the button to the wall, ensuring that it is firmly attached and level. If necessary, utilize wall anchors to provide additional support for the mounting screws, especially if the surface is made of drywall or a similar material.
-
Position the Chime: Indoors, select a suitable location for the doorbell chime, taking into account both aesthetic appeal and practicality. Once the ideal position is determined, use the appropriate mounting screws to affix the chime to the wall, ensuring that it is securely positioned and easily accessible for future maintenance or adjustments.
-
Connect the Wiring: With the doorbell button and chime in place, it's time to connect the wiring. Begin by identifying the wires that were previously attached to the old doorbell components. Match the wires to their corresponding terminals on the new doorbell button and chime, ensuring a secure and accurate connection. If the new doorbell kit includes a transformer for power supply, follow the manufacturer's instructions to integrate it into the wiring system.
-
Secure the Connections: Once the wiring is in place, use wire nuts to securely fasten the connections between the doorbell wires and the terminals on the button and chime. Ensure that each wire is properly insulated and that the connections are tight and reliable. For added safety, wrap electrical tape around the wire nuts to provide an extra layer of protection and stability.
-
Test the Doorbell: With the new doorbell components installed and the wiring connected, it's time to test the functionality of the system. Turn the power back on at the circuit breaker or fuse box, and press the doorbell button to verify that the chime emits a clear and audible sound. If the doorbell operates as expected, you have successfully installed the new doorbell, and your efforts have culminated in a fully functional and updated doorbell system.
By following these detailed steps to install the new doorbell, you can effectively complete the transition from the old components to the updated system. With the new doorbell securely mounted, the wiring connected, and the functionality confirmed, you can now enjoy the convenience and reliability of a modernized doorbell that enhances the welcoming ambiance of your home.
Step 4: Connect the wires
Connecting the wires is a critical step in the process of wiring a doorbell, as it establishes the electrical connections necessary for the system to function effectively. By following these detailed instructions, you can ensure that the wiring is accurately and securely integrated, laying the foundation for a reliable and efficient doorbell setup.
-
Identify the Wires: Begin by identifying the wires that were previously attached to the old doorbell components. Typically, you will encounter two wires, one connected to the front terminal and the other to the transformer terminal. It's essential to differentiate between the two to facilitate proper connection to the new doorbell.
-
Match the Wires to Terminals: Once the wires are identified, match each wire to its corresponding terminal on the new doorbell button and chime. The front wire should be connected to the front terminal, while the transformer wire should be connected to the transformer terminal. Ensuring the correct pairing is crucial for the doorbell to function as intended.
-
Secure the Connections: With the wires in place, use wire nuts to secure the connections between the doorbell wires and the terminals on the button and chime. Twist the wire nuts onto the exposed wires, ensuring a tight and reliable connection. It's important to verify that each wire is securely fastened to its respective terminal, minimizing the risk of loose or unstable connections.
-
Insulate the Connections: After securing the connections with wire nuts, it's advisable to insulate the exposed wiring with electrical tape. Wrapping the electrical tape around the wire nuts and the connected wires provides an additional layer of protection, safeguarding the connections against moisture, corrosion, and accidental contact. This step enhances the safety and longevity of the electrical connections, contributing to the overall reliability of the doorbell system.
By meticulously following these steps to connect the wires, you can establish a robust and dependable electrical infrastructure for your doorbell. The careful pairing of wires to terminals, secure fastening with wire nuts, and insulation with electrical tape collectively contribute to a well-executed wiring process. With the connections accurately integrated and protected, you can proceed with confidence to the final phase of testing the doorbell, bringing you one step closer to the successful completion of the installation process.
Step 5: Test the doorbell
With the new doorbell components installed and the wiring connected, it's time to test the functionality of the system. This crucial step ensures that the doorbell operates as intended, emitting a clear and audible sound when the button is pressed. By following these detailed instructions, you can verify the successful installation of the new doorbell and address any potential issues that may arise during the testing process.
To begin the testing phase, turn the power back on at the circuit breaker or fuse box to restore electrical supply to the doorbell circuit. With the power reactivated, proceed to the location of the newly installed doorbell button. Press the button firmly to initiate the doorbell signal and listen for the audible chime emitted by the doorbell system.
Upon pressing the doorbell button, listen attentively for the sound of the chime, ensuring that it is clear, distinct, and easily audible from various areas within your home. If the chime emits a muffled or indistinct sound, it may indicate a wiring issue or a loose connection that requires attention. In such cases, it's essential to revisit the wiring connections, ensuring that each wire is securely fastened to its respective terminal and that the connections are properly insulated with electrical tape.
In addition to verifying the sound quality of the chime, it's important to confirm that the doorbell button itself is responsive and triggers the chime when pressed. Test the button multiple times to ensure consistent functionality, taking note of any irregularities or delays in the chime response. If the doorbell button exhibits inconsistent performance, it may indicate a faulty connection or a defective component that needs to be addressed.
As you test the doorbell, consider enlisting the assistance of a family member or friend to press the button while you listen for the chime, allowing for a comprehensive evaluation of the system's functionality from both the user and observer perspectives. This collaborative approach can help identify any nuances or variations in the doorbell's performance, enabling you to address potential issues with precision and thoroughness.
By meticulously testing the doorbell and attentively assessing its performance, you can ensure that the installation process has been completed successfully, and the doorbell system operates reliably and efficiently. Any discrepancies or irregularities observed during testing can be promptly addressed, allowing you to fine-tune the system and achieve optimal functionality. With the doorbell tested and confirmed to be in working order, you can take pride in the successful installation of a modernized and dependable doorbell system that enhances the welcoming ambiance of your home.
Read more: How To Wire A 4-Way Switch
Conclusion
In conclusion, wiring a doorbell is a practical and rewarding home improvement project that empowers homeowners to enhance the functionality and aesthetic appeal of their living spaces. By following the step-by-step process outlined in this guide, individuals can successfully navigate the installation of a new doorbell or the replacement of an existing one, ensuring a seamless transition to a modernized and reliable doorbell system.
Throughout the installation process, prioritizing safety by turning off the power, removing the old doorbell components, and connecting the new wiring with precision and care is paramount. By adhering to these safety protocols and meticulously following the detailed instructions provided, homeowners can approach the task with confidence and peace of mind, knowing that they have taken proactive measures to safeguard themselves and their homes from potential electrical hazards.
The comprehensive list of tools and materials required for the project serves as a valuable resource, enabling individuals to gather the necessary items and prepare for a smooth and efficient installation process. By ensuring that they have the essential tools and materials readily available, homeowners can approach the task with confidence, knowing that they are well-equipped to tackle each phase of the doorbell wiring process.
The installation of the new doorbell, including mounting the doorbell button, positioning the chime, and connecting the wiring, represents a pivotal stage in the project. By meticulously following the detailed instructions and ensuring accurate and secure connections, individuals can establish a robust and dependable doorbell system that enhances the welcoming ambiance of their homes.
The testing phase serves as the final checkpoint, allowing homeowners to verify the successful installation of the new doorbell and address any potential issues that may arise. By attentively testing the doorbell and assessing its performance, individuals can fine-tune the system and achieve optimal functionality, ensuring that the doorbell operates reliably and efficiently.
In essence, the process of wiring a doorbell represents a valuable opportunity for homeowners to elevate the functionality and charm of their homes, fostering a welcoming environment for residents and visitors alike. By embracing this DIY endeavor and following the guidance provided, individuals can take pride in the successful installation of a modernized and dependable doorbell system, adding both practicality and charm to their living spaces.