Lifestyle
How To Crimp Hair
Published: March 3, 2024
Learn how to crimp your hair and add a fun, textured look to your hairstyle with our easy lifestyle tips and techniques. Elevate your hair game today!
(Many of the links in this article redirect to a specific reviewed product. Your purchase of these products through affiliate links helps to generate commission for Noodls.com, at no extra cost. Learn more)
Table of Contents
Introduction
Crimped hair has made a remarkable comeback in the world of beauty and fashion. This unique texture adds a playful and dynamic element to any hairstyle, making it a popular choice for those seeking a bold and distinctive look. Whether you're preparing for a special event or simply want to experiment with a new style, learning how to crimp your hair can be an exciting and empowering experience.
In the past, crimped hair was a hallmark of the 1980s and 1990s, but today, it has been reimagined and embraced by individuals of all ages and style preferences. The versatility of crimped hair allows for a wide range of creative possibilities, from adding volume and texture to creating intricate braided styles. By mastering the art of crimping, you can unlock a world of hairstyling potential and express your unique personality through your hair.
In this comprehensive guide, we will explore the step-by-step process of achieving beautifully crimped hair, providing you with the knowledge and confidence to embark on this exciting styling journey. From preparing your hair for the crimping process to adding the finishing touches, each step will be carefully outlined to ensure that you achieve stunning results.
Whether you have long, short, straight, or curly hair, crimping can be adapted to suit a wide range of hair types and lengths. By following the techniques and tips outlined in this guide, you can achieve a professional-quality crimped hairstyle in the comfort of your own home. With the right tools, a bit of creativity, and a willingness to experiment, you can transform your hair into a captivating work of art.
Embark on this journey with an open mind and a sense of excitement, and you'll soon discover the joy of expressing your individuality through the art of crimped hair. Let's dive into the world of crimping and unleash the potential of your hair with confidence and style.
Read more: How To Put In Hair Tinsel
Tools and Materials Needed
Before embarking on the journey of crimping your hair, it's essential to gather the necessary tools and materials to ensure a smooth and successful styling process. Here's a comprehensive list of items you'll need:
1. Crimping Iron:
- A high-quality crimping iron is the cornerstone of achieving beautifully textured hair. Look for a crimping iron with ceramic plates to ensure even heat distribution and minimize the risk of heat damage to your hair.
2. Heat Protectant Spray:
- Prioritizing the health of your hair is crucial when using heat styling tools. A heat protectant spray will create a protective barrier, reducing the impact of heat on your hair and minimizing the risk of damage.
3. Sectioning Clips:
- Sectioning clips are invaluable for dividing your hair into manageable sections, ensuring that each strand receives equal attention during the crimping process. These clips help maintain organization and precision throughout the styling procedure.
Read more: How To Style Layered Hair
4. Comb or Brush:
- A wide-tooth comb or brush will aid in detangling your hair and ensuring that it is smooth and free of knots before you begin crimping. This step is essential for achieving a uniform and polished crimped texture.
5. Hair Serum or Oil:
- Applying a small amount of hair serum or oil can help tame frizz and add a healthy shine to your crimped hair. Choose a lightweight formula that won't weigh your hair down or interfere with the crimping process.
6. Hairspray:
- Opt for a flexible-hold hairspray to set your crimped style in place and maintain its texture throughout the day. This will help prolong the longevity of your crimped hairstyle and keep it looking fresh.
7. Mirror:
- A well-lit mirror is essential for ensuring that you have a clear view of each section of your hair as you crimp it. A handheld or vanity mirror will allow you to monitor your progress and make any necessary adjustments.
Read more: How To Get Silky Hair
8. Hair Ties or Hairbands:
- Having hair ties or hairbands on hand will facilitate the process of sectioning your hair and keeping it neatly separated as you work through the crimping technique.
By assembling these essential tools and materials, you'll be fully equipped to embark on your crimping journey with confidence and precision. Each item plays a crucial role in ensuring that your hair receives the care and attention it deserves throughout the styling process, resulting in a stunning and professional-looking crimped hairstyle.
Step 1: Prepare Your Hair
Before diving into the crimping process, it's crucial to prepare your hair to ensure optimal results and minimize the risk of damage. Proper preparation sets the foundation for a successful crimping experience, allowing you to achieve a stunning and long-lasting hairstyle. Here's a detailed breakdown of the essential steps involved in preparing your hair for the crimping process:
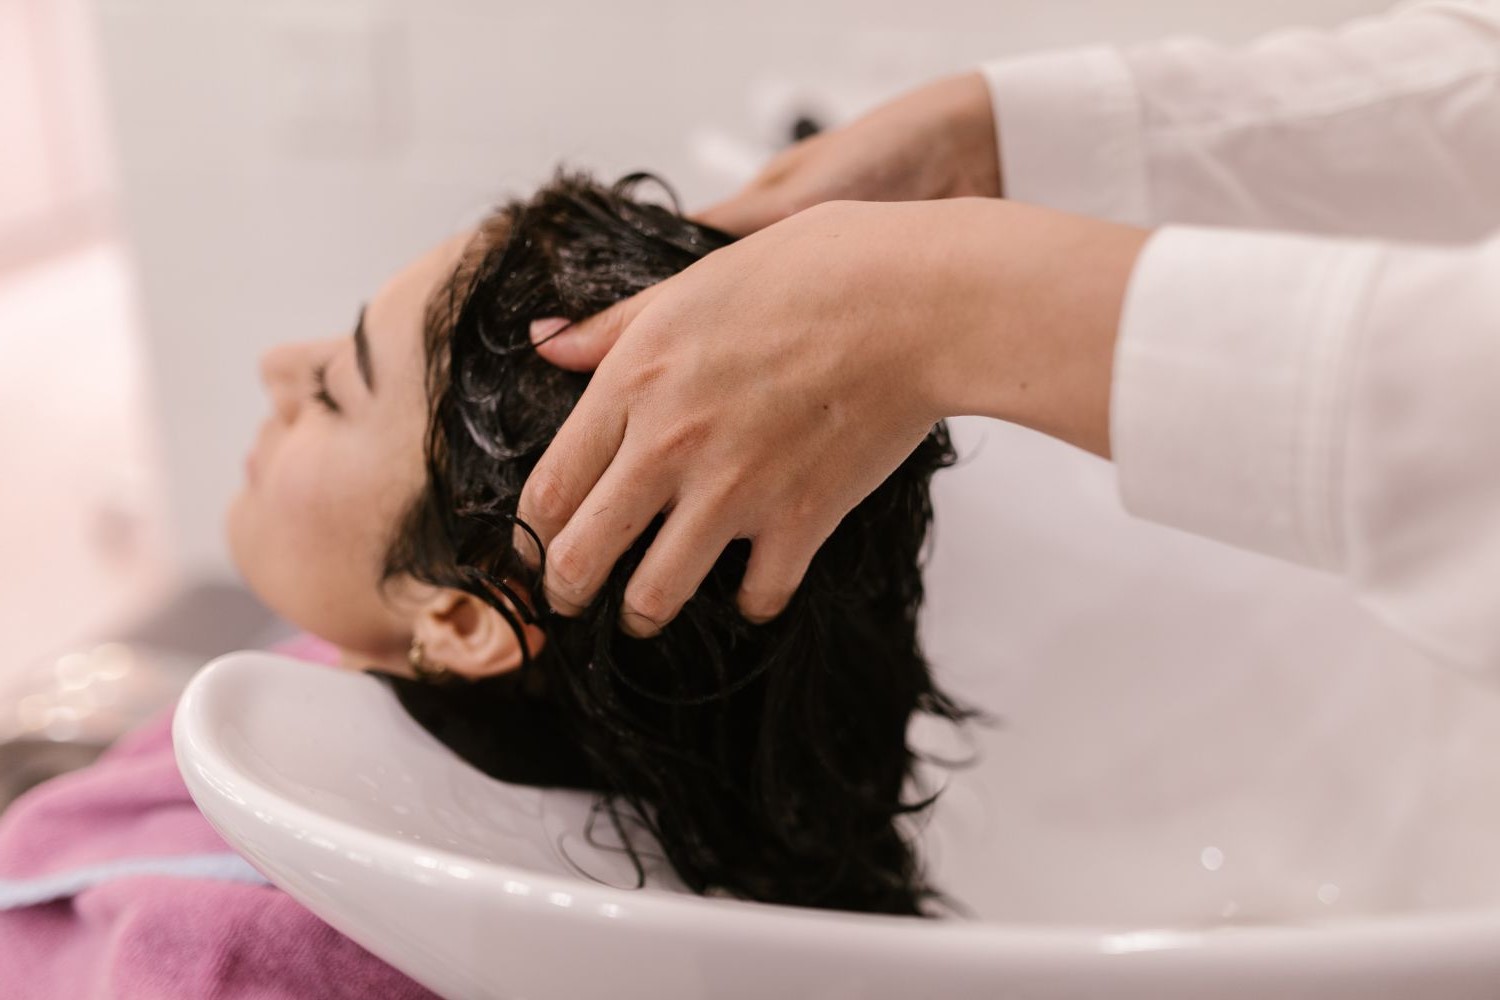
1. Cleanse Your Hair:
Begin by washing your hair with a high-quality shampoo and conditioner suitable for your hair type. Thoroughly cleanse your hair to remove any product buildup, excess oils, and impurities that may hinder the crimping process. Opt for a nourishing conditioner to keep your hair hydrated and manageable.
2. Towel Dry Gently:
After washing your hair, gently towel dry it to remove excess water. Avoid vigorous rubbing, as wet hair is more susceptible to damage. Pat your hair with a soft towel to absorb moisture without causing friction or tangles.
Read more: How To Retwist Your Hair
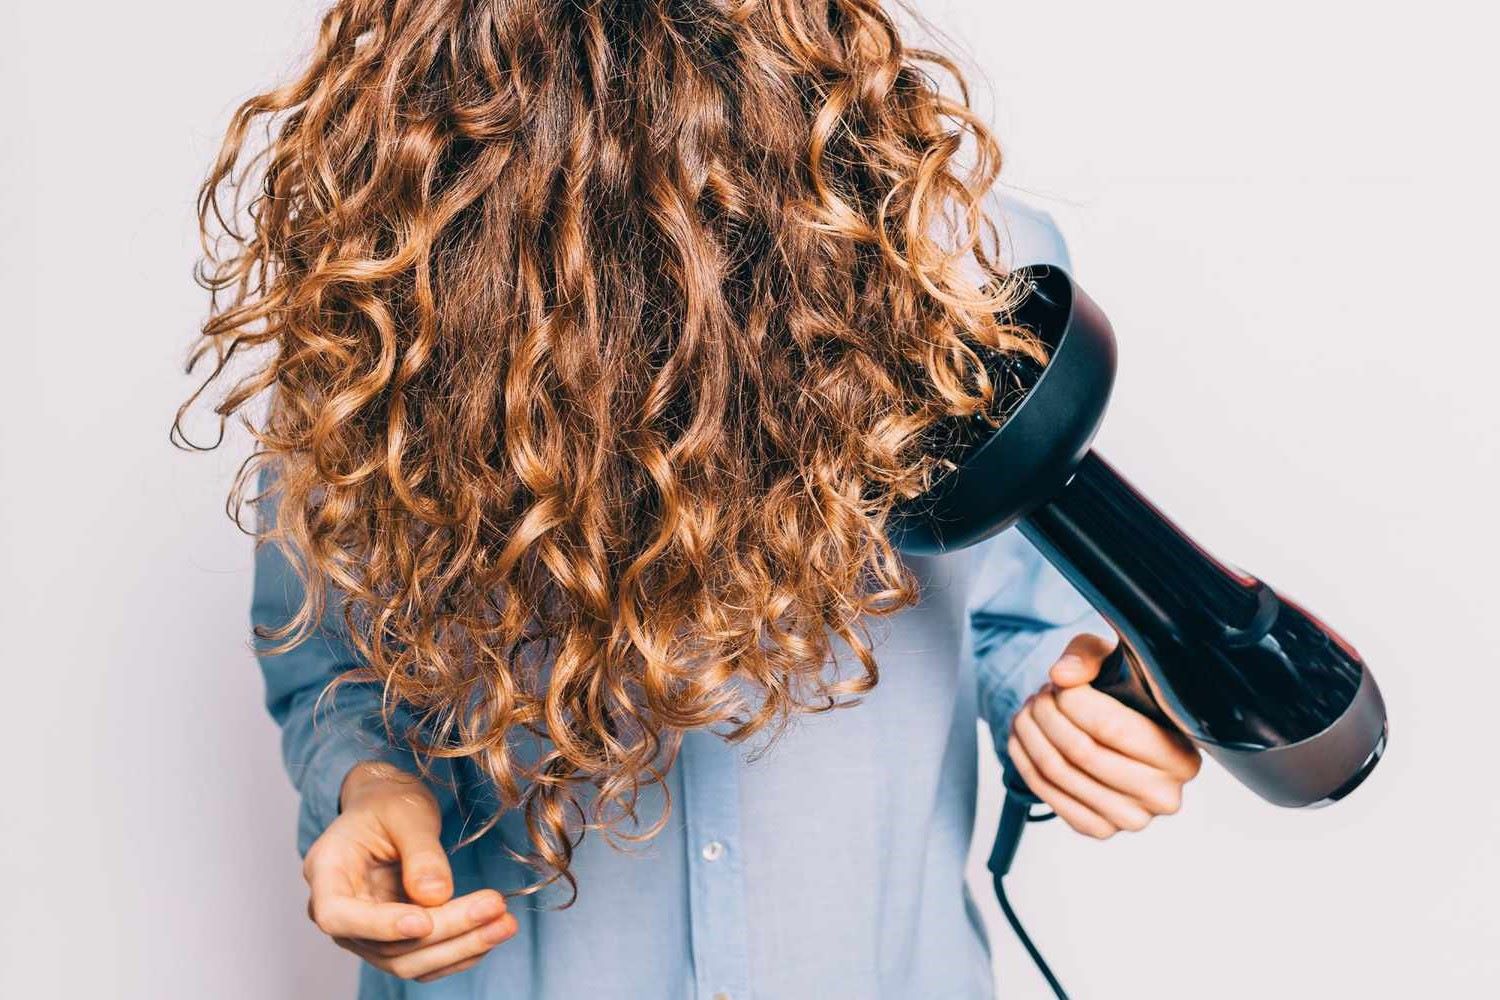
3. Apply Heat Protectant:
Prior to using any heat styling tools, apply a heat protectant spray or serum to shield your hair from the potentially damaging effects of heat. Evenly distribute the product throughout your hair, focusing on the mid-lengths and ends, where the hair is most vulnerable to heat damage.
4. Detangle Your Hair:
Using a wide-tooth comb or a detangling brush, carefully remove any knots or tangles from your hair. Start from the ends and work your way up to the roots, gently easing out any snarls. This step ensures that your hair is smooth and free of tangles, allowing the crimping iron to glide through effortlessly.
5. Apply a Smoothing Serum (Optional):
If you have frizzy or unruly hair, consider applying a small amount of smoothing serum or lightweight hair oil to tame frizz and add a glossy finish to your hair. Focus on the lengths and ends, and avoid applying excessive product that may weigh down your hair.
By meticulously following these preparatory steps, you'll create an ideal canvas for the crimping process, setting the stage for a seamless and effective styling experience. Properly prepared hair not only enhances the crimping results but also promotes the overall health and vitality of your hair, ensuring a beautiful and radiant outcome.
Step 2: Section Your Hair
Properly sectioning your hair is a fundamental aspect of achieving a well-executed crimped hairstyle. This step ensures that each strand receives equal attention and allows for a systematic approach to the crimping process. By dividing your hair into manageable sections, you can maintain control and precision, resulting in a uniform and polished crimped texture. Here's a detailed guide on how to effectively section your hair for the crimping process:
Read more: How To Draw Curly Hair
1. Divide Your Hair Horizontally:
Begin by parting your hair horizontally, creating a top section and a bottom section. Use a tail comb or your fingers to create a clean and straight parting, ensuring that the division is even from ear to ear. Secure the top section with a clip or hair tie to keep it out of the way while you work on the bottom section.
2. Create Vertical Sections:
Within the bottom section of your hair, create vertical subsections that are approximately 1 to 2 inches wide, depending on the thickness of your hair. Use sectioning clips to secure the remaining hair, keeping it neatly separated as you work through each subsection. This systematic approach ensures that every part of your hair undergoes the crimping process, resulting in a consistent and well-defined texture.
3. Repeat the Process:
Once you have crimped the entire bottom section, release the top section of your hair and repeat the horizontal and vertical sectioning process. This allows you to systematically crimp the top layer of your hair, ensuring that no strands are overlooked and that the entire head of hair receives the desired texture.
4. Fine-Tune the Sections:
As you work through each subsection, take a moment to ensure that the sections are uniform in size and thickness. This attention to detail will contribute to a balanced and harmonious crimped look, preventing any irregularities or inconsistencies in the final result.
Read more: How To Remove Hair Glue From Hair
5. Maintain Organization:
Throughout the sectioning process, it's essential to maintain organization and clarity. Keep track of the sections you have crimped and those that are yet to be styled, ensuring that you maintain a systematic and thorough approach to the entire head of hair.
By meticulously following these steps, you can effectively section your hair in preparation for the crimping process. This systematic approach sets the stage for a successful and well-executed crimped hairstyle, allowing you to maintain control and precision as you work through each section of your hair. With your hair expertly sectioned, you are now ready to embark on the crimping process, bringing your desired hairstyle to life with confidence and finesse.
Step 3: Begin Crimping
With your hair expertly prepared and meticulously sectioned, you are now poised to embark on the crimping process, bringing your desired hairstyle to life with confidence and finesse. The act of crimping involves using a specialized crimping iron to create distinct waves or ridges in your hair, resulting in a textured and voluminous look that adds depth and character to your overall style. Here's a detailed guide on how to effectively begin the crimping process, ensuring that each section of your hair receives the attention and care it deserves:
-
Preheat the Crimping Iron:
Before initiating the crimping process, it's essential to preheat your crimping iron to the appropriate temperature setting. Most crimping irons feature adjustable heat settings, allowing you to tailor the temperature to suit your hair type and texture. For fine or delicate hair, opt for a lower heat setting, while thicker or coarser hair may require a slightly higher temperature. Allow the crimping iron to reach the desired heat level, ensuring that it is evenly heated throughout. -
Begin at the Roots:
Starting at the roots of your hair, take a small section of the pre-sectioned hair and position the crimping iron as close to the scalp as possible without causing discomfort. Gently close the iron over the section of hair, holding it in place for a few seconds to create the crimped texture. The proximity to the roots ensures that the crimping effect begins at the base of the hair, contributing to a seamless and natural-looking result. -
Work Through Each Section:
Progress systematically through each subsection of hair, moving the crimping iron down the length of the section to create a consistent crimped pattern. Avoid overlapping the crimped sections to maintain uniformity and prevent excessive heat exposure to the hair. As you work through each section, ensure that the iron is held in place for an adequate duration to achieve the desired texture without causing unnecessary heat damage. -
Maintain a Steady Pace:
As you crimp each section, maintain a steady and deliberate pace to ensure that the texture remains consistent throughout your hair. Rushing through the process may result in uneven or irregular crimping, detracting from the overall cohesiveness of the hairstyle. By taking your time and working methodically through each section, you can achieve a polished and professional-looking crimped texture. -
Monitor Your Progress:
Throughout the crimping process, periodically assess your progress in a mirror to ensure that each section receives the desired texture. This visual check allows you to make any necessary adjustments and maintain a balanced and harmonious crimped look. Pay attention to any areas that may require additional crimping, ensuring that your entire head of hair receives the attention it deserves.
By following these detailed steps, you can confidently begin the crimping process, infusing your hair with texture and dimension to achieve a stunning and personalized hairstyle. With precision and care, you can navigate through each section of your hair, creating a beautifully crimped texture that reflects your unique style and personality. As you work through the crimping process, embrace the creative potential of this technique, allowing your individuality to shine through in the captivating waves and ridges that adorn your hair.
Step 4: Finish and Style
As you near the completion of the crimping process, it's essential to focus on the final touches that will elevate your hairstyle to its full potential. The finishing and styling phase allows you to refine the texture, shape, and overall presentation of your crimped hair, ensuring that it aligns with your desired aesthetic. Here's a comprehensive guide on how to expertly finish and style your crimped hair, bringing out its unique charm and character:
1. Apply a Lightweight Hair Serum:
After completing the crimping process, apply a small amount of lightweight hair serum or oil to the palms of your hands. Gently glide your hands over the crimped sections, focusing on the mid-lengths and ends. This step adds a subtle sheen to your hair, taming any frizz and enhancing the overall luster of the crimped texture.
Read more: How To Get Fluffy Hair
2. Fluff and Separate the Crimps:
Using your fingers or a wide-tooth comb, gently fluff and separate the crimped sections to add volume and dimension to your hairstyle. Lightly comb through the crimps to create a soft and airy texture, ensuring that the waves and ridges are well-defined and visually captivating.
3. Create Stylish Updos or Half-Up Styles:
Embrace the versatility of crimped hair by experimenting with stylish updos or half-up styles. Gather sections of crimped hair and secure them into a chic top knot, messy bun, or half-up ponytail. The textured nature of crimped hair adds an element of intrigue to these hairstyles, allowing you to express your creativity and individuality.
4. Set the Style with Hairspray:
To prolong the longevity of your crimped hairstyle, lightly mist your hair with a flexible-hold hairspray. This will set the texture in place, ensuring that your crimped hair maintains its shape and volume throughout the day. Opt for a hairspray that provides a natural-looking hold without stiffening the hair.
5. Add Accessories for a Personal Touch:
Enhance your crimped hairstyle with the addition of hair accessories such as headbands, hair clips, or hair scarves. These accessories can complement the texture of your crimped hair, adding a touch of flair and individuality to your overall look. Experiment with different accessories to find the perfect embellishments for your crimped style.
By meticulously attending to these finishing and styling details, you can elevate your crimped hairstyle to a new level of sophistication and allure. Each step contributes to the overall presentation of your hair, allowing you to showcase the unique texture and dimension of your crimped style with confidence and panache. Embrace the creative possibilities that crimped hair offers, and revel in the beauty of your expertly styled and finished hairstyle.
Read more: How To Draw Hair
Tips and Tricks
-
Experiment with Different Crimping Patterns: Explore various crimping patterns, such as alternating the direction of the crimps or focusing on specific sections of hair. This experimentation can add depth and complexity to your crimped hairstyle, allowing you to create unique and visually captivating textures.
-
Adjust Crimping Iron Temperature Based on Hair Type: Fine or delicate hair may require lower heat settings to prevent damage, while thicker or coarser hair can benefit from slightly higher temperatures to achieve optimal results. Adapting the heat settings to suit your hair type is crucial for maintaining hair health while achieving the desired texture.
-
Avoid Over-Crimping: Exercise restraint when crimping your hair to avoid overdoing the texture. Aim for a balanced and natural-looking crimped effect, ensuring that the waves and ridges complement your overall style without overwhelming your hair's natural appearance.
-
Incorporate Crimped Hair into Braided Styles: Integrate crimped sections into braided hairstyles to add dimension and visual interest. Incorporating crimped hair into braids can create a striking contrast between smooth and textured sections, resulting in intricate and eye-catching braided looks.
-
Refresh Your Crimped Style with Dry Shampoo: Extend the longevity of your crimped hairstyle by using dry shampoo to absorb excess oils and maintain volume. Lightly spritz dry shampoo at the roots and gently massage it into the hair to revitalize the texture and keep your crimped style looking fresh.
-
Embrace the Retro-Inspired Vibe: Embrace the retro-inspired aesthetic of crimped hair by pairing it with vintage-inspired outfits or accessories. The unique texture of crimped hair can effortlessly complement retro fashion elements, allowing you to channel a nostalgic and stylish vibe.
-
Protect Your Hair While Sleeping: Preserve your crimped hairstyle overnight by loosely braiding or twisting your hair before bed. This gentle styling technique helps maintain the texture and prevents excessive flattening, allowing you to wake up to beautifully textured hair.
-
Enhance Texture with Sea Salt Spray: For a beachy and tousled look, spritz sea salt spray onto your crimped hair and scrunch it gently to enhance the texture and create a relaxed, effortless appearance. This technique adds a touch of casual elegance to your crimped hairstyle.
-
Personalize Your Crimped Look: Experiment with incorporating colorful hair accessories, such as ribbons or hair cuffs, to personalize your crimped hairstyle. These accessories can infuse your look with individuality and creativity, allowing you to express your unique style through your crimped hair.
-
Maintain Hair Health with Regular Trims: Schedule regular trims to keep your hair in optimal condition, ensuring that the ends remain healthy and free from damage. Well-maintained hair enhances the overall appearance of your crimped style, allowing the texture to shine with vitality and radiance.
By incorporating these tips and tricks into your crimping routine, you can elevate your styling experience and unleash the full potential of crimped hair. Embrace the versatility and creativity that crimping offers, and revel in the art of transforming your hair into a captivating and personalized masterpiece.
Conclusion
In conclusion, mastering the art of crimping hair opens the door to a world of creativity, self-expression, and personalized styling. The resurgence of crimped hair as a popular and versatile trend has sparked a renewed interest in this unique texturizing technique, allowing individuals to embrace their individuality and experiment with captivating hairstyles. As we conclude this comprehensive guide, it's essential to reflect on the transformative power of crimped hair and the impact it can have on one's personal style and confidence.
Crimped hair serves as a canvas for self-expression, offering a myriad of styling possibilities that cater to diverse preferences and fashion sensibilities. Whether it's adding volume and dimension to a sleek updo, infusing a touch of retro-inspired charm into everyday looks, or creating intricate braided styles with added texture, crimping empowers individuals to explore new realms of hairstyling. The versatility of crimped hair transcends age, hair type, and personal style, making it an inclusive and accessible trend for anyone seeking to elevate their look.
Furthermore, the journey of crimping hair is not merely about achieving a visually striking hairstyle; it's about embracing the process and the sense of empowerment that comes with mastering a new skill. From the meticulous preparation of the hair to the precise sectioning and the artful crimping technique, each step represents a moment of self-care and creativity. The act of crimping becomes a form of self-expression, allowing individuals to sculpt their hair into a unique and personalized masterpiece that reflects their personality and style.
As we bid farewell to this guide, it's important to carry forward the spirit of experimentation and self-assurance that crimping embodies. Embrace the tips, techniques, and creative insights shared in this guide, and embark on your crimping journey with confidence and enthusiasm. Whether you're preparing for a special occasion, seeking a fresh everyday look, or simply indulging in a moment of self-expression, crimping offers a captivating avenue for unleashing your individuality and celebrating the beauty of textured hair.
In the world of hairstyling, crimped hair stands as a symbol of boldness, creativity, and the enduring allure of self-expression. Let the journey of crimping be a testament to your unique style, and may your crimped hairstyles serve as a reflection of your confidence, creativity, and the joy of embracing your individuality through the art of hairstyling.