Home>Home and Garden>How To Get Hair Dye Off Of Sink
Home and Garden
How To Get Hair Dye Off Of Sink
Published: March 1, 2024
Learn effective home and garden solutions to remove hair dye stains from your sink. Discover easy tips and tricks to keep your sink looking clean and vibrant.
(Many of the links in this article redirect to a specific reviewed product. Your purchase of these products through affiliate links helps to generate commission for Noodls.com, at no extra cost. Learn more)
Table of Contents
Introduction
Dealing with hair dye stains on your sink can be a frustrating experience. Whether you're a DIY enthusiast or a professional hairstylist, accidental spills and splatters are inevitable. However, the good news is that with the right approach and a few simple supplies, you can effectively remove hair dye stains from your sink and restore its pristine appearance.
In this comprehensive guide, we will walk you through the step-by-step process of removing hair dye stains from your sink. From gathering the necessary supplies to implementing effective cleaning techniques, you'll learn how to tackle this common household challenge with confidence.
So, if you've recently discovered a stubborn hair dye stain marring the beauty of your sink, fear not! By following the methods outlined in this guide, you'll be equipped to tackle the issue head-on and restore your sink to its former glory. Let's dive in and discover the best strategies for banishing hair dye stains from your sink once and for all.
Read more: How To Get Hair Dye Off Of Counter
Step 1: Gather Your Supplies
Before embarking on the mission to remove hair dye stains from your sink, it's essential to assemble the necessary supplies. By having the right tools at your disposal, you can streamline the cleaning process and achieve optimal results. Here's a comprehensive list of supplies that you'll need:
-
Rubber Gloves: Protect your hands from harsh chemicals and ensure a firm grip while cleaning.
-
Protective Eyewear: Shield your eyes from any splashes or fumes during the cleaning process.
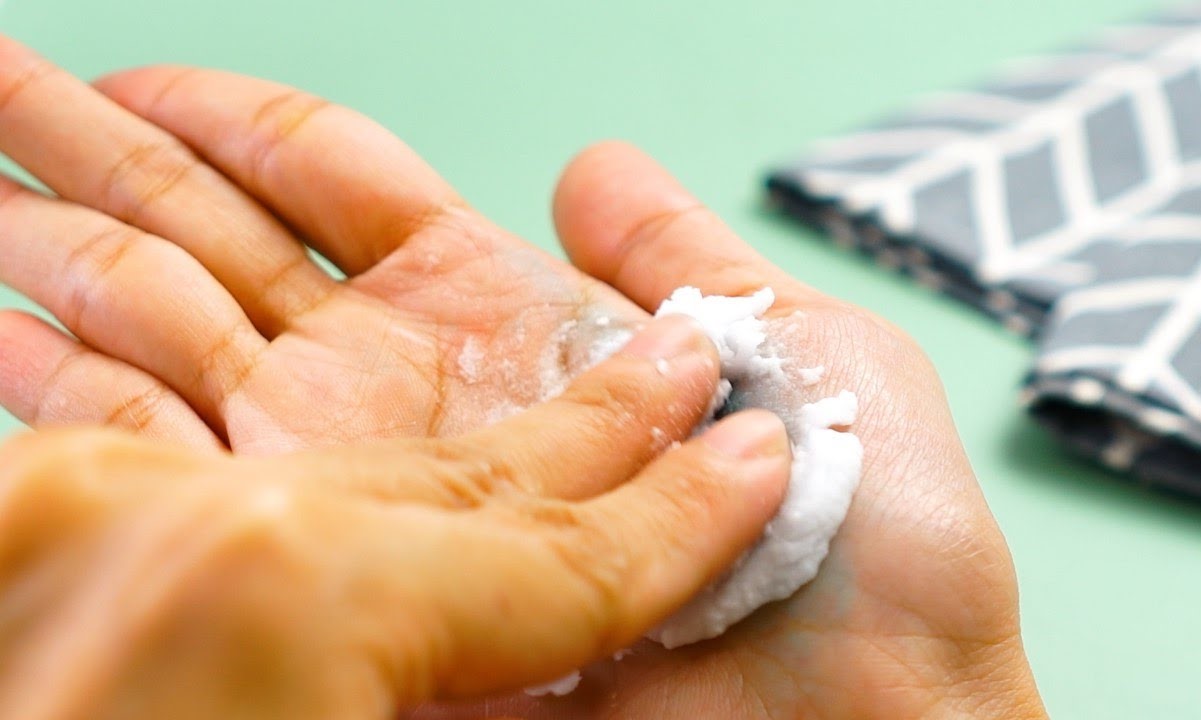
-
Cleaning Solution: Opt for a gentle yet effective cleaning solution that is safe for your sink's material. Common options include baking soda, white vinegar, hydrogen peroxide, or a specialized stain remover.
-
Soft Cleaning Cloth or Sponge: Choose a non-abrasive cloth or sponge to avoid scratching the sink surface while scrubbing.
-
Old Toothbrush or Soft-bristled Brush: These tools are ideal for targeting small crevices and hard-to-reach areas where hair dye stains may be deeply embedded.
-
Paper Towels: Use these to blot and dry the sink after cleaning.
-
Protective Covering for Surrounding Surfaces: If your sink is surrounded by delicate surfaces such as marble or wood, consider covering them with a protective layer to prevent accidental damage from cleaning solutions.
-
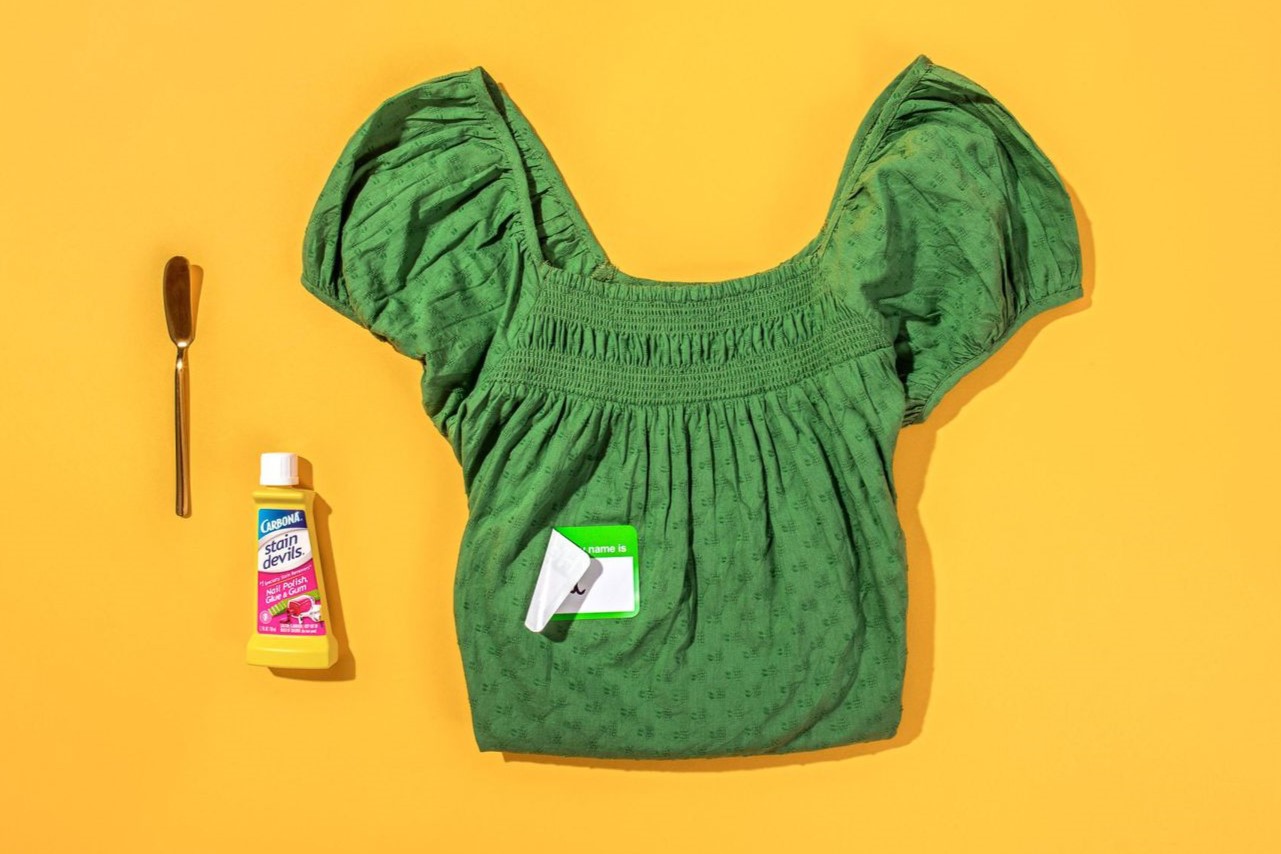
Optional: Commercial Stain Remover: If the hair dye stain is particularly stubborn, you may opt for a commercial stain remover specifically designed for the sink's material.
By ensuring that you have these supplies on hand, you'll be well-prepared to tackle the task of removing hair dye stains from your sink. With the right tools and a proactive approach, you can effectively combat the unsightly blemishes and restore your sink to its original luster.
Step 2: Apply a Cleaning Solution
Once you have gathered the necessary supplies, it's time to tackle the hair dye stain with a suitable cleaning solution. The choice of cleaning solution is crucial, as it should effectively break down the dye without causing damage to the sink's surface. Here are the steps to apply a cleaning solution and effectively combat the stubborn hair dye stain:
Assess the Sink Material
Before applying any cleaning solution, it's important to consider the material of your sink. Different materials, such as porcelain, stainless steel, or composite, may require specific cleaning approaches to prevent damage. If you're unsure about the appropriate cleaning solution for your sink, refer to the manufacturer's guidelines or consult with a professional.
Test in an Inconspicuous Area
To ensure that the cleaning solution is safe and effective for your sink, perform a patch test in an inconspicuous area. Apply a small amount of the chosen cleaning solution to a hidden section of the sink and observe any adverse reactions. If the test area shows no signs of damage or discoloration after a few minutes, you can proceed with confidence.
Read more: How To Get Hair Dye Out Of Clothes
Apply the Cleaning Solution
Once you've confirmed the suitability of the cleaning solution, apply it directly to the hair dye stain. Depending on the chosen solution, you may pour it directly onto the stain or saturate a cloth or sponge before gently dabbing the affected area. Ensure thorough coverage of the stain, allowing the cleaning solution to penetrate and loosen the dye.
Allow Dwell Time
After applying the cleaning solution, allow it to dwell on the stain for the recommended duration. This dwell time is crucial, as it gives the cleaning solution an opportunity to break down the hair dye and lift it from the sink's surface. Refer to the product instructions or general guidelines for the appropriate dwell time based on the chosen cleaning solution.
Avoid Harsh Scrubbing
While the cleaning solution works on the hair dye stain, refrain from harsh scrubbing, as this can potentially damage the sink's finish. Instead, allow the cleaning solution to work its magic, gradually loosening the stain for easier removal in the subsequent steps.
By following these steps to apply a suitable cleaning solution, you can effectively target the hair dye stain and prepare it for the next phase of the cleaning process. With patience and the right approach, you'll be well on your way to restoring your sink to its pristine condition.
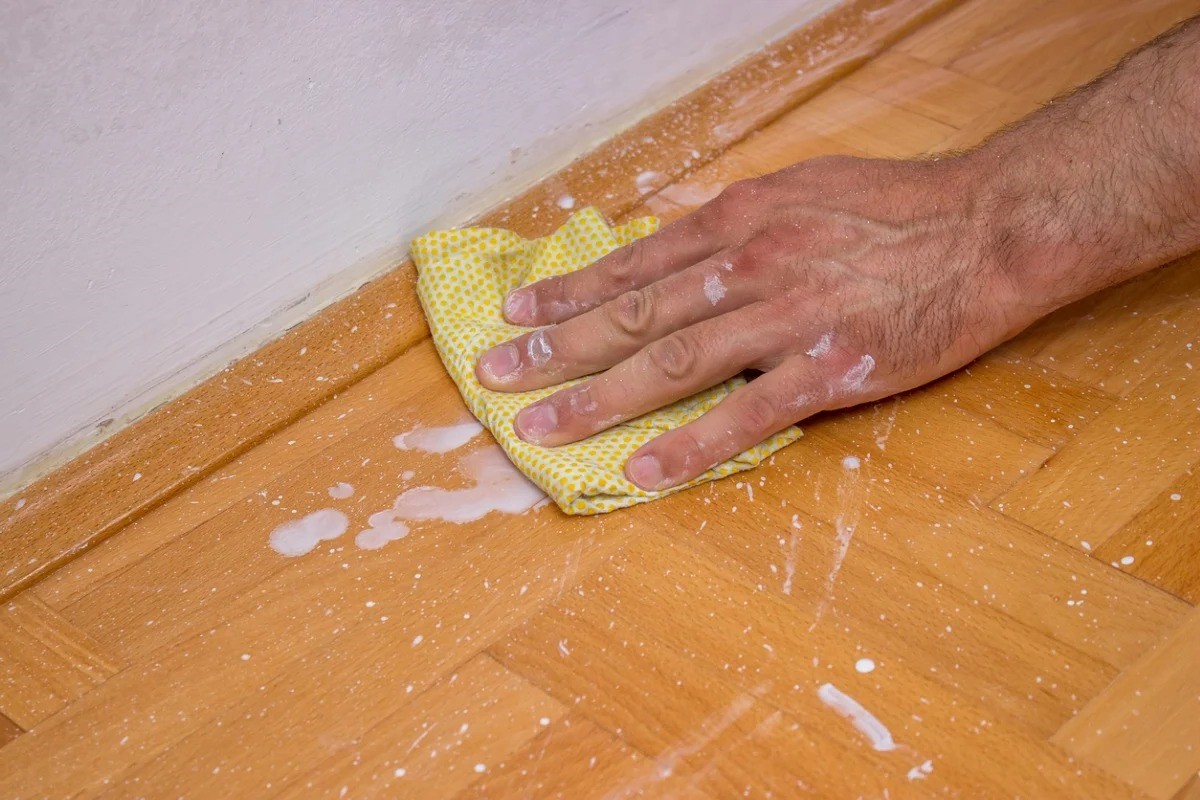
Step 3: Scrub the Stain
After allowing the cleaning solution to dwell on the hair dye stain and work its magic, it's time to proceed to the next crucial step: scrubbing the stain. This step involves gentle yet persistent scrubbing to lift the loosened dye from the sink's surface. Here's a detailed guide on how to effectively scrub the hair dye stain and achieve optimal results.
-
Use a Soft Cleaning Cloth or Sponge: Select a soft, non-abrasive cleaning cloth or sponge to avoid scratching the sink's surface during the scrubbing process. Dampen the cloth or sponge with water to create a gentle yet effective scrubbing tool.
-
Apply Gentle Pressure: With the dampened cloth or sponge, apply gentle pressure to the stained area. Begin by using circular or back-and-forth motions to target the dye and gradually lift it from the sink's surface. Avoid aggressive scrubbing, as this can potentially damage the finish of the sink.
-
Utilize an Old Toothbrush or Soft-bristled Brush: For hard-to-reach areas or stubborn stains, an old toothbrush or soft-bristled brush can be invaluable. Dip the brush in the cleaning solution and use it to delicately scrub the crevices and edges of the stain, ensuring thorough coverage.
-
Monitor Progress and Adjust Pressure: As you scrub the stain, periodically assess the progress and adjust the pressure as needed. If the dye begins to lift, continue with the gentle scrubbing motion to coax it away from the sink's surface. Exercise patience, as persistent but gentle scrubbing is key to achieving a successful outcome.
-
Blot and Inspect: Periodically pause the scrubbing process to blot the area with a paper towel and inspect the results. If the dye is visibly lifting and transferring onto the cloth, continue the scrubbing process until the stain is significantly diminished.
-
Rinse and Repeat as Necessary: If the stain persists after the initial scrubbing, rinse the area with water and repeat the application of the cleaning solution. Allow the solution to dwell once again before gently scrubbing the stain, repeating the process until the desired results are achieved.
By following these detailed steps to scrub the hair dye stain, you can effectively harness the power of gentle yet persistent scrubbing to lift the dye from your sink's surface. With a methodical approach and a keen eye for progress, you'll be well-equipped to tackle the stain and restore your sink to its former pristine state.
Read more: How To Get Tie Dye Off Skin
Step 4: Rinse and Repeat
After diligently scrubbing the hair dye stain and witnessing the gradual lifting of the stubborn discoloration, it's time to proceed with the crucial step of rinsing and, if necessary, repeating the cleaning process. This step is essential for ensuring that any residual cleaning solution and loosened dye are thoroughly removed from the sink's surface, leaving behind a clean and blemish-free finish. Here's a detailed guide on how to effectively execute the rinsing and potential repetition of the cleaning process to achieve optimal results.
Thoroughly Rinse the Area
Begin by thoroughly rinsing the scrubbed area with clean water. Use a gentle stream of water or a damp cloth to remove any remnants of the cleaning solution and loosened hair dye. Ensure that all traces of the cleaning solution are completely washed away, leaving the sink's surface clean and free from any chemical residue.
Inspect for Residual Staining
After rinsing the area, take a moment to inspect the sink for any residual staining. Assess the treated area under adequate lighting to determine if the hair dye stain has been successfully eradicated or if traces of discoloration persist. If the stain remains noticeable, consider the option of repeating the cleaning process to further diminish or eliminate the remaining blemish.
Repeat the Cleaning Process as Needed
If residual staining is observed, consider repeating the application of the chosen cleaning solution and the gentle scrubbing process. Apply the cleaning solution to the affected area and allow it to dwell as before, giving it ample time to penetrate and lift any remaining dye. With a soft cleaning cloth or sponge, gently scrub the area once again, employing the same meticulous approach to coax the remaining stain from the sink's surface.
Read more: How To Get Hair Dye Out Of Bathtub
Monitor Progress and Exercise Patience
As you repeat the cleaning process, monitor the progress closely and exercise patience. Persistent but gentle scrubbing, coupled with the effective cleaning solution, can gradually diminish even the most stubborn hair dye stains. Periodically pause to rinse the area and inspect the results, adjusting your approach as needed to ensure that the stain is progressively fading with each repetition of the cleaning process.
Celebrate the Achievement
Upon successfully diminishing or completely removing the hair dye stain, take a moment to celebrate the achievement. Admire the restored luster of your sink and revel in the satisfaction of overcoming the challenge of stubborn staining. With your proactive approach and dedication to the cleaning process, you've effectively restored your sink to its former pristine state, ready to shine once again.
By following these detailed steps to rinse and potentially repeat the cleaning process, you can effectively address any residual staining and achieve a remarkable transformation of your sink's appearance. With diligence and a methodical approach, you'll be well on your way to banishing hair dye stains and maintaining the impeccable beauty of your sink.
Step 5: Prevent Future Stains
Now that you've successfully removed the hair dye stain from your sink, it's essential to implement preventive measures to avoid future staining and maintain the pristine appearance of your sink. By proactively addressing potential sources of staining and adopting protective strategies, you can safeguard your sink from the recurring challenge of hair dye stains. Here's a comprehensive guide on how to prevent future stains and preserve the beauty of your sink:
1. Protective Barriers
Consider placing a protective barrier, such as a sink mat or silicone sink guard, at the bottom of your sink. These barriers act as a cushioning layer that not only protects the sink from accidental impacts but also minimizes the direct contact of hair dye with the sink's surface. By creating a physical barrier, you can significantly reduce the likelihood of future staining.
Read more: How To Get Blue Hair Dye Out Of Hair
2. Immediate Cleanup
Incorporate a habit of immediate cleanup whenever hair dye comes into contact with the sink. Keep a supply of damp paper towels or cleaning wipes within reach, allowing you to promptly address any spills or splatters. By swiftly wiping away the dye before it has a chance to set and penetrate the sink's surface, you can prevent stubborn stains from forming.
3. Protective Coverings
If you frequently work with hair dye at the sink, consider using protective coverings such as plastic wrap or a designated sink apron. These coverings provide an additional layer of protection, shielding the sink from direct exposure to hair dye during the coloring process. When the task is complete, simply remove the protective covering and dispose of it, leaving your sink unblemished.
4. Regular Maintenance
Incorporate regular maintenance and cleaning routines to proactively address any potential staining. Utilize gentle, non-abrasive cleaning solutions to wipe down the sink after each use, effectively removing any residual dye and preventing it from accumulating and forming stubborn stains over time. Consistent maintenance can significantly contribute to the prevention of future staining.
5. Protective Sealants
For porous sink materials such as natural stone or certain types of ceramics, consider applying a protective sealant to create a barrier against hair dye penetration. These sealants act as a shield, preventing dyes from seeping into the porous surface and facilitating easier cleanup. Consult with a professional to determine the most suitable sealant for your sink material.
By implementing these preventive measures and integrating them into your routine, you can effectively safeguard your sink from future hair dye stains. With a proactive approach and a commitment to protective strategies, you'll maintain the pristine appearance of your sink and minimize the impact of potential staining.
Read more: How To Get Black Dye In Minecraft
Conclusion
In conclusion, conquering the challenge of removing hair dye stains from your sink is a rewarding accomplishment that restores not only the pristine appearance of your sink but also a sense of satisfaction in overcoming a common household dilemma. By following the comprehensive steps outlined in this guide, you've gained valuable insights into the effective removal of hair dye stains and the implementation of preventive measures to maintain the beauty of your sink.
Through the meticulous process of gathering the necessary supplies, applying a suitable cleaning solution, and employing gentle yet persistent scrubbing, you've harnessed the power of proactive cleaning techniques to combat stubborn stains. The careful consideration of your sink's material and the methodical approach to testing and applying the cleaning solution have equipped you with the knowledge to address the unique requirements of your sink surface.
Furthermore, the emphasis on rinsing and potentially repeating the cleaning process has underscored the importance of thoroughness and patience in achieving optimal results. By monitoring progress, adjusting your approach, and celebrating the achievement of a stain-free sink, you've demonstrated a proactive and resilient attitude in the face of household challenges.
Moreover, the proactive strategies for preventing future stains have empowered you to safeguard your sink from potential discoloration, ensuring that your hard work in removing the current stain is not in vain. By incorporating protective barriers, immediate cleanup habits, and regular maintenance routines, you've established a proactive defense against future staining, preserving the impeccable appearance of your sink.
As you reflect on the journey of banishing hair dye stains from your sink, remember that your dedication and proactive approach have not only restored the luster of your sink but also equipped you with valuable knowledge and skills for future maintenance. By embracing the challenge and emerging victorious, you've demonstrated resilience, resourcefulness, and a commitment to maintaining the beauty of your home.
In the end, the successful removal of hair dye stains from your sink is a testament to your proactive spirit and your ability to transform challenges into triumphs. With the insights gained from this guide, you're well-prepared to tackle similar household tasks with confidence and achieve remarkable results. Embrace the satisfaction of a stain-free sink and the knowledge that you possess the skills to maintain its pristine appearance for years to come.