Home>Home and Garden>How To Get Paint Off The Floor
Home and Garden
How To Get Paint Off The Floor
Published: March 3, 2024
Learn effective methods for removing paint from your floor in this comprehensive guide. Keep your home looking its best with these home and garden tips.
(Many of the links in this article redirect to a specific reviewed product. Your purchase of these products through affiliate links helps to generate commission for Noodls.com, at no extra cost. Learn more)
Table of Contents
Introduction
Dealing with paint spills or splatters on your floor can be a frustrating experience. Whether you accidentally dripped paint while working on a DIY project or encountered a spill during a home improvement task, the sight of dried paint on your floor can be disheartening. However, fear not! With the right approach and a bit of elbow grease, you can effectively remove paint from your floor and restore its pristine appearance.
In this comprehensive guide, we will walk you through the step-by-step process of removing paint from various types of flooring, including hardwood, laminate, tile, and concrete. By following these methods, you can tackle both water-based and oil-based paint stains, ensuring that your floor remains unblemished.
Each step outlined in this guide is designed to equip you with the knowledge and techniques necessary to tackle paint removal effectively. From gathering the essential materials to applying paint remover and scrubbing the floor, we will cover every aspect of the process in detail. By the end of this guide, you will have the confidence and expertise to bid farewell to those unsightly paint stains and restore your floor to its former glory.
So, roll up your sleeves, gather your materials, and let's embark on this paint removal journey together. With a little patience and the right approach, you'll soon be marveling at your beautifully restored floor, free from the remnants of those pesky paint spills. Let's dive into the first step: gathering your materials.
Read more: How To Get Paint Off Hardwood Floors
Step 1: Gather Your Materials
Before diving into the paint removal process, it's crucial to gather the necessary materials to ensure a smooth and effective operation. Here's a comprehensive list of items you'll need to tackle the task of removing paint from your floor:
-
Protective Gear: Start by equipping yourself with protective gear, including disposable gloves, safety goggles, and a face mask. These items will safeguard you from potential exposure to paint remover and fumes, ensuring your safety throughout the process.
-
Flooring Type-Specific Cleaner: Depending on the type of flooring you have, such as hardwood, laminate, tile, or concrete, ensure that you have a suitable cleaner designed for that specific material. This will help preserve the integrity of your floor while effectively removing the paint.
-
Paint Remover: Select a high-quality paint remover that is compatible with your flooring material and the type of paint you are dealing with. Water-based paint removers are ideal for water-based paint spills, while oil-based paint removers are effective for oil-based paint stains.
-
Scraper or Putty Knife: A sturdy scraper or putty knife will come in handy for gently lifting and removing excess paint from the floor's surface. Opt for a tool with a comfortable grip and a sharp edge to facilitate the scraping process.
-
Soft Bristle Brush or Nylon Scrubbing Pad: To aid in the removal of stubborn paint residue, have a soft bristle brush or nylon scrubbing pad at your disposal. These tools will assist in loosening and lifting the paint without causing damage to the flooring.
-
Clean Cloths or Rags: Keep an ample supply of clean cloths or rags nearby to wipe away excess paint remover and to dry the floor after the paint removal process.
-
Bucket and Water: Have a bucket filled with water on hand to dilute and rinse off the paint remover from the floor, as well as to clean your tools and equipment after use.
-
Ventilation: Ensure proper ventilation in the area where you'll be working. If possible, open windows and doors to allow fresh air to circulate, minimizing the inhalation of paint remover fumes.
By gathering these essential materials, you'll be well-prepared to embark on the paint removal journey with confidence and efficiency. With the right tools at your disposal, you can effectively tackle paint spills and restore the pristine condition of your floor, regardless of the type of flooring you have. Now that you've assembled your materials, it's time to move on to the next step: scraping off excess paint.
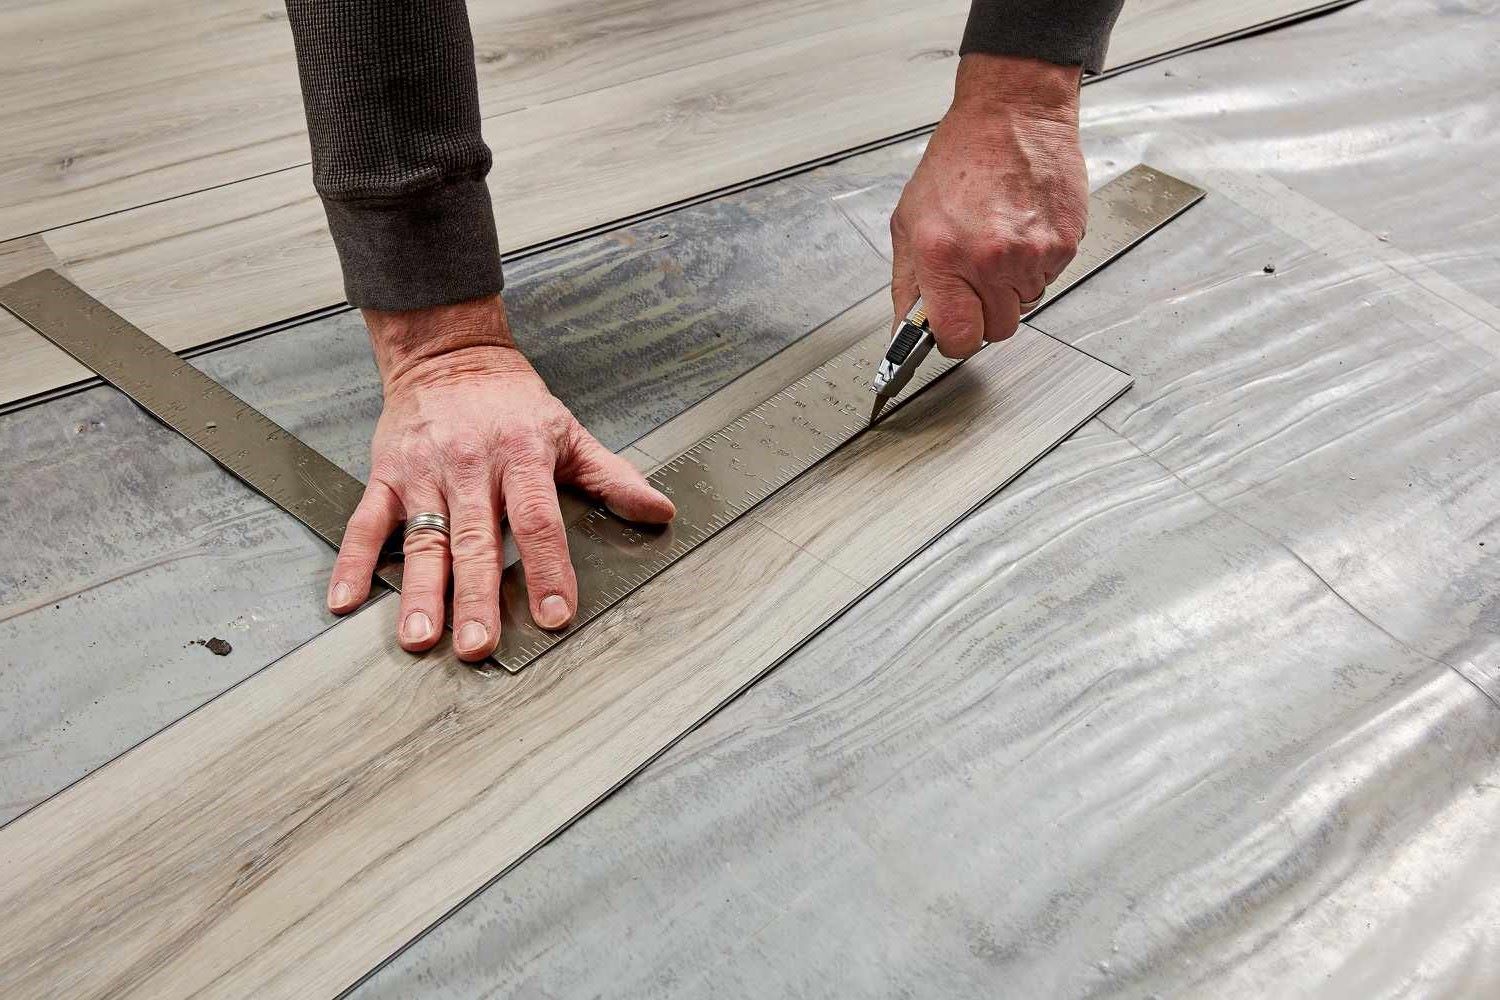
Step 2: Scrape Off Excess Paint
Once you have gathered your materials, it's time to tackle the first physical step in the paint removal process: scraping off excess paint. This step is crucial as it helps eliminate the bulk of the paint, making the subsequent removal methods more effective.
Begin by carefully inspecting the affected area. If the paint spill is relatively fresh, you may find it in a semi-liquid state, which can make it easier to remove. However, if the paint has dried, it may have hardened, requiring a bit more effort to lift it from the floor's surface.
To start the scraping process, use a sturdy scraper or putty knife. Hold the tool at a low angle to the floor and gently work it under the edges of the paint. Apply steady but gentle pressure to lift the paint without damaging the flooring underneath. It's important to avoid using excessive force, especially on delicate flooring materials like hardwood or laminate.
As you scrape, periodically check the scraper or knife for any buildup of paint residue. Wipe it off with a cloth to ensure that the tool remains effective throughout the process. Continue working methodically across the affected area, lifting and removing as much excess paint as possible.
For stubborn or dried paint, you may need to employ a bit more patience and persistence. In such cases, carefully chip away at the edges of the paint, gradually working your way underneath it. Take care to avoid scratching or gouging the floor, especially if it's made of a softer material like wood or laminate.
Once you have successfully removed the bulk of the paint, take a moment to assess the remaining residue. While this step won't completely eliminate the paint, it sets the stage for the subsequent paint removal methods to work more effectively. With the excess paint scraped off, you're now ready to move on to the next step: applying the paint remover.
By diligently scraping off excess paint, you're laying the groundwork for a successful paint removal process. With patience and precision, you can effectively prepare the floor for the next phase, bringing you one step closer to restoring its original luster.
Step 3: Apply Paint Remover
With the excess paint successfully scraped off, it's time to delve into the next pivotal step: applying the paint remover. This crucial phase is designed to target the remaining paint residue, effectively loosening and dissolving it for easier removal from the floor's surface.
Before proceeding, ensure that the chosen paint remover is compatible with your specific flooring material and the type of paint you are dealing with. If you're uncertain about the compatibility, it's advisable to test the paint remover on a small inconspicuous area of the floor to assess its impact before applying it to the entire affected area.
Begin by carefully following the manufacturer's instructions provided with the paint remover. It's essential to adhere to the recommended application methods and safety precautions to achieve optimal results while safeguarding your well-being. Don the appropriate protective gear, including gloves, safety goggles, and a face mask, to shield yourself from potential exposure to the paint remover and its fumes.
Using a suitable applicator, such as a brush or sponge, apply a liberal coat of the paint remover to the remaining paint residue on the floor. Ensure that the affected area is evenly covered, allowing the paint remover to penetrate and effectively break down the paint. Depending on the product's instructions, you may need to let the paint remover sit for a specified duration to facilitate the loosening of the paint.
During this waiting period, monitor the area closely to prevent the paint remover from drying out. If the product's instructions recommend covering the treated area with a plastic sheet to maintain moisture, be sure to follow this guidance to optimize the paint removal process.
As the paint remover works its magic, you may notice the paint beginning to bubble or lift from the floor's surface. This is a positive indication that the product is effectively breaking down the paint, making it easier to remove. However, exercise patience and refrain from rushing this phase, as allowing the paint remover sufficient time to act is crucial for achieving desirable outcomes.
Once the designated duration has elapsed, it's time to initiate the next phase of the paint removal process. Armed with the knowledge and techniques for applying the paint remover, you're well-equipped to progress to the subsequent step: scrubbing the floor. This pivotal stage will involve the meticulous removal of the loosened paint residue, bringing you closer to the ultimate goal of restoring your floor to its former pristine state.
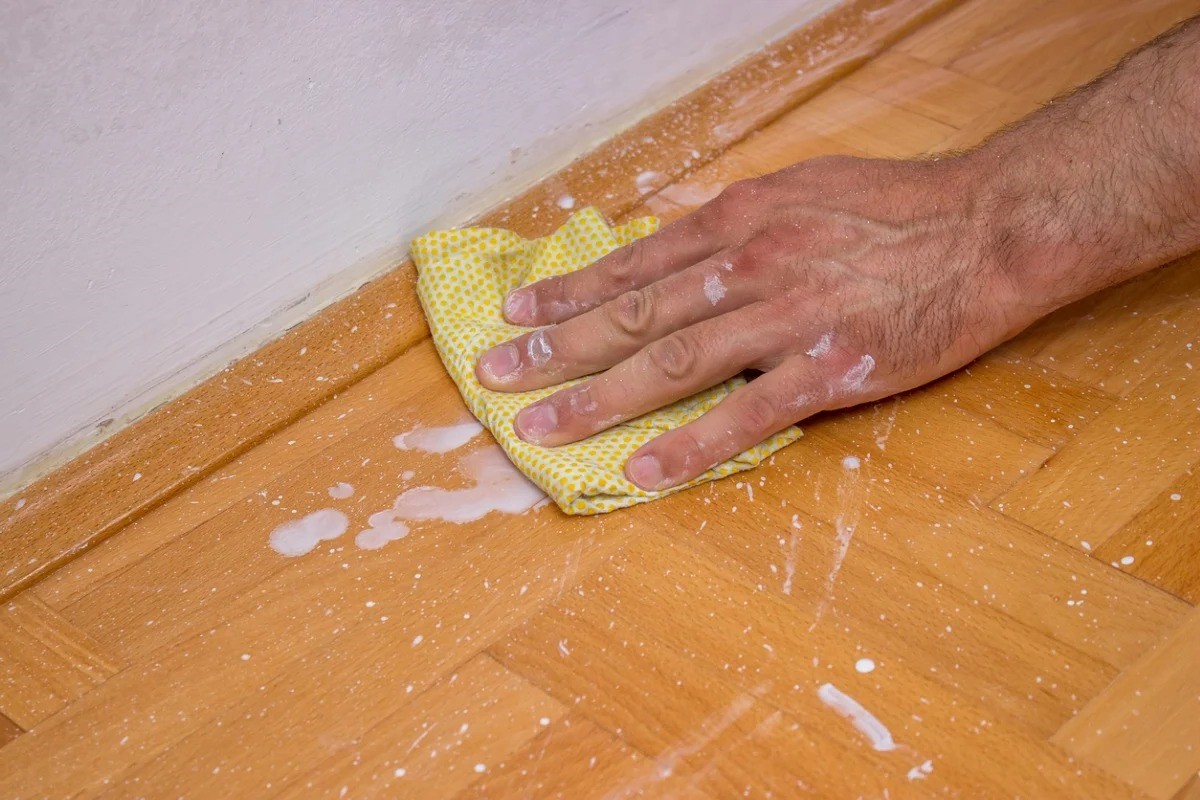
Step 4: Scrub the Floor
After the paint remover has effectively loosened the paint residue, the next critical step in the paint removal process involves scrubbing the floor to eliminate the loosened paint and restore its original appearance. This phase requires precision and care to ensure that the flooring material is not damaged during the scrubbing process.
Begin by preparing a soft bristle brush or a nylon scrubbing pad, depending on the type of flooring you are dealing with. For delicate surfaces such as hardwood or laminate, opt for a gentle brush to avoid causing any scratches or abrasions. If the floor is made of tile or concrete, a slightly more abrasive scrubbing pad can be used to effectively lift the loosened paint residue.
Dip the brush or scrubbing pad into a bucket of clean water to moisten it before gently scrubbing the treated area. It's essential to approach this step methodically, working in small sections to ensure thorough coverage and effective removal of the loosened paint. Apply gentle pressure while scrubbing, focusing on areas where the paint residue is most prevalent.
As you scrub, periodically rinse the brush or scrubbing pad in the clean water to remove any accumulated paint residue, preventing it from being reapplied to the floor. This process helps maintain the effectiveness of the scrubbing tool and ensures that the paint is efficiently lifted from the floor's surface.
For stubborn or persistent paint residue, you may need to exert a bit more effort while scrubbing. However, it's crucial to strike a balance between thoroughness and caution, especially when dealing with delicate flooring materials. Avoid using excessive force that could potentially damage the floor, and instead, rely on patience and persistence to gradually eliminate the remaining paint.
Throughout the scrubbing process, periodically assess the treated area to gauge the progress and identify any areas that may require additional attention. By working diligently and systematically, you can effectively remove the loosened paint, revealing the clean and unblemished surface beneath.
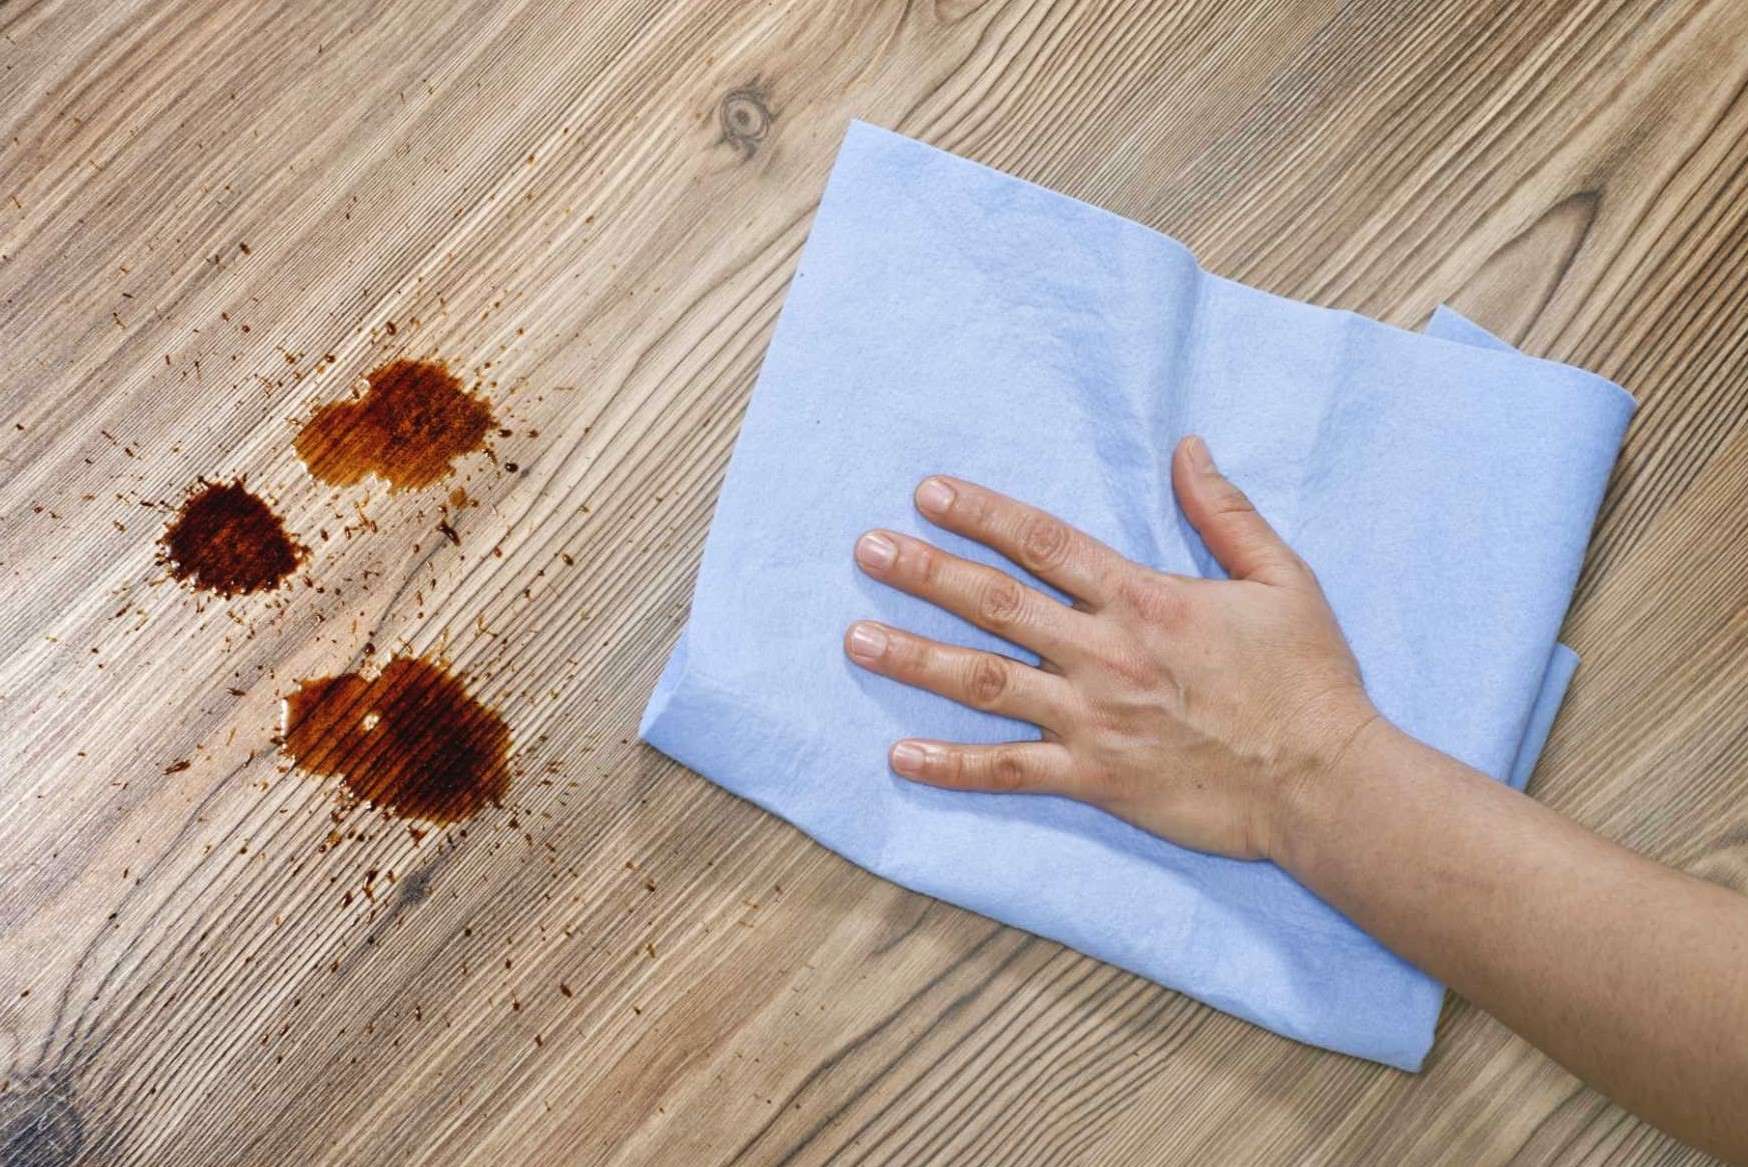
Once the scrubbing process is complete, use clean cloths or rags to wipe away any residual water and paint residue from the floor. This step helps ensure that the floor is left clean and dry, ready to undergo the final phase of the paint removal process.
By meticulously scrubbing the floor, you are one step closer to achieving the ultimate goal of restoring your floor to its former pristine condition. With the loosened paint effectively removed, the final step of rinsing and drying the floor will bring you closer to reveling in the renewed beauty of your floor, free from the remnants of the paint spills.
Read more: How To Get Paint Off Leather Seats
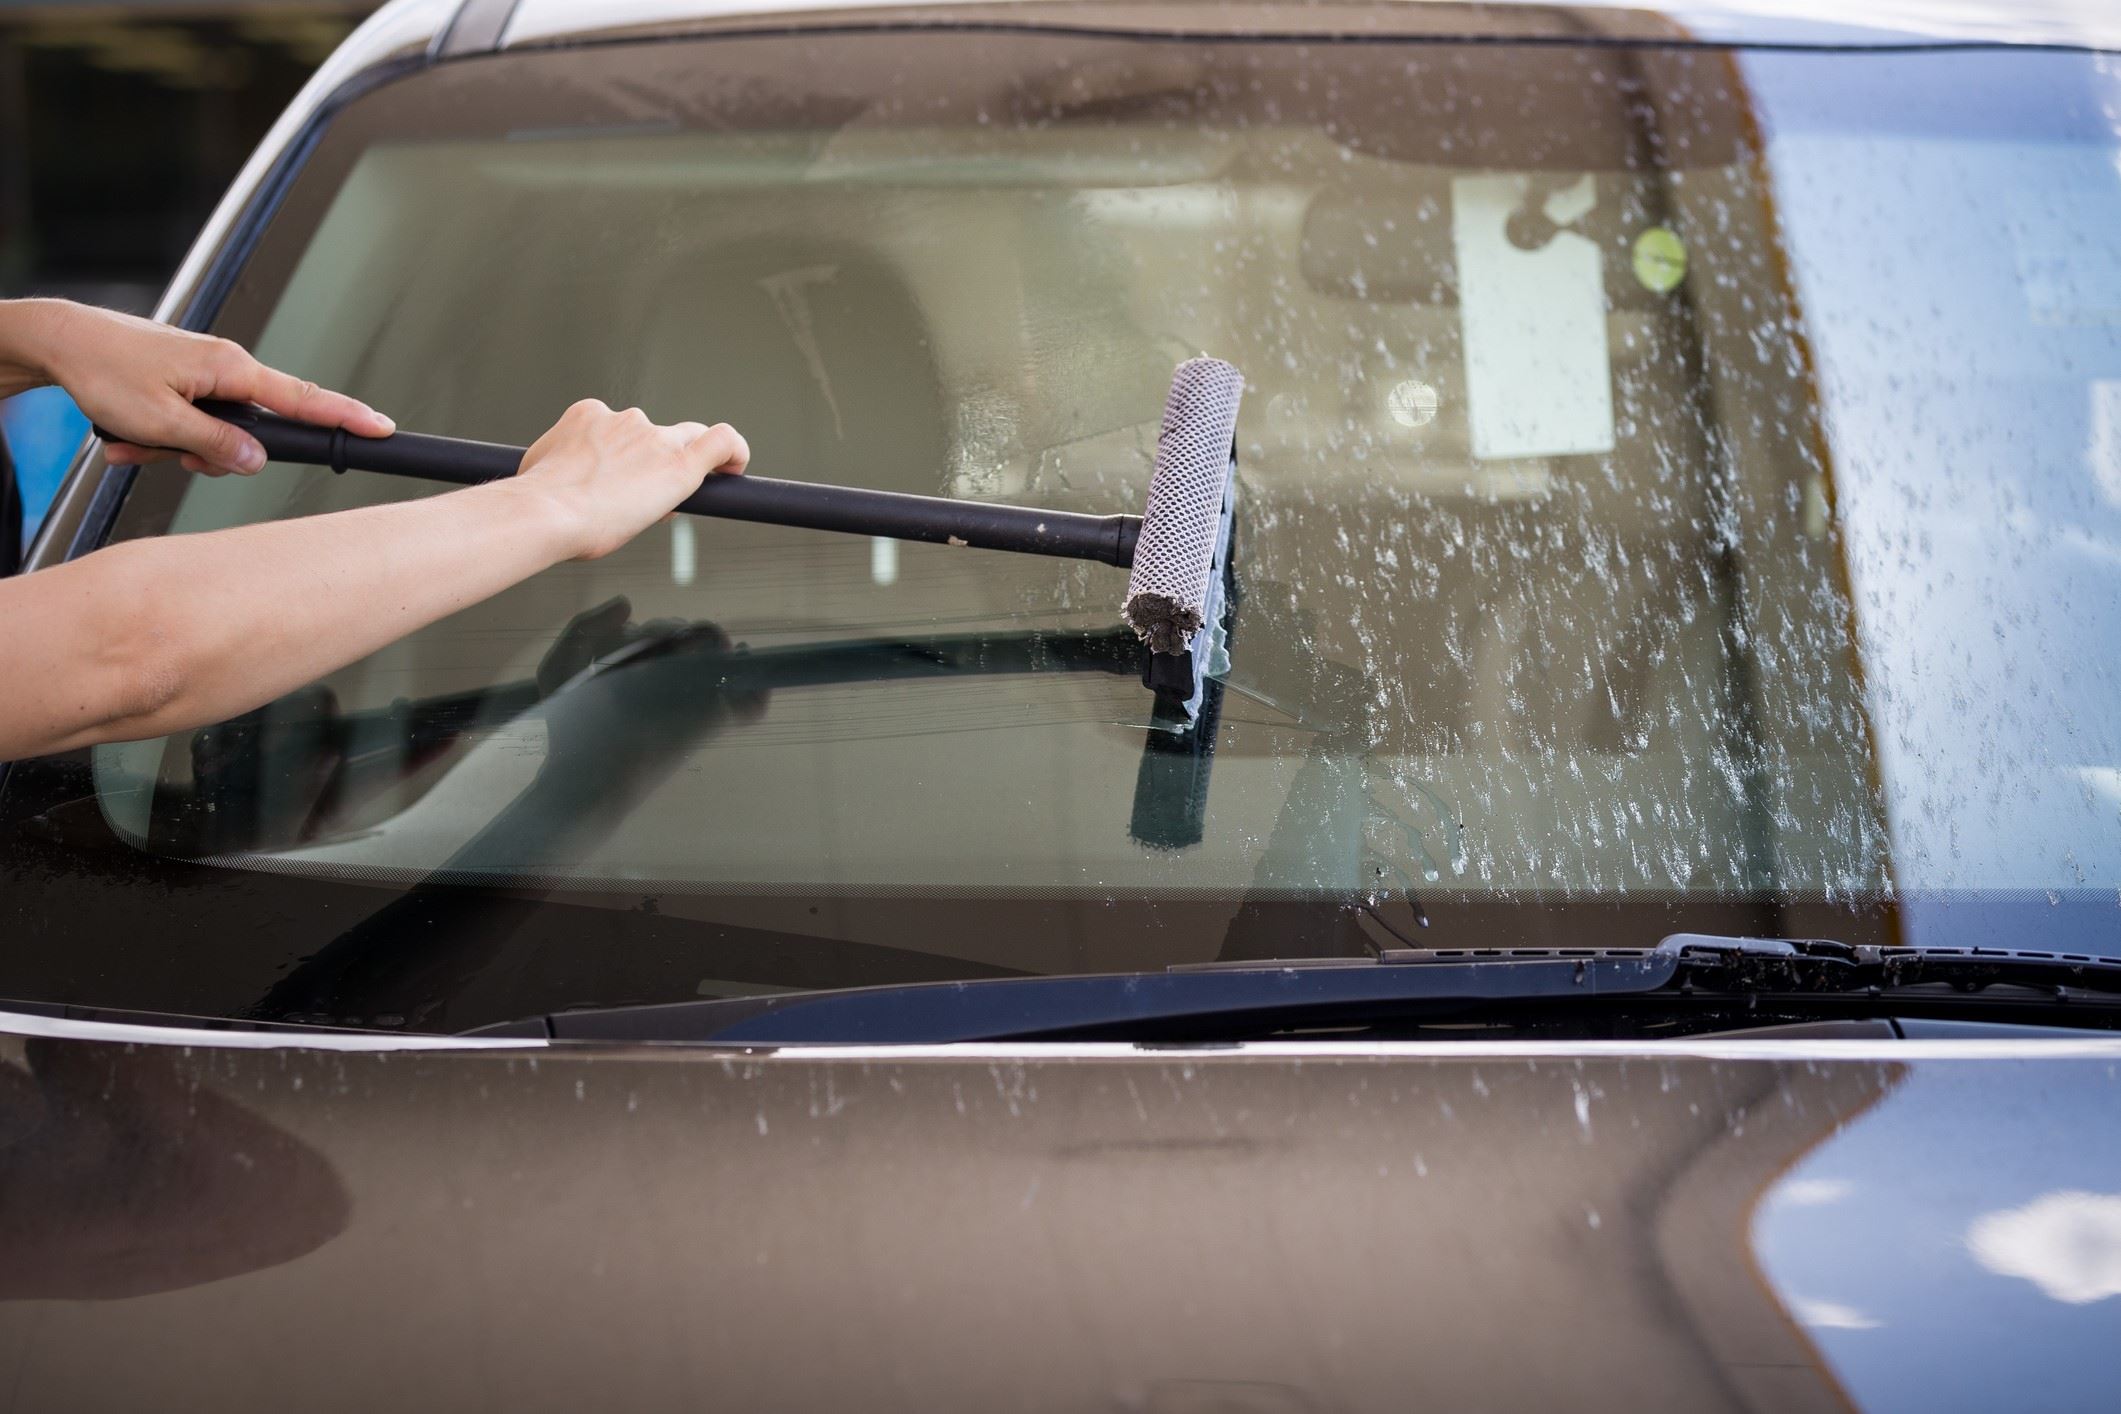
Step 5: Rinse and Dry the Floor
With the paint effectively removed and the floor scrubbed clean, the final step in the paint removal process involves rinsing and drying the floor to ensure that it is free from any residual paint remover and moisture. This critical phase is essential for restoring the floor to its original state and preventing any potential damage or discoloration caused by lingering chemicals or dampness.
To commence the rinsing process, prepare a fresh bucket of clean water. Using a clean cloth or sponge, dampen it in the water and gently wipe the treated area of the floor. This step aims to remove any traces of the paint remover that may remain on the surface, ensuring that the floor is thoroughly cleansed and free from any chemical residue.
As you proceed with the rinsing, it's important to change the water in the bucket regularly to maintain its cleanliness. This prevents the reapplication of any removed paint residue or paint remover, ensuring that the rinsing process is effective in restoring the floor to its pristine condition.
Once the floor has been thoroughly rinsed, it's time to focus on the drying phase. Utilize clean, dry cloths or towels to carefully pat the floor, absorbing any excess moisture and ensuring that it is left completely dry. Pay particular attention to any seams or crevices where water may accumulate, ensuring that these areas are meticulously dried to prevent any potential water damage.
In addition to manually drying the floor, it's beneficial to allow natural air circulation to aid in the drying process. Open windows and doors to facilitate airflow, expediting the evaporation of any residual moisture and ensuring that the floor is left impeccably dry.
Throughout the rinsing and drying process, it's important to be thorough and meticulous, leaving no area untouched to guarantee that the floor is free from any lingering traces of paint remover or moisture. By adhering to these steps, you can confidently revel in the successful restoration of your floor, free from the remnants of the paint spills and ready to showcase its renewed beauty.
With the floor now thoroughly rinsed and dried, you have completed the comprehensive process of removing paint from your floor. By diligently following each step and employing the appropriate techniques, you have successfully restored your floor to its former pristine condition, bidding farewell to the unsightly paint stains and welcoming back the unblemished beauty of your flooring.
Conclusion
In conclusion, successfully removing paint from your floor is a rewarding accomplishment that restores the pristine beauty of your living space. By following the step-by-step process outlined in this guide, you have equipped yourself with the knowledge and techniques necessary to tackle paint spills on various types of flooring, including hardwood, laminate, tile, and concrete. From gathering the essential materials to meticulously scrubbing the floor and ensuring its thorough rinsing and drying, you have embarked on a journey that culminates in the triumphant restoration of your floor.
Throughout this paint removal endeavor, your dedication and attention to detail have been pivotal in achieving desirable outcomes. By diligently scraping off excess paint, applying the appropriate paint remover, and methodically scrubbing the floor, you have effectively eliminated the remnants of paint spills, unveiling the clean and unblemished surface beneath. Your commitment to following the manufacturer's instructions and prioritizing safety measures has ensured a successful and safe paint removal process.
As you stand back and admire your beautifully restored floor, it's important to reflect on the valuable skills and knowledge gained from this experience. Not only have you acquired the expertise to address paint spills effectively, but you have also honed your ability to navigate home maintenance challenges with confidence and proficiency. The sense of accomplishment derived from revitalizing your floor serves as a testament to your resourcefulness and determination.
Furthermore, the successful removal of paint from your floor has contributed to the overall aesthetic appeal and cleanliness of your home. The eradication of unsightly paint stains has rejuvenated the ambiance of your living space, creating an environment that exudes freshness and elegance. Your commitment to maintaining a well-kept and visually appealing home is evident in the meticulous care and effort invested in this paint removal process.
As you revel in the renewed beauty of your floor, it's important to acknowledge the transformative impact of your efforts. The removal of paint spills has not only restored the physical appearance of your floor but has also revitalized the atmosphere of your home, fostering a sense of comfort and pride in your living environment. Your dedication to preserving the integrity and aesthetics of your home is a testament to your unwavering commitment to creating a welcoming and harmonious living space.
In essence, the successful removal of paint from your floor signifies more than just the elimination of unsightly stains; it embodies your ability to overcome challenges and enhance the beauty of your home. As you bask in the accomplishment of this endeavor, remember that your resourcefulness and determination have played a pivotal role in transforming obstacles into opportunities for growth and revitalization. Your beautifully restored floor stands as a testament to your unwavering dedication to creating a home that radiates warmth, elegance, and a reflection of your personal style.