Home>Home and Garden>How To Get Candle Wax Off Wall
Home and Garden
How To Get Candle Wax Off Wall
Published: February 26, 2024
Learn effective methods for removing candle wax from walls in your home and garden. Discover easy tips and tricks to keep your walls looking clean and pristine.
(Many of the links in this article redirect to a specific reviewed product. Your purchase of these products through affiliate links helps to generate commission for Noodls.com, at no extra cost. Learn more)
Table of Contents
Introduction
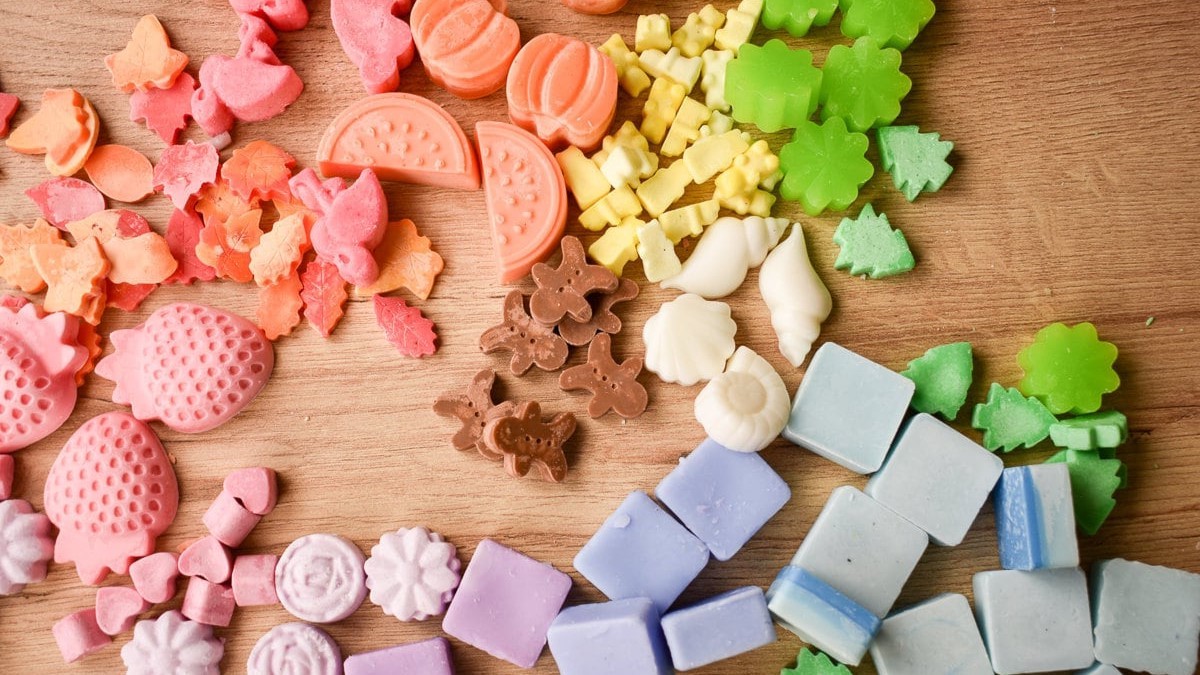
Accidents happen, and sometimes candle wax ends up on walls, creating a sticky and unsightly mess. Whether it's from an overturned candle or wax splatters during a relaxing evening, dealing with wax on walls can be a frustrating experience. However, with the right techniques and a bit of patience, it's possible to remove candle wax effectively without causing damage to the wall's surface.
In this comprehensive guide, we will explore various methods to tackle this common household issue. From utilizing simple household items to employing specialized products, you'll discover practical solutions to restore your walls to their former glory. Whether you're a seasoned DIY enthusiast or a novice in home maintenance, these methods are designed to be accessible and effective for anyone facing the challenge of removing candle wax from walls.
So, if you've found yourself in a sticky situation with candle wax on your walls, fear not! By following the step-by-step instructions in the upcoming sections, you'll be equipped with the knowledge and techniques to tackle this issue head-on. Let's dive into the methods and explore how to get candle wax off walls with ease and confidence.
Read more: How To Get Candle Wax Off Of Wood
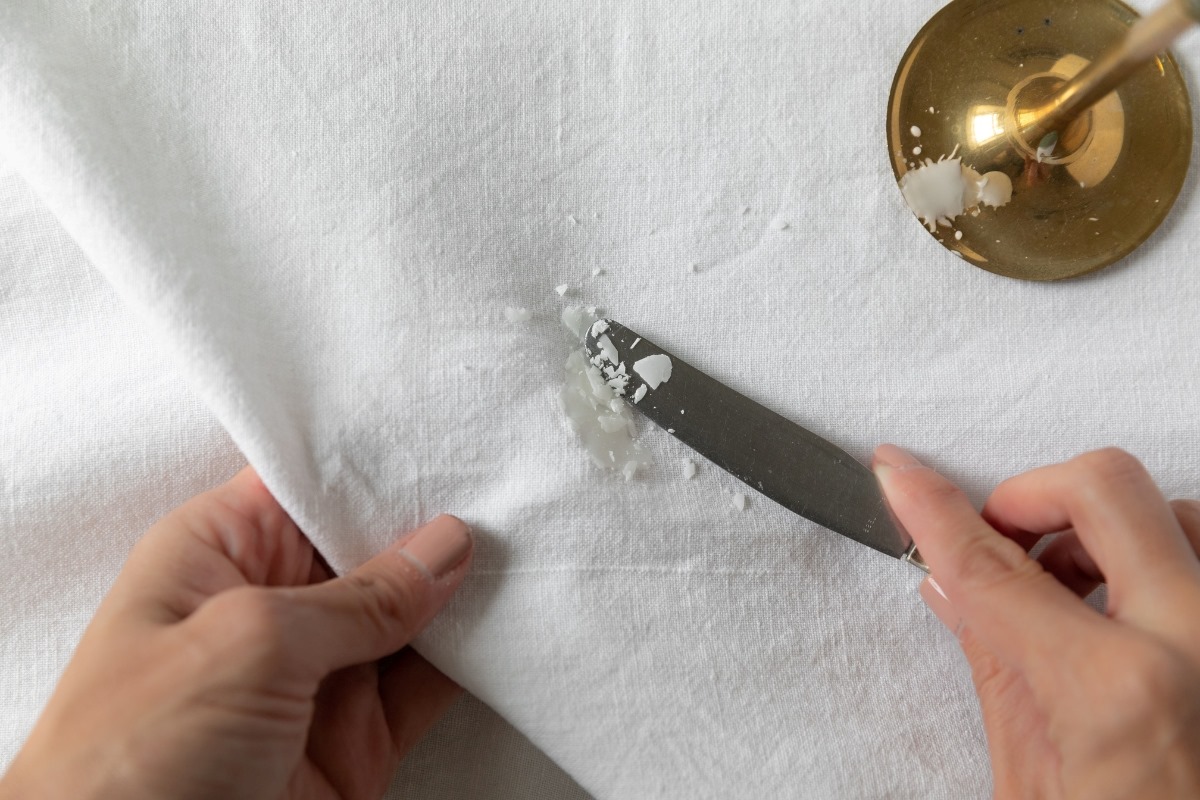
Method 1: Freezing the Wax
Freezing the wax is a simple yet effective method for removing candle wax from walls. This technique capitalizes on the principle that cold temperatures cause wax to harden and become brittle, making it easier to remove from surfaces. Here's a step-by-step guide to using this method:
-
Gather the Necessary Supplies: Start by gathering a few basic items, including a plastic bag filled with ice cubes, a plastic putty knife or a credit card, and a clean cloth.
-
Apply the Ice: Place the plastic bag filled with ice cubes directly onto the affected area of the wall. Hold it against the wax for several minutes to ensure that the wax becomes thoroughly chilled and hardened.
-
Scrape Off the Wax: Once the wax has hardened, carefully use the plastic putty knife or credit card to gently scrape the wax off the wall. It's important to use a light touch to avoid damaging the wall's surface. If the wax begins to soften, reapply the ice to harden it again.
-
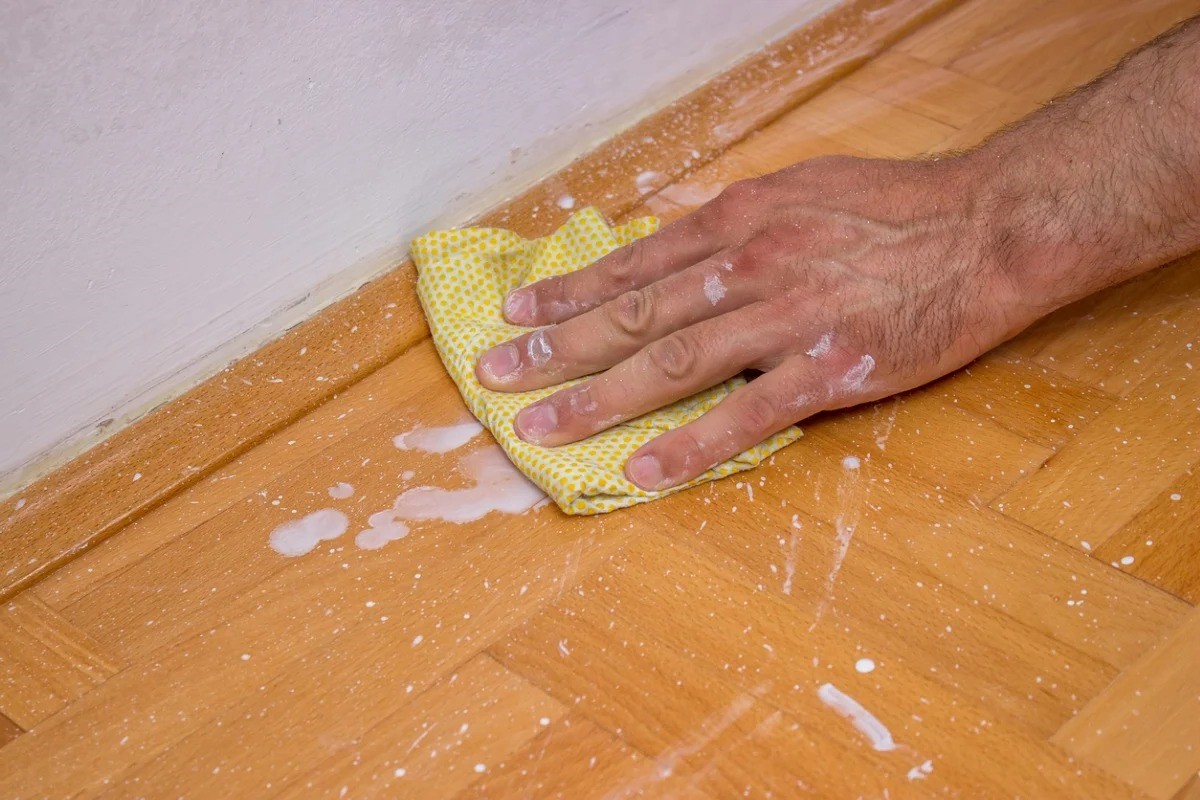
Wipe the Area: After removing the bulk of the wax, use a clean cloth to wipe the wall and ensure that any remaining residue is removed. If necessary, repeat the process until the wall is free from wax.
This method is particularly effective for removing large or thick deposits of candle wax from walls. It's important to exercise caution when scraping the wax to avoid causing any damage to the wall's paint or finish. Additionally, using a plastic putty knife or credit card helps minimize the risk of scratching the wall surface.
By utilizing the freezing method, you can effectively tackle candle wax on walls without the need for specialized cleaning products. This approach is not only practical but also environmentally friendly, as it minimizes the use of harsh chemicals. With a bit of patience and the right tools, you can restore your walls to their pristine condition and bid farewell to unwanted wax residue.
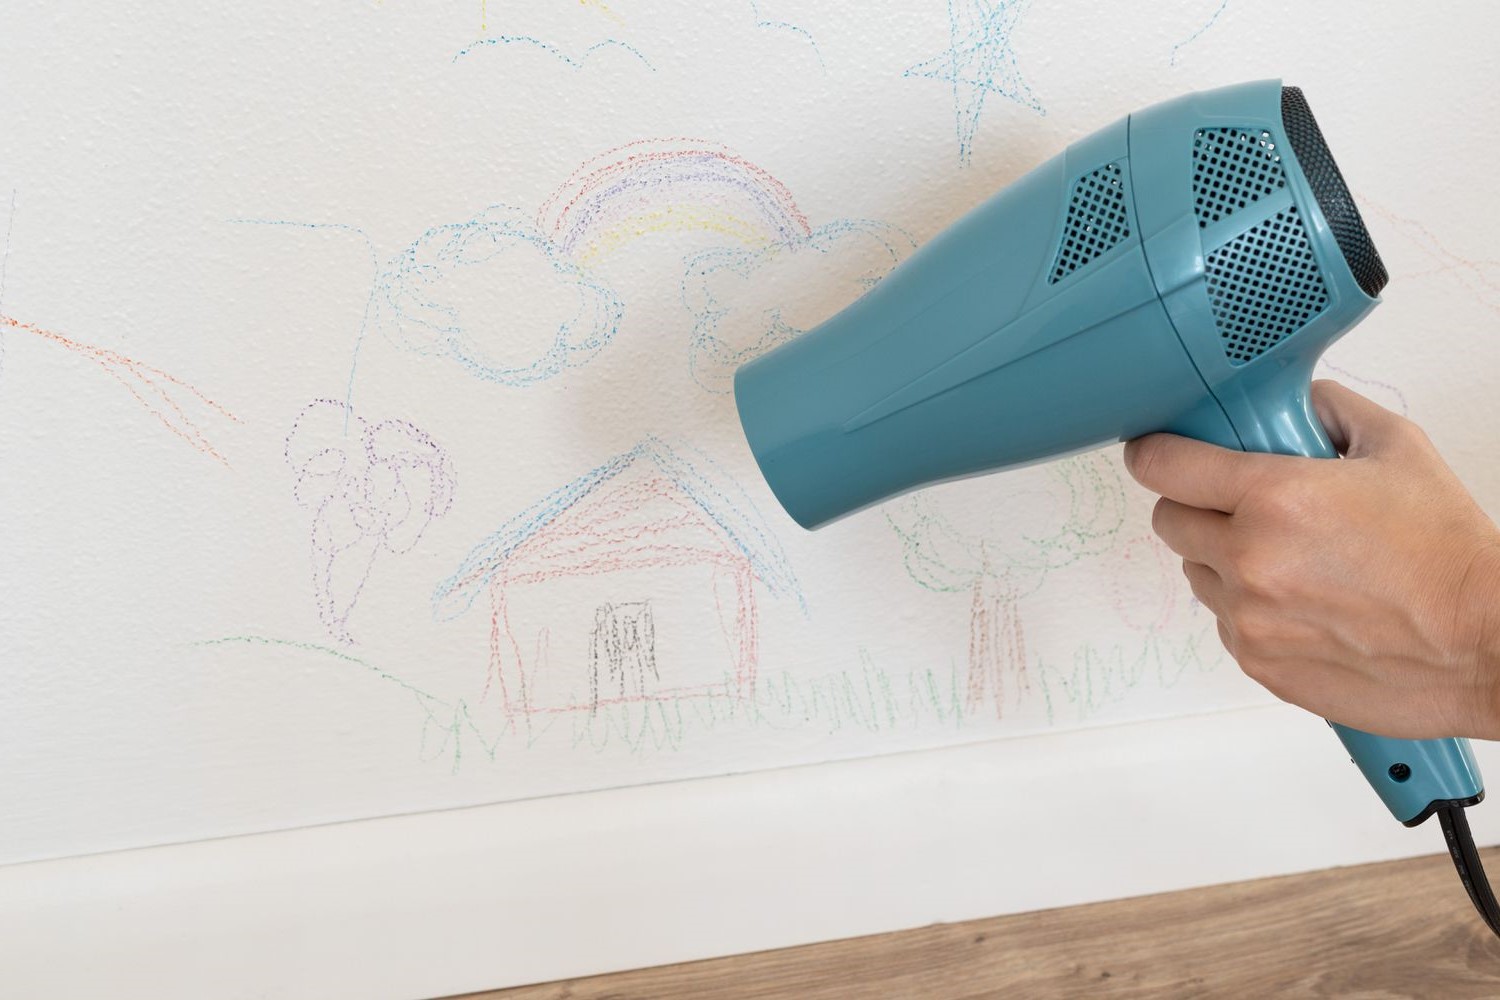
Method 2: Using a Hair Dryer
Using a hair dryer to remove candle wax from walls is a practical and efficient method that harnesses the power of heat to soften and loosen the wax. This approach is particularly useful for dealing with smaller wax spills and can be easily executed with common household items. Here's a detailed guide on how to effectively utilize a hair dryer to tackle candle wax on walls:
-
Gather the Necessary Supplies: Begin by gathering the essential supplies, including a hair dryer and a clean cloth. Ensure that the hair dryer is set to a medium or high heat setting for optimal wax removal.
-
Heat the Wax: Hold the hair dryer a few inches away from the affected area of the wall and direct the hot air onto the wax. Move the hair dryer in a circular motion to evenly distribute the heat and gradually soften the wax. As the wax begins to warm up, it will become more pliable and easier to work with.
-
Blot and Remove the Wax: While continuing to apply heat, use a clean cloth to gently blot and lift the softened wax from the wall. Avoid rubbing the wax, as this may spread it further or push it into the wall's surface. Instead, focus on absorbing the wax with the cloth as it becomes malleable.
-
Repeat if Necessary: Depending on the amount of wax and the wall surface, you may need to repeat the heating and blotting process to ensure thorough removal. Take care to monitor the heat level and avoid overheating the wall, especially if it is painted or has a delicate finish.
Using a hair dryer to remove candle wax from walls offers a convenient and non-invasive approach to addressing wax spills. The controlled application of heat allows for precise softening of the wax, making it easier to manage and remove without causing damage to the wall. This method is particularly effective for addressing small to moderate wax deposits and provides a practical solution for homeowners seeking to restore their walls to a pristine state.
By leveraging the power of heat and a few simple tools, you can effectively eliminate candle wax from walls using the hair dryer method. This approach exemplifies the resourcefulness of utilizing everyday items for household maintenance, offering a straightforward and accessible solution to a common issue. With the hair dryer method, you can confidently tackle wax spills on walls and maintain the aesthetic appeal of your living spaces with ease.
Method 3: Using a Warm Iron
Using a warm iron to remove candle wax from walls is a practical and effective method that harnesses the power of heat to facilitate the removal of wax residue. This approach is particularly useful for addressing moderate to large wax spills and can be executed with readily available household items. By applying controlled heat and employing a few simple steps, you can effectively restore your walls to their pristine condition. Here's a detailed guide on how to utilize a warm iron to tackle candle wax on walls:
-
Gather the Necessary Supplies: Begin by gathering the essential supplies, including a clean cloth, a warm iron, and a few sheets of plain paper or a brown paper bag. Ensure that the iron is set to a low to medium heat setting to avoid damaging the wall's surface.
-
Prepare the Area: Place the clean cloth over the affected area of the wall to serve as a protective barrier between the iron and the wall's surface. This precaution helps prevent direct contact between the iron and the wall, minimizing the risk of heat damage.
-
Apply Heat and Absorb the Wax: Place a sheet of plain paper or a section of the brown paper bag over the wax spill. Gently run the warm iron over the paper in a circular motion, applying light pressure. As the wax heats up, it will begin to transfer onto the paper, effectively lifting off the wall and adhering to the paper.
-
Repeat the Process: Depending on the size of the wax spill, you may need to use multiple sheets of paper to absorb the wax thoroughly. Continue to apply heat with the iron and replace the paper as needed until the majority of the wax has been transferred from the wall to the paper.
-
Inspect and Clean the Area: Once the wax has been lifted from the wall, carefully inspect the area to ensure that the majority of the residue has been removed. If any wax remains, use a clean cloth to gently wipe the wall and remove any lingering traces of wax.
Using a warm iron to remove candle wax from walls offers a controlled and efficient method for addressing wax spills of varying sizes. The application of heat facilitates the transfer of the wax from the wall to the paper, providing a practical solution for restoring the wall's appearance. This method is particularly effective for addressing moderate to large wax deposits and offers a straightforward approach to managing wax spills without the need for specialized cleaning products.
By leveraging the power of heat and a few simple household items, you can effectively eliminate candle wax from walls using the warm iron method. This approach exemplifies the resourcefulness of utilizing everyday tools for household maintenance, offering a practical and accessible solution to a common issue. With the warm iron method, you can confidently tackle wax spills on walls and maintain the aesthetic appeal of your living spaces with ease.
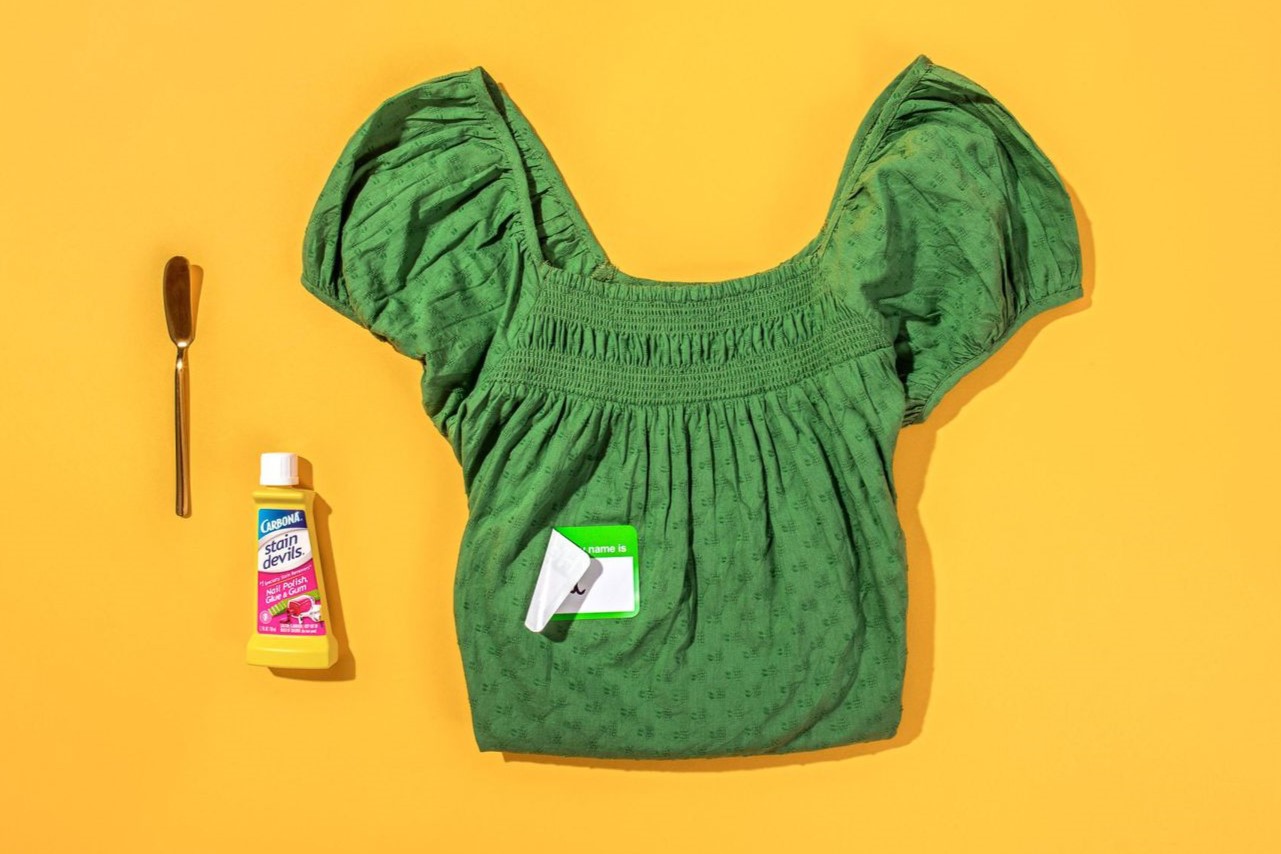
Method 4: Using a Commercial Wax Remover
When dealing with stubborn or extensive candle wax residue on walls, utilizing a commercial wax remover can provide a targeted and effective solution. These specialized products are specifically formulated to break down and lift wax from various surfaces, including walls, offering a convenient and efficient approach to restoring the wall's appearance. Here's a detailed exploration of how to effectively use a commercial wax remover to tackle candle wax on walls.
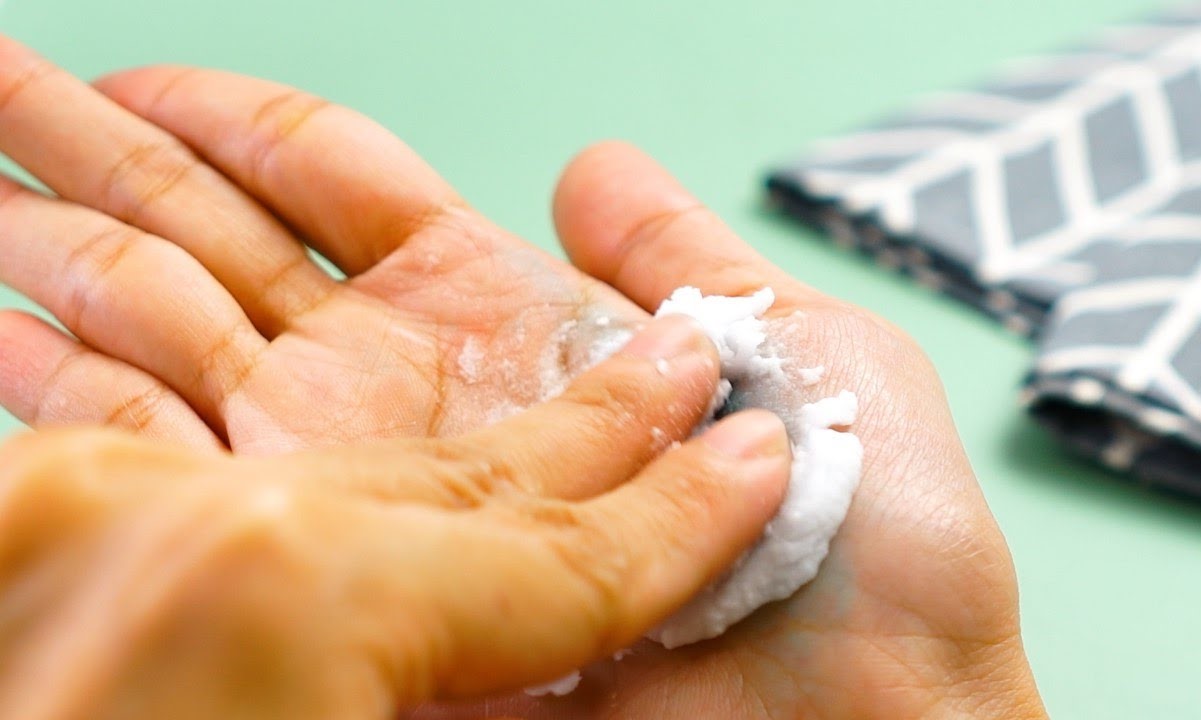
Read more: How To Get Wax Off Skin
Step-by-Step Guide:
-
Select a High-Quality Wax Remover: Begin by choosing a reputable commercial wax remover designed for use on walls. Look for products that are safe for the specific wall surface, whether it's painted, wallpapered, or textured. Reading product reviews and instructions can help in selecting the most suitable option.
-
Prepare the Area: Before applying the wax remover, ensure that the affected area of the wall is clean and free from any loose debris or dust. This preparation helps optimize the effectiveness of the wax remover and ensures thorough wax removal.
-
Apply the Wax Remover: Follow the manufacturer's instructions for applying the wax remover to the affected area. Typically, this involves spraying or applying the product directly onto the wax residue. Allow the wax remover to penetrate and break down the wax according to the recommended dwell time.
-
Gently Remove the Wax: After the dwell time has elapsed, use a clean cloth or sponge to gently wipe and lift the softened wax from the wall. Take care to follow the specific guidelines provided with the wax remover to ensure safe and effective removal.
-
Inspect and Clean the Area: Once the majority of the wax has been lifted from the wall, inspect the area to ensure that any remaining residue is addressed. If necessary, repeat the application of the wax remover and gentle wiping until the wall is free from wax.
Using a commercial wax remover offers a targeted and efficient approach to removing candle wax from walls, especially in cases where other methods may not yield satisfactory results. These products are designed to effectively break down and lift wax without causing damage to the wall's surface, providing a practical solution for homeowners seeking to restore the aesthetic appeal of their living spaces.
By following the step-by-step instructions and utilizing a high-quality commercial wax remover, you can confidently address stubborn wax residue on walls and achieve a clean and polished finish. This method exemplifies the convenience and effectiveness of leveraging specialized cleaning products to tackle common household maintenance challenges, offering a straightforward and accessible solution to the issue of candle wax on walls.
Conclusion
In conclusion, the presence of candle wax on walls, though initially daunting, can be effectively addressed using a range of practical and accessible methods. From leveraging the power of cold temperatures to harnessing the heat from everyday household items, homeowners have a variety of options to choose from when it comes to removing wax residue from walls. The step-by-step guides provided for each method offer clear and actionable instructions, empowering individuals to tackle this common household issue with confidence.
It's important to note that the choice of method may depend on factors such as the extent of the wax spill, the type of wall surface, and the availability of specific supplies. The freezing method, utilizing ice to harden the wax, presents a simple and environmentally friendly approach that is particularly effective for larger wax deposits. On the other hand, the use of a hair dryer or warm iron offers controlled heat application to soften and lift the wax, making these methods suitable for addressing smaller to moderate wax spills.
For stubborn or extensive wax residue, the option of using a commercial wax remover provides a targeted and efficient solution. These specialized products are designed to break down and lift wax from walls, offering a convenient approach for homeowners seeking a comprehensive and effective removal method.
Regardless of the chosen method, the overarching goal remains the same: to restore the walls to their pristine condition without causing damage to the surface. Each approach outlined in this guide emphasizes the importance of exercising caution and attentiveness during the wax removal process, ensuring that the wall's integrity is preserved throughout.
By following the detailed instructions and leveraging the appropriate method for the specific situation, individuals can confidently address candle wax on walls and maintain the aesthetic appeal of their living spaces. Whether it's through the resourcefulness of everyday household items or the targeted effectiveness of commercial products, the solutions presented in this guide offer a pathway to achieving clean and polished walls free from unwanted wax residue.
In the realm of home maintenance, the ability to effectively address common challenges such as candle wax on walls contributes to a sense of empowerment and self-sufficiency. With the knowledge and techniques provided in this guide, individuals can navigate this aspect of household upkeep with ease, ensuring that their living spaces remain inviting and well-maintained.
Ultimately, the journey of removing candle wax from walls is not just about restoring the physical appearance of the space; it's about reclaiming a sense of comfort and harmony within the home. By embracing the methods outlined in this guide, individuals can transform a potentially frustrating situation into a rewarding and empowering experience, all while preserving the beauty and integrity of their living environment.