Home>Home and Garden>How To Make Wax Melts
Home and Garden
How To Make Wax Melts
Published: February 28, 2024
Learn how to make wax melts at home with our easy step-by-step guide. Create your own scented wax melts for a cozy and inviting atmosphere. Perfect for home and garden enthusiasts.
(Many of the links in this article redirect to a specific reviewed product. Your purchase of these products through affiliate links helps to generate commission for Noodls.com, at no extra cost. Learn more)
Table of Contents
Introduction
Welcome to the wonderful world of wax melts! If you're a fan of delightful scents wafting through your home, then you're in for a treat. Making your own wax melts is a fantastic way to infuse your living space with captivating fragrances while adding a personal touch to your home decor. Whether you're a seasoned crafter or a novice DIY enthusiast, creating your own wax melts is a rewarding and enjoyable experience.
The beauty of wax melts lies in their versatility. You have the freedom to customize the scents, colors, and shapes to suit your preferences, making each batch a unique reflection of your individual style. Not to mention, crafting wax melts can be a therapeutic and creative outlet, allowing you to unwind and express your creativity in a meaningful way.
By embarking on this journey, you'll not only indulge in the aromatic bliss of your favorite scents but also gain a deeper appreciation for the art of fragrance crafting. From selecting high-quality materials to mastering the art of scent blending, every step of the process offers an opportunity to delve into the fascinating world of aromatherapy and home fragrance.
In this comprehensive guide, we'll walk you through the step-by-step process of making wax melts from scratch. You'll learn how to melt the wax, add fragrance, pour it into molds, and watch as it transforms into beautiful, aromatic wax melts. Whether you're aiming to create a calming ambiance with lavender and chamomile scents or evoke the cozy warmth of vanilla and cinnamon, the possibilities are endless.
So, roll up your sleeves, gather your materials, and get ready to embark on a fragrant adventure. Let's dive into the art of crafting wax melts and unleash your creativity in the most delightful way!
Read more: How To Make Melting Chocolate Thinner
Materials Needed
To embark on your wax melt crafting journey, you'll need a few essential materials to ensure a seamless and enjoyable DIY experience. Here's a comprehensive list of the items you'll need to get started:
-
Wax: The foundation of your wax melts, this can be soy wax, beeswax, paraffin wax, or a blend of these. Opt for high-quality wax to ensure optimal scent throw and longevity of your wax melts.
-
Fragrance Oils: Choose from a wide array of fragrance oils to infuse your wax melts with captivating scents. Whether you prefer floral, fruity, or woody aromas, select fragrance oils that are specifically formulated for candle and wax melt making.
-
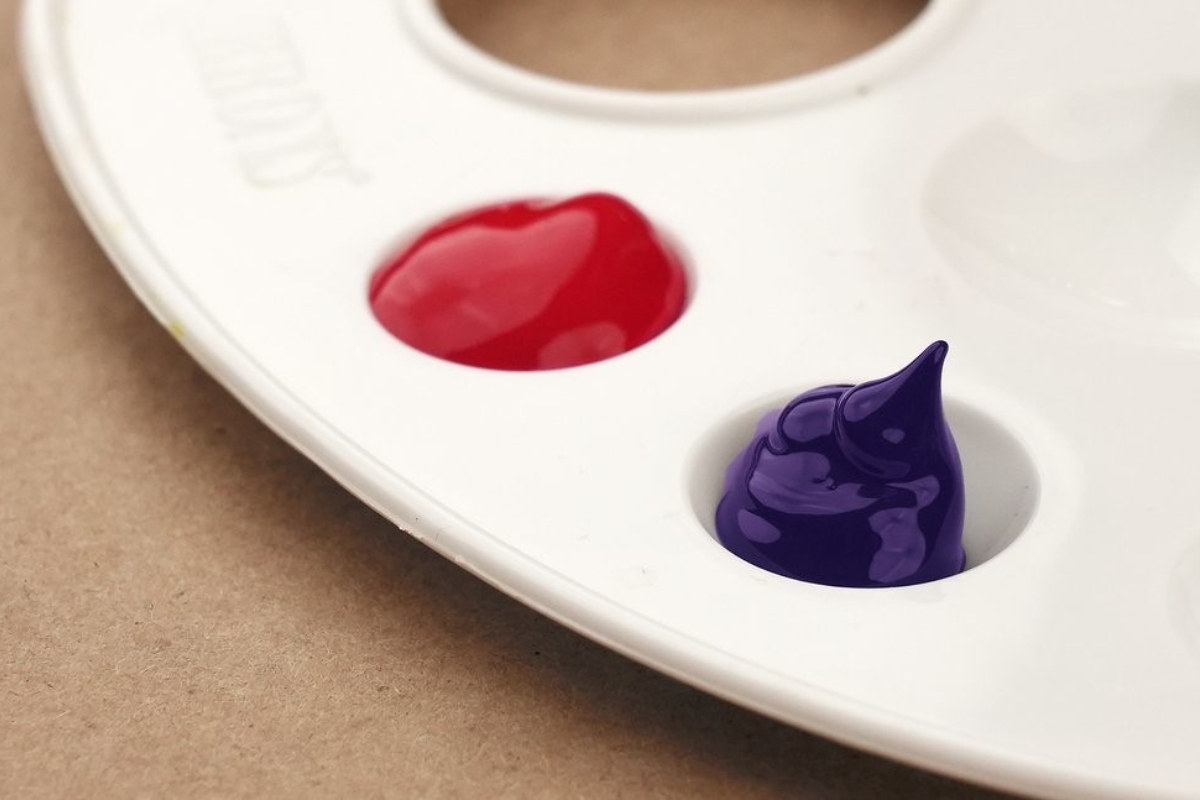
Colorants: If you desire vibrant and visually appealing wax melts, consider using dye chips, liquid dyes, or mica powders to add a pop of color to your creations. These colorants are designed for use in wax and will impart beautiful hues to your melts.
-
Wax Melt Molds: Select heat-resistant molds in various shapes and sizes to mold your wax melts. Silicone molds are popular for their flexibility, making it easy to remove the hardened wax melts without hassle.
-
Pouring Pot: A dedicated pouring pot or a double boiler setup is essential for melting the wax. This ensures safe and controlled heating of the wax without direct exposure to the heat source.
-
Thermometer: To monitor the temperature of the melted wax and ensure it's within the recommended range for adding fragrance oils and pouring into molds.
-
Stirring Utensil: A heat-resistant stirring utensil, such as a wooden spoon or a stainless steel stirring rod, is necessary for blending the fragrance oils and colorants into the melted wax.
-
Packaging: Once your wax melts are ready, you'll need suitable packaging to store or display them. Consider using clamshell containers, glass jars, or organza bags for a professional and polished presentation.
-
Labels: If you plan to gift or sell your wax melts, labels are essential for providing information about the scent, ingredients, and usage instructions.
-
Workspace Protection: To safeguard your work surface, lay down parchment paper or a silicone mat to catch any spills or drips during the crafting process.
By gathering these materials, you'll be well-equipped to dive into the enchanting world of wax melt creation and unleash your creativity through captivating scents and visually stunning wax melts.
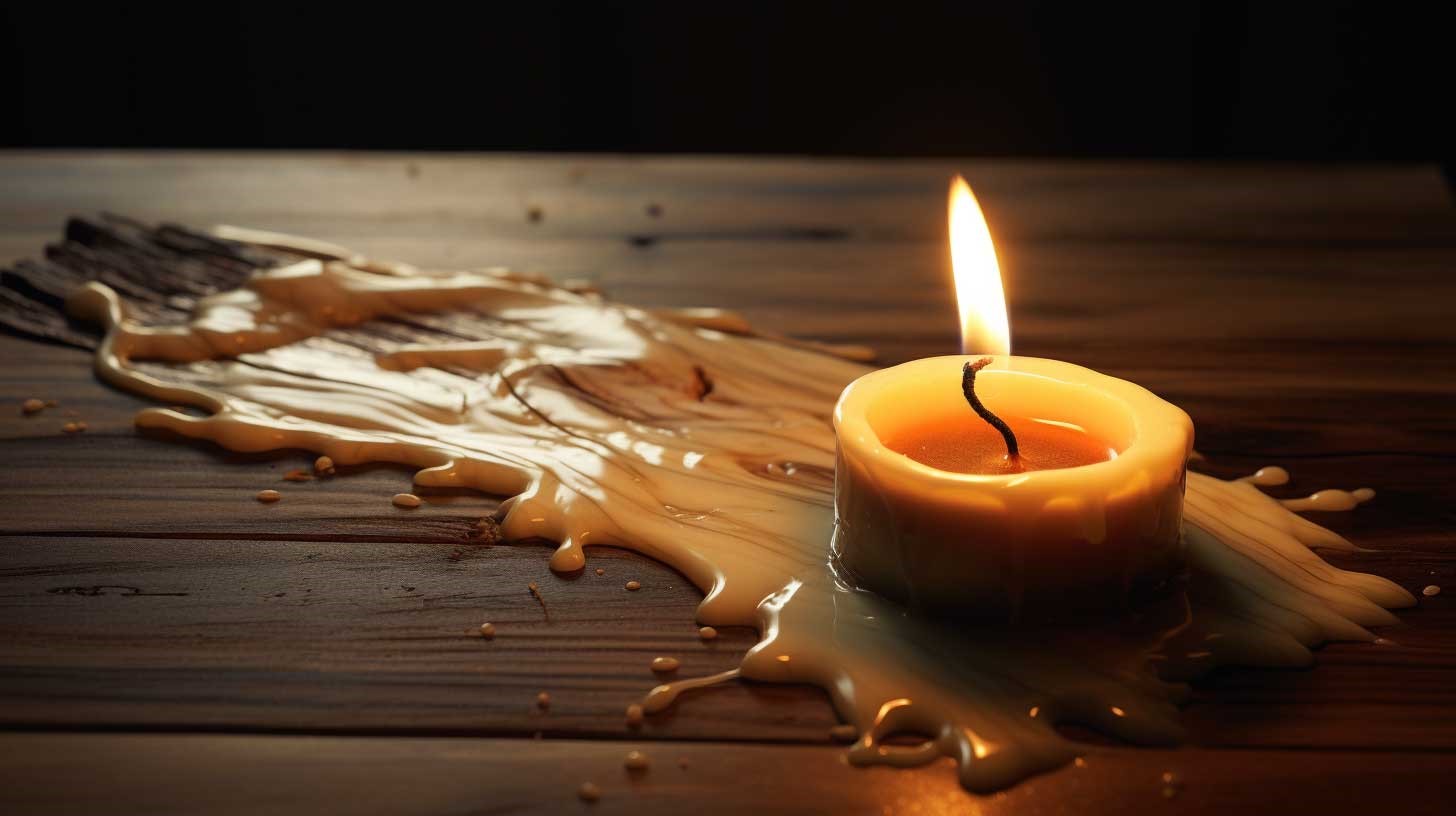
Step 1: Melt the Wax
The first step in crafting exquisite wax melts is melting the chosen wax to its optimal temperature. This process sets the foundation for the entire creation, ensuring that the wax is primed for fragrance infusion and molding. Here's a detailed guide to mastering this crucial step:
Selecting the Wax
The type of wax you choose plays a pivotal role in the overall quality and performance of your wax melts. Soy wax, renowned for its clean burn and excellent scent throw, is a popular choice among crafters. Beeswax, with its natural aroma and air-purifying properties, is another favored option. Additionally, paraffin wax, known for its exceptional scent retention, is widely used in wax melt making. Depending on your preferences and the desired characteristics of your wax melts, select a high-quality wax that aligns with your crafting goals.
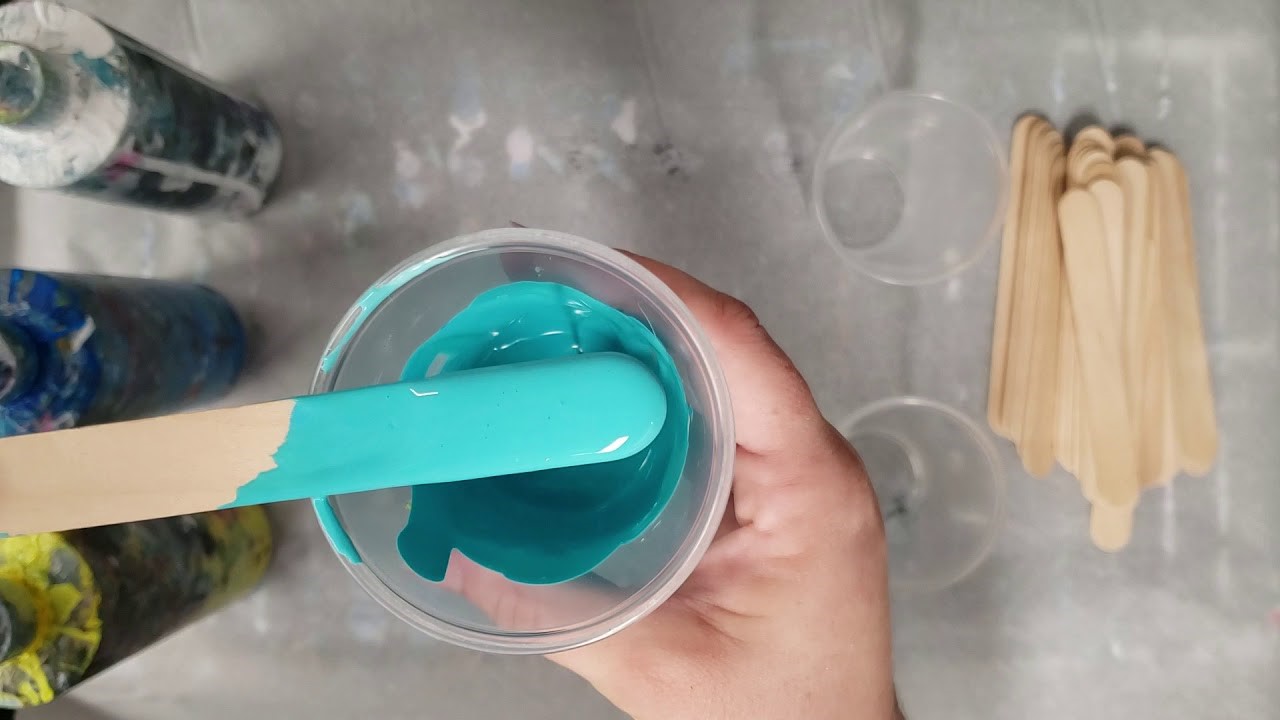
Melting the Wax
To begin, place the desired quantity of wax into a dedicated pouring pot or a heat-resistant container. Utilizing a double boiler setup or a wax melter, gently heat the wax over medium to low heat. It's crucial to melt the wax slowly and steadily, avoiding rapid heating, which can compromise the wax's integrity and fragrance retention. Keep a close eye on the wax as it melts, ensuring that it reaches the recommended melting temperature based on the type of wax being used. For instance, soy wax typically melts around 120 to 180°F (49 to 82°C), while beeswax melts at a higher temperature range of 144 to 147°F (62 to 64°C).
Read more: How To Get Wax Out Of Fabric
Monitoring the Temperature
Using a reliable thermometer, monitor the wax's temperature throughout the melting process. This allows you to maintain precise control over the heat, preventing the wax from exceeding its optimal melting point. Consistently stir the wax to facilitate even melting and distribute the heat uniformly. Once the wax reaches its liquid state and attains the desired temperature, it's ready for the next phase of the wax melt crafting journey.
By mastering the art of melting wax with precision and care, you lay the groundwork for creating exceptional wax melts that exude captivating fragrances and boast a flawless finish. With the wax melted to perfection, you're now poised to embark on the next step of infusing your melts with delightful scents, adding another layer of artistry to your crafting endeavor.
Step 2: Add Fragrance
Once the wax is melted to the ideal consistency, it's time to infuse it with captivating fragrances that will elevate your wax melts to aromatic perfection. Adding fragrance is a pivotal step that allows you to customize the scent profile of your wax melts, creating an olfactory experience that resonates with your personal preferences and desired ambiance. Here's a detailed exploration of the process of adding fragrance to your wax melts:
Selecting Fragrance Oils
The selection of fragrance oils is a delightful aspect of crafting wax melts, offering an extensive array of scents to choose from. Whether you're drawn to the soothing notes of lavender, the invigorating aroma of citrus, or the warmth of vanilla, there's a fragrance oil to suit every mood and occasion. When selecting fragrance oils, opt for high-quality, skin-safe oils specifically formulated for candle and wax melt making. These oils are designed to disperse effectively in the wax, ensuring a robust and enduring scent throw once the wax melts are used.
Calculating the Fragrance Load
Achieving the perfect balance of fragrance in your wax melts is essential for creating an immersive and enjoyable olfactory experience. It's recommended to adhere to a specific fragrance load, which is the percentage of fragrance oil relative to the amount of wax being used. The ideal fragrance load typically ranges from 6% to 10% for most waxes, allowing for a well-rounded scent without overpowering the senses. To calculate the precise amount of fragrance oil needed, refer to the recommended fragrance load for your chosen wax and the volume of wax being scented.
Read more: How To Clean Wax Warmer
Blending the Fragrance
With the fragrance oil measured and ready, gently pour it into the melted wax while ensuring a thorough and even distribution. Utilize a heat-resistant stirring utensil to blend the fragrance oil into the wax, creating a harmonious fusion of scents. Stirring the mixture diligently facilitates the incorporation of the fragrance oil, ensuring that it disperses uniformly throughout the wax. This meticulous blending process is instrumental in achieving a consistent and enduring scent profile in your wax melts.
Allowing the Fragrance to Infuse
After blending the fragrance oil into the wax, allow the mixture to rest for a brief period, enabling the fragrance to infuse and harmonize with the molten wax. This resting period allows the scent to develop and permeate the wax, enhancing its aromatic potency. Embrace this moment of anticipation as the fragrance melds with the wax, laying the foundation for the enchanting olfactory journey that awaits.
By adding fragrance to your wax melts with precision and artistry, you're one step closer to creating captivating and personalized scents that will imbue your living space with warmth, tranquility, or vibrancy. The infusion of fragrance marks a pivotal stage in the wax melt crafting process, setting the stage for the next phase of pouring the scented wax into molds and witnessing the transformation into exquisite wax melts.
Step 3: Pour into Molds
With the fragrant wax blend ready to embark on its transformation, the next step in crafting exquisite wax melts is the art of pouring the scented wax into molds. This pivotal stage sets the stage for the wax to take on its desired form, encapsulating the captivating fragrances and vibrant hues. Here's a detailed exploration of the enchanting process of pouring the scented wax into molds:
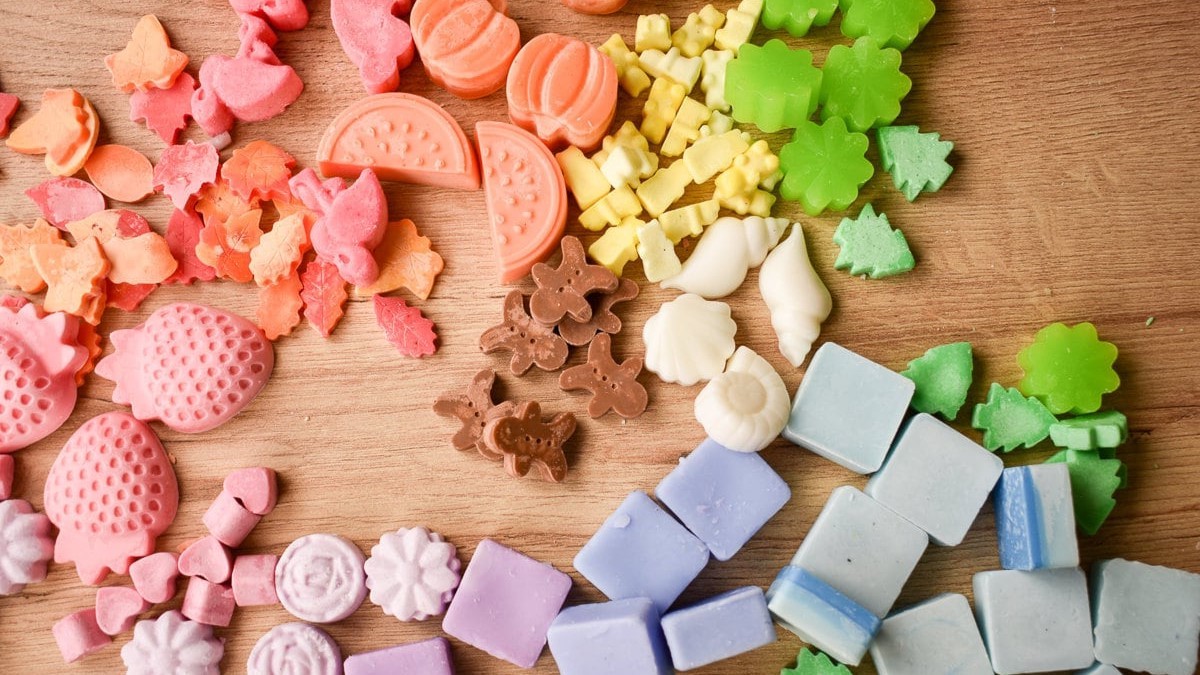
Selecting the Molds
The selection of molds plays a significant role in shaping the visual appeal of your wax melts. Opt for heat-resistant molds in an array of shapes and sizes, allowing you to unleash your creativity and craft wax melts that resonate with your aesthetic vision. Silicone molds, renowned for their flexibility and ease of release, are a popular choice among crafters. Whether you prefer classic clamshell molds, whimsical shapes, or elegant designs, the molds you choose contribute to the allure of your wax melts.
Preparing the Molds
Before pouring the scented wax, ensure that the molds are clean, dry, and free from any debris or residue. This meticulous preparation ensures that the wax takes on a pristine finish and retains its intended shape once it solidifies. If desired, lightly spray the molds with a mold release agent to facilitate effortless removal of the hardened wax melts. This preparatory step sets the stage for a seamless and gratifying molding process.
Pouring the Scented Wax
With the molds primed and the fragrant wax blend at the ready, carefully pour the scented wax into the molds with a steady hand and a keen eye for precision. Exercise caution to avoid overfilling the molds, ensuring that the wax settles evenly and maintains a uniform appearance. Embrace the rhythmic flow of pouring the scented wax, infusing each mold with the essence of your chosen fragrances and colors. Whether crafting a single batch or an array of wax melts, each pour is a testament to your artistry and attention to detail.
Allowing the Wax to Set
Once the molds are filled with the scented wax, allow them to rest undisturbed as the wax gradually solidifies and takes on its final form. This period of anticipation is a testament to the transformative nature of wax crafting, as the molten wax evolves into captivating wax melts. Embrace the sense of fulfillment as you witness the wax setting and envision the delightful wax melts that will soon grace your living space.
By pouring the scented wax into molds with precision and care, you're on the cusp of bringing your vision to life, creating enchanting wax melts that embody your creativity and passion for fragrance crafting. The art of molding the scented wax marks a pivotal stage in the wax melt crafting process, setting the stage for the next phase of allowing the wax to harden and the eventual unveiling of your stunning wax melts.
Step 4: Let the Wax Harden
After pouring the scented wax into the molds, the next phase of the wax melt crafting journey involves allowing the wax to undergo the transformative process of hardening. This crucial step is where the molten wax takes on its final structure, solidifying into exquisite wax melts that encapsulate the captivating fragrances and vibrant hues infused during the crafting process.
As the scented wax rests within the molds, a sense of anticipation fills the air, heralding the imminent emergence of beautifully formed wax melts. The hardening process is a testament to the meticulous artistry and precision invested in crafting each batch of wax melts, culminating in the creation of captivating home fragrance essentials.
During this period, it's essential to maintain a conducive environment for the wax to harden undisturbed. The ambient temperature plays a pivotal role in facilitating the hardening process, ensuring that the wax solidifies uniformly and retains its intended shape. Embrace this moment as a testament to the transformative nature of wax crafting, where the molten wax evolves into captivating wax melts, ready to grace your living space with their aromatic allure.
Depending on the type of wax used and the ambient conditions, the hardening process may vary in duration. It's recommended to allow ample time for the wax to solidify completely, typically ranging from 1 to 4 hours, depending on the size and thickness of the wax melts. Embrace the patience and anticipation that accompany this phase, knowing that each passing moment brings your vision of enchanting wax melts closer to fruition.
As the wax undergoes the gradual transition from liquid to solid, a sense of fulfillment permeates the crafting space, signaling the imminent unveiling of the meticulously crafted wax melts. Embrace the tranquility of this phase, knowing that each passing moment brings your vision of enchanting wax melts closer to fruition.
Once the wax has hardened to perfection, the molds are ready to reveal the exquisite wax melts that lie within. With a gentle yet deliberate touch, carefully remove the hardened wax melts from the molds, savoring the moment as each one emerges as a testament to your creativity and dedication to the art of fragrance crafting.
By allowing the wax to harden with patience and anticipation, you pave the way for the unveiling of stunning wax melts that embody your passion for fragrance crafting. The hardening phase marks the culmination of the wax melt crafting process, setting the stage for the eventual enjoyment and appreciation of your handcrafted aromatic treasures.
Read more: How To Get Wax Off Skin
Step 5: Remove from Molds
As the wax melts have undergone the transformative process of hardening within the molds, the time has come to delicately release them, unveiling the exquisite results of your craftsmanship. This pivotal step requires a gentle and methodical approach to ensure that the wax melts emerge unblemished, ready to grace your living space with their captivating presence.
Begin by carefully inspecting each mold, ensuring that the hardened wax exhibits a uniform and pristine appearance. This visual assessment sets the stage for the meticulous removal of the wax melts, allowing you to savor the moment as each one is liberated from its mold.
With a deliberate yet gentle touch, begin the process of releasing the wax melts from the molds. For silicone molds, gently flex the mold to loosen the edges of the wax melts, gradually coaxing them out with a smooth and steady motion. Exercise patience and precision, allowing the wax melts to emerge gracefully, preserving their intricate details and captivating forms.
If you're working with rigid molds, such as clamshell molds, carefully run a blunt tool along the edges of the hardened wax to create separation between the wax melts and the mold. With a gentle nudge, the wax melts will begin to disengage from the mold, culminating in their liberation with a sense of artful finesse.
As each wax melt is released from its mold, take a moment to admire its beauty and craftsmanship. Revel in the satisfaction of witnessing your vision come to life, embodied in the form of captivating wax melts that bear the essence of your chosen fragrances and colors.
Once all the wax melts have been delicately removed from their molds, take a moment to arrange them with care, appreciating the artistry and dedication infused into each creation. Whether you've crafted a single batch or an array of wax melts, each one is a testament to your creativity and passion for fragrance crafting.
With the wax melts liberated from their molds, they stand as tangible expressions of your artistry, ready to infuse your living space with captivating scents and visual allure. Embrace the sense of fulfillment that accompanies this final step, knowing that each wax melt embodies the essence of your creativity and dedication to the craft of fragrance infusion.
In the wake of this transformative journey, the wax melts now stand as enchanting embodiments of your passion for fragrance crafting, poised to enrich your home with their aromatic presence and visual charm.
Conclusion
In the realm of home fragrance crafting, the art of making wax melts is a captivating journey that intertwines creativity, precision, and a profound appreciation for the power of scent. As we conclude this comprehensive guide to crafting wax melts, it's evident that this endeavor transcends the mere act of creating scented wax; it's a testament to the artistry and passion that infuse every step of the process.
From the meticulous selection of high-quality wax and fragrance oils to the artful blending of scents and the delicate molding of the wax, each phase of crafting wax melts is a testament to the dedication and creativity of the crafter. The transformative journey from molten wax to captivating wax melts embodies the essence of artisanship, culminating in aromatic treasures that enrich living spaces with their alluring presence.
As the wax melts emerge from their molds, they stand as tangible expressions of the crafter's vision, encapsulating the chosen fragrances and colors in a harmonious union. Each wax melt is a testament to the art of fragrance crafting, offering a sensory journey that transcends the ordinary and invites moments of tranquility, warmth, and delight.
The allure of crafting wax melts lies not only in the creation of captivating scents but also in the opportunity to infuse living spaces with personalized ambiance and visual charm. Whether adorning a cozy nook with the warmth of vanilla and cinnamon or creating a serene retreat with the soothing notes of lavender and chamomile, wax melts offer a canvas for crafting immersive olfactory experiences.
As you embark on your wax melt crafting journey, may this guide serve as a source of inspiration and guidance, empowering you to explore the boundless possibilities of fragrance crafting. Embrace the art of wax melt making as a reflection of your creativity and individuality, allowing each batch of wax melts to embody your unique style and preferences.
In the world of home and garden, the art of crafting wax melts stands as a testament to the transformative power of fragrance, inviting you to infuse your living space with captivating scents and visual allure. With each batch of wax melts, you embark on a fragrant odyssey, creating aromatic treasures that resonate with your personal style and enrich your home with warmth, tranquility, and an enchanting ambiance.