Home>Home and Garden>How To Clean Wax Warmer

Home and Garden
How To Clean Wax Warmer
Published: March 1, 2024
Learn how to effectively clean your wax warmer for a fresh and inviting home environment. Discover simple tips and tricks for maintaining your home and garden.
(Many of the links in this article redirect to a specific reviewed product. Your purchase of these products through affiliate links helps to generate commission for Noodls.com, at no extra cost. Learn more)
Table of Contents
Introduction
Cleaning a wax warmer is an essential part of its maintenance to ensure it functions optimally and continues to enhance your living space with delightful fragrances. Over time, residual wax and debris can accumulate within the warmer, affecting its performance and diminishing the quality of the scents it emits. By following a few simple steps, you can effectively clean your wax warmer, prolong its lifespan, and maintain a fresh and inviting ambiance in your home.
A clean wax warmer not only ensures the longevity of the device but also contributes to a safer and more efficient wax melting process. Whether you are a seasoned wax enthusiast or a newcomer to the world of wax warmers, understanding the proper cleaning techniques is crucial for preserving the functionality and aesthetic appeal of these popular home accessories.
In the following sections, we will guide you through the step-by-step process of cleaning your wax warmer, from unplugging the device to reassembling it for future use. By the end of this comprehensive guide, you will have the knowledge and confidence to keep your wax warmer in pristine condition, allowing you to enjoy your favorite scents without any unwanted residue or buildup hindering the experience.
Now, let's delve into the detailed steps for cleaning your wax warmer, ensuring that it remains a reliable and delightful addition to your home decor.
Read more: How To Get Wax Out Of Fabric
Step 1: Unplug the Wax Warmer
The first step in cleaning a wax warmer is to ensure that it is completely disconnected from any power source. Unplugging the device is crucial for safety and prevents the risk of electric shock or burns during the cleaning process. Additionally, allowing the wax warmer to cool down before handling it is essential to avoid accidental burns.
Unplugging the wax warmer from the power outlet should be done carefully, ensuring that the cord is gently removed from the socket to prevent any damage. It is important to handle the cord with care, avoiding any unnecessary tugging or pulling that could lead to fraying or weakening of the electrical connections.
Once the wax warmer is unplugged, it is advisable to wait for it to cool down to a safe temperature before proceeding with the cleaning process. This cooling period allows the wax inside the warmer to solidify, making it easier to remove and clean. Attempting to clean a wax warmer while the wax is still in a liquid state can be messy and potentially hazardous.
By following this initial step and ensuring that the wax warmer is safely disconnected from the power source, you are setting the stage for a thorough and secure cleaning process. This simple yet crucial step lays the foundation for the subsequent cleaning procedures, allowing you to proceed with confidence and peace of mind.
Unplugging the wax warmer is a fundamental safety measure that should never be overlooked, as it sets the stage for a safe and effective cleaning process. With the device safely disconnected and the wax allowed to cool, you are now ready to move on to the next step in cleaning your wax warmer effectively.
Step 2: Allow the Wax Warmer to Cool
After unplugging the wax warmer, it's essential to allow it to cool down before proceeding with the cleaning process. Allowing the wax warmer to cool serves multiple purposes, ensuring a safe and efficient cleaning experience.
First and foremost, cooling the wax warmer allows any residual wax inside the device to solidify. When the wax cools and hardens, it becomes much easier to remove from the warmer's dish or reservoir. Attempting to clean the wax warmer while the wax is still in a liquid state can lead to messy spills and potential burns. By allowing the wax to cool, you can handle it more effectively and minimize the risk of accidental injuries.
Furthermore, cooling down the wax warmer also prevents the risk of damaging the device during the cleaning process. Sudden temperature changes, such as introducing cleaning agents to a hot wax warmer, can potentially cause thermal shock and lead to cracks or damage to the warmer's components. Allowing the device to cool naturally mitigates this risk, preserving the integrity of the wax warmer for long-term use.
In addition to safety and device preservation, the cooling period provides an opportunity to assess the condition of the wax and identify any potential issues. By observing the wax as it cools, you may notice any discoloration, unusual odors, or debris that could indicate the need for more thorough cleaning or maintenance. This brief cooling interval allows you to inspect the wax and make informed decisions about the cleaning approach, ensuring that the wax warmer is restored to optimal condition.
By patiently allowing the wax warmer to cool, you are not only prioritizing safety and device protection but also gaining valuable insights into the condition of the residual wax. This simple yet crucial step sets the stage for a successful and thorough cleaning process, laying the foundation for the subsequent steps in restoring your wax warmer to its pristine state.
With the wax warmer safely unplugged and allowed to cool, you are now ready to proceed with the next steps in effectively cleaning and maintaining this beloved home accessory.
Step 3: Remove the Wax
Once the wax warmer has been unplugged and allowed to cool, the next crucial step is to remove the solidified wax from the device. This process requires a gentle and methodical approach to ensure that the wax is effectively cleared from the warmer's dish or reservoir without causing any damage to the device.
To begin, gently grasp the edges of the solidified wax in the warmer's dish. Depending on the type of wax used, it may come out in a single piece or several smaller chunks. Carefully lift the wax from the dish, taking care not to apply excessive force that could potentially scratch or damage the interior surface of the warmer.
If the wax proves to be stubborn or difficult to remove, applying a small amount of gentle pressure with your fingertips or a plastic tool can help loosen it from the dish. Avoid using sharp or abrasive objects that could scratch or mar the surface of the warmer, as this may compromise its functionality and aesthetic appeal.
Once the majority of the solidified wax has been lifted from the dish, any remaining residue can be gently scraped off using a plastic scraper or a soft, non-abrasive cloth. Take care to avoid using metal tools or harsh abrasives, as these can cause damage to the warmer's interior and diminish its overall performance.
After the wax has been successfully removed from the dish, it is advisable to wipe the interior of the warmer with a soft, damp cloth to ensure that any lingering traces of wax or debris are thoroughly cleared. This gentle cleaning process helps maintain the cleanliness and functionality of the warmer, preparing it for the next step in the cleaning process.
By methodically and patiently removing the solidified wax from the warmer, you are taking a proactive step in preserving the device's integrity and ensuring that it continues to provide a delightful and safe wax melting experience. With the wax successfully cleared from the warmer, you are now ready to proceed with the subsequent steps in the cleaning process, ultimately restoring the device to its optimal condition.
Step 4: Clean the Wax Warmer
Cleaning the wax warmer is a crucial step in maintaining its functionality and aesthetic appeal. Once the solidified wax has been removed from the warmer's dish or reservoir, it is essential to thoroughly clean the device to ensure that any residual debris or wax buildup is effectively cleared.
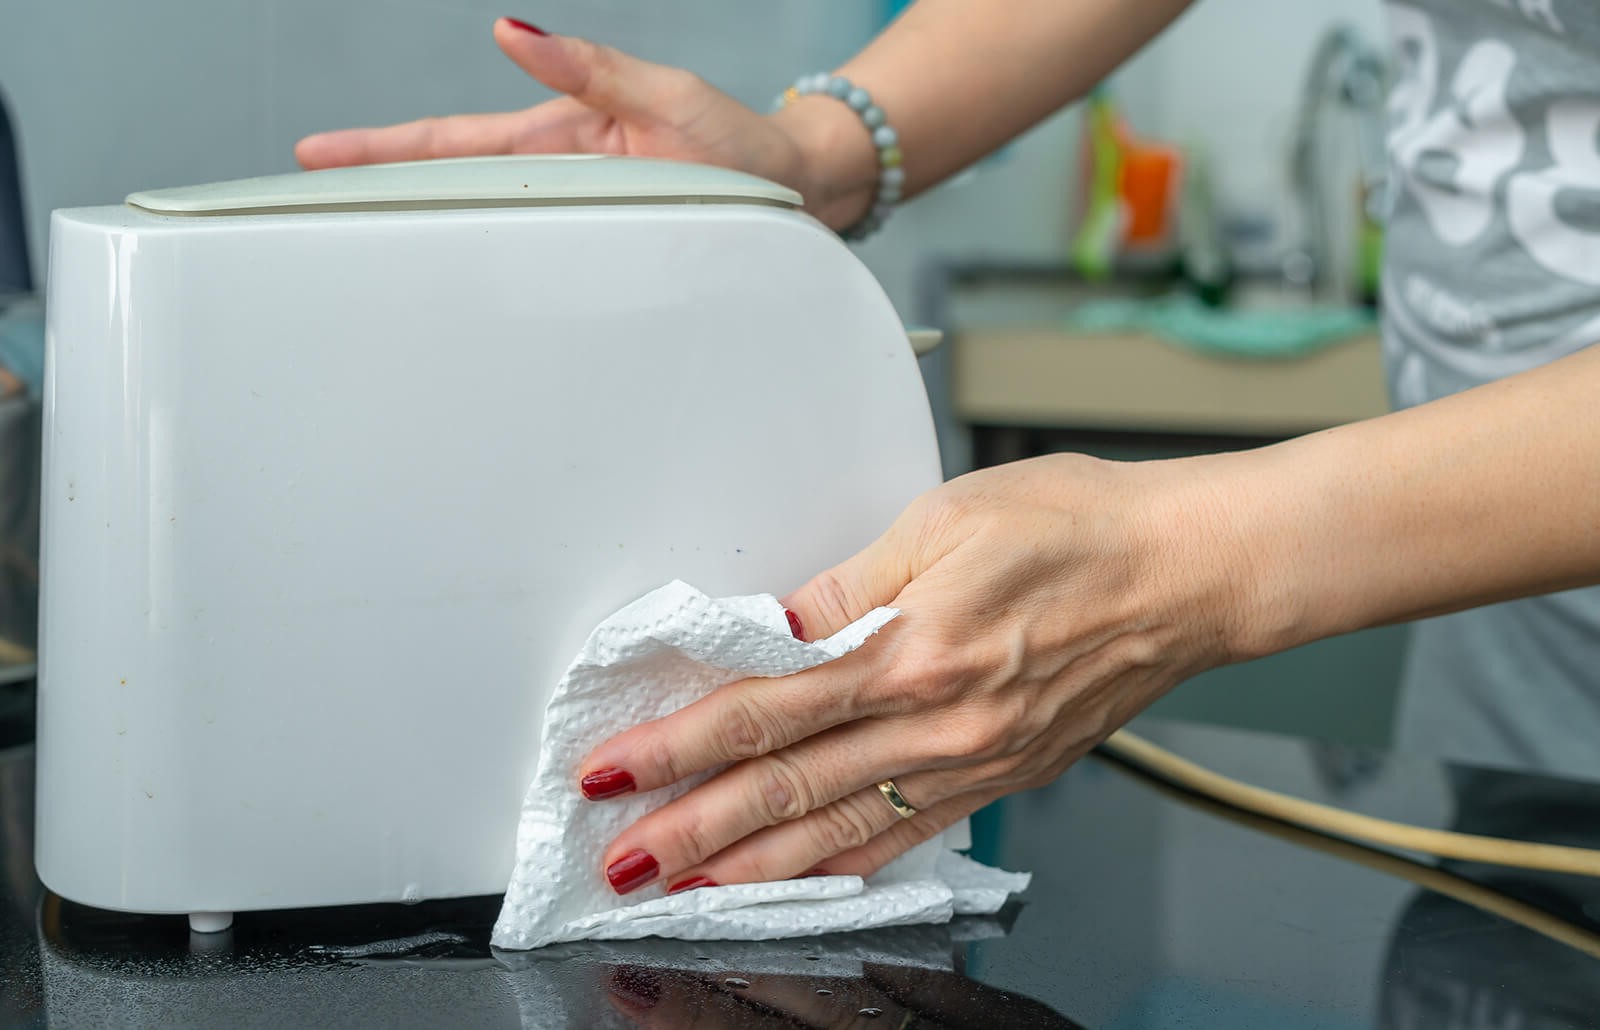
To begin the cleaning process, prepare a mild cleaning solution using warm water and a gentle dish soap. Avoid using harsh chemicals or abrasive cleaners, as these can potentially damage the warmer's surfaces and components. Dip a soft cloth or sponge into the soapy water and gently wipe the interior and exterior of the wax warmer, paying particular attention to any areas where wax residue may have accumulated.
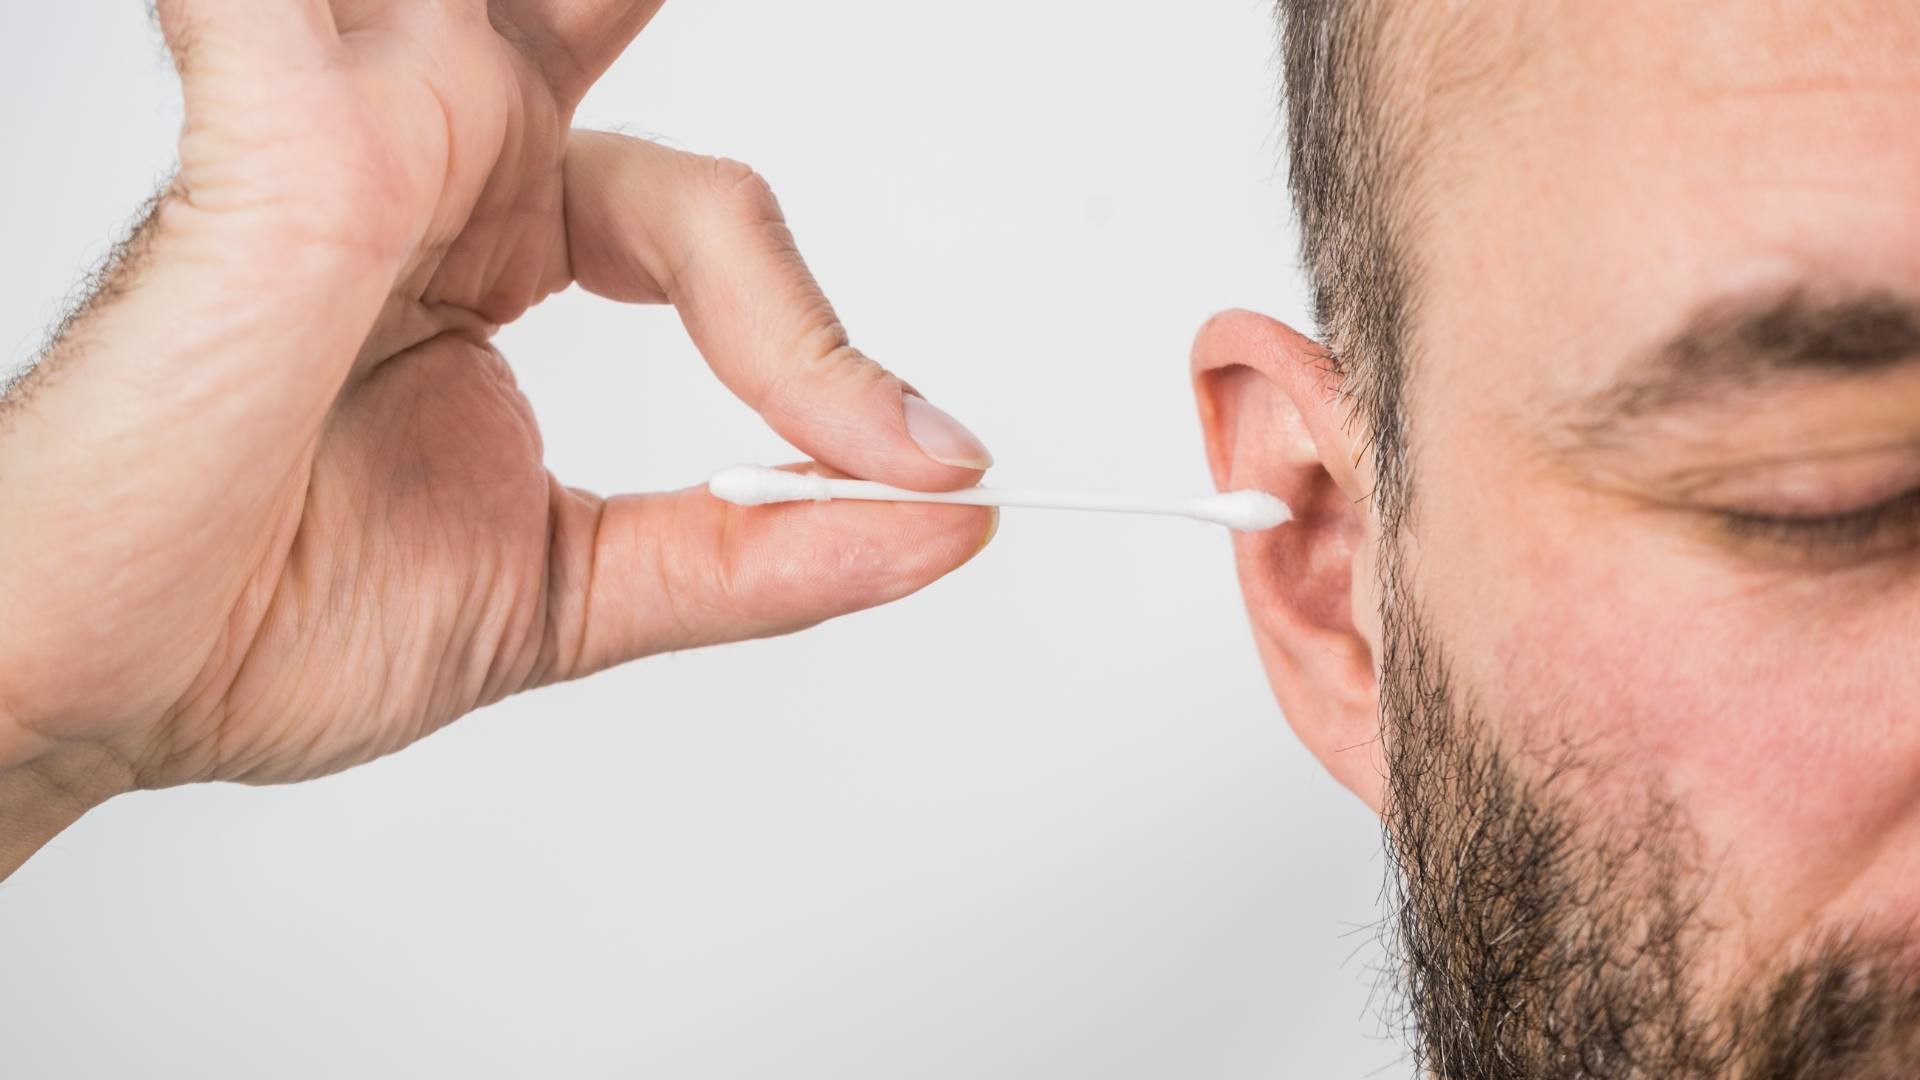
For stubborn wax buildup or hard-to-reach areas, a cotton swab or soft-bristled brush can be used to delicately dislodge the debris without causing damage to the warmer. Take care to avoid excessive moisture near the warmer's electrical components, ensuring that the cleaning process is focused on the areas affected by wax residue.
After the initial cleaning with the soapy water solution, rinse the cloth or sponge thoroughly and wipe the warmer once more to remove any soapy residue. It is important to ensure that no soap or cleaning solution is left behind, as this can affect the performance of the warmer when it is used again.
Once the wax warmer has been cleaned and any residual debris or wax has been effectively cleared, allow the device to air dry completely before reassembling and using it again. This drying period ensures that the warmer is free from moisture and ready for safe and efficient operation.
By following these meticulous cleaning steps, you can maintain the cleanliness and functionality of your wax warmer, ensuring that it continues to enhance your living space with delightful fragrances. With the device thoroughly cleaned and dried, you are now ready to proceed with the final step in the cleaning process: reassembling the wax warmer for future use.
Read more: How To Get Candle Wax Off Of Wood
Step 5: Reassemble the Wax Warmer
After the wax warmer has been thoroughly cleaned and allowed to dry, the final step involves reassembling the device to prepare it for future use. This step is essential for ensuring that the wax warmer is fully functional, aesthetically pleasing, and ready to infuse your living space with delightful fragrances once again.
Begin by carefully inspecting the cleaned wax warmer to ensure that all components are dry and free from any residual moisture. It is crucial to verify that the interior and exterior surfaces are completely dry, as any lingering moisture can affect the performance and safety of the device when it is plugged in and used.
Once the wax warmer is confirmed to be dry, reassemble the components by placing the cleaned dish or reservoir back into its designated position within the warmer. Ensure that the dish fits securely and sits level within the warmer, providing a stable foundation for melting wax and emitting fragrances.
If the wax warmer features additional components such as decorative elements or attachments, carefully reattach them according to the manufacturer's instructions. Pay close attention to any alignment or positioning requirements to ensure that the device is reassembled accurately and functions as intended.
After reassembling the wax warmer, take a moment to inspect the device from all angles, ensuring that all components are securely in place and that the device presents an inviting and well-maintained appearance. This visual inspection not only confirms the proper reassembly of the wax warmer but also contributes to the overall aesthetic appeal of the device within your home decor.
Once the wax warmer has been successfully reassembled, it is ready to be placed in its designated location and connected to a power source for future use. When positioning the wax warmer, ensure that it is placed on a stable and level surface, away from any flammable materials and out of reach of children or pets.
With the wax warmer reassembled and positioned for use, you can look forward to enjoying the delightful scents and ambiance it brings to your living space. By following the comprehensive cleaning and reassembly process, you have effectively maintained your wax warmer, ensuring that it continues to enhance your home with its inviting fragrances and aesthetic charm.
Conclusion
In conclusion, maintaining a clean wax warmer is essential for preserving its functionality, safety, and aesthetic appeal. By following the step-by-step cleaning process outlined in this guide, you can ensure that your wax warmer continues to enhance your living space with delightful fragrances while promoting a safe and efficient wax melting experience.
Unplugging the wax warmer and allowing it to cool before cleaning sets the stage for a secure and effective cleaning process. This initial step prioritizes safety and prevents the risk of electric shock or burns, ensuring that the subsequent cleaning steps can be carried out with confidence and peace of mind.
Removing the solidified wax from the warmer's dish or reservoir requires a gentle and methodical approach to prevent damage to the device. By patiently clearing the wax and any residual debris, you are actively preserving the integrity of the warmer and preparing it for thorough cleaning.
Thoroughly cleaning the wax warmer with a mild, soapy water solution ensures that any remaining wax residue and debris are effectively cleared. This meticulous cleaning process maintains the cleanliness and functionality of the warmer, preparing it for safe and efficient operation.
Reassembling the wax warmer after cleaning ensures that all components are securely in place and that the device is ready for future use. This final step completes the cleaning process, allowing you to enjoy the delightful scents and ambiance the wax warmer brings to your living space.
By incorporating these cleaning practices into your wax warmer maintenance routine, you can prolong the lifespan of the device, promote a safe and inviting home environment, and continue to enjoy the benefits of your favorite wax melts and fragrances.
In essence, the process of cleaning a wax warmer is not only about maintaining the device but also about nurturing a welcoming and pleasant atmosphere within your home. With regular cleaning and maintenance, your wax warmer will remain a cherished addition to your home decor, infusing your living space with captivating scents and creating a warm and inviting ambiance for you and your loved ones to enjoy.
