Home>Home and Garden>How To Clean A Toaster
Home and Garden
How To Clean A Toaster
Published: February 28, 2024
Learn the best techniques for cleaning your toaster to keep it looking great and functioning well. Discover simple tips for maintaining your kitchen appliances at home.
(Many of the links in this article redirect to a specific reviewed product. Your purchase of these products through affiliate links helps to generate commission for Noodls.com, at no extra cost. Learn more)
Table of Contents
Introduction
Cleaning a toaster may not be the first thing that comes to mind when you think about household chores, but it's an essential task that can prolong the life of your appliance and ensure that your toast tastes its best. Over time, crumbs, grease, and other debris can accumulate both inside and outside the toaster, leading to potential fire hazards and affecting the flavor of your toast. By regularly cleaning your toaster, you can maintain its performance and keep it looking like new.
In this comprehensive guide, we will walk you through the step-by-step process of cleaning your toaster, from unplugging the appliance to reassembling it for future use. Whether you have a traditional pop-up toaster or a sleek toaster oven, these cleaning techniques will help you achieve a sparkling clean appliance that's ready to tackle your morning toast or any other culinary creations you have in mind.
So, roll up your sleeves and get ready to give your toaster the attention it deserves. With a few simple steps and some basic supplies, you can ensure that your toaster remains a reliable and hygienic kitchen companion. Let's dive into the cleaning process and discover how easy it can be to maintain a clean and efficient toaster for years to come.
Step 1: Unplug the toaster
Before embarking on the cleaning process, it is crucial to ensure the safety of the task by unplugging the toaster from the power source. This simple yet essential step eliminates the risk of electric shock and allows you to handle the appliance without any potential hazards. Additionally, unplugging the toaster prevents any accidental activation of the heating elements during the cleaning process, minimizing the risk of burns or other injuries.
To unplug the toaster, locate the power cord and follow it to the electrical outlet. Firmly grasp the plug and gently pull it out of the outlet, ensuring that it is completely disconnected from the power source. Once unplugged, it is advisable to move the toaster to a well-lit and spacious area where you can comfortably carry out the cleaning process without any obstructions.
By taking the time to unplug the toaster, you are prioritizing safety and setting the stage for a thorough and effective cleaning session. This initial step lays the foundation for the subsequent cleaning procedures, allowing you to approach the task with confidence and peace of mind.
Remember, safety should always be the top priority when dealing with electrical appliances, and unplugging the toaster is a non-negotiable first step in the cleaning process. With the toaster safely disconnected from the power supply, you are ready to proceed to the next step and begin the journey toward a spotless and well-maintained appliance.
Step 2: Remove the crumb tray
The crumb tray is a vital component of your toaster, designed to capture and contain the crumbs that naturally accumulate during the toasting process. Over time, these crumbs can build up, leading to potential hygiene issues and affecting the toaster's performance. Removing and cleaning the crumb tray is a crucial step in maintaining the cleanliness and functionality of your appliance.
To begin, locate the crumb tray on your toaster. In most models, the crumb tray is situated at the bottom of the appliance and can be easily accessed for removal. Depending on the design of your toaster, the crumb tray may slide out smoothly or require a simple twist or release mechanism to detach it from the toaster.
Once you have identified the crumb tray, gently slide it out or follow the specific removal instructions for your toaster model. As you remove the crumb tray, be mindful of any accumulated crumbs or debris that may be present. It's common for the crumb tray to contain a significant amount of crumbs, so handle it carefully to prevent any spillage or mess.
With the crumb tray removed, take a moment to inspect it for any stubborn crumbs or residue that may be clinging to its surface. Depending on the material of the crumb tray, such as metal or plastic, you can use a soft brush, cloth, or even a gentle tap to dislodge and remove any trapped crumbs. This simple yet effective cleaning process ensures that the crumb tray is free from any lingering debris before it is reintroduced to the toaster.
Once the crumb tray is clean and free of any obstructions, it's time to move on to the next step in the cleaning process. By diligently removing and cleaning the crumb tray, you are actively contributing to the overall cleanliness and performance of your toaster, setting the stage for a thorough and effective cleaning session.
With the crumb tray successfully removed and cleaned, you are now ready to proceed to the subsequent steps, each bringing you closer to a pristine and well-maintained toaster that's ready to serve up perfectly toasted treats.
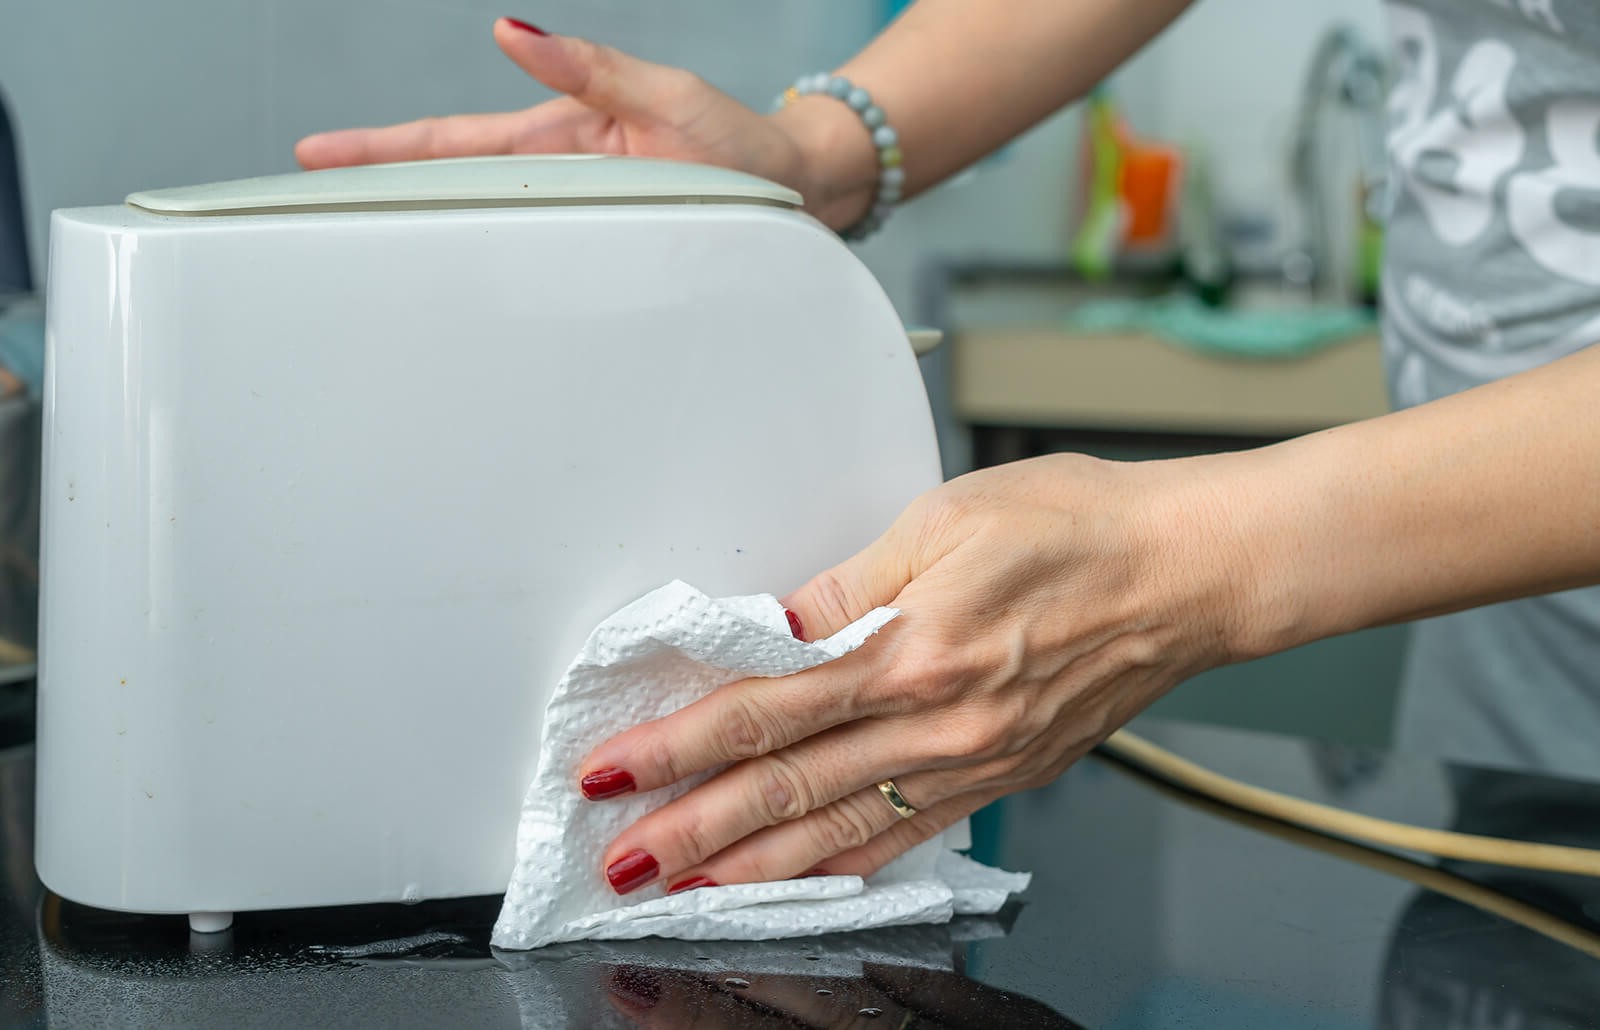
Step 3: Clean the exterior
The exterior of your toaster plays a significant role in its overall appearance and functionality. Over time, it is common for the exterior surfaces to accumulate dust, grease, and fingerprints, detracting from the appliance's aesthetic appeal. Cleaning the exterior not only enhances the visual appeal of the toaster but also contributes to a hygienic and well-maintained kitchen environment.
To begin cleaning the exterior, start by using a soft, damp cloth to gently wipe down the surfaces of the toaster. Ensure that the cloth is only slightly damp, as excessive moisture can potentially damage the appliance. Wipe the exterior surfaces, including the sides, top, and any control panels or buttons, with smooth and deliberate motions. This initial wiping helps remove any surface dust or light stains, restoring the toaster's exterior to a cleaner and more presentable state.
For stubborn stains or grease marks, consider using a mild cleaning solution or a mixture of water and gentle dish soap. Dampen a clean cloth with the diluted cleaning solution and carefully wipe the affected areas, applying gentle pressure as needed. Avoid using abrasive sponges or harsh cleaning agents, as these can scratch or damage the toaster's exterior finish. By using a gentle cleaning solution, you can effectively tackle tough stains while preserving the integrity of the appliance's surfaces.
In addition to the main exterior surfaces, pay attention to any crevices, seams, or decorative elements that may require cleaning. Utilize a soft-bristled brush or a cotton swab to reach into these intricate areas, ensuring that all nooks and crannies are free from dust and grime. This meticulous approach helps maintain the overall cleanliness of the toaster and prevents the accumulation of debris in hard-to-reach areas.
Once the exterior surfaces have been thoroughly cleaned and any stains or marks have been addressed, take a dry, clean cloth and carefully wipe down the toaster to remove any residual moisture or cleaning solution. This final step ensures that the exterior surfaces are left dry and free from streaks, preserving the appliance's polished appearance.
By dedicating attention to cleaning the exterior of your toaster, you are not only enhancing its visual appeal but also contributing to a well-maintained and hygienic kitchen environment. With the exterior surfaces looking clean and refreshed, you are now ready to delve into the next step of the cleaning process, bringing you closer to a fully rejuvenated and efficient toaster.
Step 4: Clean the interior
Cleaning the interior of your toaster is a crucial step in maintaining its performance and ensuring that it continues to produce perfectly toasted treats. Over time, the interior surfaces of the toaster can accumulate crumbs, grease, and other debris, which not only affect the appliance's functionality but also pose potential hygiene concerns. By diligently cleaning the interior, you can prolong the lifespan of your toaster and enjoy consistently delicious results.
To begin cleaning the interior, start by gently shaking the toaster over a trash bin or sink to dislodge any loose crumbs or debris. This simple yet effective step helps remove the initial layer of accumulated residue, making it easier to access the interior components for thorough cleaning.
Next, using a soft-bristled brush or a handheld vacuum with a brush attachment, carefully remove any remaining crumbs from the interior of the toaster. Pay close attention to the heating elements, slots, and any other internal surfaces where crumbs may have settled. By meticulously clearing out the interior, you can prevent potential fire hazards and ensure that the toaster operates at its best.
For more stubborn residue or grease marks within the toaster, consider using a damp cloth or sponge to gently wipe down the interior surfaces. It's important to exercise caution and avoid excessive moisture, as the interior components of the toaster are sensitive to liquid and require careful handling. By using a minimal amount of water and gentle, circular motions, you can effectively remove any lingering residue without compromising the appliance's functionality.
In addition to cleaning the visible interior surfaces, it's essential to address the toaster's heating elements, which are integral to the toasting process. Using a soft brush or a specialized toaster cleaning tool, carefully remove any buildup or residue from the heating elements, ensuring that they remain free from obstructions that could affect their performance.
Once the interior surfaces and components have been thoroughly cleaned, take a dry cloth and carefully wipe down the interior to remove any residual moisture. It's crucial to ensure that the interior is completely dry before reassembling the toaster and plugging it back in, as any lingering moisture could pose a risk of electrical damage or corrosion.
By meticulously cleaning the interior of your toaster, you are actively contributing to its longevity and performance, ensuring that it remains a reliable and efficient kitchen companion. With the interior surfaces and components now sparkling clean, you are ready to proceed to the final step of reassembling the toaster and preparing it for future use.
Read more: How To Clean Vans
Step 5: Reassemble the toaster
With the interior and exterior of your toaster now meticulously cleaned, it's time to reassemble the appliance and prepare it for future use. The reassembly process is a crucial final step that ensures all components are properly secured and aligned, allowing the toaster to function optimally and deliver consistently delicious results.
Begin by carefully reinserting the crumb tray into its designated slot at the bottom of the toaster. Depending on the design of your toaster, the crumb tray may slide back into place smoothly or require a specific alignment to ensure a secure fit. Take care to position the crumb tray correctly, ensuring that it sits flush with the toaster and effectively captures any future crumbs during the toasting process.
Next, if your toaster features any removable parts such as bread guides or warming racks, carefully reattach these components according to the manufacturer's instructions. Ensure that each part is securely fastened and aligned with the toaster's slots or designated attachment points, preventing any potential hazards or operational issues.
Once all removable components have been reattached, take a moment to visually inspect the toaster and ensure that all parts are in their rightful positions. Check for any loose or misaligned components, and make any necessary adjustments to guarantee that the toaster is fully reassembled and ready for use.
After confirming that all components are securely in place, it's time to move the toaster back to its designated location in your kitchen. Carefully position the appliance on a stable and level surface, ensuring that it is situated away from any potential hazards or obstructions.
Finally, with the toaster back in its rightful place, take a moment to appreciate the effort you've invested in cleaning and reassembling the appliance. By following the step-by-step process and dedicating attention to each cleaning task, you have contributed to the longevity, performance, and visual appeal of your toaster.
With the toaster now fully reassembled and positioned for future use, you can confidently plug it back into the power source and look forward to enjoying perfectly toasted treats. By regularly cleaning and maintaining your toaster, you can ensure that it remains a reliable and cherished kitchen companion for years to come.
Conclusion
In conclusion, the process of cleaning your toaster is a simple yet essential task that can significantly impact the appliance's performance, longevity, and overall hygiene. By following the step-by-step guide outlined in this comprehensive article, you have gained valuable insights into the meticulous cleaning process, from unplugging the toaster to reassembling it for future use.
Regularly cleaning your toaster not only enhances its visual appeal but also contributes to a safe and hygienic kitchen environment. By unplugging the appliance before cleaning, you prioritize safety and eliminate the risk of electric shock or other potential hazards. Removing and cleaning the crumb tray ensures that accumulated debris is effectively managed, preventing potential fire hazards and maintaining the toaster's functionality.
The detailed process of cleaning the exterior and interior of the toaster empowers you to address dust, grease, and crumbs that can impact the appliance's performance and overall cleanliness. By utilizing gentle cleaning solutions and meticulous techniques, you can restore the toaster to a sparkling and well-maintained state, ready to tackle your toasting needs with efficiency and reliability.
As you reassemble the toaster and prepare it for future use, you demonstrate a commitment to maintaining a clean and efficient kitchen environment. The attention to detail and care invested in the cleaning process reflect your dedication to preserving the appliance's longevity and ensuring that it continues to deliver perfectly toasted treats for years to come.
By incorporating these cleaning practices into your routine maintenance, you can enjoy the benefits of a pristine and well-maintained toaster, free from accumulated debris and potential hygiene concerns. The efforts invested in cleaning your toaster not only contribute to its performance but also reflect your commitment to a clean and inviting kitchen space.
In essence, the process of cleaning your toaster is a simple yet impactful way to maintain a reliable and efficient kitchen appliance. By following the comprehensive cleaning guide provided, you have equipped yourself with the knowledge and techniques necessary to ensure that your toaster remains a cherished and dependable companion in your culinary endeavors.