Home>Home and Garden>How To Clean Dyson Vacuum
Home and Garden
How To Clean Dyson Vacuum
Published: March 5, 2024
Learn how to effectively clean your Dyson vacuum to keep your home and garden spotless. Discover expert tips and tricks for maintaining your vacuum's performance.
(Many of the links in this article redirect to a specific reviewed product. Your purchase of these products through affiliate links helps to generate commission for Noodls.com, at no extra cost. Learn more)
Table of Contents
Introduction
Maintaining a clean and efficient vacuum cleaner is essential for ensuring that your home remains free of dust, dirt, and allergens. The Dyson vacuum, known for its powerful suction and innovative design, requires regular cleaning to uphold its peak performance. By following a few simple steps, you can keep your Dyson vacuum in top condition, prolong its lifespan, and continue enjoying its exceptional cleaning capabilities.
Regular maintenance not only enhances the vacuum's efficiency but also contributes to a healthier indoor environment. A clean vacuum ensures that it effectively captures and retains dust and allergens, preventing them from being recirculated into the air. This is particularly beneficial for individuals with allergies or respiratory sensitivities, as a well-maintained vacuum can significantly reduce indoor air pollutants, promoting a cleaner and healthier living space.
In this comprehensive guide, we will walk you through the step-by-step process of cleaning your Dyson vacuum, covering everything from emptying the dustbin to cleaning the filters and brush bar. By the end of this tutorial, you will have the knowledge and confidence to maintain your Dyson vacuum with ease, ensuring that it continues to deliver exceptional cleaning performance for years to come. So, let's dive in and learn how to effectively clean and maintain your Dyson vacuum!
Read more: How To Clean Dyson Filter
Step 1: Gather Necessary Supplies
Before embarking on the cleaning process, it's essential to gather the necessary supplies to ensure a thorough and effective maintenance routine for your Dyson vacuum. Here's what you'll need:
-
Soft, Clean Cloth: Prepare a soft, clean cloth to wipe down the exterior of the vacuum and remove any dust or grime that may have accumulated.
-
Mild Detergent: Opt for a mild detergent or dish soap to clean the filters and other removable components of the vacuum. Avoid using harsh chemicals that may damage the materials.
-
Scissors or Cutting Tool: Keep a pair of scissors or a cutting tool handy to remove any tangled hair or fibers from the brush bar.
-
Warm Water: Have access to warm water for rinsing the filters and other washable parts of the vacuum.
-
Drying Area: Identify a well-ventilated and dry area where the cleaned components can air dry thoroughly before reassembling the vacuum.
-
Owner's Manual: It's always helpful to have the owner's manual on hand for reference, especially if you're cleaning the vacuum for the first time or need guidance on specific components.
By ensuring that you have these supplies readily available, you can streamline the cleaning process and maintain the efficiency and longevity of your Dyson vacuum. With the necessary supplies at your disposal, you're now ready to proceed to the next step of emptying the dustbin.
Remember, having the right tools and materials at your fingertips will make the cleaning process more convenient and efficient, allowing you to give your Dyson vacuum the care and attention it deserves.
Step 2: Empty the Dustbin
Emptying the dustbin of your Dyson vacuum is a crucial step in maintaining its optimal performance. Over time, the dustbin accumulates dirt, debris, and allergens, which can hinder the vacuum's suction power if not promptly removed. Follow these simple steps to effectively empty the dustbin and keep your Dyson vacuum in top condition:
-
Locate the Dustbin: Depending on the model of your Dyson vacuum, the dustbin is typically located near the handle or at the base of the unit. Refer to the owner's manual if you're unsure about the dustbin's location.
-
Prepare a Trash Receptacle: Before removing the dustbin, have a trash receptacle or plastic bag ready to collect the debris. This will prevent any spillage and make the disposal process more convenient.
-
Remove the Dustbin: Press the release button or follow the specific instructions for your Dyson model to detach the dustbin from the vacuum. Hold the dustbin over the trash receptacle and proceed to the next step.
-
Empty the Contents: With the dustbin over the trash receptacle, press the release button to open the bottom hatch or lid, allowing the accumulated dirt and debris to fall into the trash receptacle. Gently tap the sides of the dustbin to ensure all the contents are dislodged.
-
Inspect the Dustbin: Take a moment to inspect the interior of the dustbin for any stubborn debris or blockages. Use a soft brush or cloth to remove any remaining dirt or dust that may be clinging to the walls of the dustbin.
-
Close the Dustbin: Once the dustbin is empty and clean, securely close the bottom hatch or lid to prevent any dust from escaping. Ensure that it is properly sealed to maintain the vacuum's suction efficiency.
By regularly emptying the dustbin, you can prevent clogs, maintain the vacuum's suction power, and promote a hygienic cleaning process. This simple yet essential maintenance task ensures that your Dyson vacuum continues to deliver exceptional cleaning performance, keeping your home free of dust and allergens. With the dustbin emptied, you're now ready to proceed to the next step of cleaning the filters to further enhance your Dyson vacuum's efficiency.
Step 3: Clean the Filters
Cleaning the filters of your Dyson vacuum is a crucial maintenance task that ensures the appliance operates at peak efficiency. Over time, the filters can become clogged with dust, dirt, and debris, hindering the vacuum's suction power and overall performance. By following these simple steps, you can effectively clean the filters and maintain the optimal functionality of your Dyson vacuum.
-
Locate the Filters: Depending on the model of your Dyson vacuum, there may be multiple filters, including a pre-motor filter and a post-motor filter. Refer to the owner's manual to identify the specific location of each filter.
-
Remove the Filters: Carefully remove the filters from the vacuum according to the manufacturer's instructions. Take note of how each filter is positioned to ensure correct reassembly after cleaning.
-
Tap to Remove Loose Debris: Gently tap the filters against a trash receptacle to dislodge any loose debris. This initial step helps remove surface-level dust and dirt, making the subsequent cleaning process more effective.
-
Rinse with Water (If Applicable): For washable filters, such as the pre-motor filter, rinse it under running water. Use cool or lukewarm water and avoid using any cleaning agents or detergents. Thoroughly rinse the filter until the water runs clear, indicating the removal of trapped dirt and debris.
-
Allow the Filters to Air Dry: After rinsing, allow the filters to air dry completely before reinserting them into the vacuum. Placing the filters in direct sunlight or using heat sources to expedite the drying process is not recommended, as excessive heat can damage the filter materials.
-
Clean Non-Washable Filters: If your Dyson vacuum includes non-washable filters, such as the post-motor filter, use a soft brush or cloth to gently remove any accumulated dust and dirt. Avoid using water on non-washable filters, as moisture can compromise their effectiveness.
-
Inspect for Damage: While cleaning the filters, inspect them for any signs of damage or wear. If you notice tears, holes, or deterioration, it may be time to replace the filters to maintain the vacuum's performance.
By regularly cleaning and maintaining the filters of your Dyson vacuum, you can ensure that it continues to deliver powerful suction and efficient cleaning performance. Clean filters not only contribute to a healthier indoor environment by capturing dust and allergens but also extend the lifespan of your Dyson vacuum, providing long-term value and reliability. With the filters cleaned and properly dried, you're now ready to proceed to the next step of cleaning the brush bar to further enhance the functionality of your Dyson vacuum.
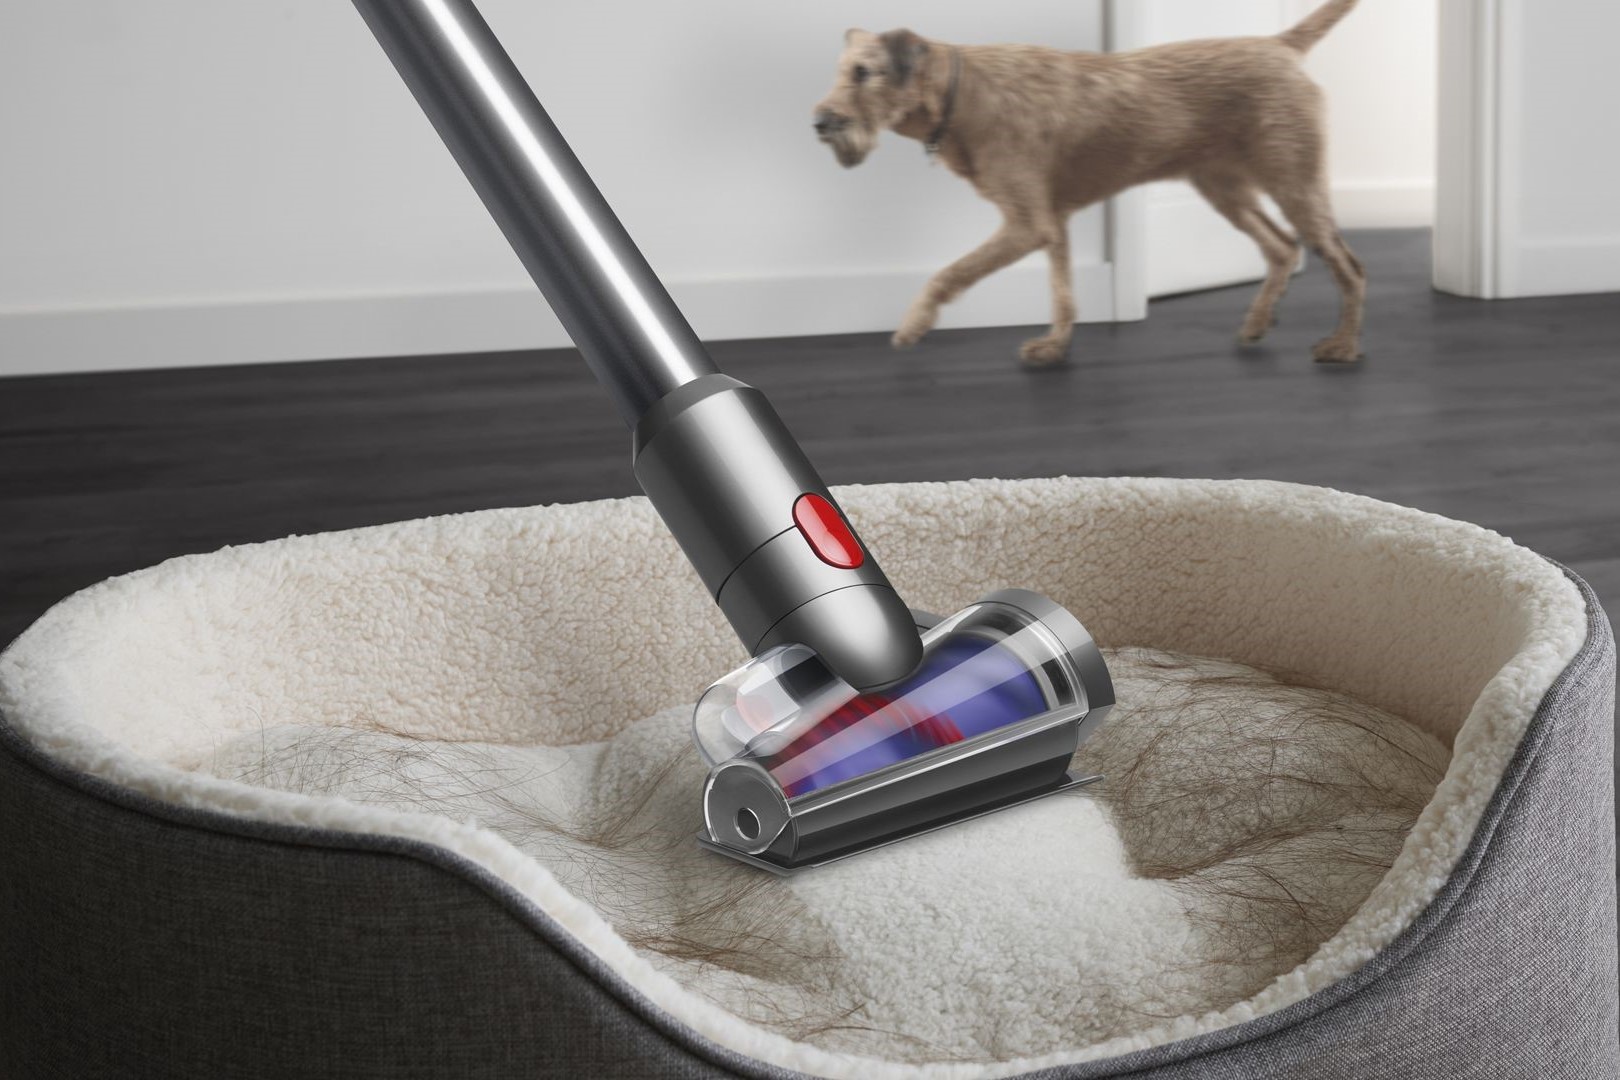
Step 4: Clean the Brush Bar
The brush bar of a Dyson vacuum plays a pivotal role in effectively agitating and lifting dirt and debris from various surfaces, ensuring thorough cleaning results. Over time, the brush bar can become entangled with hair, fibers, and debris, leading to a reduction in its performance. Cleaning the brush bar is essential to maintain the vacuum's efficiency and prevent potential damage to the motorized components. Follow these detailed steps to effectively clean the brush bar of your Dyson vacuum:
-
Prepare the Vacuum: Before proceeding with the cleaning process, ensure that the vacuum is unplugged from the power source to prevent any accidental activation of the brush bar. This safety measure is crucial to avoid injury during the cleaning procedure.
-
Access the Brush Bar: Depending on the Dyson model, accessing the brush bar may involve removing the floorhead or accessing the underside of the vacuum. Refer to the owner's manual for specific instructions on accessing the brush bar for your particular model.
-
Remove Tangled Debris: Using scissors, a cutting tool, or your fingers, carefully remove any tangled hair, threads, or debris that may be wrapped around the brush bar. Take caution to avoid damaging the bristles or the brush bar itself while clearing the entangled material.
-
Inspect the Brush Bar: After removing the tangled debris, inspect the brush bar for any remaining dirt, dust, or obstructions. Use a soft brush or cloth to gently wipe the bristles and remove any residual debris that may be clinging to the surface.
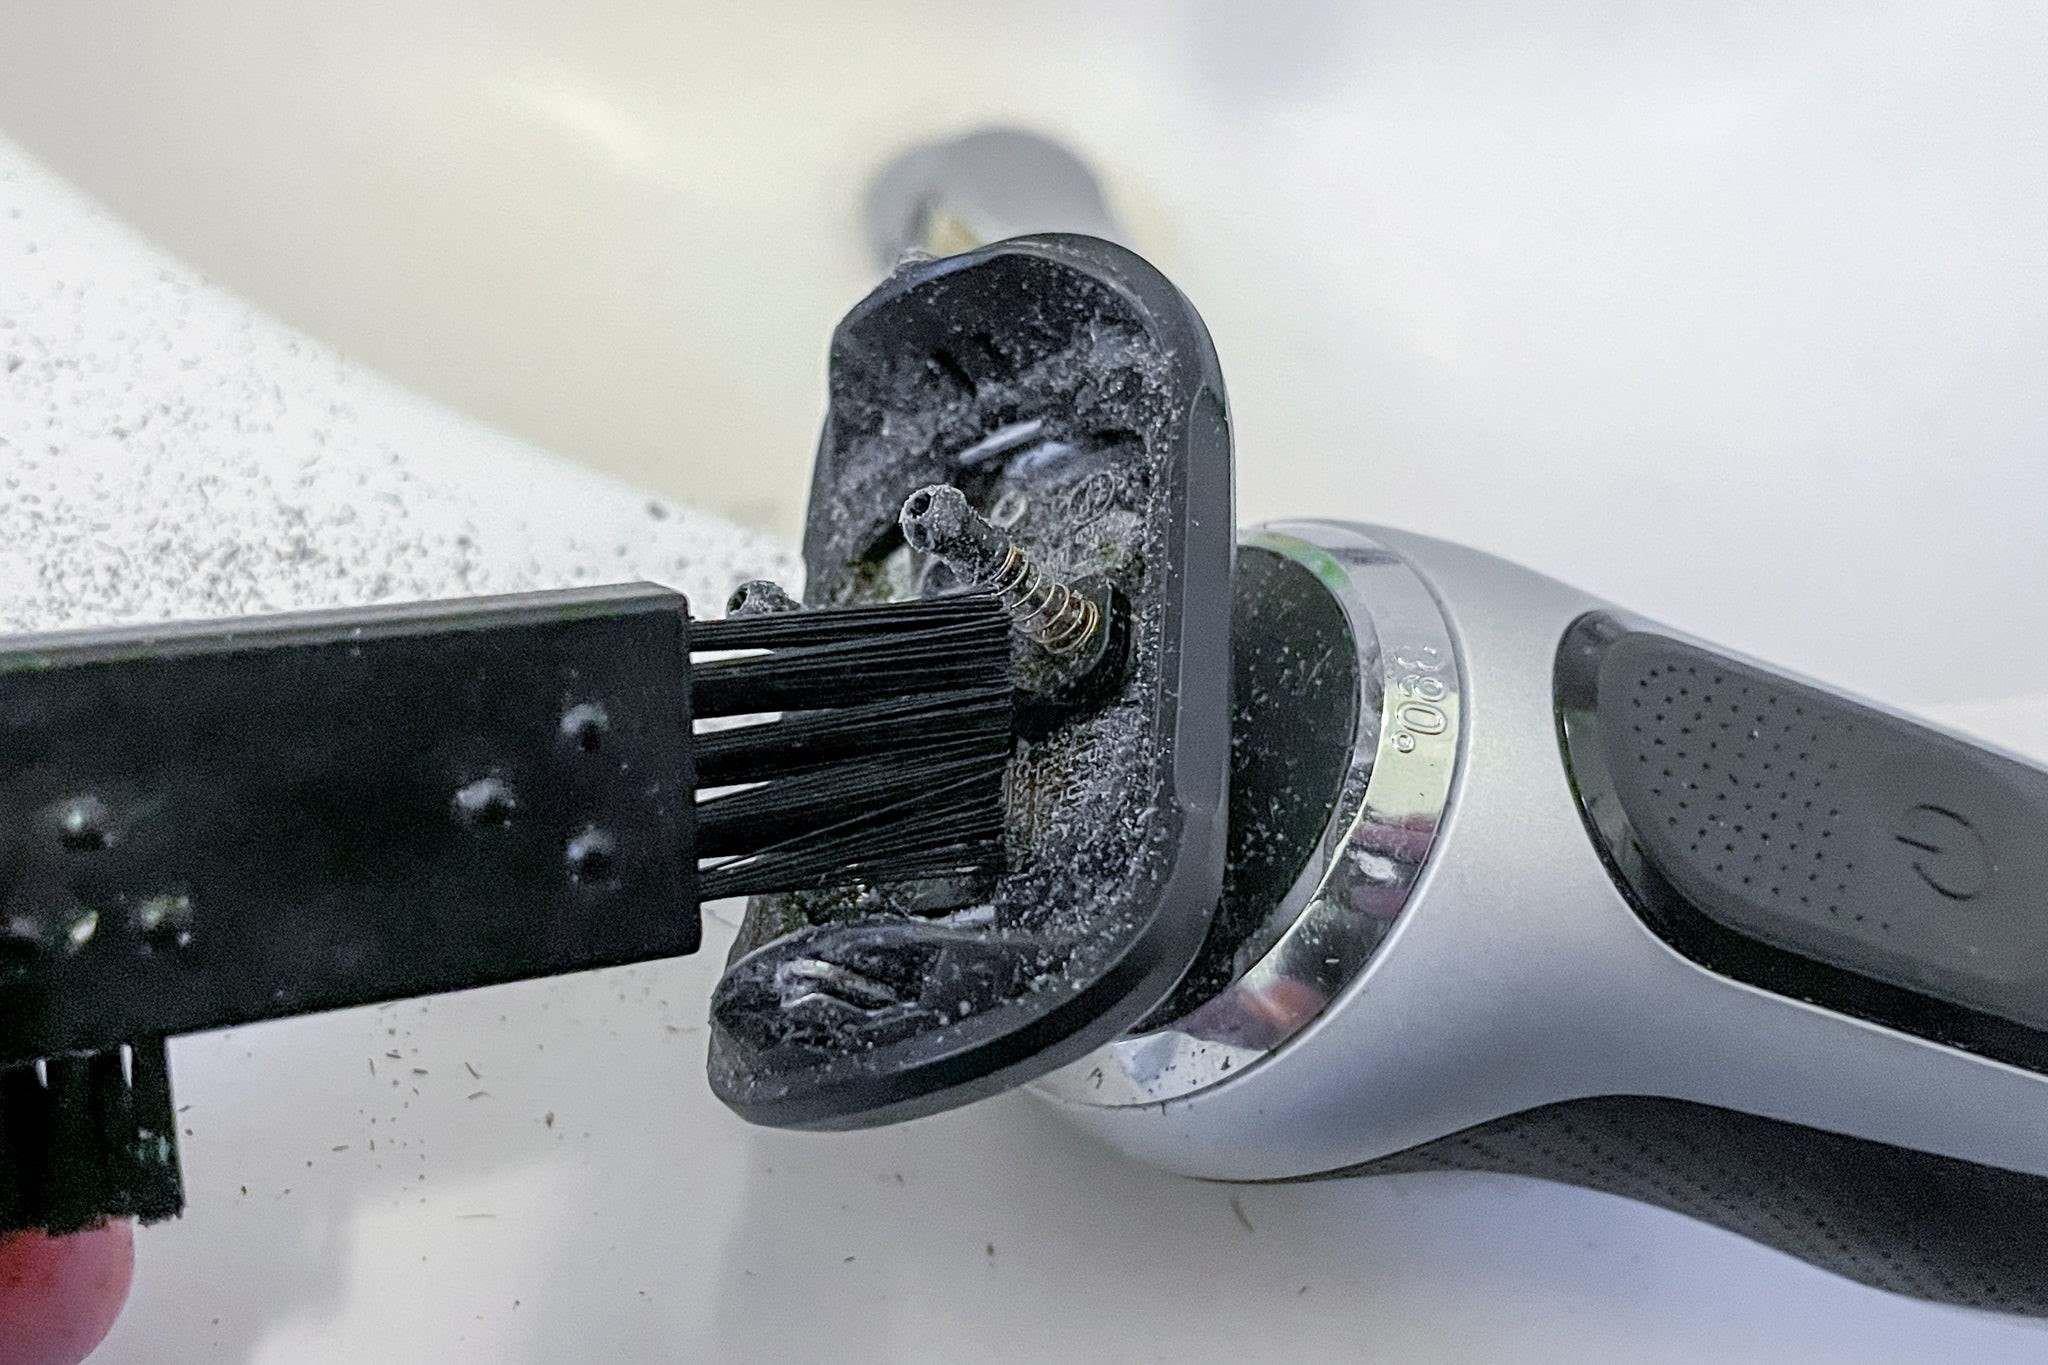
-
Check the End Caps: Take a moment to inspect the end caps of the brush bar for any debris or blockages. If necessary, remove the end caps according to the manufacturer's instructions and clean out any accumulated dirt or debris to ensure smooth rotation of the brush bar.
-
Reassemble the Brush Bar: Once the brush bar and end caps are thoroughly cleaned, reassemble the components according to the manufacturer's guidelines. Ensure that the brush bar is securely reattached and properly aligned to maintain its functionality.
By regularly cleaning the brush bar, you can prevent obstructions, maintain optimal suction power, and prolong the lifespan of your Dyson vacuum. A clean brush bar ensures that the vacuum effectively agitates and lifts dirt from carpets and floors, contributing to a thorough and efficient cleaning process. With the brush bar cleaned and reassembled, you're now ready to proceed to the next step of wiping down the exterior of the vacuum to complete the maintenance process.
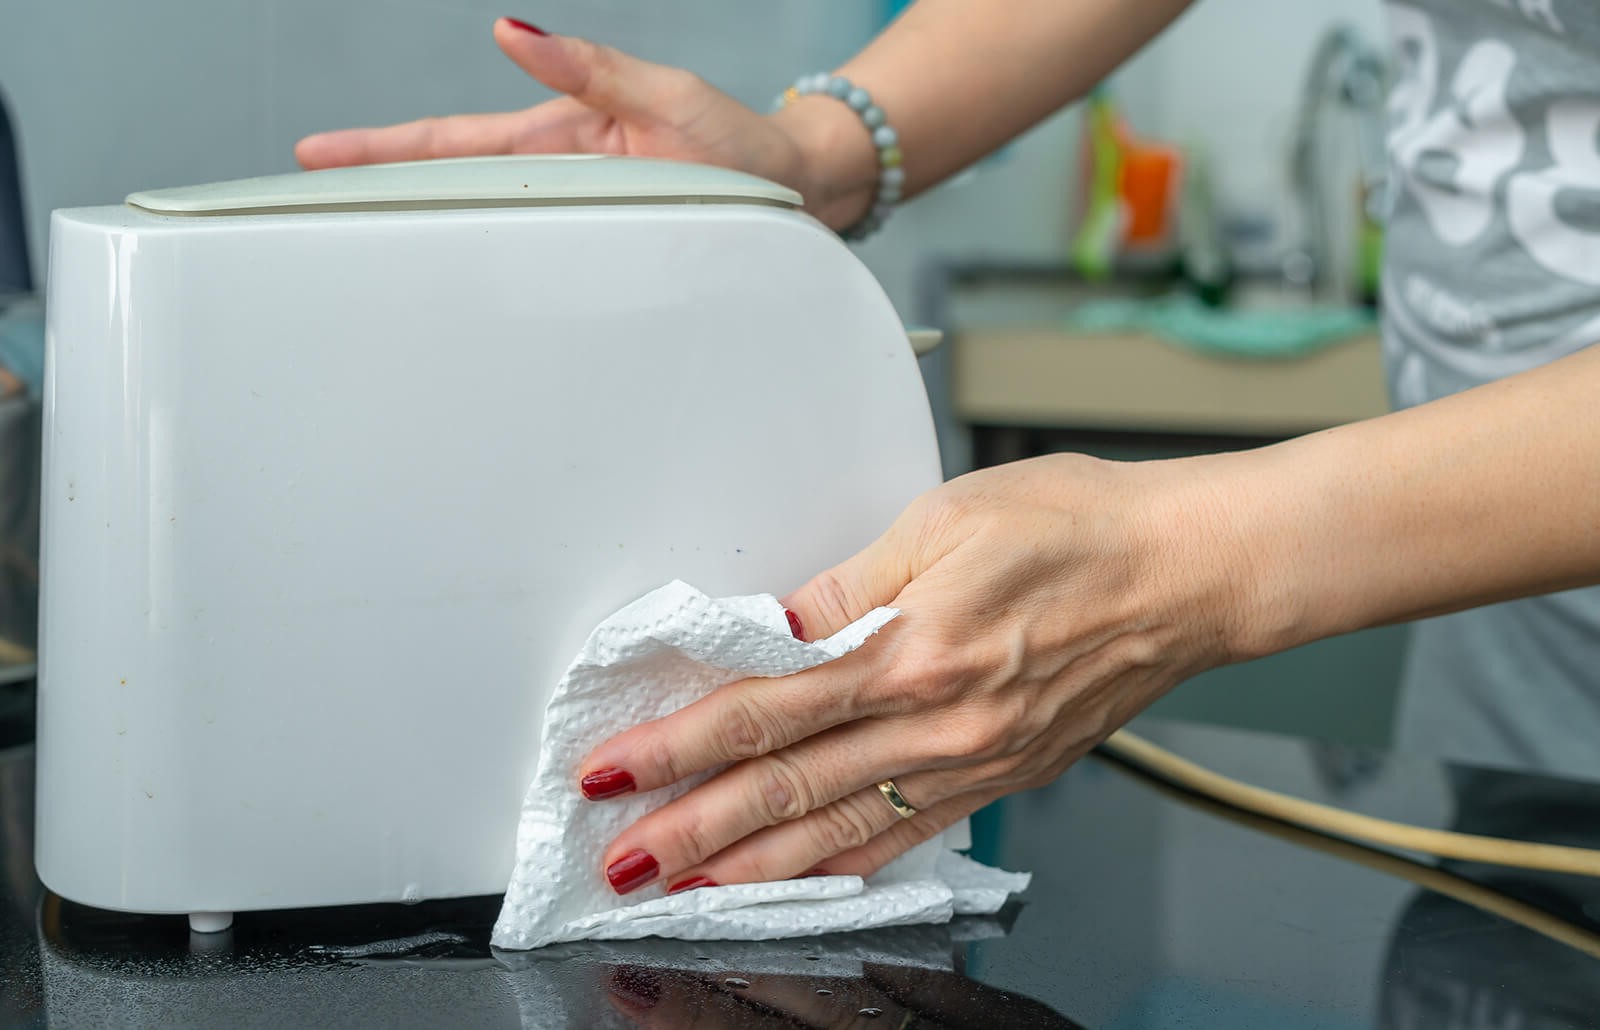
Step 5: Wipe Down the Vacuum
After addressing the internal components of your Dyson vacuum, it's essential to pay attention to the external surfaces to maintain its overall cleanliness and appearance. Wiping down the vacuum not only enhances its aesthetic appeal but also contributes to a hygienic cleaning environment. Follow these steps to effectively wipe down the vacuum and ensure it remains in top condition:
-
Unplug the Vacuum: Before proceeding with the external cleaning, ensure that the vacuum is unplugged from the power source for safety purposes.
-
Use a Soft, Damp Cloth: Dampen a soft, clean cloth with water and gently wipe down the exterior surfaces of the vacuum. Avoid using excessive water or harsh cleaning agents, as they may damage the materials or electronic components.
-
Pay Attention to Control Buttons and Handles: Take extra care when wiping around control buttons, handles, and other sensitive areas. Use a dry cloth to remove any moisture and prevent it from seeping into the internal components.
-
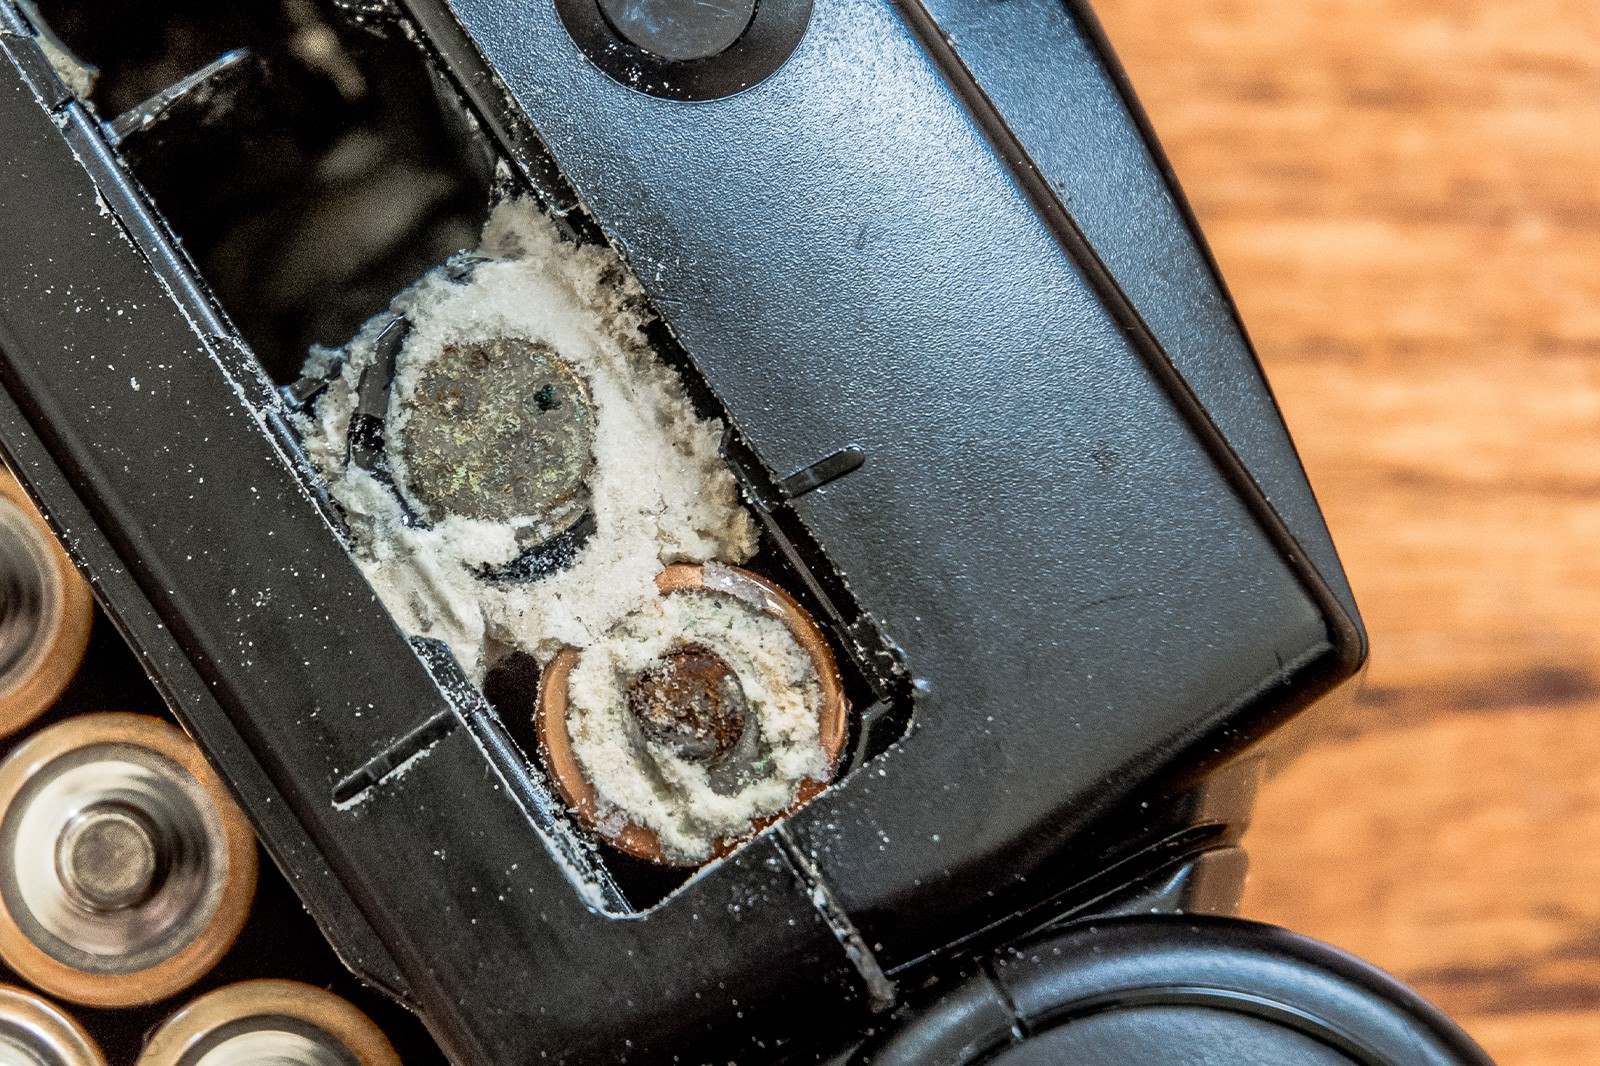
Clean the Power Cord: Inspect the power cord for any dust or dirt accumulation. Wipe the cord with a slightly damp cloth to remove any surface debris, ensuring that it remains clean and free of potential hazards.
-
Dry the Vacuum Thoroughly: After wiping down the vacuum, use a dry cloth to remove any residual moisture and ensure that the surfaces are thoroughly dried. Proper drying prevents water damage and maintains the integrity of the vacuum's exterior.
-
Inspect for Grime and Residue: Take a moment to inspect the vacuum for any stubborn grime or residue. Use a gentle cleaning solution or mild detergent if necessary, ensuring that it is suitable for the specific materials of your Dyson vacuum.
-
Focus on Detailing: Pay attention to intricate details, such as crevices, edges, and seams, where dust and dirt may accumulate. Use a soft brush or cloth to gently remove any trapped debris and maintain a clean and polished appearance.
By incorporating external cleaning into your maintenance routine, you can ensure that your Dyson vacuum not only performs optimally but also looks well-maintained. A clean exterior contributes to a positive user experience and reflects the care and attention you invest in preserving the functionality and appearance of your Dyson vacuum. With the external surfaces wiped down and thoroughly dried, your Dyson vacuum is now ready to be reassembled and tested to complete the maintenance process.
Step 6: Reassemble and Test the Vacuum
After completing the meticulous cleaning process, reassembling and testing your Dyson vacuum is the final step to ensure that it operates at its peak performance. Follow these essential guidelines to reassemble and test your vacuum, allowing you to confirm its functionality and readiness for future cleaning tasks.
-
Reassemble the Components: Carefully reattach the cleaned filters, ensuring that they are securely positioned according to the manufacturer's instructions. Take note of any specific alignment or installation requirements to guarantee proper functionality.
-
Secure the Dustbin: Once the filters are in place, reattach the dustbin to the vacuum, ensuring a snug and secure fit. Double-check that the dustbin is properly sealed to prevent any loss of suction during operation.
-
Reattach the Brush Bar: If the brush bar was removed for cleaning, reattach it to the floorhead or the underside of the vacuum according to the manufacturer's guidelines. Ensure that the brush bar is securely fastened to maintain its effective cleaning performance.
-
Perform a Test Run: Plug in the vacuum and power it on to conduct a brief test run. Listen for any unusual noises or vibrations that may indicate improper reassembly or potential issues. Additionally, observe the suction power and brush bar functionality to ensure that they operate smoothly.
-
Test on Various Surfaces: Test the vacuum on different surfaces, such as carpets, rugs, and hard floors, to confirm its effective cleaning performance. Pay attention to the suction power and the brush bar's ability to agitate and lift dirt, ensuring consistent results across various surfaces.
-
Check for Leaks or Blockages: During the test run, inspect the vacuum for any potential leaks, blockages, or loss of suction. Address any issues promptly to maintain the vacuum's optimal performance and prevent potential damage to its components.
-
Verify Maneuverability and Control: Test the vacuum's maneuverability and control, ensuring that it moves smoothly and responds to adjustments in settings or cleaning modes. Confirm that the vacuum's functionality aligns with your cleaning preferences and requirements.
By meticulously reassembling and testing your Dyson vacuum, you can ensure that it is ready to tackle cleaning tasks with efficiency and reliability. This final step not only validates the success of the cleaning and maintenance process but also provides confidence in the vacuum's continued performance. With the vacuum reassembled and successfully tested, you can look forward to enjoying its exceptional cleaning capabilities and maintaining a clean and healthy living environment.