Home>Home and Garden>How To Clean A Grinder
Home and Garden
How To Clean A Grinder
Published: February 29, 2024
Learn how to effectively clean your grinder with our easy-to-follow guide. Keep your home and garden tools in top condition with our expert tips.
(Many of the links in this article redirect to a specific reviewed product. Your purchase of these products through affiliate links helps to generate commission for Noodls.com, at no extra cost. Learn more)
Table of Contents
Introduction
Cleaning a grinder is an essential yet often overlooked aspect of maintaining a fresh and flavorful herb or spice collection. Over time, residue and oils can accumulate within the grinder, impacting the taste and quality of your ingredients. By regularly cleaning your grinder, you can ensure that each use delivers the full aroma and potency of your herbs and spices.
In this comprehensive guide, we will walk you through the step-by-step process of cleaning your grinder, from disassembling the components to reassembling them for future use. Whether you have a coffee grinder, herb grinder, or spice grinder, the cleaning techniques outlined here will help you restore its pristine condition and optimize its performance.
By following these simple yet effective cleaning methods, you can prolong the lifespan of your grinder and maintain the integrity of your favorite herbs and spices. Let's dive into the process of rejuvenating your grinder and elevating your culinary experience.
Read more: How To Wash Squishmallows
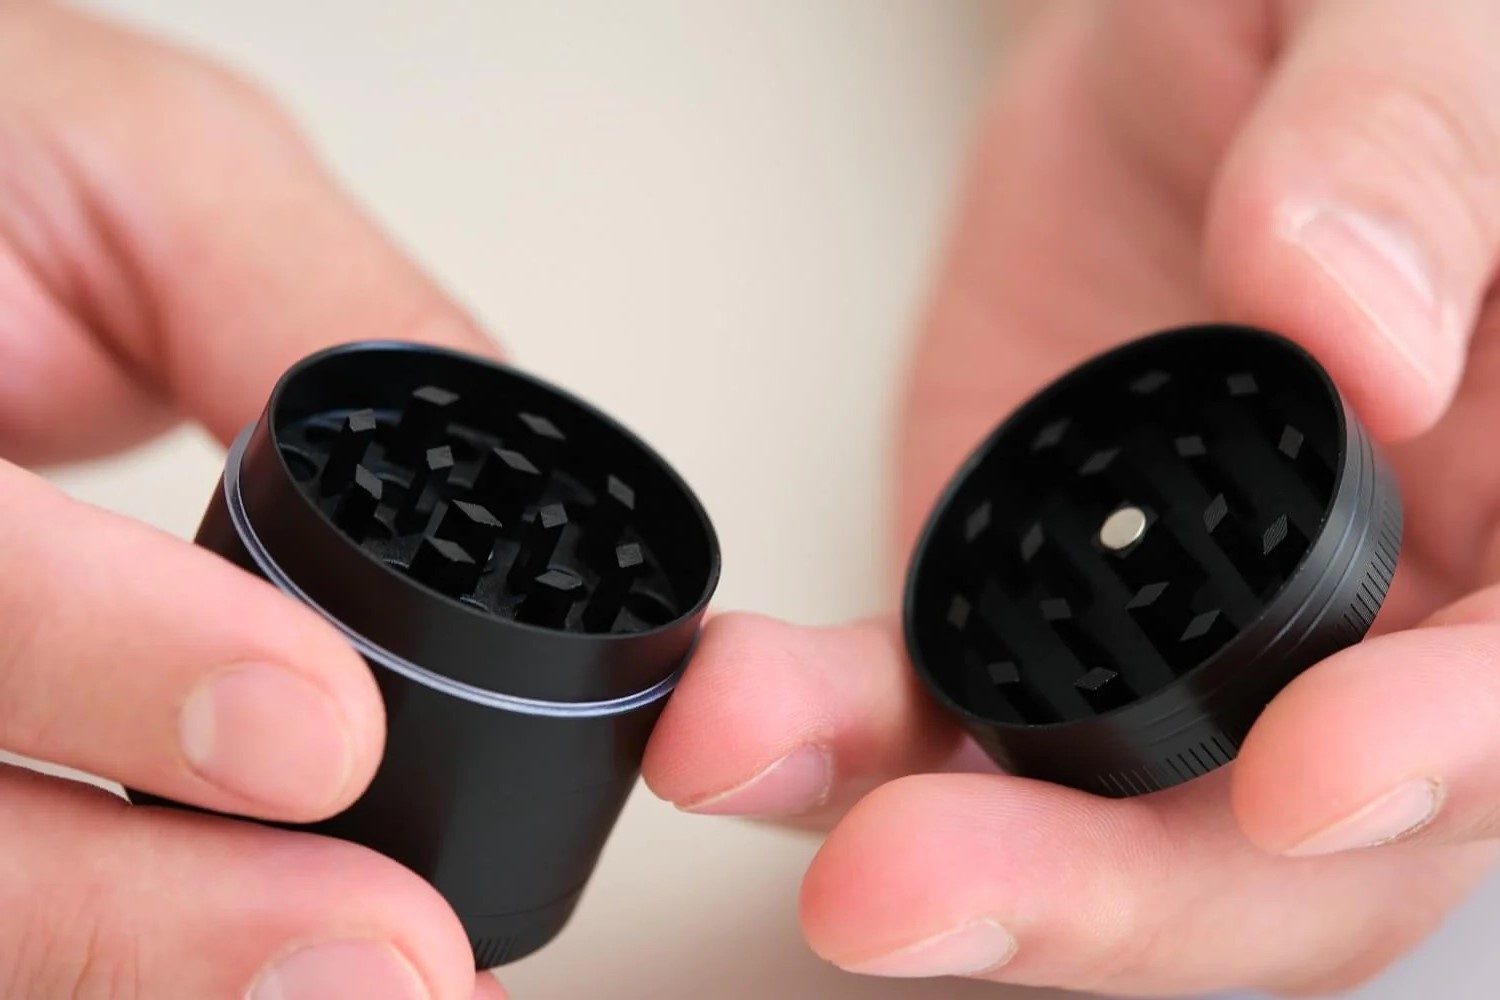
Step 1: Disassemble the grinder
Disassembling your grinder is the crucial first step in the cleaning process. Before you begin, ensure that the grinder is completely empty to prevent any spills or mess during disassembly. Here's a detailed guide on how to effectively disassemble your grinder:
-
Prepare a Clean Workspace: Find a well-lit and spacious area to work on disassembling your grinder. Lay down a clean cloth or paper towel to prevent any small parts from getting lost.
-
Unscrew the Components: Depending on the type of grinder you have, carefully unscrew the different components. For a manual grinder, start by removing the handle and any screws or bolts that hold the grinder together. For an electric grinder, consult the user manual for specific instructions on disassembly.
-
Gently Tap Out Residue: Once the grinder is disassembled, gently tap each part to remove any loose residue or particles. This initial step helps to minimize the amount of debris that needs to be cleaned from the individual components.
-
Inspect for Build-Up: Take a close look at each part of the grinder to identify any stubborn build-up or residue. This visual inspection will guide you in determining the level of cleaning required for each component.
-
Organize the Parts: As you disassemble the grinder, organize the parts in a systematic manner. This will make it easier to clean each component thoroughly and ensure that you reassemble the grinder correctly later on.
By carefully disassembling your grinder and preparing the individual components for cleaning, you set the stage for a thorough and effective cleaning process. This initial step lays the foundation for restoring your grinder to its optimal condition, ready to deliver the full flavor and aroma of your favorite herbs and spices.
Step 2: Remove any residue
Once the grinder is disassembled, the next critical step is to eliminate any residue that has accumulated within the various components. Residue, which can consist of leftover herbs, spices, or oils, not only affects the flavor and aroma of future grinds but can also impede the grinder's performance. To ensure a thorough cleaning process, follow these steps to remove any residue effectively:
-
Brushing and Scraping: Utilize a small brush, such as a toothbrush or a dedicated grinder cleaning brush, to gently scrub the interior and exterior surfaces of each component. Pay close attention to the grinding chamber, teeth, and crevices where residue tends to accumulate. For stubborn residue, a plastic or wooden scraper can be used to dislodge and remove the buildup without damaging the grinder's surfaces.
-
Compressed Air or Vacuum: If the grinder has hard-to-reach areas or intricate parts, employing compressed air or a small vacuum with a brush attachment can help dislodge and remove trapped residue. Direct the airflow or suction into the grinder's nooks and crannies to ensure a thorough removal of any lingering particles.
-
Soaking in Cleaning Solution: For particularly stubborn residue or oily buildup, consider soaking the disassembled grinder components in a gentle cleaning solution. A mixture of warm water and mild dish soap or a specialized grinder cleaning solution can help break down and loosen stubborn residue, making it easier to remove during the subsequent cleaning process.
-
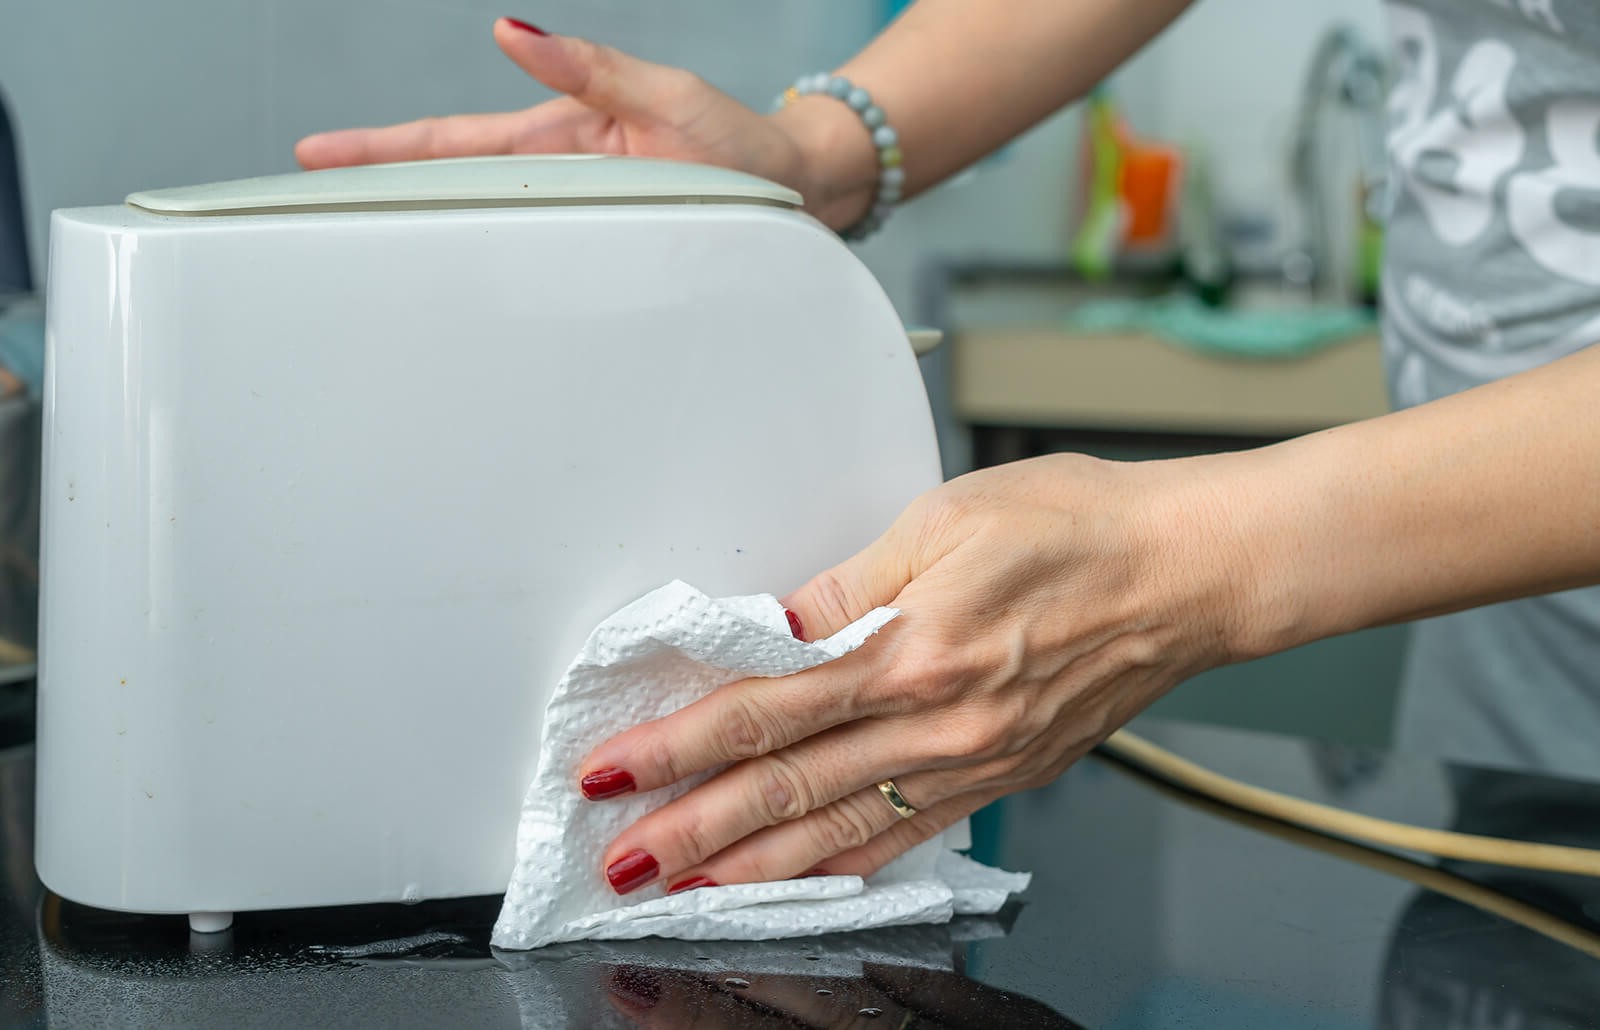
Alcohol Wipe Down: Using a soft cloth or cotton swab dampened with isopropyl alcohol, carefully wipe down the individual components to dissolve and remove any oily residue. Alcohol is effective in breaking down oils and sticky residues, leaving the surfaces clean and ready for the next stage of the cleaning process.
By diligently removing any residue from the grinder's components, you pave the way for a comprehensive cleaning process that will restore the grinder to its optimal condition. This meticulous approach ensures that the grinder is free from any lingering residue that could compromise the flavor, aroma, and performance of your herbs and spices.
Step 3: Clean the individual parts
Cleaning the individual parts of your grinder is a crucial step in the overall maintenance process. By thoroughly cleaning each component, you can ensure that your grinder operates at its best and preserves the integrity of your herbs and spices. Here's a detailed guide on how to effectively clean the individual parts of your grinder:
-
Grinding Chamber: Begin by focusing on the main grinding chamber, where the herbs or spices are processed. Use a small brush or toothpick to dislodge any remaining residue or particles. For stubborn build-up, a gentle scrub with a soft-bristled brush can help remove any lingering debris. Ensure that the grinding teeth and interior surfaces are completely free from any residue.
-
Screen and Filter: If your grinder features a screen or filter to separate fine particles from the ground herbs or spices, carefully clean this component to maintain optimal functionality. Gently scrub the screen with a brush or soak it in a mild cleaning solution to remove any trapped particles. Ensure that the screen is completely clean and free from any blockages that could affect the grinding process.
-
Collection Chamber: The collection chamber, where the ground herbs or spices accumulate, should be thoroughly cleaned to prevent any cross-contamination or flavor alteration. Wipe down the interior surfaces with a soft cloth or use a small brush to remove any residual particles. Pay attention to the edges and corners of the collection chamber to ensure a comprehensive cleaning.
-
Lid and Threads: The lid of the grinder and the threads that secure the components together should not be overlooked during the cleaning process. Wipe the lid with a damp cloth to remove any residue or oils, ensuring that it is completely clean and free from any build-up. Similarly, inspect the threads for any trapped particles and clean them meticulously to facilitate smooth reassembly.
-
Drying and Reassembly: After cleaning each individual part, ensure that they are thoroughly dried before reassembly. Use a clean, dry cloth to remove any moisture and allow the components to air dry completely. Once dry, carefully reassemble the grinder, ensuring that each part fits snugly and securely to restore the grinder to its fully functional state.
By meticulously cleaning the individual parts of your grinder, you can maintain its performance and ensure that your herbs and spices are processed with the utmost freshness and flavor. This comprehensive cleaning process sets the stage for a rejuvenated grinder that enhances your culinary endeavors.
Step 4: Reassemble the grinder
Once the individual components of the grinder have been thoroughly cleaned and dried, it's time to reassemble the grinder to restore it to its functional state. Proper reassembly ensures that the grinder operates smoothly and efficiently, ready to deliver the full flavor and aroma of your herbs and spices. Follow these steps to effectively reassemble your grinder:
-
Organize the Clean Components: Before reassembly, take a moment to organize the cleaned components of the grinder. Lay them out in a systematic manner, ensuring that each part is easily accessible and ready to be reassembled.
-
Align and Secure the Components: Carefully align the various parts of the grinder, ensuring that they fit together seamlessly. For manual grinders, secure the handle and any screws or bolts according to the manufacturer's instructions. Electric grinders should be reassembled following the specific guidelines provided in the user manual.
-
Check for Proper Fit: As you reassemble the grinder, pay close attention to the alignment and fit of each component. Ensure that the grinding chamber, collection chamber, lid, and any additional parts are securely in place, leaving no gaps or loose connections.
-
Test the Functionality: Once the grinder is reassembled, perform a quick functionality test to ensure that all components are working as intended. If you notice any unusual resistance or misalignment, disassemble the grinder and recheck the assembly process to address any issues.
-
Final Inspection: After reassembly, conduct a final inspection of the grinder to verify that all parts are correctly fitted and that the grinder is ready for use. This inspection ensures that the grinder is in optimal condition and ready to deliver the full potential of your herbs and spices.
By following these steps, you can effectively reassemble your grinder, setting the stage for a seamless and efficient grinding experience. Proper reassembly ensures that the grinder operates at its best, allowing you to enjoy the full flavor and aroma of your favorite herbs and spices with each use.
Read more: How To Clean Birkenstocks
Conclusion
In conclusion, the process of cleaning a grinder is an essential practice that not only maintains the integrity and performance of the device but also ensures that the herbs and spices processed through it retain their full flavor and aroma. By following the step-by-step guide outlined in this comprehensive cleaning manual, you can rejuvenate your grinder and elevate your culinary experience.
Regularly disassembling the grinder sets the stage for a thorough cleaning process, allowing you to remove any residue and oils that may have accumulated over time. This initial step is crucial in preparing the individual components for a meticulous cleaning process, ensuring that each part is free from any lingering debris that could impact the quality of your ingredients.
Removing any residue from the grinder's components is a meticulous yet rewarding task, as it paves the way for a comprehensive cleaning process. By employing various cleaning techniques such as brushing, scraping, and soaking, you can effectively eliminate any build-up and ensure that the grinder is ready to deliver the full potential of your herbs and spices.
Cleaning the individual parts of the grinder, including the grinding chamber, screen, collection chamber, lid, and threads, is a critical step that guarantees the optimal performance of the device. Thoroughly cleaning each component ensures that your herbs and spices are processed with the utmost freshness and flavor, enhancing the overall quality of your culinary creations.
Finally, reassembling the grinder is the culmination of the cleaning process, allowing you to restore the device to its fully functional state. Proper reassembly ensures that the grinder operates smoothly and efficiently, ready to deliver the full flavor and aroma of your favorite herbs and spices with each use.
By embracing the practice of cleaning your grinder regularly, you can prolong its lifespan, maintain the freshness of your herbs and spices, and elevate your culinary endeavors. Whether you use a coffee grinder, herb grinder, or spice grinder, the cleaning techniques outlined in this guide will help you preserve the integrity of your ingredients and enhance the overall quality of your culinary creations. Embrace the art of grinder maintenance, and savor the full potential of your herbs and spices with every grind.