Home>Home and Garden>How To Clean A Pipe

Home and Garden
How To Clean A Pipe
Published: March 1, 2024
Learn the best techniques for cleaning a pipe at home with our expert tips and tricks. Keep your home and garden in top shape with our easy-to-follow pipe cleaning guide.
(Many of the links in this article redirect to a specific reviewed product. Your purchase of these products through affiliate links helps to generate commission for Noodls.com, at no extra cost. Learn more)
Table of Contents
Introduction
Cleaning a pipe is an essential part of maintaining its functionality and ensuring a pleasant smoking experience. Over time, residue and buildup can accumulate, affecting the taste and quality of the smoke. Whether you have a glass, metal, or wooden pipe, regular cleaning is crucial for preserving its condition and maximizing its lifespan.
In this comprehensive guide, we will walk you through the step-by-step process of cleaning your pipe effectively. By following these instructions and using the recommended materials, you can restore your pipe to its optimal state and enjoy a smoother, more flavorful smoking session.
Proper pipe maintenance not only enhances the smoking experience but also contributes to the overall hygiene and longevity of your pipe. With the right techniques and a little effort, you can keep your pipe in top condition, ensuring that it continues to provide you with enjoyable smoking moments for years to come.
So, let's dive into the materials needed and the step-by-step cleaning process to revitalize your pipe and elevate your smoking experience.
Read more: How To Clean A Glass Pipe
Materials Needed
To effectively clean your pipe, you will need a few essential materials that are readily available and easy to acquire. These items are crucial for ensuring a thorough and successful cleaning process. Here's what you'll need:
-
Pipe Cleaners: These flexible, bristled tools are specifically designed for cleaning pipes and are instrumental in removing residue and buildup from the interior surfaces.
-
Rubbing Alcohol: Also known as isopropyl alcohol, this solution is highly effective in breaking down and dissolving stubborn residue and tar deposits inside the pipe.
-
Coarse Salt: Coarse salt serves as an abrasive agent that aids in dislodging and scrubbing away the accumulated residue, ensuring a more thorough cleaning.
-
Cotton Swabs: These are useful for reaching tight spots and corners within the pipe, allowing for precise cleaning and removal of residual buildup.
-
Pipe Tool or Tamper: A pipe tool or tamper can be used to disassemble the pipe and remove any remaining tobacco or ash, preparing it for the cleaning process.
-
Paper Towels: Having a few paper towels on hand will help in wiping and drying the pipe after cleaning, ensuring that it is ready for use.
-
Small Bowl or Container: This will be used for soaking the pipe components in rubbing alcohol, facilitating the removal of stubborn residue and tar.
-
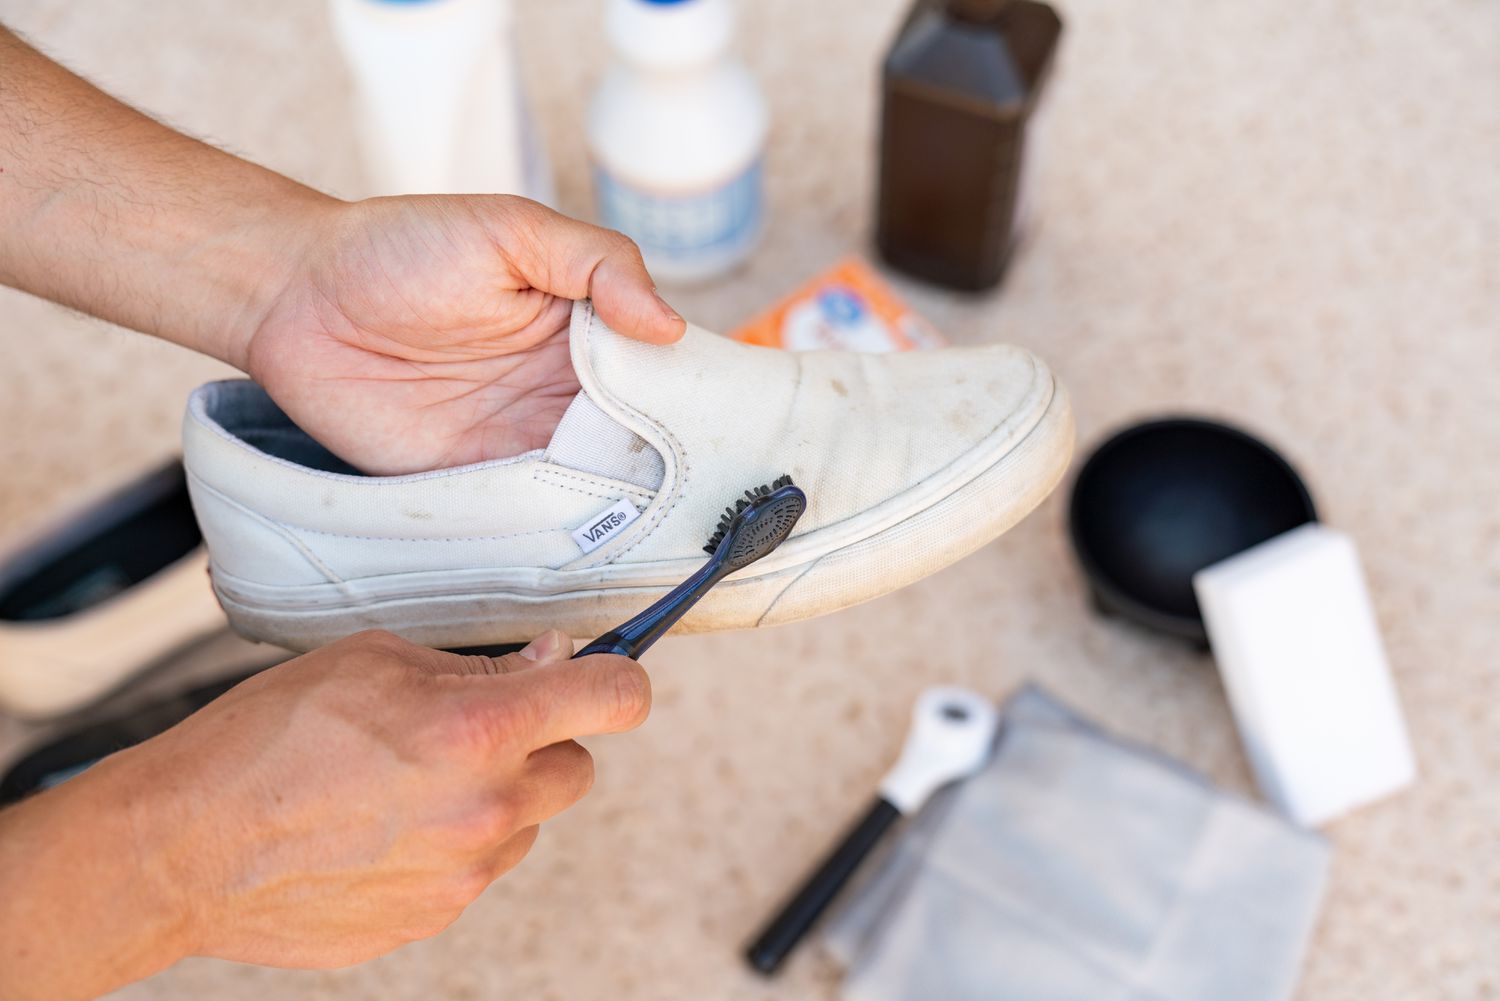
Old Toothbrush: An old toothbrush can be repurposed for cleaning the exterior of the pipe, removing any dirt or grime that may have accumulated.
By gathering these materials, you will be well-equipped to embark on the cleaning process and restore your pipe to its optimal condition, ensuring a satisfying smoking experience.
Step 1: Disassembling the Pipe
Disassembling the pipe is the crucial first step in the cleaning process, allowing for thorough access to its interior and exterior components. Before beginning, ensure that the pipe has completely cooled down to avoid any risk of burns or damage. Here's a detailed guide on how to effectively disassemble your pipe for cleaning:
-
Prepare the Workspace: Find a well-lit and spacious area to work in, preferably with a clean surface. This will provide ample space for disassembling the pipe and organizing its components for cleaning.
-
Remove the Stem: Gently twist and pull the stem away from the bowl of the pipe. Be cautious and avoid using excessive force to prevent any accidental breakage or damage to the pipe.
-
Detach the Filter: If your pipe is equipped with a filter, carefully remove it from the stem. Filters are typically made of absorbent materials and should be replaced regularly for optimal performance.
-
Empty the Bowl: Tap the bowl of the pipe against a soft surface to dislodge any remaining tobacco or ash. Use a pipe tool or tamper to remove any stubborn residue, ensuring that the bowl is completely empty before proceeding.
-
Inspect for Debris: Take a moment to inspect the interior of the pipe for any visible debris or buildup. This initial assessment will help identify areas that require focused cleaning attention.
-
Organize the Components: Lay out the disassembled components of the pipe, including the stem, bowl, and filter (if applicable), in an organized manner. This will streamline the cleaning process and prevent any confusion when reassembling the pipe later.
By carefully following these steps to disassemble your pipe, you will set the stage for a thorough and effective cleaning process. With the pipe components separated and ready for cleaning, you can proceed to the next steps with confidence, knowing that you have prepared the pipe for a revitalizing cleaning session.
Step 2: Removing Residue
Once the pipe is disassembled, the next critical step in the cleaning process involves removing the accumulated residue and buildup from the interior surfaces. Residue, which consists of tar, ash, and other byproducts of smoking, can impact the flavor and quality of the smoking experience. To effectively eliminate this residue, the following steps should be followed:
-
Pipe Cleaners and Rubbing Alcohol: Begin by dipping a pipe cleaner in rubbing alcohol. Gently insert the dampened pipe cleaner into the stem and swab the interior, ensuring thorough coverage. The bristles of the pipe cleaner effectively dislodge and absorb the residue, while the alcohol aids in breaking down stubborn deposits.
-
Swabbing the Bowl: Using a fresh pipe cleaner dipped in rubbing alcohol, carefully swab the interior of the bowl. Pay close attention to any areas where residue may be concentrated, ensuring that the entire surface is thoroughly cleaned. The absorbent nature of the pipe cleaner, combined with the cleaning properties of alcohol, effectively removes residue from the bowl.
-
Salt and Alcohol Solution: For a more intensive cleaning of the bowl and stem, create a solution using rubbing alcohol and coarse salt. Fill the bowl with the alcohol and salt mixture, ensuring that it covers the entire interior. Allow the solution to sit for a few hours, or preferably overnight, as the abrasive action of the salt, combined with the solvent properties of the alcohol, effectively loosens and dissolves stubborn residue.
-
Rinsing and Drying: After the soaking period, thoroughly rinse the bowl and stem with warm water to remove the alcohol and salt residue. Use a pipe cleaner and cotton swabs to ensure that all residual buildup is removed. Once cleaned, allow the components to air dry completely before reassembling the pipe.
By meticulously following these steps to remove residue, you can effectively restore the interior surfaces of your pipe to a pristine state, ensuring a smoother and more enjoyable smoking experience. The combination of pipe cleaners, rubbing alcohol, and salt solution provides a comprehensive approach to eliminating residue, revitalizing your pipe, and enhancing the overall smoking experience.
Step 3: Cleaning the Stem and Bowl
Cleaning the stem and bowl of your pipe is a crucial step in the overall maintenance process, as it directly impacts the quality of your smoking experience. Residue and buildup within these components can significantly affect the flavor and purity of the smoke, making thorough cleaning essential. Here's a detailed guide on effectively cleaning the stem and bowl of your pipe:
Read more: How To Cut PVC Pipe
Stem Cleaning:
-
Pipe Cleaners and Rubbing Alcohol: Begin by moistening a pipe cleaner with rubbing alcohol. Gently insert the dampened pipe cleaner into the stem, ensuring that it reaches the entire length. The bristles of the pipe cleaner effectively dislodge and absorb any residue or buildup within the stem. Repeat this process with additional pipe cleaners until they emerge clean, indicating the removal of residue.
-
Cotton Swabs for Precision: For hard-to-reach areas within the stem, use cotton swabs moistened with rubbing alcohol. Carefully swab the inner surfaces, ensuring thorough coverage. This meticulous approach helps eliminate any residual buildup, ensuring that the stem is clean and free from obstructions.
-
Inspecting for Residue: After cleaning, visually inspect the stem to ensure that all residue has been effectively removed. This visual assessment is crucial in confirming the cleanliness of the stem and preparing it for reassembly.
Bowl Cleaning:
-
Swabbing the Bowl: Using a fresh pipe cleaner moistened with rubbing alcohol, carefully swab the interior of the bowl. Pay close attention to any areas where residue may be concentrated, ensuring that the entire surface is thoroughly cleaned. The absorbent nature of the pipe cleaner, combined with the cleaning properties of alcohol, effectively removes residue from the bowl.
-
Salt and Alcohol Solution: For a more intensive cleaning of the bowl, create a solution using rubbing alcohol and coarse salt. Fill the bowl with the alcohol and salt mixture, ensuring that it covers the entire interior. Allow the solution to sit for a few hours, or preferably overnight, as the abrasive action of the salt, combined with the solvent properties of the alcohol, effectively loosens and dissolves stubborn residue.
-
Rinsing and Drying: After the soaking period, thoroughly rinse the bowl with warm water to remove the alcohol and salt residue. Use a pipe cleaner and cotton swabs to ensure that all residual buildup is removed. Once cleaned, allow the bowl to air dry completely before reassembling the pipe.
By meticulously following these steps to clean the stem and bowl of your pipe, you can ensure that both components are free from residue and buildup, contributing to a more enjoyable and flavorful smoking experience. The combination of pipe cleaners, rubbing alcohol, and salt solution provides a comprehensive approach to maintaining the cleanliness and integrity of your pipe.
Step 4: Reassembling the Pipe
Reassembling the pipe is the final step in the cleaning process, bringing together the meticulously cleaned components to restore the pipe to its functional state. Proper reassembly ensures that the pipe is ready for use, allowing you to enjoy a smooth and flavorful smoking experience. Here's a detailed guide on how to effectively reassemble your pipe:
-
Reattaching the Stem: Begin by carefully aligning the stem with the shank of the pipe. Gently twist the stem back into place, ensuring a secure and snug fit. Take care to avoid applying excessive force, as this can potentially damage the pipe. A smooth and precise reattachment of the stem is essential for the overall integrity of the pipe.
-
Inserting the Filter (if applicable): If your pipe is equipped with a filter, carefully insert a new filter into the stem. Filters play a crucial role in absorbing moisture and impurities, contributing to a cleaner and more enjoyable smoking experience. Ensure that the filter is securely positioned within the stem, ready to fulfill its function during smoking sessions.
-
Inspecting the Seal: After reattaching the stem, inspect the seal between the stem and the shank to ensure a tight and secure connection. A proper seal is essential for maintaining the integrity of the pipe and preventing any potential air leaks during smoking. Confirm that the stem is firmly and evenly seated within the shank, indicating a well-aligned and sealed reassembly.
-
Final Checks and Adjustments: Once the stem is securely reattached, perform a final inspection of the pipe to ensure that all components are in place and properly aligned. Check for any signs of misalignment or loose fittings, addressing them promptly to guarantee the structural integrity of the pipe. This meticulous attention to detail ensures that the reassembled pipe is ready for use, free from any potential issues or discrepancies.
By following these steps to reassemble your pipe, you can complete the comprehensive cleaning process and prepare the pipe for future smoking sessions. A properly reassembled pipe not only ensures a seamless smoking experience but also reflects the care and attention devoted to maintaining its condition. With the pipe fully reassembled, you can look forward to enjoying the pure and unadulterated flavors of your favorite tobacco blends, knowing that your pipe has been revitalized and primed for optimal performance.
Conclusion
In conclusion, the process of cleaning a pipe is an essential aspect of pipe maintenance that directly impacts the quality of the smoking experience. By diligently following the step-by-step cleaning process and utilizing the recommended materials, you can effectively revitalize your pipe and ensure a smoother, more flavorful smoking session.
Proper maintenance not only enhances the smoking experience but also contributes to the overall hygiene and longevity of your pipe. Regular cleaning removes residue and buildup, preventing the accumulation of harmful substances and preserving the integrity of the pipe. Additionally, a clean pipe promotes better airflow and combustion, allowing for a more consistent and enjoyable smoking experience.
The disassembly of the pipe sets the stage for a thorough cleaning process, providing access to the interior and exterior components. By carefully removing the stem, filter (if applicable), and emptying the bowl, you create a clean canvas for the revitalization of your pipe.
The meticulous removal of residue using pipe cleaners, rubbing alcohol, and salt solution ensures that the interior surfaces of the pipe are free from buildup, contributing to a purer and more satisfying smoking experience. This comprehensive approach effectively eliminates tar, ash, and other byproducts of smoking, restoring the pipe to its optimal state.
Cleaning the stem and bowl is a critical step that directly impacts the quality of the smoking experience. By diligently swabbing and inspecting these components, you ensure that they are free from residue and buildup, contributing to a more enjoyable and flavorful smoking session.
Finally, the reassembly of the pipe completes the cleaning process, bringing together the meticulously cleaned components to restore the pipe to its functional state. A properly reassembled pipe ensures a seamless smoking experience, reflecting the care and attention devoted to maintaining its condition.
In essence, regular cleaning is a fundamental practice that not only preserves the functionality and aesthetics of your pipe but also enhances the overall smoking experience. By incorporating these cleaning techniques into your pipe maintenance routine, you can enjoy the pure and unadulterated flavors of your favorite tobacco blends, knowing that your pipe has been revitalized and primed for optimal performance.
