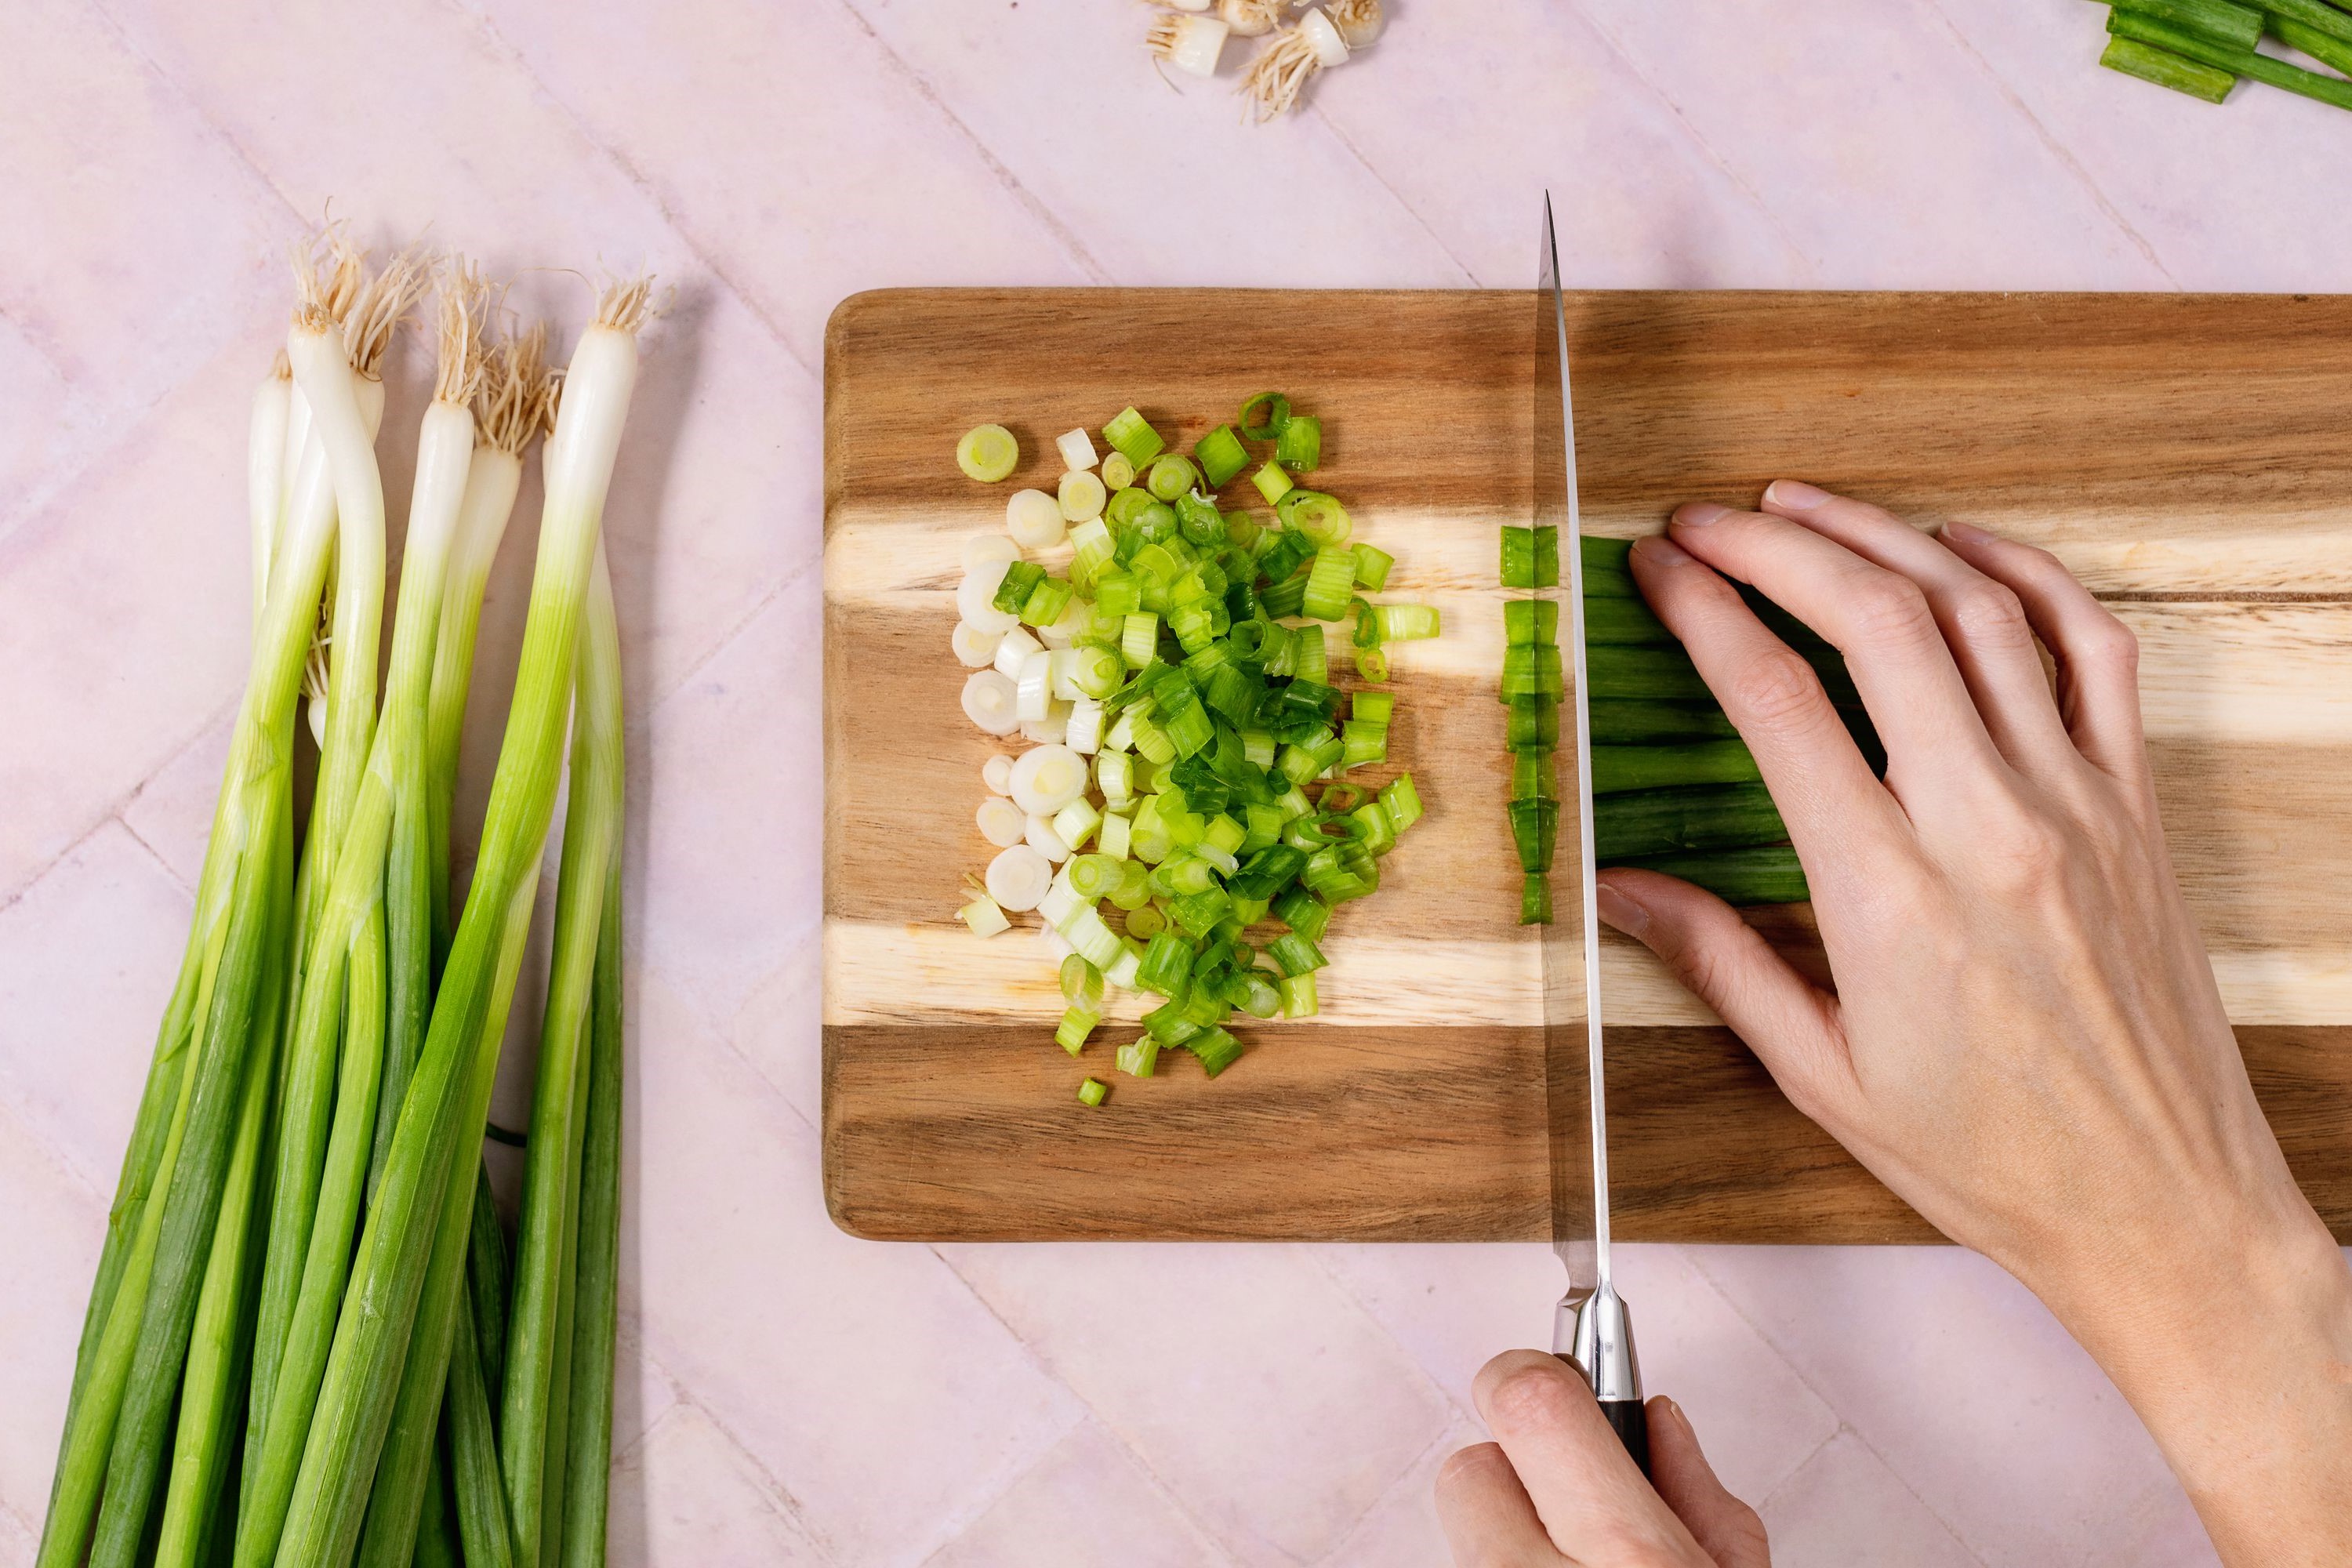
Home>Home and Garden>How To Clean Wooden Cutting Board
Home and Garden
How To Clean Wooden Cutting Board
Published: March 1, 2024
Learn the best techniques for cleaning and maintaining your wooden cutting board at home. Keep your kitchen tools in top condition with these simple tips. Ideal for home and garden enthusiasts.
(Many of the links in this article redirect to a specific reviewed product. Your purchase of these products through affiliate links helps to generate commission for Noodls.com, at no extra cost. Learn more)
Table of Contents
Introduction
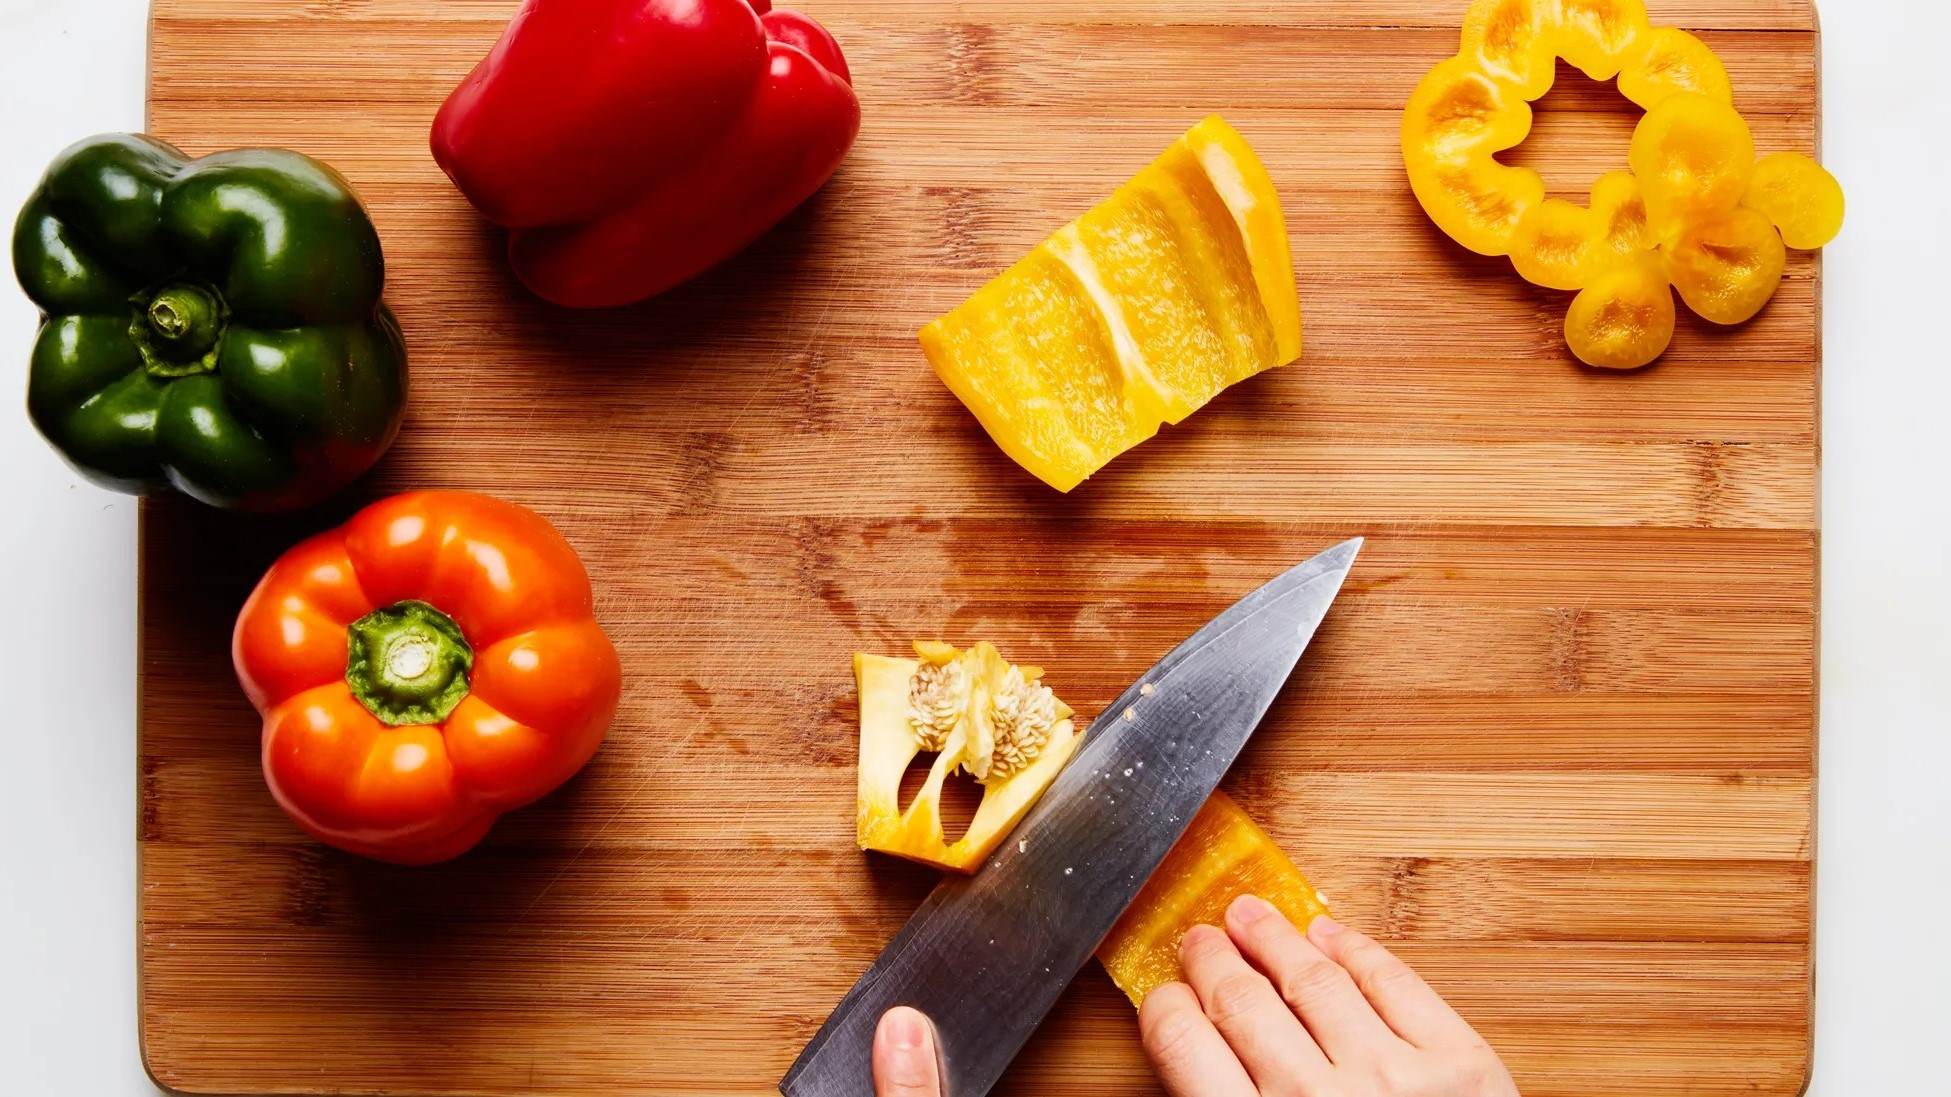
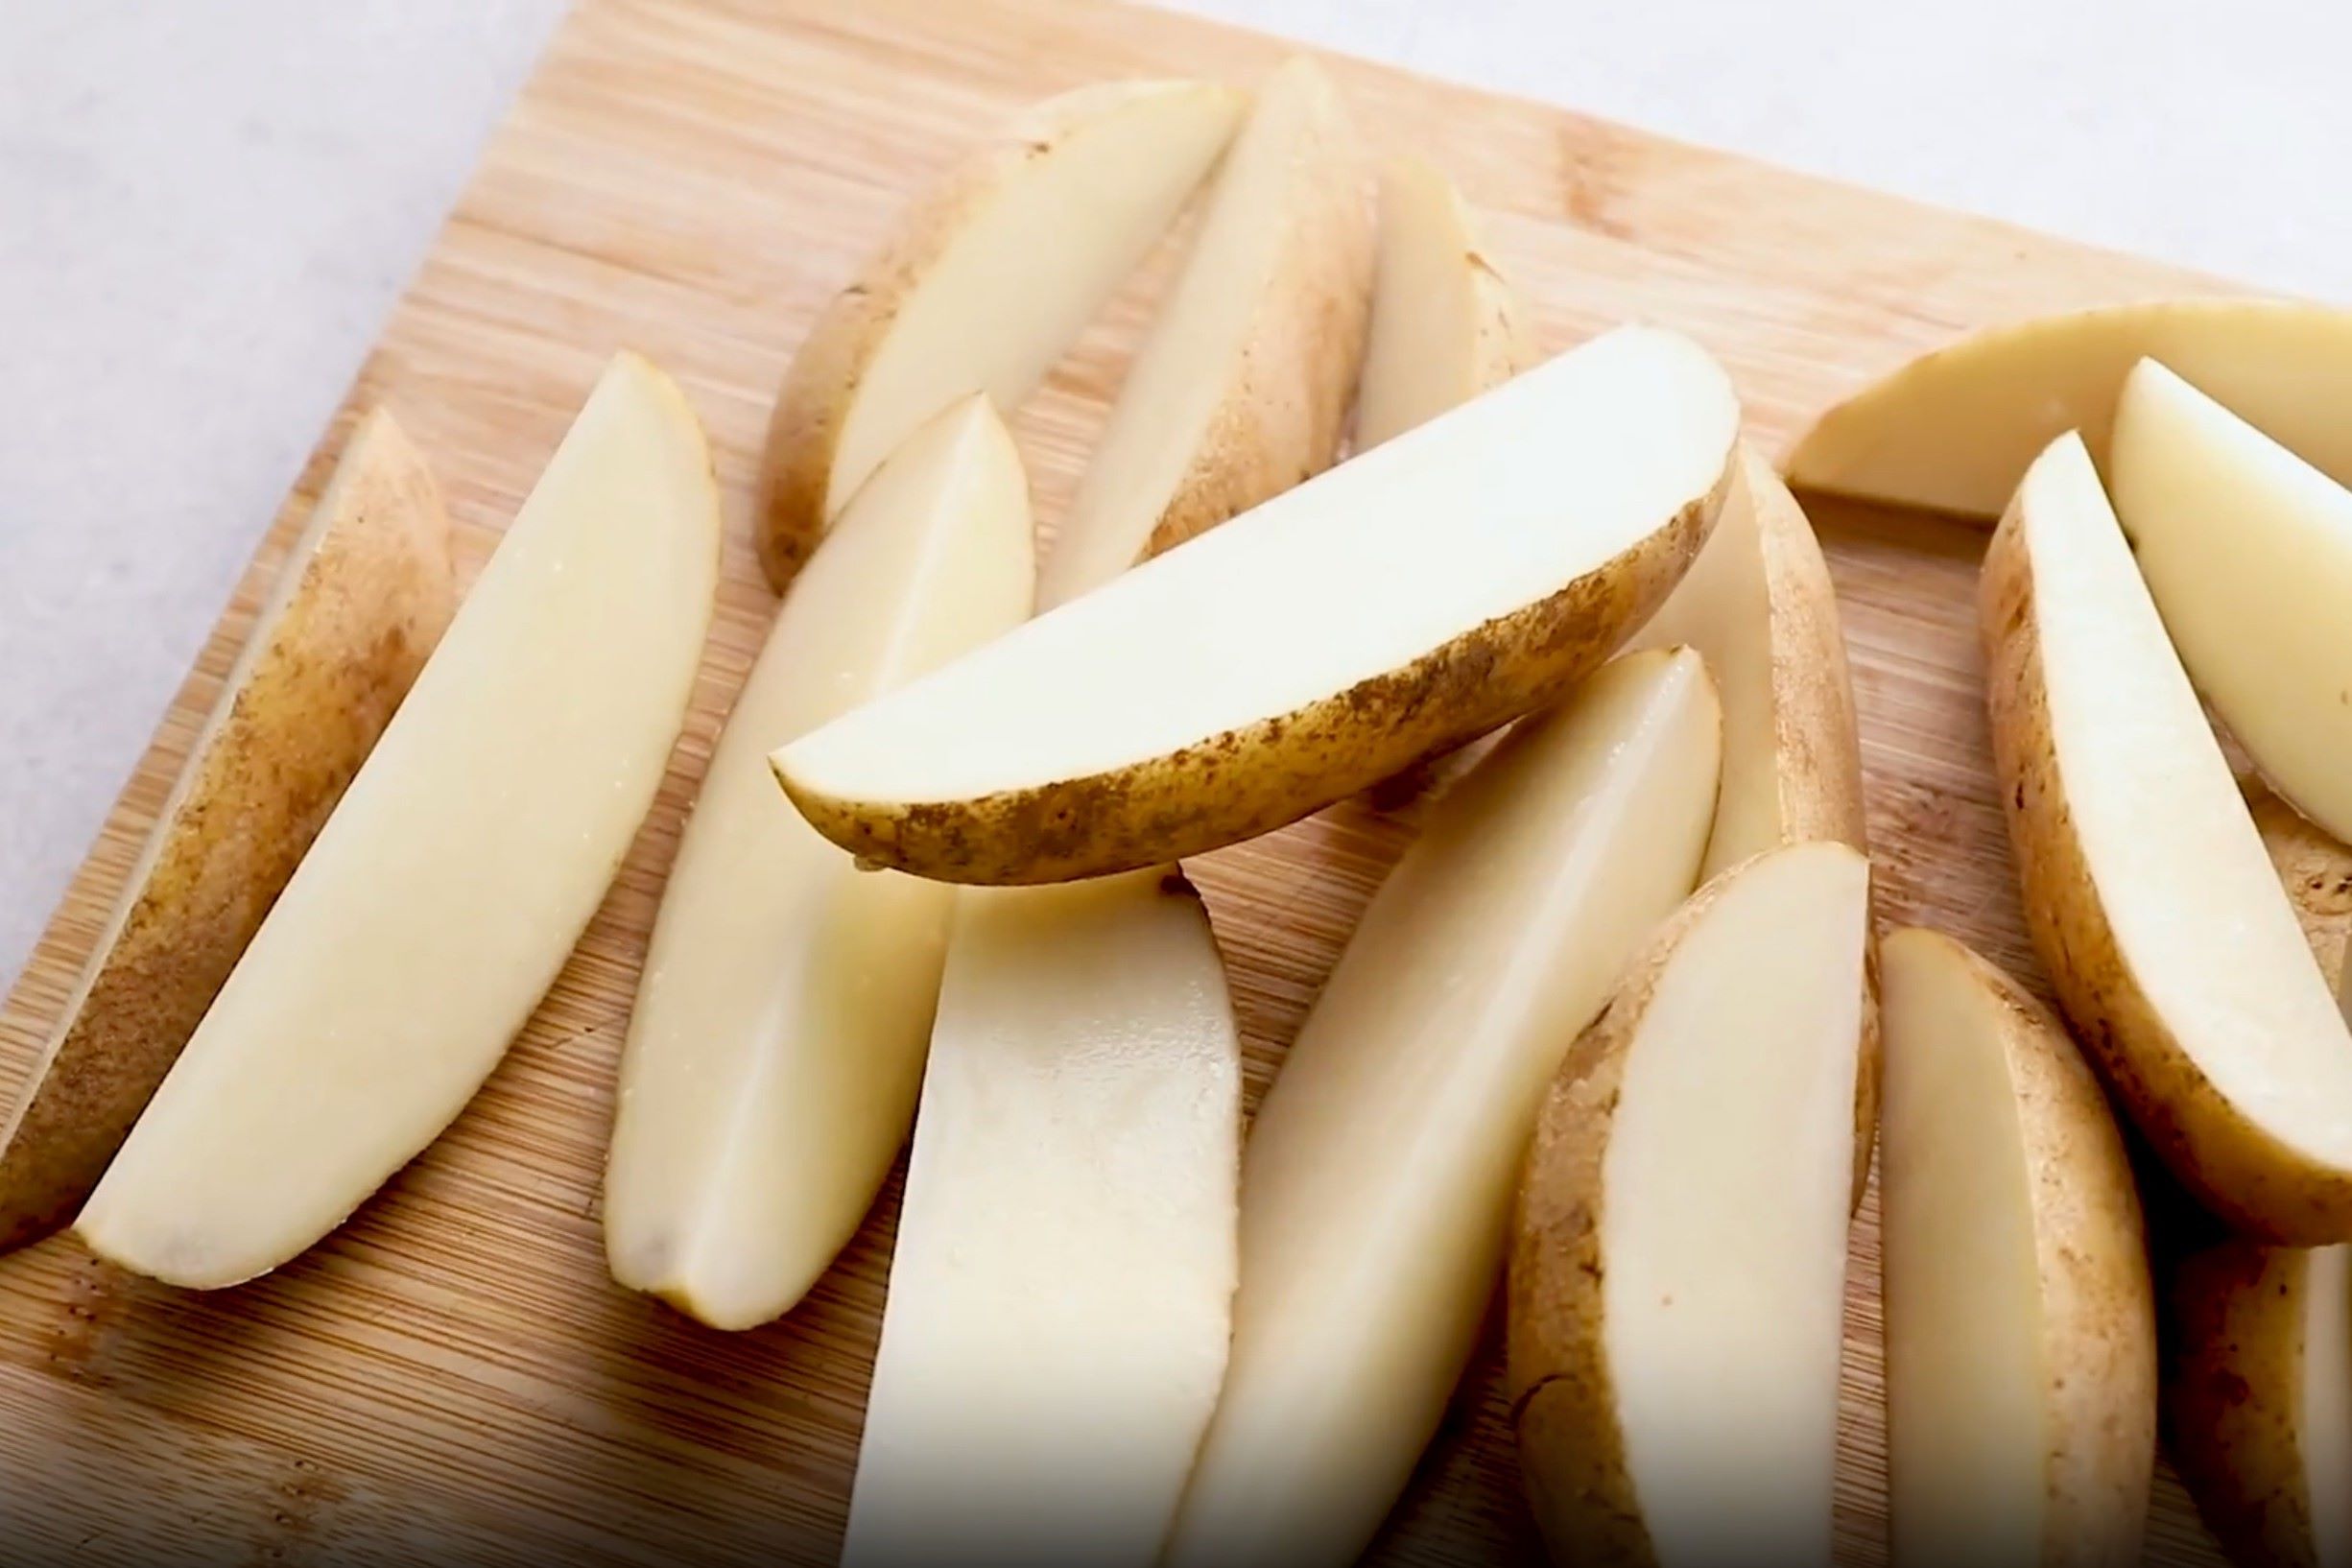
A wooden cutting board is a kitchen staple, cherished for its natural beauty and durability. Whether you use it for slicing vegetables, carving meats, or preparing fruits, a wooden cutting board requires regular maintenance to ensure its longevity and hygiene. Over time, wooden cutting boards can harbor bacteria and develop unsightly stains and odors. However, with the right care and cleaning routine, you can restore your wooden cutting board to its pristine condition.
In this comprehensive guide, we will walk you through the step-by-step process of cleaning and maintaining your wooden cutting board. From scrubbing with salt and lemon to disinfecting with vinegar and conditioning with mineral oil, we will cover all the essential techniques to keep your wooden cutting board in top-notch shape. By following these simple yet effective methods, you can ensure that your wooden cutting board remains a reliable and safe kitchen companion for years to come.
So, roll up your sleeves and get ready to revive your wooden cutting board with our expert tips and tricks. With a little care and attention, you can preserve the natural beauty and functionality of your wooden cutting board, making it a cherished kitchen essential for countless meals to come. Let's dive into the materials needed and the step-by-step cleaning process to rejuvenate your wooden cutting board.
Read more: How To Cut Hardie Board
Materials Needed
To embark on the journey of restoring your wooden cutting board to its former glory, you will need a few simple yet essential materials. These items are readily available and will facilitate the cleaning and maintenance process, ensuring that your wooden cutting board remains a reliable and safe kitchen companion. Here's what you'll need:
-
Coarse Salt: This kitchen staple serves as a natural abrasive, effectively lifting stains and residue from the surface of the cutting board.
-
Lemons: Fresh lemons are a powerhouse of natural cleaning properties. The acidic nature of lemon juice helps to disinfect the cutting board and eliminate lingering odors.
-
White Vinegar: Known for its antibacterial properties, white vinegar is a key ingredient for disinfecting the wooden cutting board and neutralizing any harmful bacteria.
-
Mineral Oil: This food-grade oil is essential for conditioning the wooden cutting board, preventing it from drying out and cracking. It helps to maintain the board's natural luster and resilience.
-
Clean Cloth or Sponge: A soft, clean cloth or sponge will be used for scrubbing and applying the cleaning solutions to the cutting board.
-
Paper Towels: These will come in handy for drying the cutting board after cleaning and conditioning.
By gathering these materials, you'll be well-equipped to tackle the cleaning and maintenance process, ensuring that your wooden cutting board remains a cherished and reliable kitchen essential. Now that you have the necessary materials at your disposal, let's dive into the step-by-step cleaning process to rejuvenate your wooden cutting board.
Step 1: Scrubbing with Salt and Lemon
The first step in revitalizing your wooden cutting board involves harnessing the natural cleaning power of salt and lemon. This dynamic duo works in tandem to lift stains, eliminate odors, and sanitize the surface of the cutting board.
Begin by generously sprinkling coarse salt over the entire surface of the cutting board. The coarse texture of the salt acts as a gentle abrasive, effectively scrubbing away food particles, stains, and any residual odors. Using a fresh lemon, cut it in half and firmly rub the exposed flesh over the salt-covered surface of the cutting board. As you do so, the natural acidity of the lemon juice reacts with the salt, forming a potent cleansing paste. This paste works to break down stubborn stains and grime while imparting a fresh, citrusy aroma to the cutting board.
Continue to scrub the board with the lemon halves, ensuring that the entire surface is thoroughly covered. Pay special attention to any areas with visible stains or lingering odors. The combined action of the salt and lemon not only cleanses the cutting board but also helps to neutralize bacteria, making it a safe and hygienic surface for food preparation.
After scrubbing the board with the salt and lemon, allow the cleansing paste to sit for a few minutes, allowing it to work its magic on the surface. This brief resting period gives the natural cleaning agents ample time to penetrate and lift any embedded residue, leaving your cutting board looking and smelling fresh.
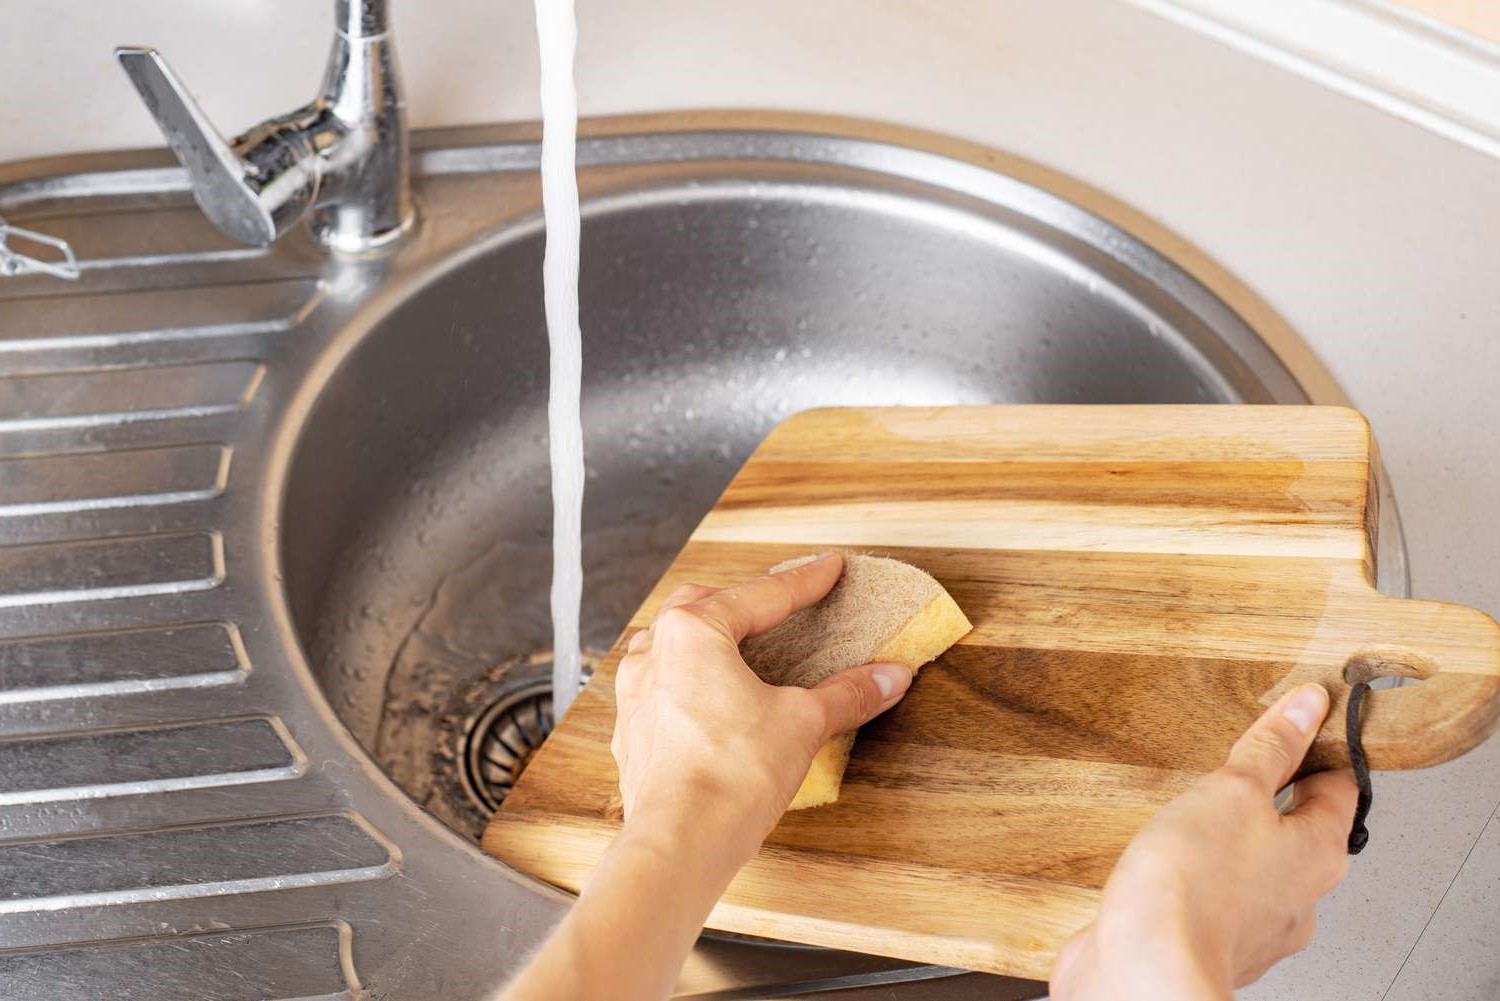
Once the salt and lemon have had a chance to work their wonders, use a damp cloth or sponge to wipe away the cleansing paste from the cutting board. Rinse the board thoroughly under running water to remove any remaining salt and lemon residue. Finally, pat the board dry with a clean towel or paper towels, ensuring that it is completely free of moisture before proceeding to the next step.
By harnessing the cleansing power of salt and lemon, you have taken the crucial first step in rejuvenating your wooden cutting board. Not only has this process effectively cleansed the board, but it has also imparted a delightful citrus scent, signaling the beginning of a revitalized and hygienic kitchen essential. With the first step complete, it's time to move on to the next phase of the cleaning process, where we will focus on disinfecting the cutting board with the help of white vinegar.
Step 2: Disinfecting with Vinegar
After thoroughly scrubbing the wooden cutting board with salt and lemon, the next vital step involves disinfecting the surface to eliminate any lingering bacteria and ensure a hygienic food preparation area. White vinegar, renowned for its natural antibacterial properties, serves as the key ingredient in this disinfection process.
To begin, pour a generous amount of undiluted white vinegar onto the surface of the cutting board, ensuring that it covers the entire area. The acidic nature of vinegar works to effectively neutralize and eliminate harmful bacteria, providing a safe and sanitary environment for food preparation. Allow the vinegar to sit on the cutting board for at least 5-10 minutes, allowing ample time for it to penetrate and disinfect the surface.
During this brief waiting period, the vinegar diligently combats any remaining bacteria, effectively sanitizing the cutting board and neutralizing any potential health hazards. This simple yet powerful disinfection process ensures that your wooden cutting board is not only clean but also safe for handling and preparing food.
After the designated time has elapsed, use a clean, damp cloth or sponge to thoroughly wipe the vinegar from the surface of the cutting board. Rinse the board under running water to remove any residual vinegar, ensuring that it is completely free of the disinfecting solution. Finally, pat the cutting board dry with a clean towel or paper towels, ensuring that it is entirely moisture-free before proceeding to the next step.
By disinfecting the wooden cutting board with white vinegar, you have taken a crucial step in ensuring a safe and hygienic food preparation area. The natural antibacterial properties of vinegar have effectively neutralized any lingering bacteria, providing you with the confidence that your cutting board is a clean and safe surface for all your culinary endeavors.
With the disinfection process complete, the next step will focus on conditioning the wooden cutting board with mineral oil, ensuring that it remains nourished and resilient for years to come.
Step 3: Conditioning with Mineral Oil
Conditioning your wooden cutting board with mineral oil is a crucial step in its maintenance, ensuring that it remains nourished, resilient, and resistant to cracks and warping. Mineral oil, a food-grade oil, serves as an ideal choice for conditioning wooden cutting boards due to its odorless and tasteless nature, making it safe for food contact.
To begin the conditioning process, ensure that the wooden cutting board is clean and thoroughly dry. With a clean, soft cloth, generously apply a liberal amount of mineral oil to the entire surface of the cutting board, working it into the wood with gentle, circular motions. The oil penetrates the wood, replenishing its natural moisture and preventing it from drying out and becoming susceptible to cracks and damage.
As you apply the mineral oil, pay special attention to the edges and any areas that appear dry or parched. The goal is to ensure that the entire surface of the cutting board is evenly coated with the oil, creating a protective barrier that enhances its durability and longevity.
Allow the mineral oil to be absorbed by the wood, leaving it to penetrate for at least a few hours or overnight. During this time, the oil seeps into the wood fibers, nourishing and revitalizing the cutting board from within. This conditioning process helps to maintain the natural luster and resilience of the wood, safeguarding it against the rigors of daily use in the kitchen.
After the designated period has elapsed, use a clean cloth to gently wipe away any excess oil from the surface of the cutting board. This step ensures that the board is left with a smooth and non-greasy finish, ready to be used for all your culinary endeavors.
By conditioning your wooden cutting board with mineral oil, you have taken a proactive step in preserving its beauty and functionality. The nourishing properties of mineral oil help to maintain the integrity of the wood, ensuring that your cutting board remains a reliable and enduring kitchen essential for years to come.
With the conditioning process complete, the final step involves ensuring that the cutting board is thoroughly dried and properly stored, ready for its next culinary adventure.
Read more: How To Cut Cement Board
Step 4: Drying and Storing
After completing the cleaning, disinfecting, and conditioning processes, the final step in rejuvenating your wooden cutting board involves ensuring that it is thoroughly dried and properly stored. This crucial step is essential for maintaining the pristine condition of the cutting board and safeguarding it against potential damage or warping.
Begin by using a clean, dry towel or paper towels to gently pat the entire surface of the cutting board, ensuring that all moisture is effectively absorbed. Pay special attention to the edges and any crevices where water may have accumulated during the cleaning and conditioning processes. It is imperative to remove all traces of moisture to prevent the growth of mold or mildew and to preserve the integrity of the wood.
Once the cutting board is completely dry, it is essential to store it in a suitable environment that promotes proper air circulation and prevents exposure to excessive heat or moisture. Ideally, the cutting board should be stored in a cool, dry place away from direct sunlight and heat sources, such as stoves or dishwashers. Additionally, it is advisable to store the cutting board in a vertical position, allowing air to circulate around all sides and minimizing the risk of warping.
If space allows, consider storing the cutting board in an upright position to facilitate optimal air circulation. This positioning also prevents any residual moisture from accumulating on the surface, further safeguarding the wood against potential damage. Alternatively, if horizontal storage is the only viable option, ensure that the cutting board is placed on a clean, dry surface, allowing for adequate airflow around all sides.
By diligently following these drying and storing guidelines, you can ensure that your wooden cutting board remains in impeccable condition, ready to serve as a reliable and hygienic surface for all your culinary endeavors. With proper care and maintenance, your wooden cutting board will continue to exude natural beauty and functionality, enriching your kitchen experience for years to come.
As you complete the final step of drying and storing your rejuvenated wooden cutting board, take a moment to admire the fruits of your labor. The revitalized cutting board stands as a testament to your dedication to maintaining a clean, safe, and aesthetically pleasing kitchen environment. With these comprehensive cleaning and maintenance techniques at your disposal, you can confidently preserve the natural beauty and functionality of your wooden cutting board, ensuring that it remains a cherished and reliable kitchen essential for countless meals to come.
Conclusion
In conclusion, the process of cleaning and maintaining a wooden cutting board is not only essential for preserving its natural beauty but also crucial for ensuring a safe and hygienic food preparation area. By following the step-by-step cleaning and conditioning techniques outlined in this guide, you have taken proactive measures to rejuvenate your wooden cutting board, transforming it into a reliable and enduring kitchen essential.
Through the meticulous process of scrubbing with salt and lemon, you effectively lifted stains, eliminated odors, and sanitized the surface of the cutting board. The natural cleaning power of salt and lemon, coupled with their delightful citrus aroma, set the stage for a revitalized and hygienic cutting board.
Subsequently, the disinfection process with white vinegar further reinforced the cleanliness and safety of the cutting board. The antibacterial properties of vinegar worked diligently to neutralize any lingering bacteria, providing you with the confidence that your cutting board is a safe and sanitary surface for food preparation.
The conditioning step with mineral oil served as a pivotal measure in maintaining the integrity and resilience of the wood. By nourishing the cutting board from within, you have safeguarded it against drying out, cracking, and warping, ensuring that it remains a durable and long-lasting kitchen companion.
Finally, the meticulous process of drying and storing the cutting board ensures that it remains in impeccable condition, ready to serve as a reliable and hygienic surface for all your culinary endeavors. By adhering to proper drying and storage guidelines, you have taken the necessary steps to safeguard the cutting board against potential damage and preserve its natural beauty.
As you reflect on the comprehensive cleaning and maintenance journey that has revitalized your wooden cutting board, take pride in the dedication and care you have invested in preserving a clean, safe, and aesthetically pleasing kitchen environment. With these expert techniques at your disposal, you can confidently maintain the natural beauty and functionality of your wooden cutting board, ensuring that it remains a cherished and reliable kitchen essential for countless meals to come.