Lifestyle
How To Get SNS Nails Off
Published: February 27, 2024
Learn the best methods for removing SNS nails at home and maintaining healthy nails. Discover lifestyle tips for nail care and maintenance.
(Many of the links in this article redirect to a specific reviewed product. Your purchase of these products through affiliate links helps to generate commission for Noodls.com, at no extra cost. Learn more)
Table of Contents
Introduction
Removing SNS nails at home can be a daunting task, especially if you're accustomed to the convenience of professional nail services. However, with the right tools and techniques, you can safely and effectively remove SNS nails without causing damage to your natural nails. Whether you're looking to switch up your nail color or give your nails a breather, learning how to remove SNS nails at home is a valuable skill to have.
In this comprehensive guide, we will walk you through the step-by-step process of safely removing SNS nails in the comfort of your own home. From gathering the necessary supplies to moisturizing your nails post-removal, we've got you covered. By following these simple yet effective steps, you can bid farewell to your SNS nails and prepare your natural nails for their next stunning look.
So, roll up your sleeves, gather your supplies, and get ready to give your nails the TLC they deserve. With a little patience and the right approach, you'll be well on your way to achieving beautifully bare nails or a fresh new manicure. Let's dive into the process and learn how to safely and easily remove SNS nails at home.
Read more: How To Get Wax Off Skin
Step 1: Gather Your Supplies
Before embarking on the journey of removing your SNS nails, it's essential to gather the necessary supplies to ensure a smooth and efficient process. Here's what you'll need:
-
Acetone: This powerful solvent is the key ingredient for breaking down the SNS nail powder and adhesive, making it easier to remove the nails.
-
Nail File: Opt for a fine-grit nail file to gently file the top coat of the SNS nails, allowing the acetone to penetrate more effectively.
-
Cotton Balls or Pads: These will be used to soak in acetone and wrap around your nails during the removal process.
-
Aluminum Foil: Cut into small squares to wrap around the soaked cotton balls and secure them in place.
-
Cuticle Oil or Nail Strengthener: After removing the SNS nails, it's crucial to nourish and strengthen your natural nails. Choose a high-quality cuticle oil or nail strengthener to promote nail health.
-
Moisturizing Lotion: To provide hydration and nourishment to your hands and nails post-removal, have your favorite moisturizing lotion on hand.
By ensuring that you have all these supplies within reach, you'll be well-prepared to tackle the task of removing your SNS nails with confidence and ease. With the right tools at your disposal, you can proceed to the next step of filing the top coat and initiating the SNS nail removal process.
Step 2: File the Top Coat
Filing the top coat of your SNS nails is a crucial step in the removal process, as it allows the acetone to effectively penetrate and break down the layers of the SNS powder and adhesive. To begin, gently file the top coat of each nail using a fine-grit nail file. It's important to approach this step with patience and precision to avoid damaging your natural nails underneath.
Start by holding the nail file parallel to the nail surface and carefully filing in one direction. Avoid using excessive force, as the goal is to gradually thin out the top coat without causing discomfort or harm to your nails. By filing the top coat, you create a textured surface that enables the acetone to seep through and initiate the dissolution of the SNS nails.
As you file the top coat, you may notice the appearance of a powdery residue. This is a positive indication that the top layer is being effectively thinned out, allowing the acetone to reach the layers beneath. Take your time with this process, ensuring that each nail receives equal attention and gentle filing to prepare them for the next stage of the removal process.
Once you have evenly filed the top coat of all your SNS nails, you are ready to proceed to the next step of soaking your nails in acetone. This preparatory step sets the stage for the acetone to work its magic in breaking down the SNS nails, ultimately leading to a successful and safe removal process.
By taking the time to file the top coat with care and precision, you are laying the foundation for a smooth and effective SNS nail removal experience. This step sets the stage for the subsequent stages of the removal process, ensuring that the acetone can efficiently penetrate the SNS nails and pave the way for their gentle removal without causing harm to your natural nails.
Step 3: Soak Your Nails
With the top coat filed and prepared, it's time to initiate the soaking process to effectively remove the SNS nails. This step involves soaking your nails in acetone to break down the SNS powder and adhesive, allowing for the gentle and efficient removal of the artificial nails.
To begin, saturate small pieces of cotton balls or pads with acetone. Ensure that the cotton is adequately soaked but not dripping excessively to prevent unnecessary mess and wastage of the acetone. Place a soaked cotton ball on top of each nail, ensuring that the entire nail surface is covered.
Once the cotton balls are in place, carefully wrap each fingertip with a small piece of aluminum foil. This helps to secure the soaked cotton balls in position and creates a barrier to prevent the acetone from evaporating quickly. The foil also provides insulation, allowing the acetone to work more effectively in breaking down the SNS nails without losing its potency.
As you proceed with wrapping each fingertip, take care to ensure a snug fit without applying excessive pressure that may cause discomfort. The goal is to create a secure and enclosed environment around each nail, allowing the acetone to work its magic in softening and dissolving the SNS nails.
With your nails securely wrapped in the acetone-soaked cotton and aluminum foil, allow them to soak for approximately 15-20 minutes. During this time, you may choose to relax and indulge in a brief self-care moment while the acetone works its way through the layers of the SNS nails.
It's important to exercise patience during the soaking process, as adequate time allows the acetone to effectively penetrate the SNS nails, making the subsequent removal step much smoother and more efficient. While waiting, you can take this opportunity to enjoy a soothing hand massage or catch up on your favorite book or show.
After the designated soaking time has elapsed, gently remove the aluminum foil and soaked cotton balls from each nail. You may notice that the SNS nails have softened and loosened, indicating that the acetone has successfully broken down the adhesive and powder layers. If there are any residual SNS nail remnants, use a soft, clean tool to gently lift and remove them, taking care not to force or pry excessively to avoid causing damage to your natural nails.
By following these steps and allowing your nails to soak in acetone, you have effectively prepared them for the final stage of gently removing the SNS nails. This soaking process sets the stage for a smooth and safe removal, ensuring that your natural nails remain healthy and undamaged throughout the entire process.
Step 4: Gently Remove the SNS Nails
After the soaking process, the SNS nails should be noticeably softened and loosened, making it easier to gently remove them without causing harm to your natural nails. To begin the removal process, use a soft, clean tool, such as an orangewood stick or a cuticle pusher, to gently lift and push off the softened SNS nails. It's crucial to exercise patience and gentleness during this step to avoid any unnecessary pressure or force that may potentially damage your natural nails.
Start by carefully inserting the tool underneath the softened edge of the SNS nail and gently pushing in an upward motion. As the nail begins to lift, continue to apply gentle pressure, allowing the softened layers to separate from your natural nail surface. Avoid any sudden or forceful movements, as the goal is to delicately coax the SNS nail off without causing discomfort or damage.
As you proceed to remove each SNS nail, take your time and pay close attention to any areas where the nail may still be adhered. If you encounter resistance or difficulty in lifting a particular section, refrain from forcing the nail off and instead reapply a small amount of acetone to further soften the area before attempting to remove it again.
Throughout the removal process, maintain a gentle and patient approach, ensuring that your natural nails are safeguarded from any undue stress or trauma. By taking the time to delicately remove the SNS nails, you can effectively transition to revealing your natural nails, ready to be nourished and adorned with your desired nail care regimen or a fresh manicure.
Once all the SNS nails have been gently lifted and removed, take a moment to inspect your natural nails for any signs of stress or damage. If you notice any areas of concern, such as slight roughness or dryness, consider applying a nourishing cuticle oil or nail strengthener to provide immediate care and support to your nails.
By following these gentle and meticulous steps, you have successfully removed the SNS nails without compromising the health and integrity of your natural nails. This careful approach ensures that your nails remain strong and resilient, ready to embrace the next phase of your nail care routine with confidence and vitality.
Read more: How To Get Bugs Off Car
Step 5: Moisturize Your Nails
After successfully removing the SNS nails and unveiling your natural nail beauties, it's essential to provide them with the nourishment and hydration they deserve. The SNS removal process, while gentle, can still leave your nails and surrounding skin feeling slightly dry or in need of replenishment. Therefore, moisturizing your nails post-removal is a crucial step in ensuring their health and resilience.
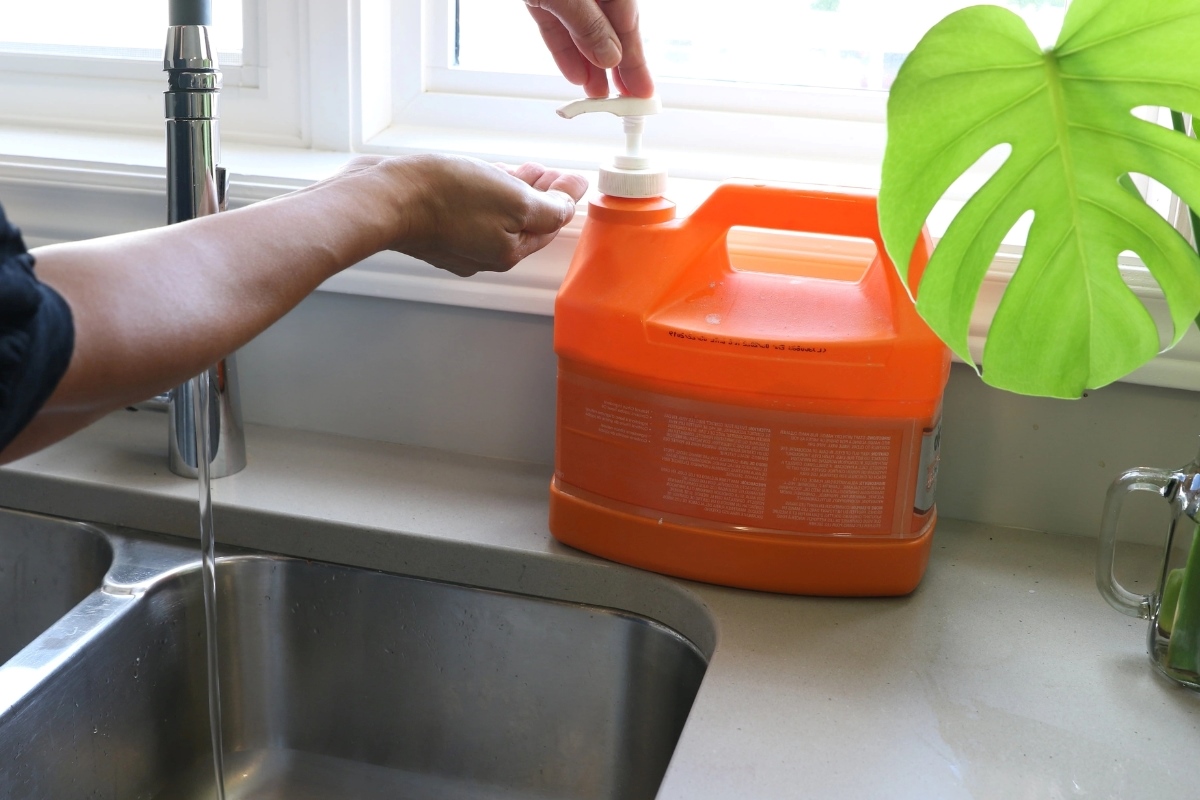
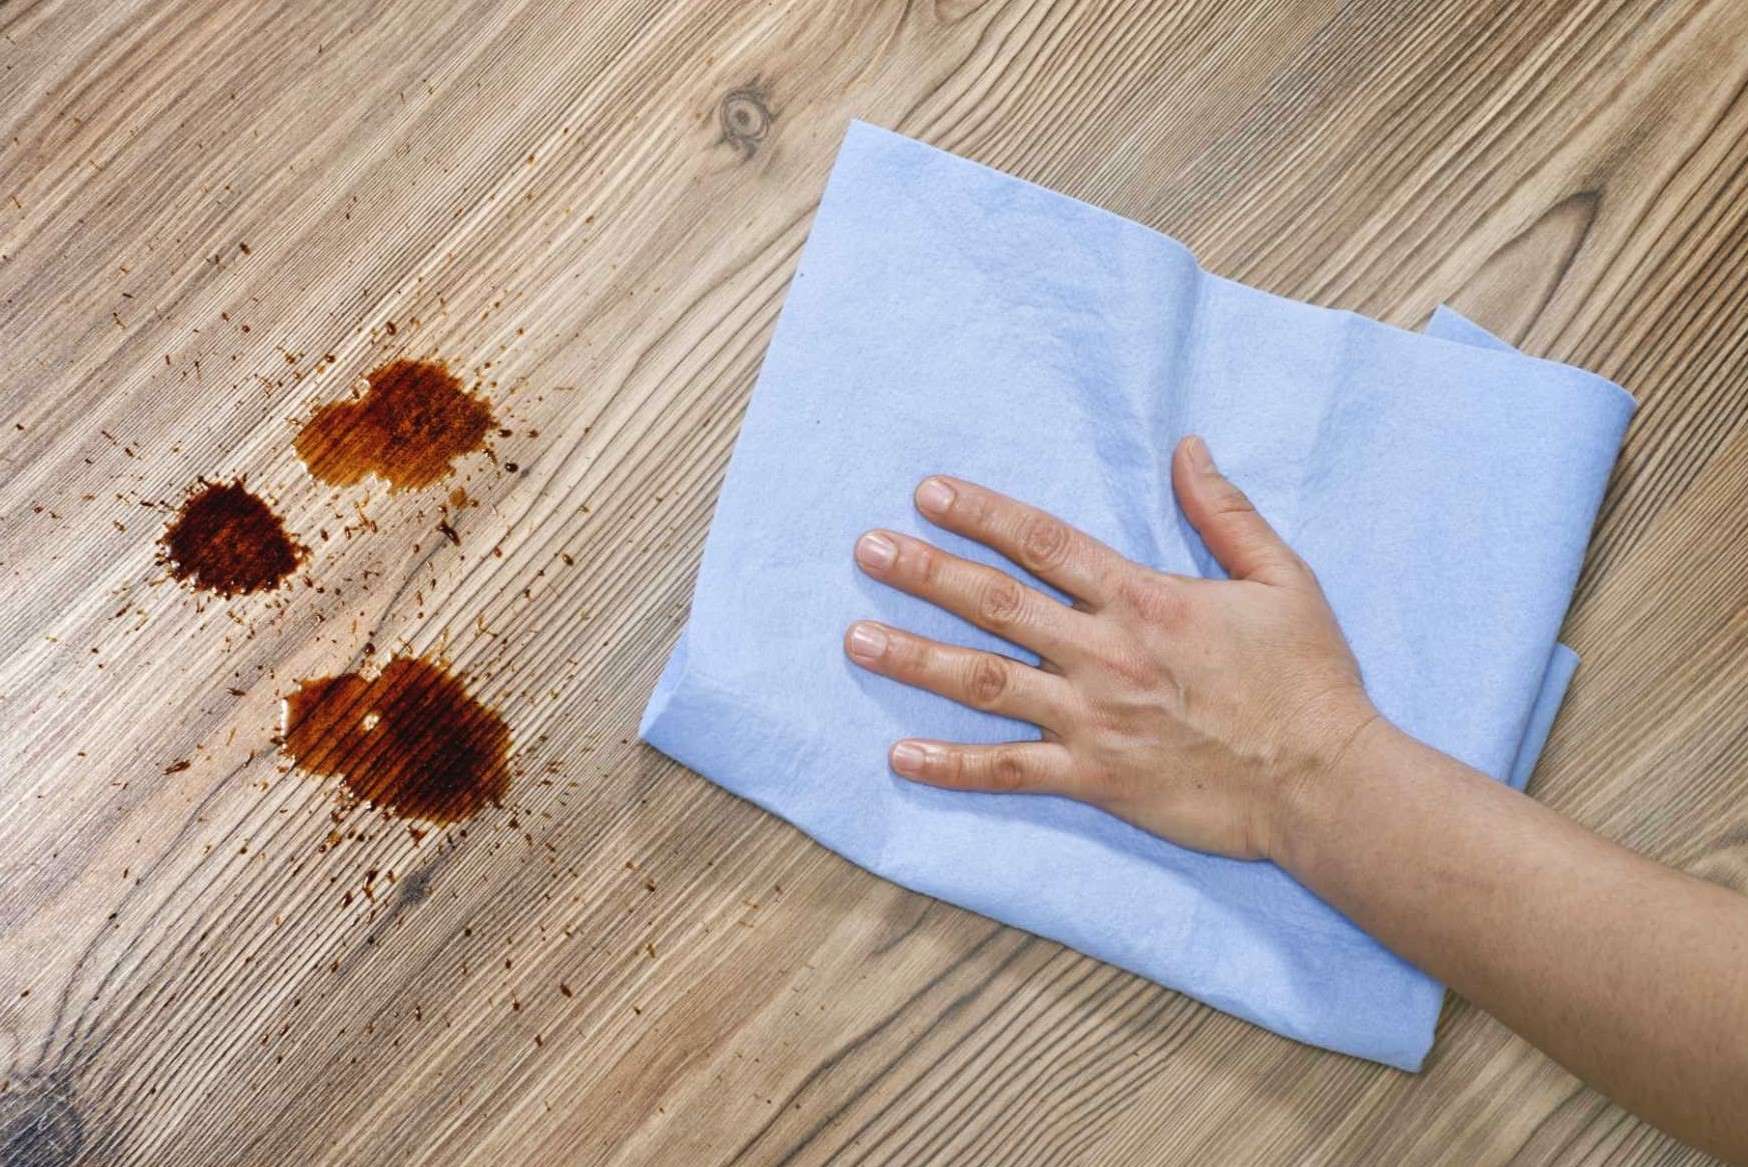
To begin the moisturization process, start by washing your hands with a gentle, hydrating hand soap to remove any residual acetone or debris from the SNS nail removal. Pat your hands and nails dry with a soft, clean towel, ensuring that they are free from any moisture before proceeding with the moisturization step.
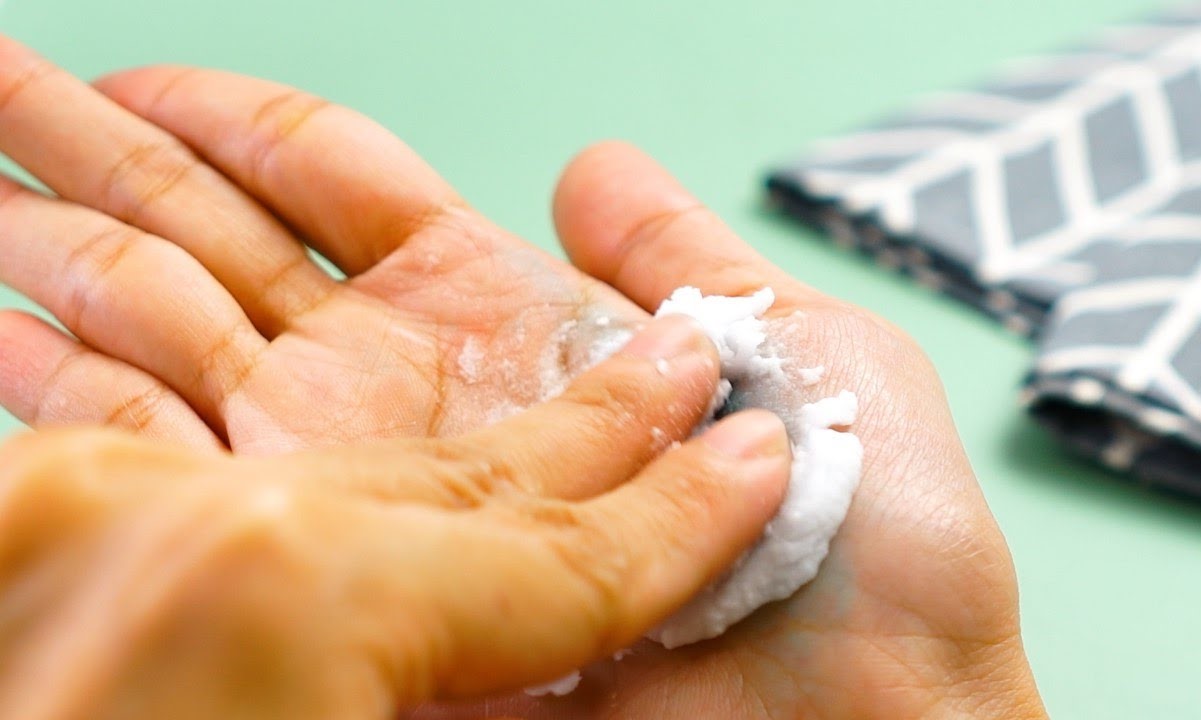
Next, reach for your favorite moisturizing lotion or cream, ideally one specifically formulated for hands and nails. Dispense a small amount onto your fingertips and gently massage the lotion into your nails, cuticles, and the surrounding skin. Take your time to ensure that the moisturizer is evenly distributed, allowing it to penetrate and nourish the nail bed and cuticle area thoroughly.
As you massage the moisturizing lotion into your nails, pay attention to any areas that may feel particularly dry or in need of extra care. By gently massaging the lotion into your nails and cuticles, you not only provide essential hydration but also stimulate blood circulation, promoting overall nail health and vitality.
In addition to moisturizing lotion, consider incorporating a high-quality cuticle oil into your post-SNS nail removal routine. Cuticle oil is specifically designed to nourish and strengthen the delicate cuticle area, promoting healthy nail growth and preventing dryness and brittleness.
Apply a small amount of cuticle oil to each nail, allowing the nourishing formula to seep into the cuticle and nail bed. Gently massage the oil in circular motions, ensuring that it is absorbed thoroughly to provide optimal nourishment and protection to your nails.
By incorporating both moisturizing lotion and cuticle oil into your post-removal routine, you are providing your nails with the essential care and hydration they need to recover and thrive. This nurturing step not only replenishes moisture but also fortifies your nails, leaving them looking and feeling revitalized and ready for their next stunning manicure.
As you complete the moisturization process, take a moment to admire your natural nails, now nourished and radiant. With the SNS nails safely removed and your natural nails lovingly moisturized, you are well-prepared to embrace the next chapter of your nail care journey with confidence and grace.