Home>Home and Garden>How To Get Hair Dye Off Of Counter
Home and Garden
How To Get Hair Dye Off Of Counter
Published: March 1, 2024
Learn effective methods to remove hair dye stains from your counter with simple home and garden solutions. Keep your surfaces looking clean and vibrant.
(Many of the links in this article redirect to a specific reviewed product. Your purchase of these products through affiliate links helps to generate commission for Noodls.com, at no extra cost. Learn more)
Table of Contents
Introduction
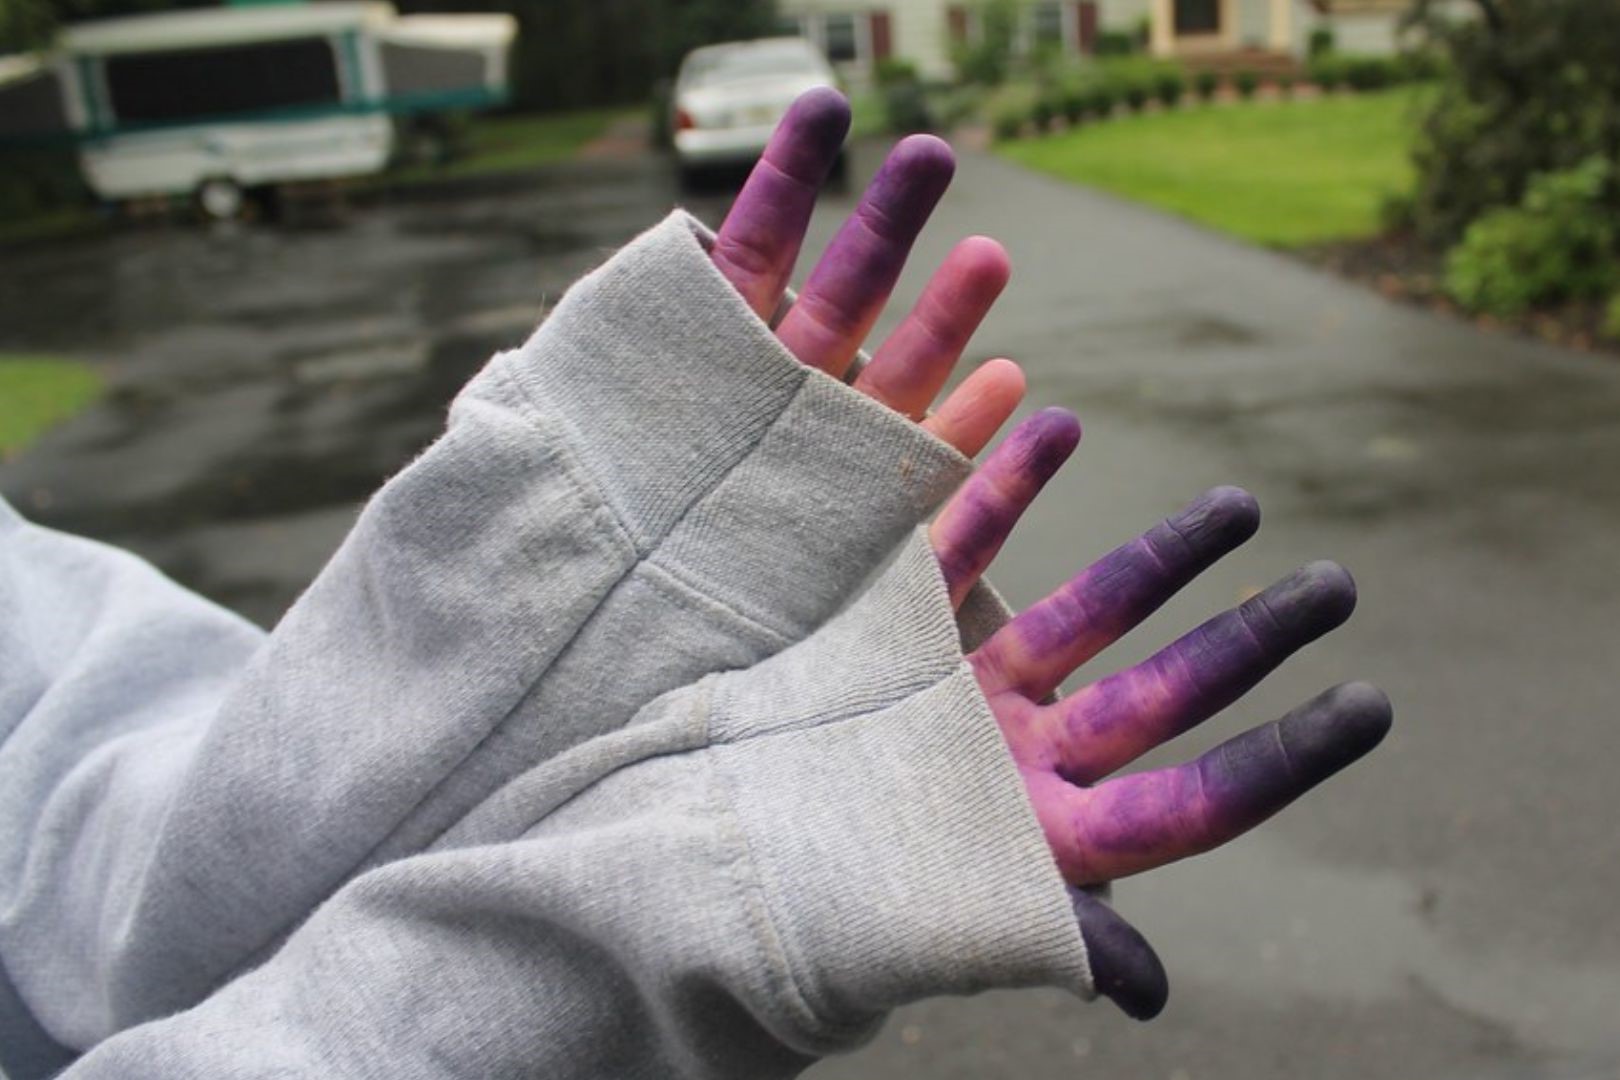
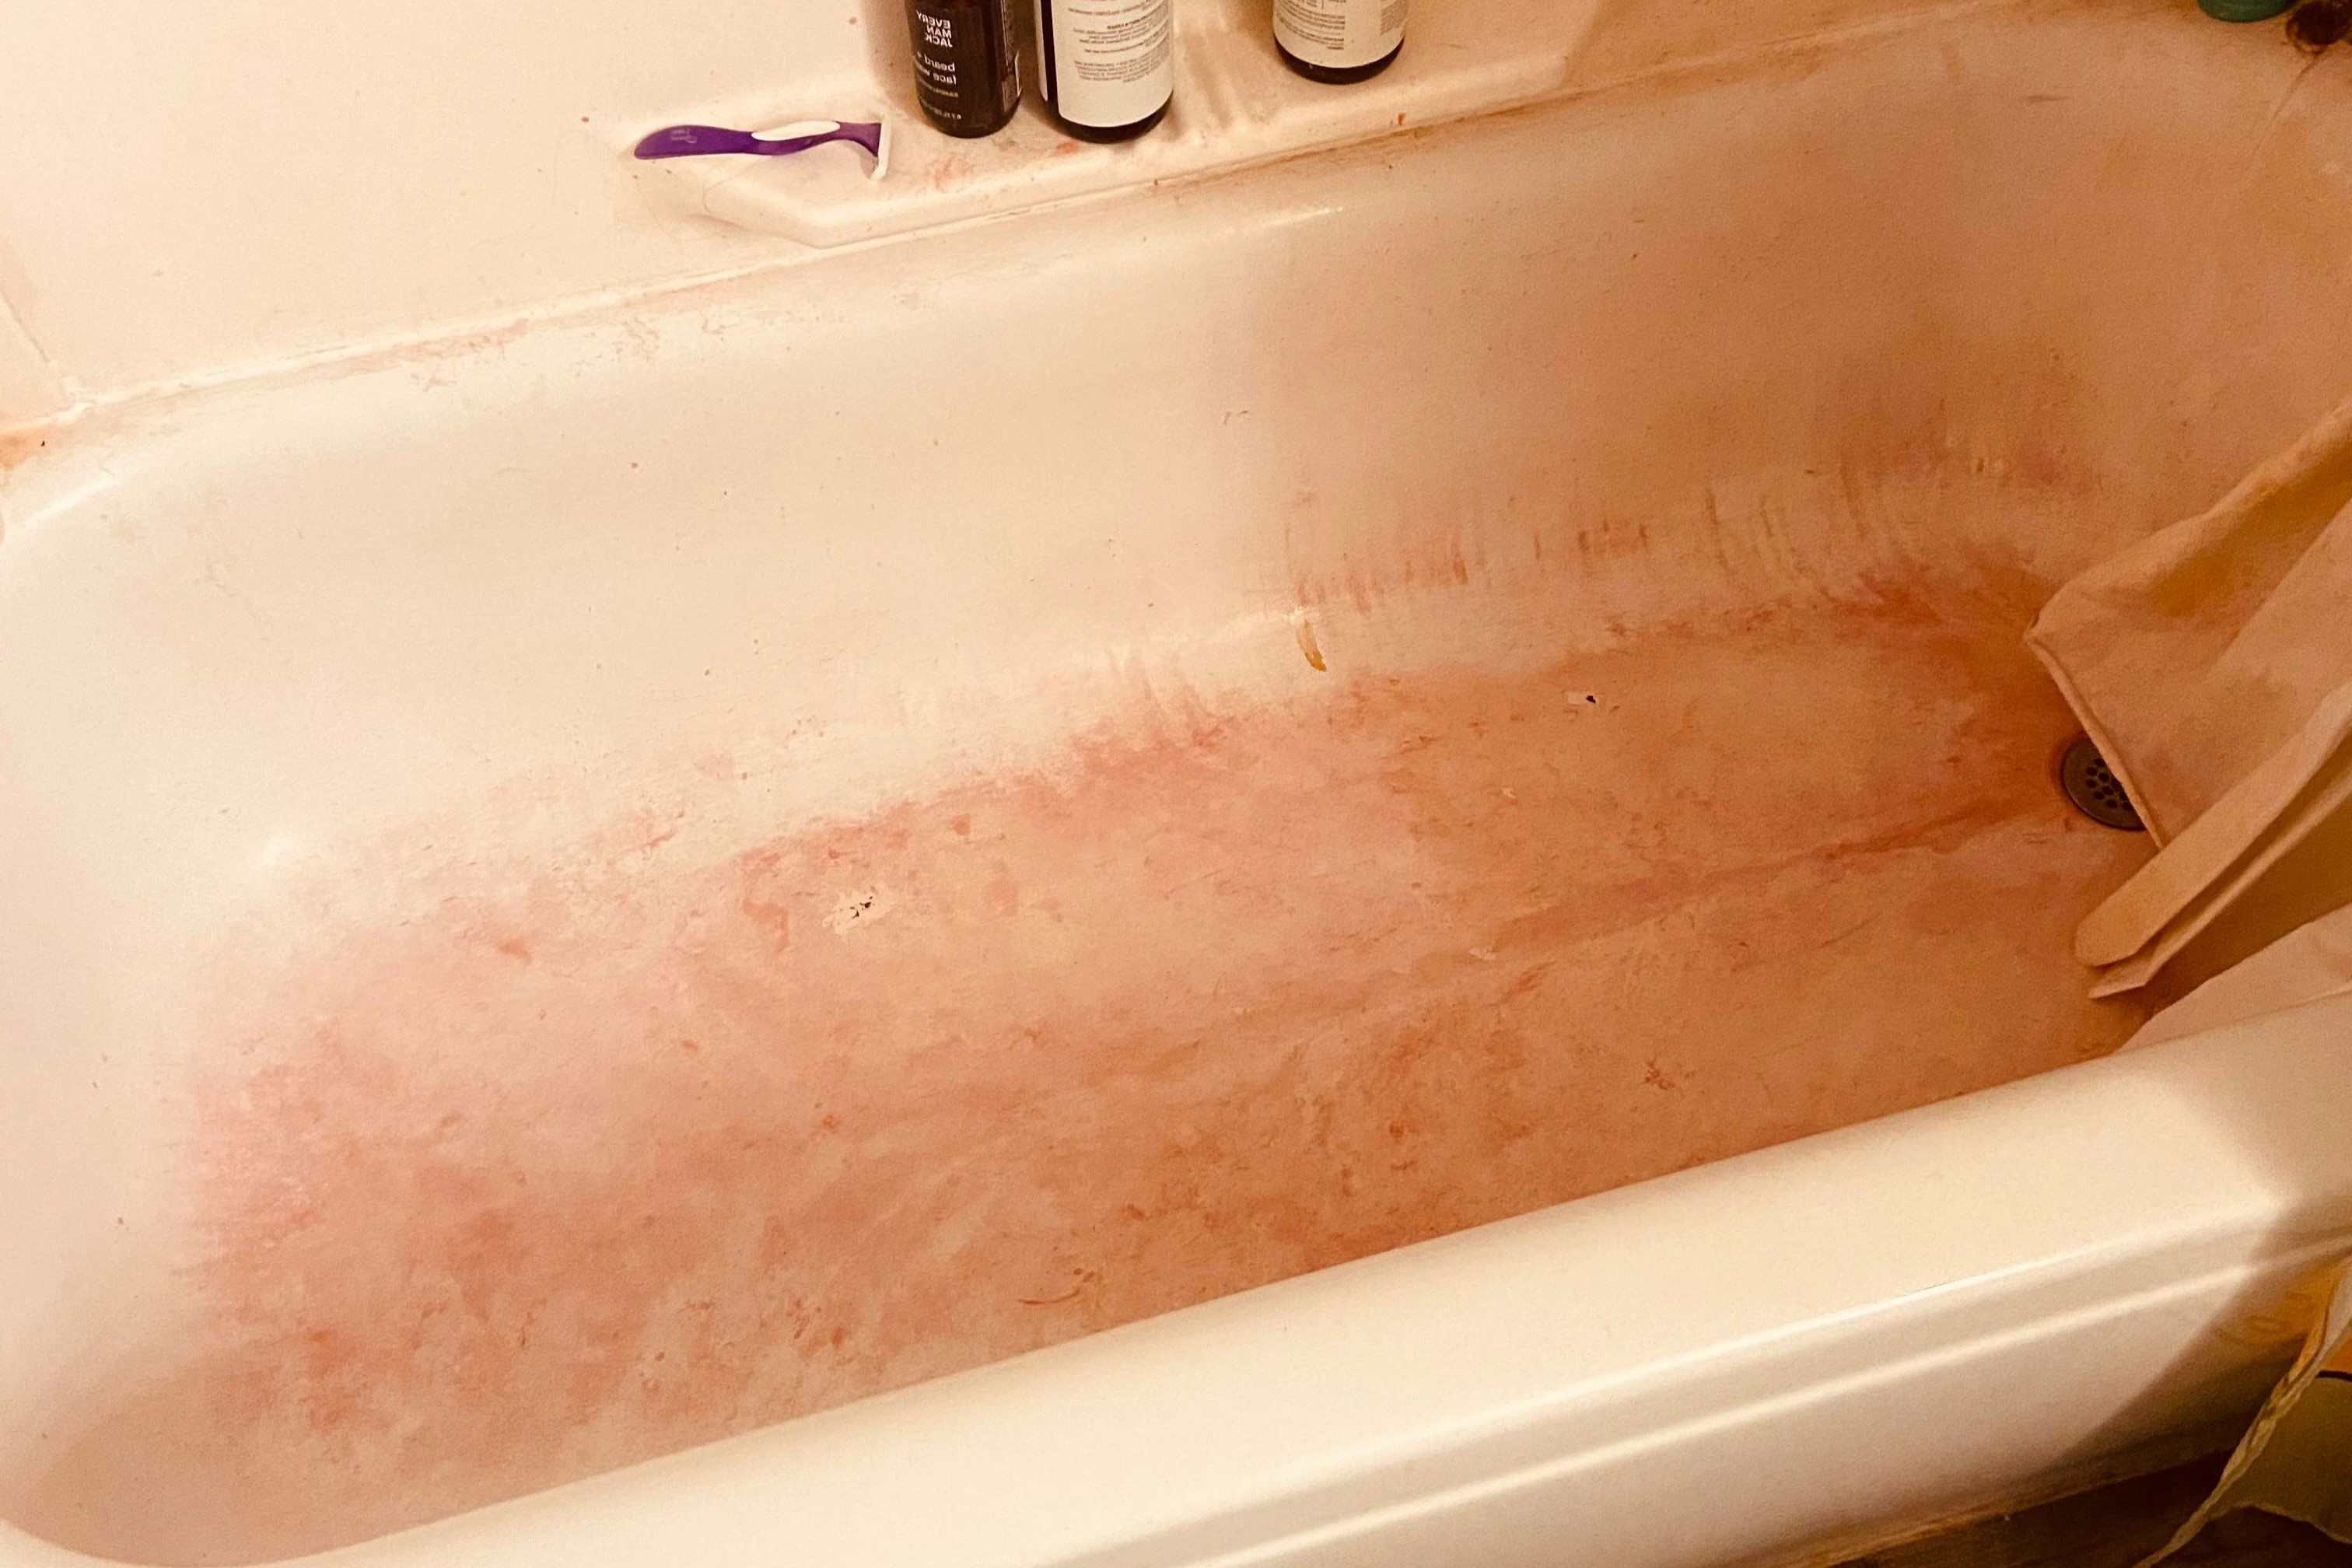
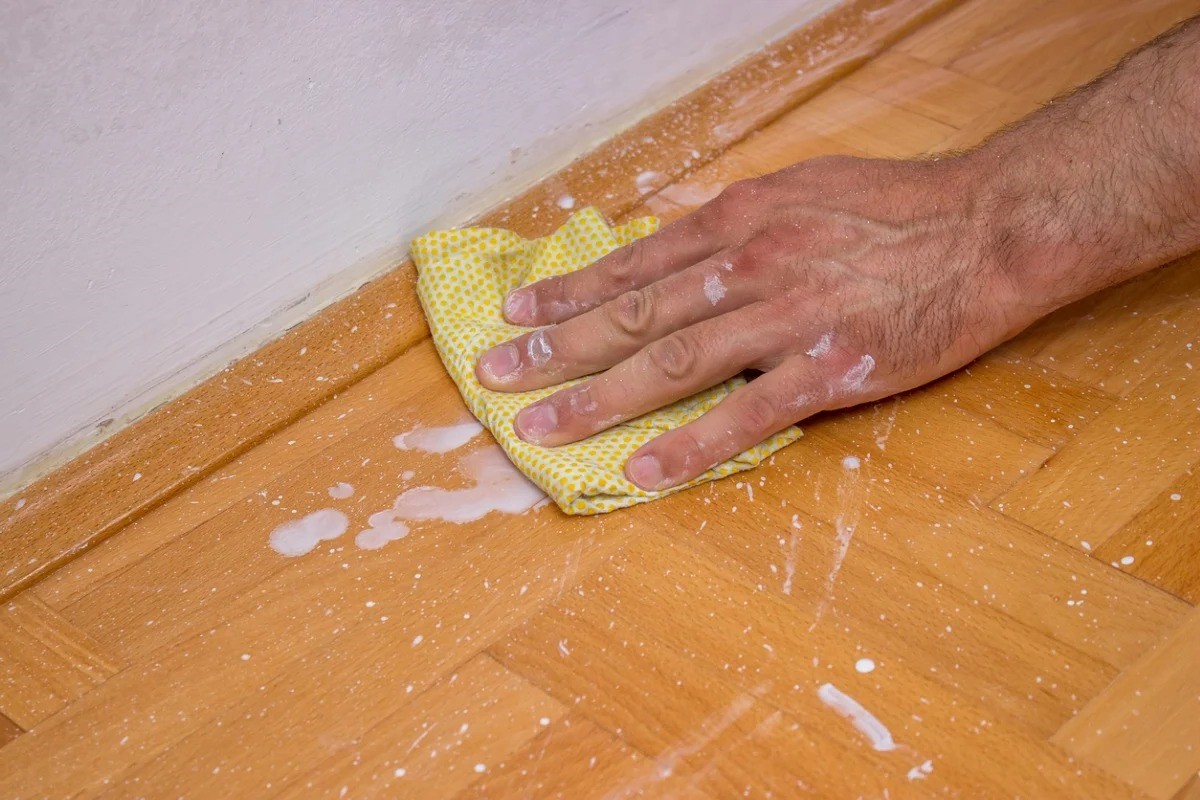
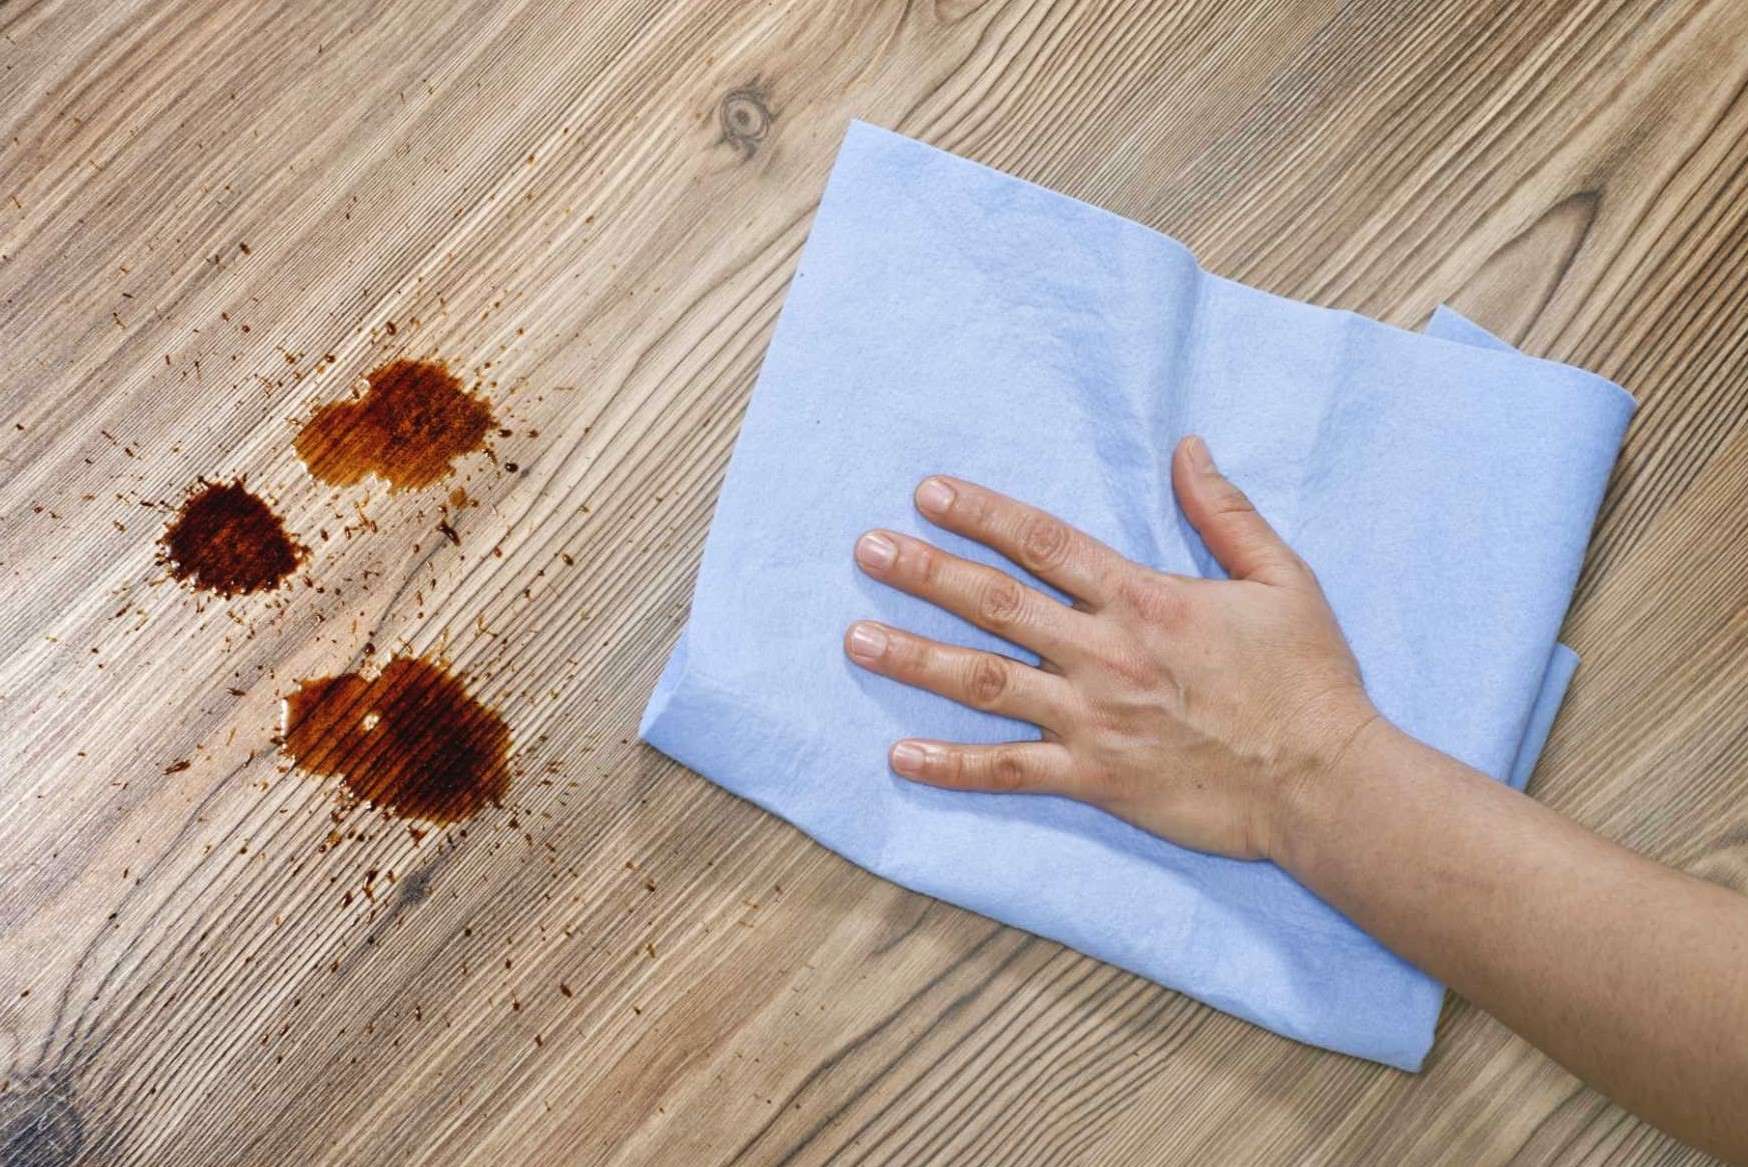
Accidents happen, and if you've found yourself with hair dye stains on your bathroom or kitchen counter, don't worry – there are effective methods to remove them. Whether you've accidentally spilled hair dye while coloring your hair or noticed splatters after a DIY dye job, it's essential to address the stains promptly to prevent them from setting in. Fortunately, with a few common household items and a bit of elbow grease, you can restore your counter to its former pristine condition.
In this comprehensive guide, we'll walk you through a series of steps to effectively remove hair dye stains from your counter. From gathering the necessary supplies to utilizing various cleaning techniques, you'll learn how to tackle this common issue with confidence. By following these methods, you can say goodbye to unsightly hair dye stains and restore the beauty of your counter surface.
So, roll up your sleeves and let's dive into the step-by-step process of removing hair dye stains from your counter. With a positive attitude and the right approach, you'll soon have your counter looking as good as new.
Read more: How To Get Hair Dye Off Of Sink
Step 1: Gather Your Supplies
Before embarking on the journey to remove hair dye stains from your counter, it's essential to gather the necessary supplies. Having the right tools at your disposal will streamline the cleaning process and increase the likelihood of achieving successful results. Here's a comprehensive list of supplies you'll need:
-
Rubbing Alcohol: This versatile cleaning agent is highly effective in breaking down hair dye stains and lifting them from the counter surface.
-
Baking Soda: Known for its gentle abrasive properties, baking soda is an excellent natural cleaner that can help lift stubborn stains without damaging the counter.
-
White Vinegar: A staple in natural cleaning solutions, white vinegar is a powerful agent for breaking down stains and disinfecting the counter surface.
-
Nail Polish Remover: Opt for a non-acetone nail polish remover, as it can effectively dissolve hair dye stains without causing damage to the counter.
-
Magic Eraser: This handy cleaning tool is particularly effective for tackling tough stains on various surfaces, including counters.
-
Soft Cloths or Sponges: Choose soft, non-abrasive cloths or sponges to avoid scratching the counter surface while cleaning.
-
Protective Gloves: It's important to protect your hands from the cleaning agents and hair dye stains, so be sure to have a pair of protective gloves on hand.
-
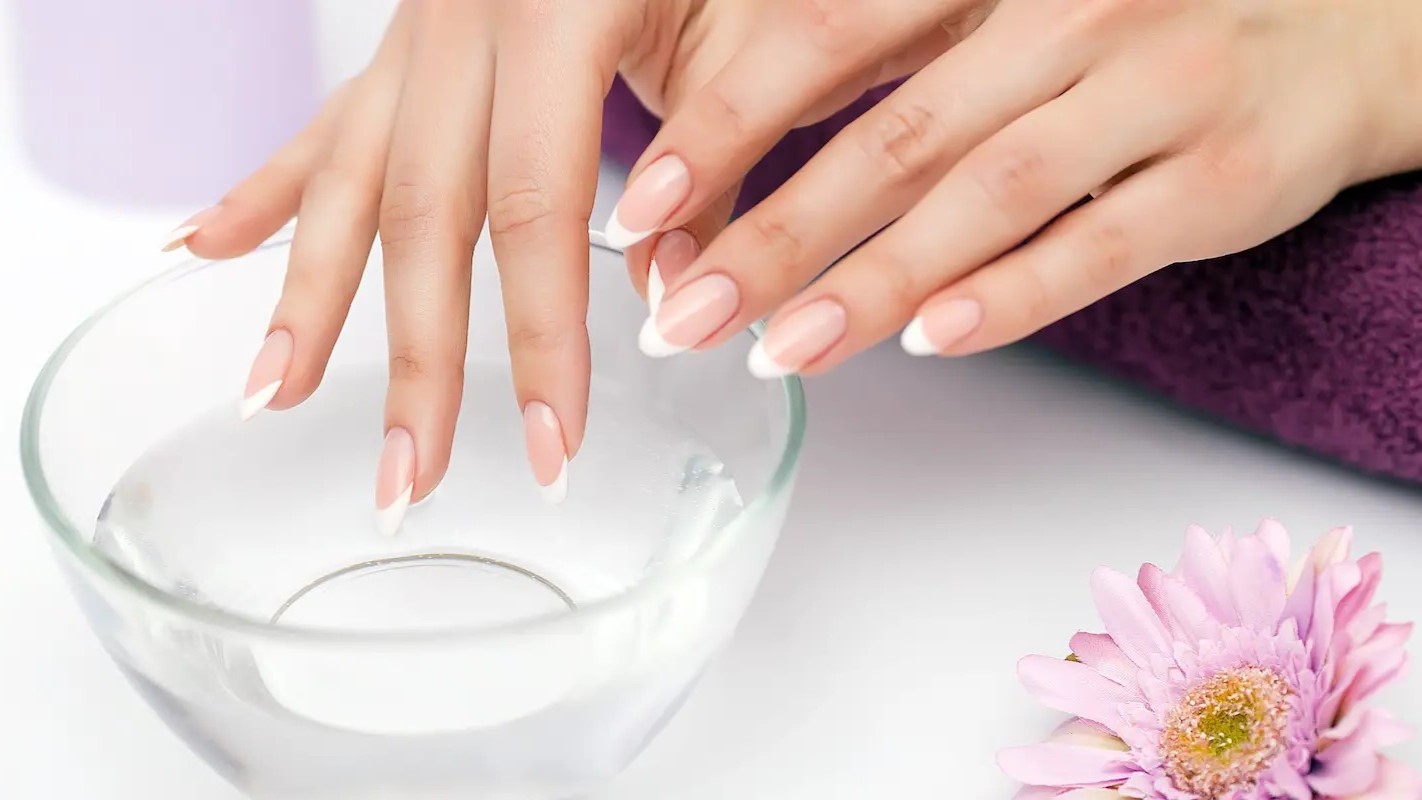
Protective Eyewear: While handling cleaning agents, especially when using rubbing alcohol or nail polish remover, it's advisable to wear protective eyewear to shield your eyes.
By ensuring that you have these supplies readily available, you'll be well-equipped to tackle the hair dye stains on your counter effectively. With the right tools and a proactive approach, you can confidently proceed to the next steps in the stain removal process.
Step 2: Apply Rubbing Alcohol
Rubbing alcohol is a versatile and effective solution for removing hair dye stains from various surfaces, including countertops. Its ability to break down the dye molecules and lift them from the surface makes it a valuable tool in the stain removal process. Here's how to use rubbing alcohol to tackle hair dye stains on your counter:
-
Prepare the Area: Before applying rubbing alcohol, ensure that the stained area is clear of any debris or residue. Gently wipe the surface with a soft cloth or sponge to remove any loose particles.
-
Apply Rubbing Alcohol: Pour a small amount of rubbing alcohol onto a soft cloth or cotton ball. Gently dab the stained area with the alcohol-soaked cloth, ensuring that the entire stain is covered. Avoid rubbing vigorously, as this may spread the stain or damage the counter surface.
-
Allow Dwell Time: After applying the rubbing alcohol, allow it to sit on the stain for a few minutes. This dwell time allows the alcohol to penetrate the dye and begin breaking it down, making it easier to remove.
-
Gently Blot the Stain: Using a clean, dry cloth, gently blot the stained area to lift the dissolved dye from the counter surface. Avoid rubbing or scrubbing, as this can spread the stain or cause it to set further.
-
Repeat if Necessary: For stubborn or larger stains, you may need to repeat the process, applying fresh rubbing alcohol and allowing it to dwell before blotting the area again. Persistence and patience are key to achieving optimal results.
-
Inspect and Repeat as Needed: After blotting the stained area, inspect the counter to assess the effectiveness of the rubbing alcohol treatment. If traces of the stain remain, repeat the process until the desired results are achieved.
-
Clean the Area: Once the stain has been successfully lifted, use a mild soap and water solution to clean the counter surface. This will help remove any residual rubbing alcohol and ensure that the area is left clean and free of any lingering dye particles.
By following these steps and using rubbing alcohol as a targeted stain-removal solution, you can effectively combat hair dye stains on your counter. The alcohol's ability to dissolve the dye and lift it from the surface makes it a valuable ally in the battle against stubborn stains. With patience and precision, you can restore your counter to its original, stain-free condition.
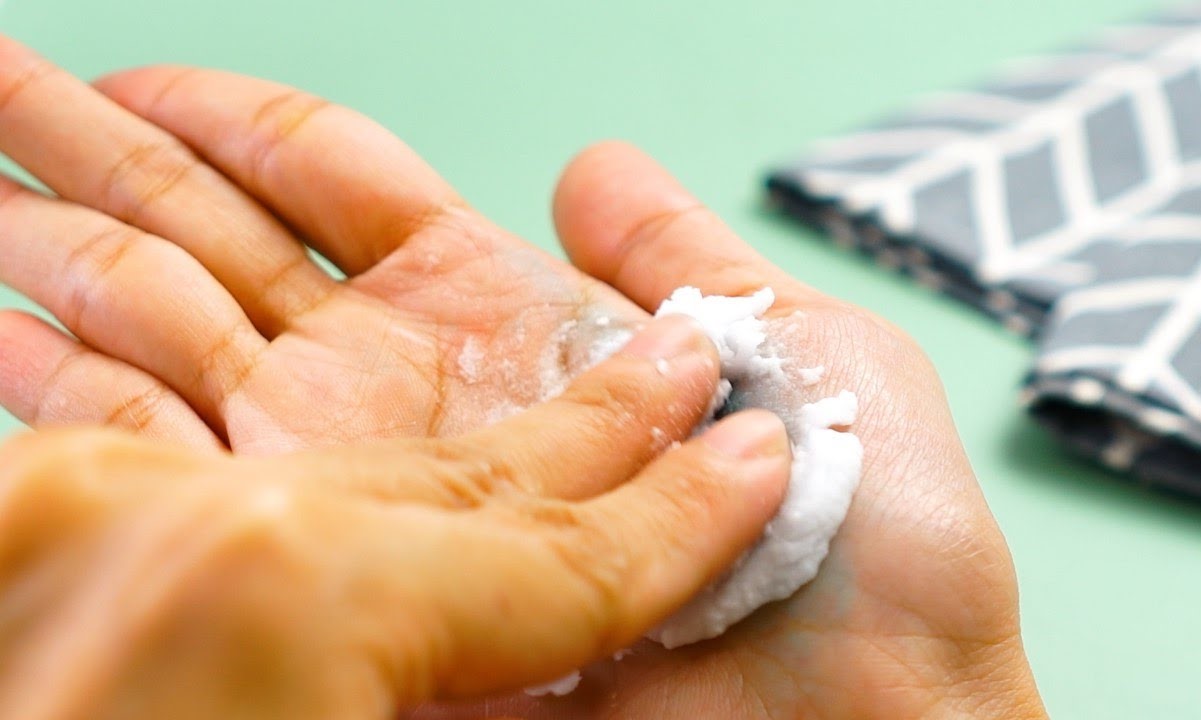
Step 3: Use Baking Soda Paste
Baking soda, also known as sodium bicarbonate, is a versatile and gentle abrasive that can effectively lift hair dye stains from various surfaces, including countertops. When combined with water to form a paste, baking soda becomes a powerful yet non-abrasive cleaning agent that can help tackle stubborn stains without causing damage to the counter surface. Here's a detailed guide on how to use a baking soda paste to remove hair dye stains from your counter:
-
Create the Baking Soda Paste: In a small bowl, mix a small amount of baking soda with water to form a thick, spreadable paste. The consistency should be similar to that of toothpaste, allowing for easy application and adherence to the stained area.
-
Prepare the Stained Area: Before applying the baking soda paste, ensure that the stained area is clean and free of any loose debris. Gently wipe the surface with a soft cloth or sponge to remove any surface residue, allowing the paste to make direct contact with the stain.
-
Apply the Baking Soda Paste: Using a clean fingertip or a soft cloth, apply the baking soda paste directly to the hair dye stain on the counter. Ensure that the entire stained area is covered with a thin layer of the paste, allowing it to adhere to the dye and begin the cleaning process.
-
Allow Dwell Time: Once the baking soda paste is applied, allow it to sit on the stain for approximately 10-15 minutes. This dwell time allows the gentle abrasive action of the baking soda to work on lifting the dye particles from the counter surface.
-
Gently Scrub the Stain: After the dwell time has elapsed, use a soft-bristled brush or non-abrasive sponge to gently scrub the stained area in circular motions. The mild abrasive action of the baking soda paste, combined with the mechanical agitation, helps to loosen and lift the hair dye stain from the counter.
-
Rinse and Inspect: After scrubbing the stained area, rinse the counter surface with clean water to remove the baking soda residue and any loosened dye particles. Inspect the area to assess the effectiveness of the treatment, noting any remaining traces of the stain.
-
Repeat if Necessary: For persistent or larger stains, you may need to repeat the process, reapplying the baking soda paste and allowing it to dwell before gently scrubbing the area again. Patience and persistence are key to achieving optimal results.
-
Clean and Dry the Area: Once the stain has been successfully lifted, use a mild soap and water solution to clean the counter surface, removing any residual baking soda paste and ensuring that the area is left clean and free of any remaining dye particles. Finally, dry the counter with a soft cloth to complete the process.
By utilizing a baking soda paste as a gentle yet effective cleaning solution, you can effectively combat hair dye stains on your counter without causing damage to the surface. The mild abrasive action of the baking soda, combined with its ability to adhere to the stain, makes it a valuable ally in the battle against stubborn stains. With patience and precision, you can restore your counter to its original, stain-free condition.
Step 4: Try Nail Polish Remover
When it comes to combating stubborn hair dye stains on your counter, nail polish remover can be a surprisingly effective ally in the stain removal process. Opt for a non-acetone nail polish remover, as it is gentler and less likely to cause damage to the counter surface. Here's a detailed guide on how to use nail polish remover to tackle hair dye stains effectively:
-
Test in an Inconspicuous Area: Before applying the nail polish remover to the stained area, it's crucial to conduct a patch test in an inconspicuous area of the counter. This test helps ensure that the nail polish remover does not cause any adverse reactions or damage to the surface.
-
Apply a Small Amount: Using a cotton ball or soft cloth, apply a small amount of non-acetone nail polish remover to the hair dye stain on the counter. Gently dab the stained area, ensuring that the nail polish remover makes direct contact with the dye.
-
Blot and Lift the Stain: After applying the nail polish remover, use a clean, dry cloth to gently blot and lift the dissolved dye from the counter surface. Avoid rubbing vigorously, as this can spread the stain or cause it to set further.
-
Repeat if Necessary: For persistent or larger stains, you may need to repeat the process, applying fresh nail polish remover and allowing it to dwell before blotting the area again. Patience and persistence are key to achieving optimal results.
-
Inspect and Clean the Area: After lifting the stain, inspect the counter to assess the effectiveness of the nail polish remover treatment. If traces of the stain remain, repeat the process until the desired results are achieved. Once the stain has been successfully lifted, use a mild soap and water solution to clean the counter surface, removing any residual nail polish remover and ensuring that the area is left clean and free of any lingering dye particles.
Nail polish remover's ability to dissolve the dye and lift it from the surface makes it a valuable tool in the battle against hair dye stains. With careful application and attention to detail, you can effectively harness the power of nail polish remover to restore your counter to its original, stain-free condition.
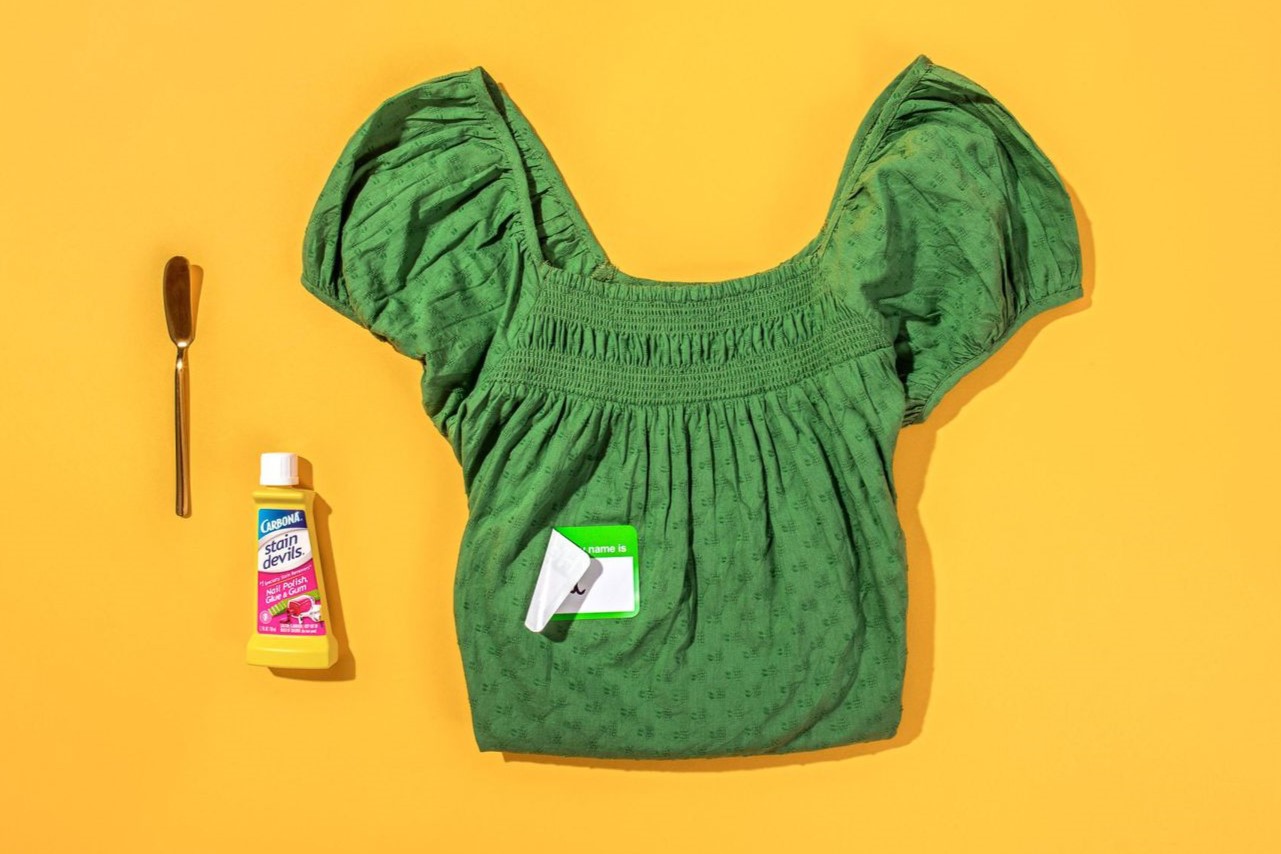
Read more: How To Get Hair Dye Out Of Clothes
Step 5: Use a Magic Eraser
When it comes to tackling tough stains, the Magic Eraser stands out as a versatile and effective cleaning tool. Made from melamine foam, this innovative product exhibits remarkable cleaning properties that can help lift hair dye stains from your counter with ease. Here's a detailed guide on how to use a Magic Eraser to combat hair dye stains effectively.
-
Moisten the Magic Eraser: Before using the Magic Eraser, moisten it with water to activate its cleaning power. Squeeze out any excess water to ensure that the eraser is damp but not dripping.
-
Gently Scrub the Stained Area: With the moistened Magic Eraser in hand, gently scrub the hair dye stain on the counter using circular motions. The micro-abrasive foam of the eraser works to lift the dye particles from the surface without causing damage.
-
Inspect and Repeat as Needed: After scrubbing the stained area, inspect the counter to assess the effectiveness of the Magic Eraser treatment. For stubborn or larger stains, you may need to repeat the process, focusing on the areas where the dye residue persists.
-
Clean and Dry the Area: Once the stain has been successfully lifted, use a mild soap and water solution to clean the counter surface, removing any residual dye particles and ensuring that the area is left clean and free of any lingering stains. Finally, dry the counter with a soft cloth to complete the process.
The Magic Eraser's ability to gently abrade the surface, coupled with its impressive stain-lifting capabilities, makes it a valuable asset in your arsenal of stain removal tools. By harnessing the cleaning power of the Magic Eraser, you can effectively combat hair dye stains on your counter, restoring its pristine appearance with minimal effort.
Incorporating the use of a Magic Eraser into your stain removal process can yield impressive results, particularly when dealing with stubborn or set-in hair dye stains. With its gentle yet effective cleaning action, the Magic Eraser offers a convenient and reliable solution for restoring the beauty of your counter surface.
Step 6: Clean and Polish the Counter
After successfully removing the hair dye stains from your counter using the aforementioned methods, it's essential to conclude the process by thoroughly cleaning and polishing the counter surface. This final step not only ensures the complete removal of any residual cleaning agents and dye particles but also leaves the counter looking immaculate and rejuvenated.
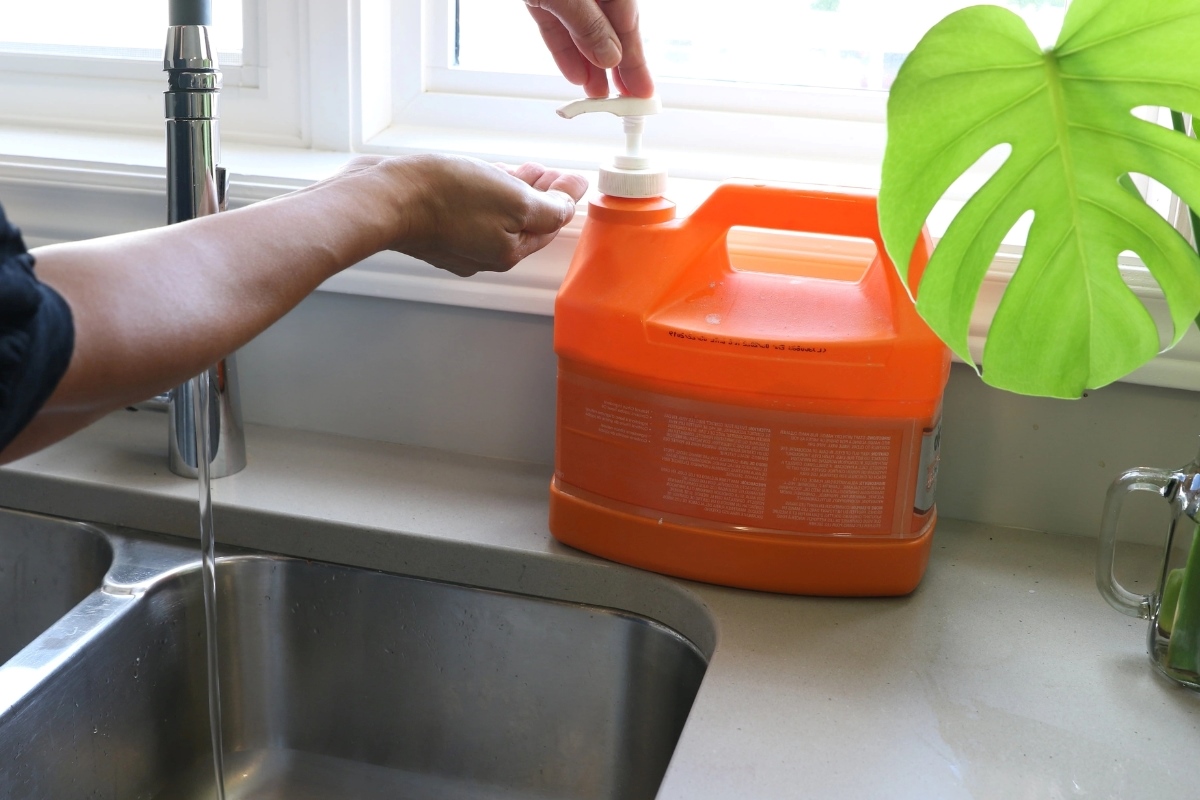
To begin, prepare a gentle cleaning solution by mixing a small amount of mild dish soap with warm water. Dip a soft cloth or sponge into the soapy solution and gently wipe down the entire counter surface. This step helps to remove any remaining traces of the cleaning agents used in the stain removal process, ensuring that the counter is free from any chemical residues.
Once the counter has been thoroughly cleaned, rinse the surface with clean water to remove any soapy residue. Use a separate cloth dampened with water to wipe down the counter, ensuring that all traces of the cleaning solution are effectively removed.
Following the cleaning process, it's time to polish the counter to restore its natural luster and shine. Choose a high-quality countertop polish or a specialized stone polish suitable for the material of your counter. Apply a small amount of the polish to a clean, soft cloth and gently buff the entire counter surface in circular motions.
As you polish the counter, the specialized formula of the polish works to enhance the natural beauty of the surface, leaving it with a glossy and polished appearance. This step not only adds a layer of protection to the counter but also helps to conceal any minor imperfections, leaving the surface looking revitalized and rejuvenated.
After polishing the counter, use a separate clean cloth to buff the surface, removing any excess polish and ensuring an even finish. Take a step back and admire the transformation, reveling in the restored beauty of your counter surface.
By completing the cleaning and polishing process, you not only ensure the thorough removal of any residual cleaning agents and dye particles but also elevate the overall appearance of your counter. The combination of gentle cleaning and expert polishing leaves your counter looking as good as new, ready to impress with its renewed radiance and pristine condition.