Home>Home and Garden>How To Clean Ninja Coffee Maker
Home and Garden
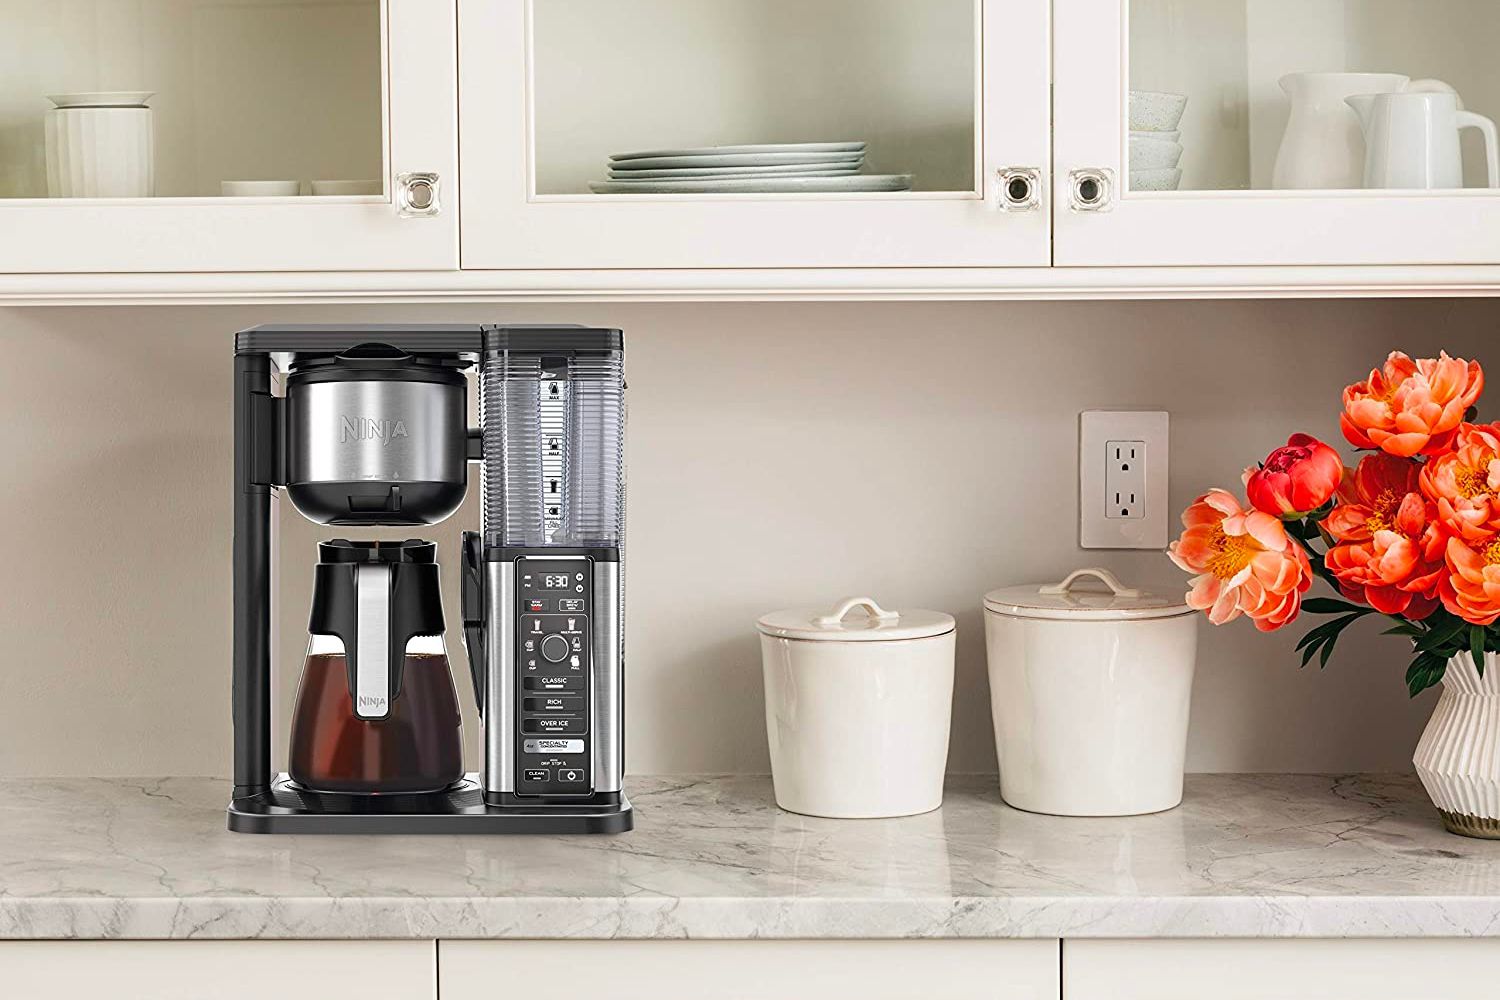
How To Clean Ninja Coffee Maker
Published: March 1, 2024
Learn how to clean your Ninja coffee maker easily at home with our step-by-step guide. Keep your coffee maker in top condition for delicious coffee every time. Ideal for home and garden enthusiasts.
(Many of the links in this article redirect to a specific reviewed product. Your purchase of these products through affiliate links helps to generate commission for Noodls.com, at no extra cost. Learn more)
Table of Contents
Introduction
Cleaning your Ninja Coffee Maker is an essential task that ensures your coffee tastes fresh and your machine functions optimally. Over time, mineral deposits, coffee oils, and other impurities can accumulate inside the coffee maker, affecting the flavor of your brew and potentially causing malfunctions. By following a regular cleaning routine, you can maintain the quality of your coffee and prolong the lifespan of your beloved appliance.
In this comprehensive guide, we will walk you through the step-by-step process of cleaning your Ninja Coffee Maker. Whether you have a single-serve system or a full carafe model, these cleaning methods are designed to be straightforward and effective. By the end of this article, you will have the knowledge and confidence to keep your Ninja Coffee Maker in pristine condition, ensuring that every cup of coffee you brew is a delightful experience. Let's dive in and discover the simple yet crucial steps to maintain your coffee maker's performance and the rich flavor of your favorite brews.
Read more: How To Clean Ice Maker
Step 1: Gather Your Supplies
Before embarking on the cleaning process, it's essential to gather the necessary supplies to ensure a thorough and effective cleaning of your Ninja Coffee Maker. Here's a list of items you'll need:
-
Warm, Soapy Water: Prepare a solution of warm water and mild dish soap. This will be used to clean the removable parts of the coffee maker.
-
Soft-bristled Brush or Cloth: A soft-bristled brush or cloth is ideal for scrubbing and wiping the removable parts without causing damage.
-
White Vinegar: This natural cleaning agent is highly effective for descaling the internal components of the coffee maker, removing mineral buildup and ensuring optimal performance.
-
Water: You'll need clean, fresh water for rinsing and running cleaning cycles through the coffee maker.
-
Paper Towels or Clean Cloth: These are handy for drying the components after cleaning and wiping any spills or drips.
-
Ninja Coffee Maker Manual: Keep the manual nearby for reference, especially if it contains specific cleaning instructions or tips from the manufacturer.
By having these supplies ready, you'll be well-prepared to tackle the cleaning process efficiently and maintain the cleanliness and functionality of your Ninja Coffee Maker. Now that you have all the necessary supplies at your disposal, let's move on to the next step and delve into the cleaning process to keep your coffee maker in top condition.
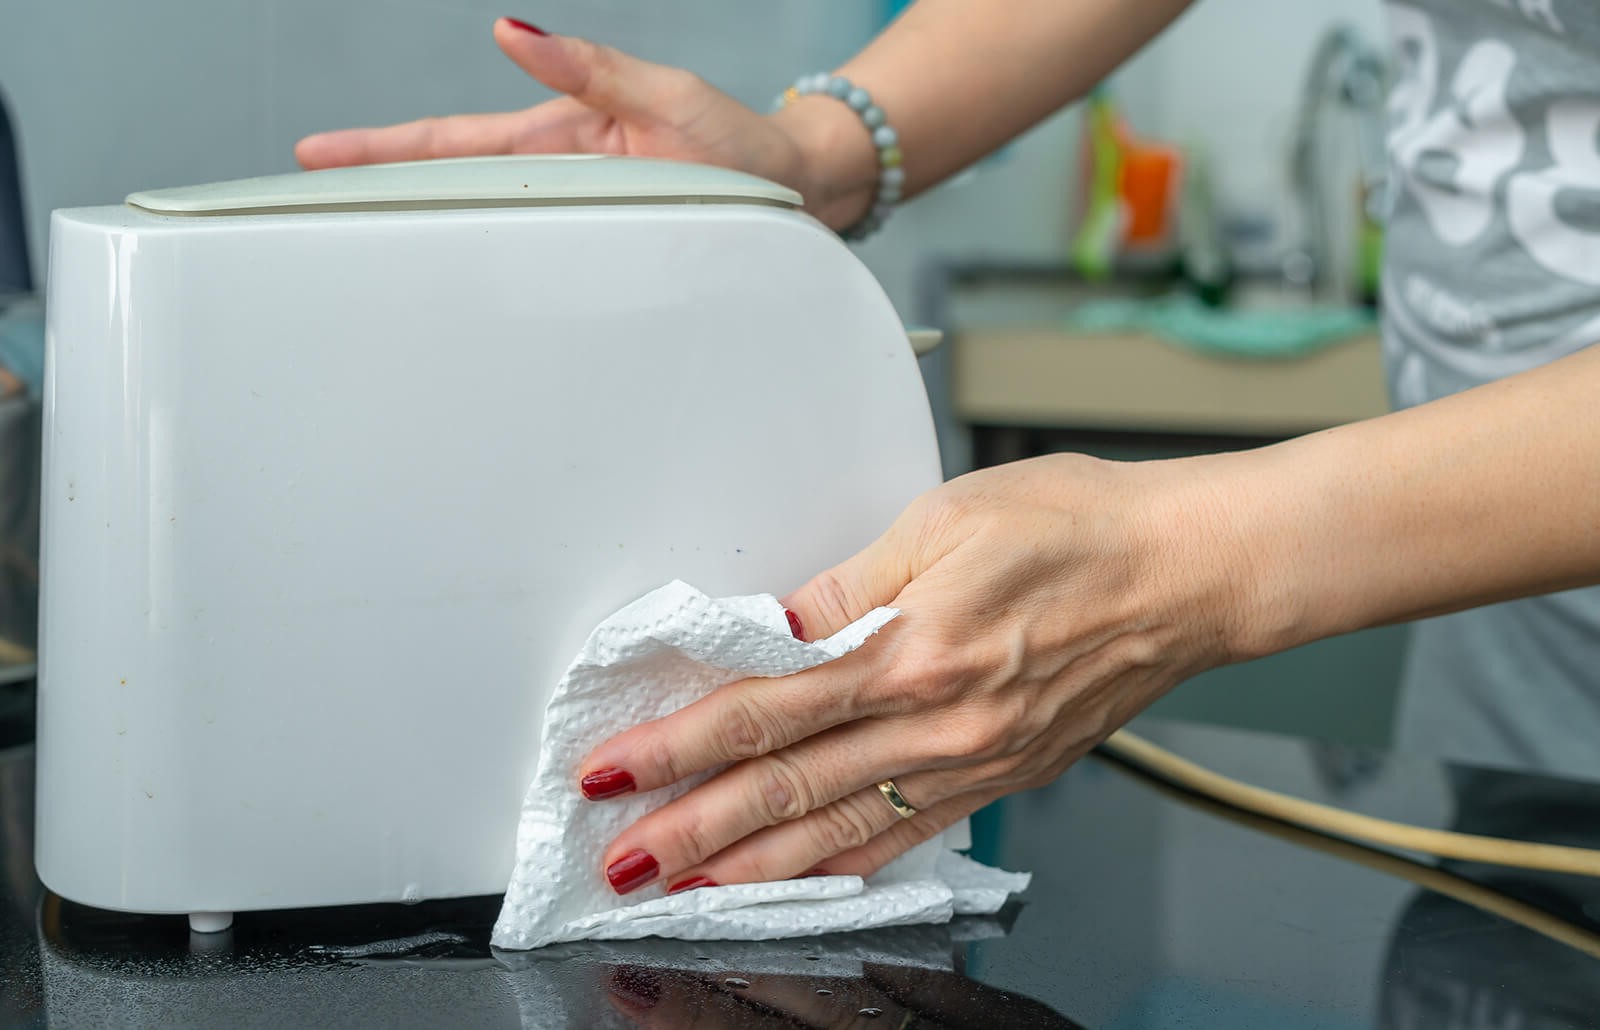
Step 2: Clean the Removable Parts
Cleaning the removable parts of your Ninja Coffee Maker is a crucial step in maintaining the hygiene and functionality of the appliance. These parts, including the brew basket, carafe, and water reservoir, come into direct contact with coffee grounds, water, and oils, making them susceptible to residue buildup over time. Here's a detailed guide on how to effectively clean these components:
Brew Basket:
-
Remove the Brew Basket: Start by carefully removing the brew basket from the coffee maker. This component holds the coffee filter and is where the coffee grounds are placed for brewing.
-
Rinse and Wash: Rinse the brew basket under running water to remove any loose coffee grounds. Then, wash it with warm, soapy water using a soft-bristled brush or cloth to dislodge any remaining residue. Pay close attention to the mesh and crevices to ensure thorough cleaning.
-
Dry Thoroughly: After washing, ensure the brew basket is completely dry before reinserting it into the coffee maker. Use a clean cloth or paper towels to dry it, preventing any moisture from affecting the next brewing cycle.
Carafe:
-
Empty the Carafe: Pour out any remaining coffee from the carafe and discard used coffee filters if applicable.
-
Wash with Soapy Water: Wash the carafe with warm, soapy water, ensuring that the interior is thoroughly cleaned. Use a soft-bristled brush to reach the bottom and corners, where coffee residue may accumulate.
-
Rinse and Dry: Rinse the carafe with clean water to remove any soap residue, then dry it with a clean cloth or paper towels. Pay attention to the spout and handle areas to ensure no moisture is trapped.
Read more: How To Clean Waffle Maker
Water Reservoir:
-
Empty and Clean: Empty any remaining water from the reservoir and wash it with warm, soapy water. Use a soft-bristled brush to clean the interior and remove any impurities that may affect the taste of the water and coffee.
-
Rinse and Dry: Thoroughly rinse the reservoir with clean water to remove any soap residue, then dry it completely before refilling with fresh water for brewing.
By diligently cleaning these removable parts after each use, you can prevent the accumulation of coffee oils, mineral deposits, and other impurities that may affect the flavor and quality of your brewed coffee. This maintenance routine also contributes to the longevity of your Ninja Coffee Maker, ensuring that it continues to deliver delicious coffee with every brew.
Step 3: Clean the Drip Stop and Showerhead
The drip stop and showerhead are integral components of your Ninja Coffee Maker that directly impact the brewing process and the quality of your coffee. Over time, these parts can become clogged or tainted with coffee residue, affecting the flow of water and the even distribution of water over the coffee grounds. To ensure optimal performance and flavorful brews, it's essential to regularly clean the drip stop and showerhead. Here's a detailed guide on how to effectively clean these vital components:
Drip Stop:
-
Identify the Drip Stop: Locate the drip stop, which is typically positioned beneath the brew basket. The drip stop controls the flow of coffee into the carafe and prevents drips when the carafe is removed during the brewing process.
-
Remove and Inspect: Carefully remove the drip stop from the coffee maker. Take a moment to inspect it for any visible coffee buildup or residue that may be obstructing the flow of coffee.
-
Clean with Warm, Soapy Water: Wash the drip stop with warm, soapy water to dislodge any accumulated coffee oils and residue. Use a soft-bristled brush or cloth to ensure thorough cleaning, paying attention to any small openings or crevices where buildup may occur.
-
Rinse and Dry: After cleaning, rinse the drip stop with clean water to remove any soap residue. Ensure it is completely dry before reattaching it to the coffee maker.
Showerhead:
-
Locate the Showerhead: The showerhead is the component responsible for evenly distributing water over the coffee grounds during the brewing process. It is usually located above the brew basket.
-
Remove and Clean: Depending on the model of your Ninja Coffee Maker, the showerhead may be detachable or require cleaning in place. If detachable, carefully remove the showerhead and clean it with warm, soapy water. If not detachable, use a soft-bristled brush or cloth to clean it in place, ensuring that no coffee residue obstructs the water outlets.
-
Descale if Necessary: If you notice mineral buildup or scaling on the showerhead, consider using a solution of white vinegar and water to descale it. This will help remove any mineral deposits that may affect water distribution and brewing efficiency.
-
Rinse and Reinstall: Thoroughly rinse the showerhead to remove any cleaning agents or residue, then reinstall it in its original position.
By diligently cleaning the drip stop and showerhead, you can maintain the optimal functionality of your Ninja Coffee Maker, ensuring consistent water flow and uniform saturation of the coffee grounds during the brewing process. This meticulous maintenance contributes to the overall quality of your brewed coffee and prolongs the lifespan of your coffee maker.
Read more: How To Clean Frigidaire Ice Maker
Step 4: Descale the Ninja Coffee Maker
Descaling your Ninja Coffee Maker is a crucial maintenance task that helps remove mineral deposits and scaling that can accumulate inside the machine over time. These deposits are primarily caused by the minerals present in water, such as calcium and magnesium, which can form a layer of buildup within the internal components of the coffee maker. If left unaddressed, scaling can impede the flow of water, affect the heating elements, and ultimately compromise the performance and longevity of your coffee maker. To ensure that your Ninja Coffee Maker continues to brew delicious coffee and operates at its best, it's essential to descale it regularly.
Here's a detailed guide on how to descale your Ninja Coffee Maker effectively:
-
Prepare the Descaling Solution: Start by preparing a descaling solution using equal parts of white vinegar and water. The exact ratio may vary depending on the severity of scaling and the manufacturer's recommendations. Pour the descaling solution into the water reservoir of the coffee maker, ensuring that it covers the areas affected by scaling.
-
Run a Cleaning Cycle: Once the descaling solution is in place, initiate a cleaning cycle on your Ninja Coffee Maker. This process will vary depending on the model, so it's important to refer to the manufacturer's instructions for specific guidance on running a cleaning cycle. Typically, the cleaning cycle involves running the descaling solution through the coffee maker as if brewing a pot of coffee.
-
Pause and Soak: After a portion of the descaling solution has passed through the coffee maker, pause the cleaning cycle and allow the solution to soak within the machine for about 30 minutes. This soaking period is crucial for the acidic properties of the vinegar to effectively dissolve the mineral deposits and scaling inside the coffee maker.
-
Complete the Cleaning Cycle: Resume the cleaning cycle to allow the remaining descaling solution to pass through the machine. This thorough flushing process helps ensure that all traces of scaling and mineral buildup are effectively removed from the internal components of the coffee maker.
-
Rinse with Fresh Water: Once the cleaning cycle is complete, run multiple cycles of fresh water through the coffee maker to thoroughly rinse out any residual descaling solution. This step is essential to eliminate any lingering vinegar taste or odor from the machine.
By descaling your Ninja Coffee Maker at regular intervals, you can prevent the negative effects of scaling and mineral buildup, ensuring that your coffee maker continues to operate efficiently and produce delicious, high-quality coffee. This proactive maintenance not only preserves the flavor of your brewed coffee but also extends the lifespan of your beloved Ninja Coffee Maker.
Step 5: Reassemble and Run a Cleaning Cycle
After completing the meticulous cleaning of the removable parts, drip stop, and showerhead, it's time to reassemble your Ninja Coffee Maker and run a cleaning cycle to ensure that the internal components are thoroughly rinsed and any remaining impurities are flushed out. This final step is crucial in maintaining the cleanliness and functionality of your coffee maker, setting the stage for the next flavorful brew.
Reassembly:
Carefully reinsert the cleaned brew basket, carafe, and water reservoir back into their respective positions within the coffee maker. Ensure that each component is securely in place, ready to facilitate the brewing process. Double-check that the drip stop and showerhead are also properly reattached, guaranteeing seamless operation during the next brewing cycle.
Running a Cleaning Cycle:
-
Fill the Water Reservoir: Fill the water reservoir with fresh, clean water to the desired level for the cleaning cycle. Ensure that the reservoir is securely in place, ready to supply water for the cleaning process.
-
Initiate the Cleaning Cycle: Depending on the model of your Ninja Coffee Maker, follow the manufacturer's instructions to initiate a cleaning cycle. This typically involves pressing specific buttons or selecting a cleaning mode to activate the cycle.
-
Allow the Cycle to Complete: Once the cleaning cycle is in progress, allow the coffee maker to complete the entire cycle. During this process, the clean water will flow through the internal components, rinsing away any remaining soap residue, descaling solution, or impurities.
-
Discard the Water: After the cleaning cycle is complete, discard the water from the carafe. This water may contain traces of cleaning agents or impurities flushed out during the cycle.
-
Run Additional Rinsing Cycles: To ensure thorough rinsing, run additional cycles of clean water through the coffee maker. This extra step helps eliminate any lingering residue and ensures that the internal components are pristine and ready for brewing.
By reassembling your Ninja Coffee Maker and running a cleaning cycle, you complete the comprehensive cleaning process, ensuring that your coffee maker is primed for delivering delicious, flavorful coffee. This final step sets the stage for your next brewing adventure, allowing you to savor the rich aromas and delightful flavors of your favorite coffee blends with confidence and satisfaction.
Conclusion
In conclusion, maintaining the cleanliness and functionality of your Ninja Coffee Maker is essential for ensuring the quality and flavor of your brewed coffee. By following the step-by-step cleaning process outlined in this guide, you can effectively remove coffee residue, mineral deposits, and impurities that may affect the performance of your coffee maker and the taste of your favorite brews.
Regularly cleaning the removable parts, including the brew basket, carafe, and water reservoir, helps prevent the accumulation of coffee oils and residue, ensuring that each component is pristine and ready for the next brewing cycle. Additionally, cleaning the drip stop and showerhead contributes to consistent water flow and uniform saturation of the coffee grounds, essential for achieving optimal brewing results.
Descaling your Ninja Coffee Maker at regular intervals is crucial for removing mineral deposits and scaling that can affect the internal components of the machine. By using a descaling solution and running cleaning cycles, you can effectively eliminate scaling and maintain the efficiency of your coffee maker, ensuring that it continues to deliver delicious coffee with every brew.
The final step of reassembling the coffee maker and running a cleaning cycle ensures that the internal components are thoroughly rinsed and free from any residual impurities, setting the stage for the next flavorful brewing experience.
By incorporating these cleaning practices into your routine, you not only preserve the quality and flavor of your brewed coffee but also extend the lifespan of your Ninja Coffee Maker. With a well-maintained coffee maker, you can confidently indulge in the rich aromas and delightful flavors of your favorite coffee blends, knowing that each cup is a testament to the care and attention you've dedicated to your beloved appliance.
In essence, the cleaning process outlined in this guide empowers you to uphold the performance and longevity of your Ninja Coffee Maker, ensuring that every cup of coffee is a delightful experience, brimming with the rich flavors and aromas that make each sip a moment of pure enjoyment.