Home>Home and Garden>How To Clean Ice Maker
Home and Garden
How To Clean Ice Maker
Published: February 27, 2024
Learn how to clean your ice maker at home with our easy-to-follow guide. Keep your ice maker in top condition for refreshing drinks and entertaining guests.
(Many of the links in this article redirect to a specific reviewed product. Your purchase of these products through affiliate links helps to generate commission for Noodls.com, at no extra cost. Learn more)
Table of Contents
Introduction
Cleaning your ice maker is an essential task that ensures the production of clean and fresh ice for your beverages. Over time, ice makers can accumulate mineral deposits, mold, and bacteria, affecting the quality and taste of the ice. Regular cleaning not only maintains the hygiene of the ice maker but also prolongs its lifespan, ensuring optimal performance.
A clean ice maker not only guarantees the purity of the ice it produces but also contributes to the overall cleanliness of your kitchen. Whether you have a portable ice maker, under-counter ice maker, or a built-in unit, regular maintenance is crucial to prevent the buildup of impurities and ensure that your ice maker operates efficiently.
In this comprehensive guide, we will walk you through the step-by-step process of cleaning your ice maker, including the ice bin and water filter. Additionally, we will provide maintenance tips to help you keep your ice maker in top condition. By following these guidelines, you can enjoy a constant supply of fresh, clean ice for your favorite beverages, while also ensuring the longevity of your ice maker.
Now, let's delve into the essential safety precautions and the detailed steps for cleaning and maintaining your ice maker to ensure its optimal functionality and hygiene.
Read more: How To Clean Frigidaire Ice Maker
Safety Precautions
Before embarking on the cleaning process, it's crucial to prioritize safety. Here are essential safety precautions to observe when cleaning your ice maker:
-
Unplug the Ice Maker: Always start by unplugging the ice maker from the power source to prevent any electrical mishaps during the cleaning process.
-
Wear Protective Gear: When handling cleaning agents or chemicals, it's advisable to wear protective gear such as gloves and safety goggles to shield your skin and eyes from potential irritants.
-
Read the Manufacturer's Instructions: Familiarize yourself with the manufacturer's manual for specific guidelines on cleaning and maintenance. Different ice maker models may have unique cleaning requirements, and it's important to adhere to the recommended procedures.
-
Use Approved Cleaning Agents: Ensure that the cleaning agents or solutions you use are approved for use in ice makers. Avoid using harsh chemicals that may leave residues or affect the taste and quality of the ice.
-
Ventilation: If you're using cleaning agents that produce fumes, ensure that the area is well-ventilated to prevent inhalation of potentially harmful vapors.
-
Handle Ice with Care: If you're removing ice from the ice bin during the cleaning process, handle it with care to avoid injury. Use a scoop or tongs to prevent direct contact with the ice.
-
Follow Proper Disposal Procedures: When disposing of any water or cleaning solutions from the ice maker, ensure that you follow local regulations for proper disposal of potentially contaminated liquids.
By adhering to these safety precautions, you can ensure a safe and effective cleaning process for your ice maker, promoting both personal safety and the longevity of your appliance. Now that we've covered the essential safety measures, let's move on to the detailed steps for cleaning the ice maker, ice bin, water filter, and exterior surfaces to maintain optimal hygiene and functionality.
Cleaning the Ice Maker
Cleaning the ice maker is a crucial step in maintaining its efficiency and ensuring the purity of the ice it produces. Over time, mineral deposits, mold, and bacteria can accumulate within the ice maker, potentially affecting the taste and quality of the ice. By following these detailed steps, you can effectively clean your ice maker and promote a constant supply of fresh, clean ice.
-
Unplug the Ice Maker: Begin by unplugging the ice maker from the power source to ensure safety during the cleaning process.
-
Empty the Ice Bin: Remove any remaining ice from the ice bin and dispose of it. If the ice has been sitting for an extended period, it's advisable to discard it to prevent any potential contamination.
-
Remove Removable Parts: If your ice maker has removable parts such as the ice tray or scoop, take them out and wash them separately. This ensures a thorough cleaning of all components.
-
Prepare the Cleaning Solution: Create a cleaning solution by mixing mild dish soap with warm water. This gentle solution effectively removes dirt and residue without leaving behind any harmful chemicals.
-
Clean the Interior: Dip a soft cloth or sponge into the cleaning solution and gently wipe the interior surfaces of the ice maker. Pay close attention to areas where ice is formed, as mineral deposits and impurities tend to accumulate in these spaces.
-
Rinse Thoroughly: After cleaning, use a separate cloth dampened with clean water to rinse the interior surfaces, ensuring that no soap residue remains.
-
Dry the Interior: Use a clean, dry cloth to thoroughly dry the interior of the ice maker. This step prevents the accumulation of moisture, which can lead to mold growth.
-
Reassemble and Plug In: Once the interior is completely dry, reassemble any removable parts and plug the ice maker back into the power source.
By following these steps, you can effectively clean the interior of your ice maker, ensuring that it operates efficiently and produces clean, fresh ice. Regular cleaning of the ice maker is essential to maintain its performance and prevent the buildup of impurities that can affect the quality of the ice. Now, let's proceed to the next crucial step: cleaning the ice bin.
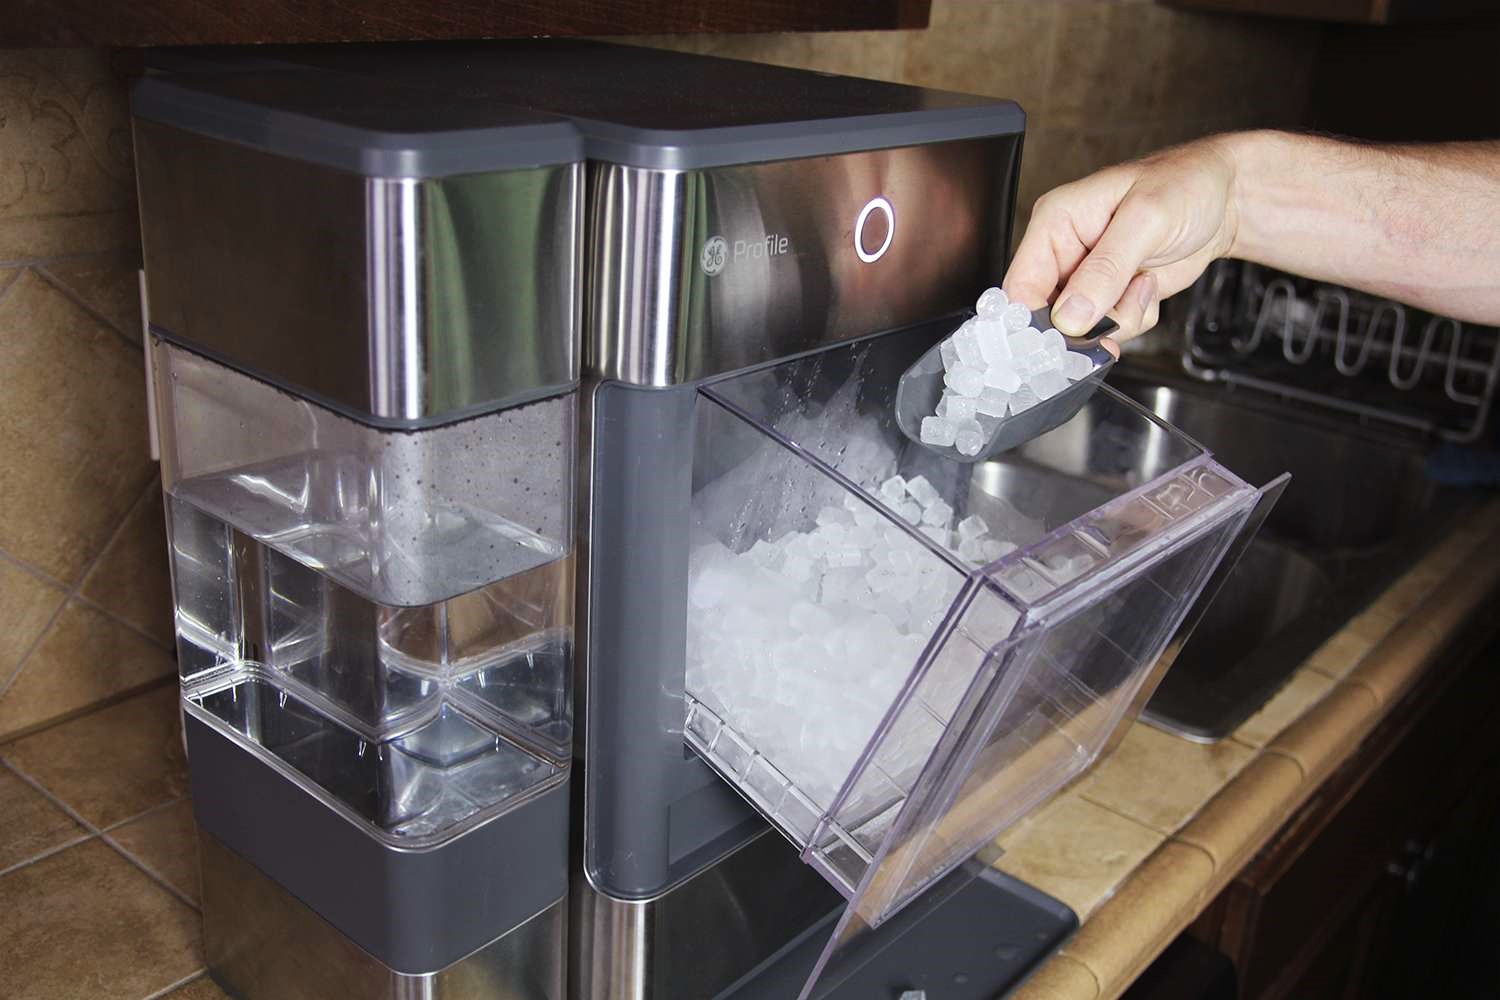
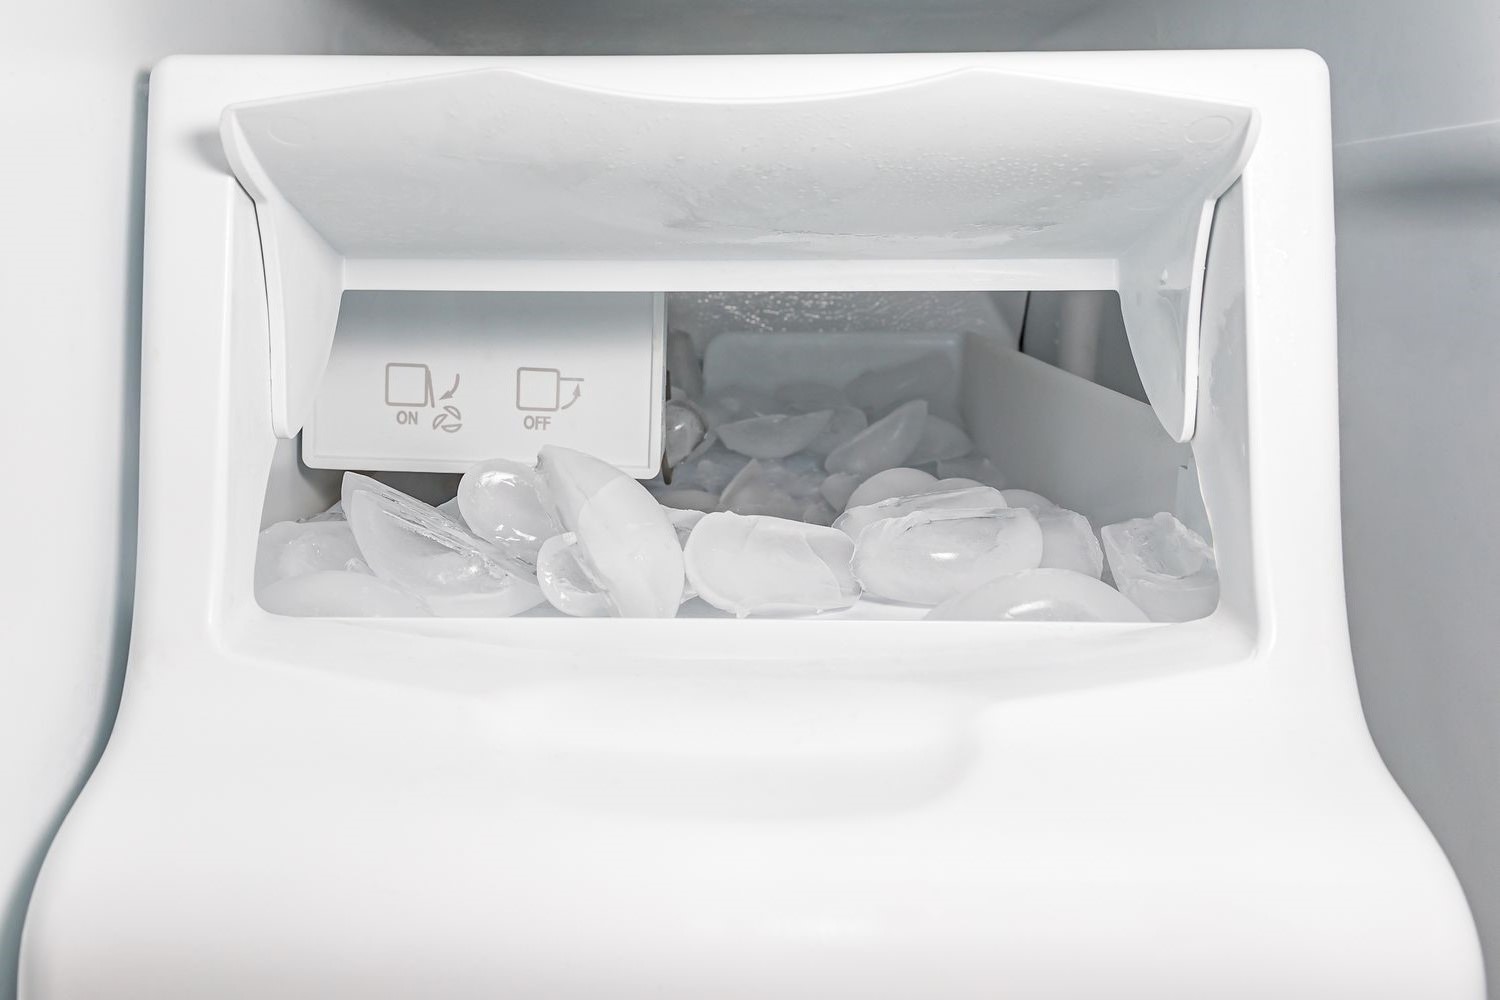
Cleaning the Ice Bin
Cleaning the ice bin is an essential part of maintaining the overall cleanliness and hygiene of your ice maker. Over time, the ice bin can accumulate residue, mold, and impurities, which can affect the quality and taste of the ice it dispenses. By following these detailed steps, you can ensure that your ice bin remains clean and free from contaminants, promoting the production of fresh, high-quality ice.
-
Empty the Ice Bin: Start by emptying the ice bin completely. Discard any remaining ice and ensure that the bin is free from any obstructions. If the ice has been sitting for an extended period, it's advisable to dispose of it to prevent any potential contamination.
-
Prepare the Cleaning Solution: Create a cleaning solution using a mixture of mild dish soap and warm water. This gentle solution effectively removes dirt and residue without leaving behind any harmful chemicals that could affect the taste of the ice.
-
Wash the Ice Bin: Using a soft cloth or sponge, dip it into the cleaning solution and thoroughly wipe the interior surfaces of the ice bin. Pay close attention to corners, crevices, and the area where the ice is dispensed, as these areas are prone to residue buildup.
-
Rinse the Ice Bin: After cleaning, use a separate cloth dampened with clean water to rinse the interior of the ice bin, ensuring that no soap residue remains.
-
Dry the Ice Bin: Use a clean, dry cloth to thoroughly dry the interior and exterior of the ice bin. It's important to ensure that no moisture is left behind, as this can lead to mold growth and affect the quality of the ice.
-
Sanitize the Ice Bin (Optional): For an extra level of cleanliness, consider using a mild sanitizing solution approved for use in food-related appliances. Follow the manufacturer's guidelines for proper dilution and application of the sanitizer.
-
Reassemble and Replace: Once the ice bin is completely dry, reassemble any removable components and place the bin back into the ice maker.
By following these steps, you can effectively clean the ice bin, ensuring that it remains free from contaminants and contributes to the production of clean, high-quality ice. Regular cleaning of the ice bin is essential to maintain the overall hygiene of your ice maker and prevent the buildup of impurities that can affect the taste and purity of the ice. Now that the ice bin is clean, let's move on to the next crucial step: cleaning the water filter.
Cleaning the Water Filter
Cleaning the water filter is a vital aspect of maintaining the purity and quality of the ice produced by your ice maker. The water filter plays a crucial role in removing impurities and contaminants from the water supply, ensuring that the ice remains clean and free from any undesirable tastes or odors. Regular cleaning and maintenance of the water filter are essential to uphold its effectiveness and prevent the buildup of sediment and impurities that can compromise the quality of the ice.
Here are the detailed steps for cleaning the water filter of your ice maker:
-
Locate the Water Filter: Depending on the model of your ice maker, the water filter may be located inside the unit or in an accessible area such as the back or bottom. Refer to the manufacturer's manual to locate the water filter and understand the specific procedure for accessing it.
-
Turn Off the Water Supply: Before proceeding with the cleaning process, it's important to turn off the water supply to the ice maker. This prevents water from flowing into the unit during the cleaning, ensuring a safe and controlled procedure.
-
Remove the Water Filter: Carefully remove the water filter from its housing or compartment. Some filters may twist or slide out, while others may require the use of a tool for removal. Follow the manufacturer's instructions to avoid damaging the filter or the surrounding components.
-
Inspect the Filter: Take a close look at the water filter to assess its condition. Check for any visible sediment, debris, or discoloration that may indicate the need for cleaning or replacement. If the filter appears heavily soiled or damaged, it may be more practical to replace it with a new one.
-
Clean the Filter Housing: While the water filter is removed, take the opportunity to clean the filter housing or compartment. Use a mild cleaning solution and a soft brush or cloth to remove any buildup or residue that may have accumulated in the housing.
-
Rinse the Water Filter: If the water filter is reusable and in good condition, rinse it under running water to remove any loose debris or contaminants. Avoid using soap or cleaning agents, as these can leave residues that may affect the filter's performance.
-
Sanitize the Filter (Optional): For an extra level of cleanliness, consider using a food-grade sanitizing solution to disinfect the water filter. Follow the manufacturer's guidelines for proper dilution and application of the sanitizer, ensuring that it is safe for use in water filtration systems.
-
Reinstall the Water Filter: Once the water filter is clean and dry, carefully reinstall it into the designated housing or compartment. Ensure that it is securely in place and properly aligned to maintain the integrity of the water filtration system.
-
Turn On the Water Supply: After the water filter is reinstalled, turn the water supply back on and check for any leaks or irregularities. Allow the water to flow through the filter for a few minutes to flush out any air or residual particles.
By following these steps, you can effectively clean the water filter of your ice maker, ensuring that it continues to remove impurities from the water supply and contribute to the production of clean, high-quality ice. Regular maintenance of the water filter is essential to uphold the performance and efficiency of your ice maker, providing you with a constant supply of fresh, pure ice for your beverages. Now that the water filter is clean and reinstalled, let's proceed to the final step: cleaning the exterior of the ice maker.
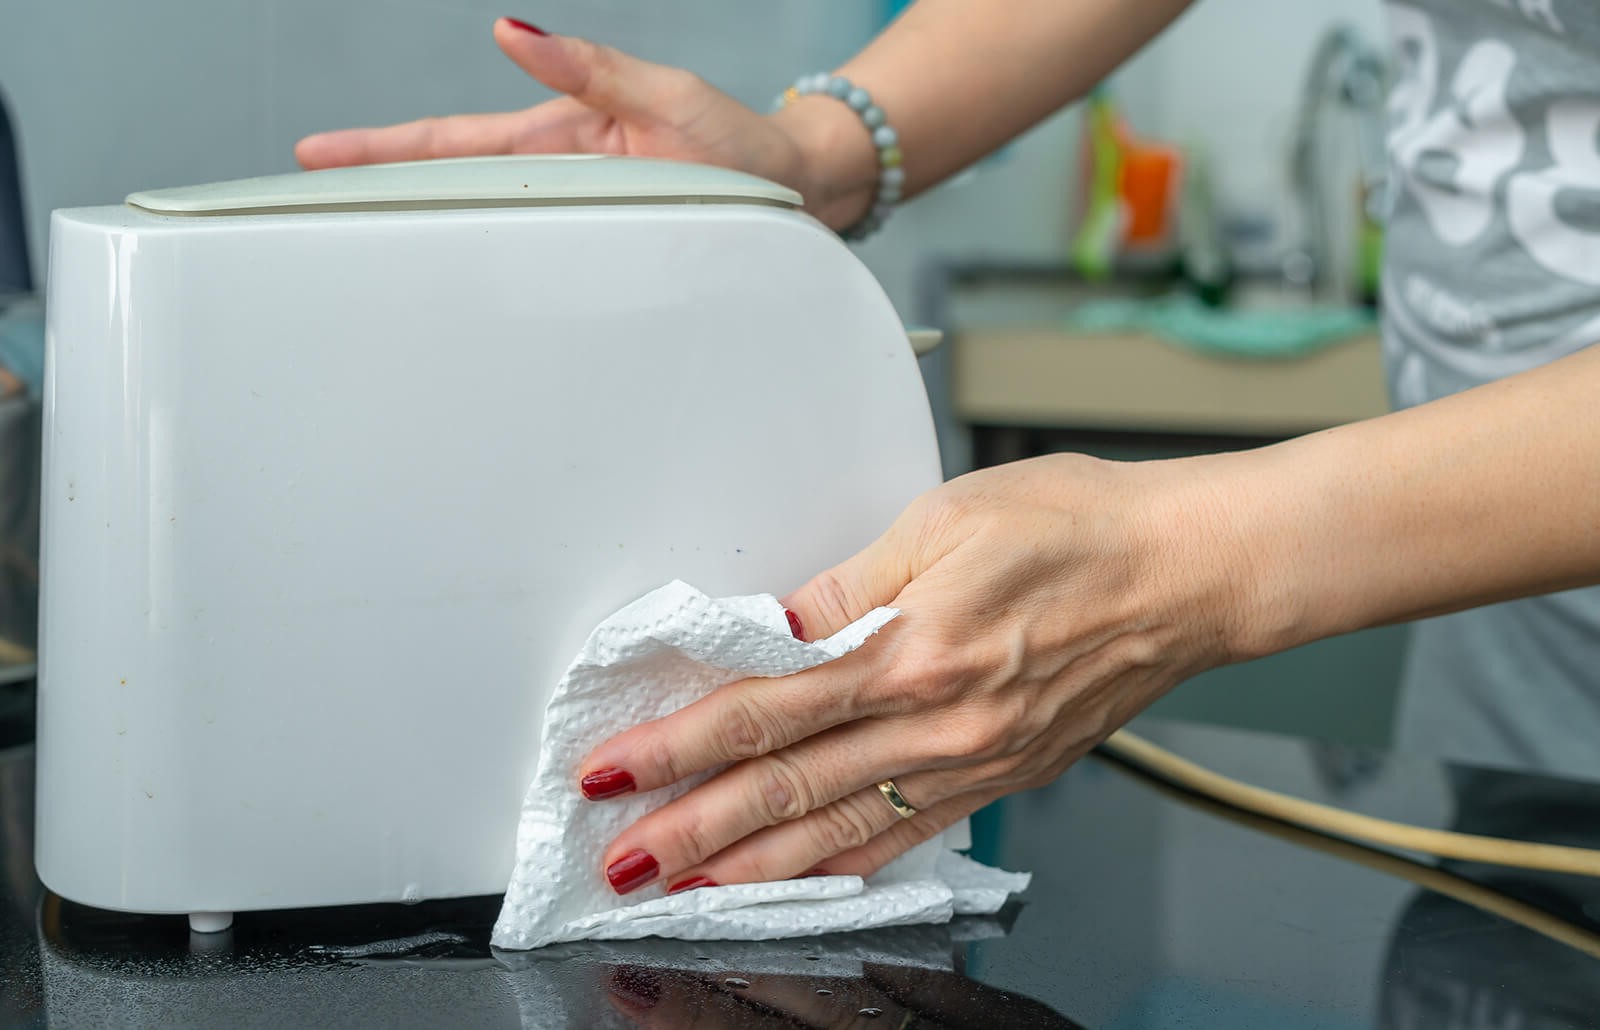
Cleaning the Exterior of the Ice Maker
While cleaning the interior components of the ice maker is crucial for maintaining its functionality and hygiene, it's equally important to pay attention to the exterior surfaces. The exterior of the ice maker is exposed to various environmental factors, including dust, grease, and spills, which can accumulate over time and detract from the overall cleanliness of the appliance. Additionally, regular cleaning of the exterior not only enhances the aesthetic appeal of the ice maker but also contributes to a hygienic kitchen environment.
Here are the detailed steps for cleaning the exterior of the ice maker:
-
Unplug the Ice Maker: As with any cleaning process involving electrical appliances, start by unplugging the ice maker from the power source to ensure safety.
-
Use the Right Cleaning Agent: Depending on the material of the ice maker's exterior (e.g., stainless steel, plastic, or other surfaces), select a suitable cleaning agent. For stainless steel surfaces, a specialized stainless steel cleaner can effectively remove fingerprints, smudges, and stains. For plastic surfaces, a mild all-purpose cleaner is suitable.
-
Apply the Cleaning Agent: Spray or apply the cleaning agent onto a soft, lint-free cloth. Avoid applying the cleaner directly to the ice maker to prevent any liquid from seeping into the internal components.
-
Wipe the Exterior Surfaces: Gently wipe the exterior surfaces of the ice maker with the dampened cloth, ensuring thorough coverage. Pay attention to areas prone to fingerprints, such as handles and control panels, and remove any visible marks or residues.
-
Dry and Polish: After cleaning, use a dry, clean cloth to thoroughly dry and polish the exterior surfaces. This step helps to remove any remaining cleaning agent and leaves the surfaces with a streak-free, polished finish.
-
Detailing and Maintenance: For stainless steel surfaces, consider using a specialized stainless steel polish to enhance the shine and protect against future smudges and marks. Additionally, inspect the exterior for any signs of wear, scratches, or damage, and address them as needed to maintain the ice maker's appearance.
By following these steps, you can effectively clean the exterior of your ice maker, ensuring that it remains free from dirt, stains, and marks. Regular cleaning of the exterior surfaces not only contributes to the overall cleanliness of your kitchen but also preserves the visual appeal of the ice maker. With the exterior surfaces clean and well-maintained, your ice maker will continue to complement your kitchen space while providing a constant supply of fresh, clean ice.
Now that we've covered the comprehensive process of cleaning the ice maker, including its interior components, ice bin, water filter, and exterior surfaces, you're equipped with the knowledge to maintain the optimal functionality and hygiene of your ice maker. Regular cleaning and maintenance will ensure that your ice maker continues to produce high-quality ice while enhancing the overall cleanliness and appeal of your kitchen.
Maintenance Tips
Maintaining the cleanliness and functionality of your ice maker extends beyond the cleaning process. Implementing regular maintenance practices can significantly contribute to the longevity and optimal performance of your appliance. Here are essential maintenance tips to keep your ice maker in top condition:
-
Regular Inspection: Periodically inspect the interior and exterior of the ice maker for any signs of wear, damage, or leaks. Addressing issues promptly can prevent potential malfunctions and ensure the continued production of clean ice.
-
Replace Water Filters: Follow the manufacturer's recommendations for replacing the water filter at the specified intervals. A clean and efficient water filter is essential for removing impurities and maintaining the quality of the ice.
-
Monitor Ice Quality: Pay attention to the quality of the ice produced by the ice maker. If you notice any unusual tastes, odors, or discoloration in the ice, it may indicate the need for thorough cleaning or maintenance.
-
Clean the Condenser Coils: If your ice maker has accessible condenser coils, ensure they are kept clean and free from dust and debris. Dirty condenser coils can affect the appliance's cooling efficiency and overall performance.
-
Check for Leaks: Regularly inspect the water supply line and connections for any leaks or irregularities. Addressing leaks promptly can prevent water damage and ensure the consistent operation of the ice maker.
-
Maintain Proper Ventilation: If your ice maker is built-in or enclosed, ensure that the ventilation openings are not obstructed. Proper ventilation is crucial for the appliance's cooling system and overall efficiency.
-
Follow Manufacturer's Guidelines: Adhere to the specific maintenance guidelines provided by the manufacturer. This includes recommended cleaning products, frequency of maintenance, and any model-specific instructions for optimal care.
-
Professional Servicing: Consider scheduling periodic professional servicing for your ice maker. A qualified technician can perform thorough maintenance, inspect internal components, and address any potential issues that may not be apparent during regular cleaning.
By incorporating these maintenance tips into your routine, you can ensure that your ice maker operates at its best, consistently producing clean and refreshing ice for your beverages. Regular maintenance not only preserves the appliance's functionality but also contributes to a hygienic and enjoyable kitchen environment.
Conclusion
In conclusion, maintaining a clean and well-functioning ice maker is essential for ensuring the production of fresh, high-quality ice while promoting a hygienic kitchen environment. By following the comprehensive cleaning and maintenance guidelines outlined in this guide, you can effectively uphold the optimal performance and longevity of your ice maker.
Regular cleaning of the ice maker's interior components, including the ice bin and water filter, is crucial for removing impurities, preventing mold and bacteria buildup, and preserving the purity of the ice it produces. Additionally, paying attention to the exterior surfaces of the ice maker contributes to the overall cleanliness and visual appeal of the appliance, enhancing the aesthetics of your kitchen space.
Furthermore, the implementation of regular maintenance practices, such as inspecting the appliance, replacing water filters, and monitoring ice quality, ensures that your ice maker continues to operate at its best. By adhering to manufacturer's guidelines and considering professional servicing when necessary, you can address potential issues proactively and maintain the appliance's efficiency.
Ultimately, a well-maintained ice maker not only provides a constant supply of clean ice for your beverages but also contributes to the overall cleanliness and functionality of your kitchen. By prioritizing regular cleaning and maintenance, you can enjoy the benefits of a reliable and hygienic ice maker, enhancing your culinary experiences and ensuring the satisfaction of family and guests.
Incorporating the safety precautions, detailed cleaning processes, and maintenance tips provided in this guide into your routine will empower you to uphold the optimal functionality and hygiene of your ice maker, ensuring that it continues to be a valuable asset in your kitchen for years to come.