Home>Home and Garden>How To Clean Waffle Maker
Home and Garden
How To Clean Waffle Maker
Published: February 28, 2024
Learn the best tips for cleaning your waffle maker to keep it in top condition. Discover easy home and garden cleaning techniques for a sparkling kitchen appliance.
(Many of the links in this article redirect to a specific reviewed product. Your purchase of these products through affiliate links helps to generate commission for Noodls.com, at no extra cost. Learn more)
Table of Contents
Introduction
Cleaning a waffle maker is an essential task that ensures its longevity and maintains the quality of the waffles it produces. Over time, residual batter and oil can accumulate on the cooking plates, leading to a decline in performance and potential hygiene concerns. By regularly cleaning your waffle maker, you can guarantee that it continues to function optimally, producing delicious waffles with every use.
In this comprehensive guide, we will walk you through the step-by-step process of cleaning your waffle maker effectively. Whether you have a traditional waffle iron or a modern non-stick model, these cleaning techniques will help you maintain a pristine cooking surface and a spotless exterior. With a few simple steps, you can ensure that your waffle maker remains in top condition, ready to create mouthwatering waffles for your enjoyment.
So, let's dive into the cleaning process and discover how to keep your waffle maker in pristine condition. Whether you're a seasoned waffle enthusiast or a newcomer to the world of homemade waffles, maintaining a clean waffle maker is a crucial aspect of the waffle-making experience. Let's get started!
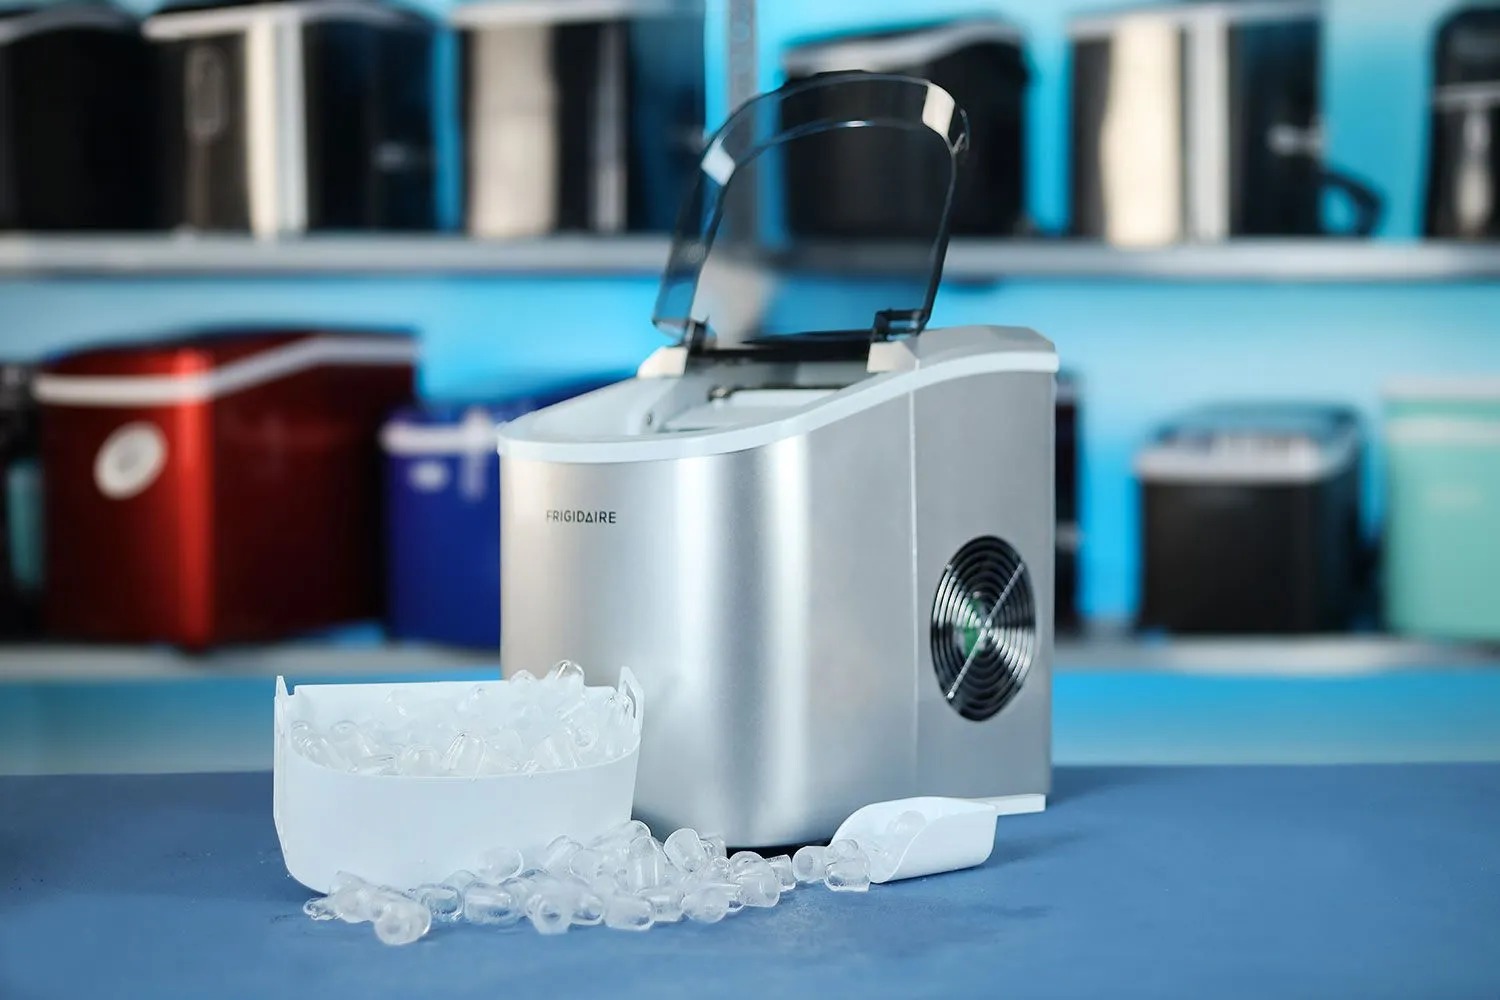
Read more: How To Clean Ice Maker
Step 1: Unplug the Waffle Maker
The first and most crucial step in cleaning a waffle maker is to ensure that it is completely unplugged from the power source. This is a fundamental safety measure that prevents any potential accidents while cleaning the appliance. Unplugging the waffle maker eliminates the risk of electric shock and allows you to handle the device without any electrical hazards.
By disconnecting the waffle maker from the power supply, you create a safe environment for thorough cleaning. This step is particularly important as it sets the foundation for the entire cleaning process. Once the waffle maker is unplugged, you can proceed with confidence, knowing that you can safely handle and clean all its components without any electrical risks.
Additionally, unplugging the waffle maker serves as a reminder to allow the appliance to cool down before initiating the cleaning process. This ensures that the cooking plates and exterior surfaces are at a safe temperature for handling. It's essential to give the waffle maker ample time to cool down, as attempting to clean it while it's still hot can lead to burns or other injuries.
In summary, unplugging the waffle maker is the critical first step in the cleaning process. It sets the stage for a safe and effective cleaning experience, allowing you to proceed with the subsequent steps confidently and without any electrical hazards. By prioritizing safety and taking this initial precaution, you pave the way for a thorough and successful cleaning of your waffle maker.
Step 2: Let it Cool Down
After unplugging the waffle maker, the next crucial step is to allow it to cool down completely. This is a vital safety measure that ensures you can handle the appliance without the risk of burns or injuries. The cooking plates of the waffle maker can reach high temperatures during use, and it's essential to give them sufficient time to cool down before initiating the cleaning process.
Depending on the model and the duration of use, the waffle maker's cooking plates can retain significant heat even after it has been unplugged. Therefore, it's advisable to wait at least 30 minutes to an hour to ensure that the plates have cooled down to a safe temperature for handling. This waiting period may vary based on the specific make and model of the waffle maker, as well as the duration of its recent use.
During this cooling period, it's important to avoid any contact with the cooking plates or other hot surfaces of the waffle maker. This includes refraining from attempting to clean the appliance or remove any residual batter while it is still hot. By exercising patience and allowing the waffle maker to cool down naturally, you create a safe environment for the subsequent cleaning steps.
In addition to ensuring safety, letting the waffle maker cool down offers practical benefits for the cleaning process. When the cooking plates are at a lower temperature, any remaining batter or oil residue is less likely to be sticky or difficult to remove. This makes the cleaning process more efficient and allows for a thorough removal of any buildup on the cooking surfaces.
By prioritizing the cooling down period, you set the stage for a safe and effective cleaning experience. This step not only safeguards against potential injuries but also optimizes the cleaning process by facilitating the removal of residual batter and oil. Once the waffle maker has cooled down completely, you can proceed with confidence to the next steps of the cleaning process, knowing that you have created a safe and conducive environment for thorough maintenance.
Step 3: Remove Excess Batter
Once the waffle maker has been unplugged and allowed to cool down, the next step is to remove any excess batter that may be lingering on the cooking plates. This is an essential part of the cleaning process, as it prevents the buildup of hardened batter and ensures that the cooking surfaces are thoroughly cleaned.
To begin, gently open the waffle maker and inspect the cooking plates for any remaining batter. Using a soft, non-abrasive spatula or a silicone utensil, carefully scrape off any excess batter that may be stuck to the plates. It's important to exercise caution and avoid using sharp or metal utensils that could scratch or damage the non-stick coating of the plates.
If the batter is particularly stubborn or has adhered to the plates, you can lightly dampen a soft cloth with warm water and place it over the affected areas. Allowing the damp cloth to sit on the batter for a few minutes can help loosen it, making it easier to remove without applying excessive force.
Once the excess batter has been loosened, continue gently scraping it off the cooking plates until they are free of any residual batter. Take care to remove all traces of batter, paying attention to the edges and corners of the plates where buildup may occur.
After removing the excess batter, use a dry cloth or paper towel to wipe the cooking plates, ensuring that they are clean and free of any moisture or batter remnants. This step prepares the plates for the subsequent cleaning process, allowing for a more thorough and effective removal of any remaining residue.
By diligently removing excess batter from the cooking plates, you pave the way for a comprehensive cleaning of the waffle maker. This step sets the stage for the subsequent cleaning procedures, ensuring that the cooking surfaces are free of any lingering batter and ready for a thorough maintenance process.
With the excess batter removed, you are now prepared to proceed to the next steps of cleaning the waffle maker, ensuring that it remains in optimal condition for creating delicious, golden-brown waffles.
Step 4: Clean the Plates
Cleaning the plates of your waffle maker is a crucial step in maintaining its performance and ensuring the production of delectable waffles. The cooking plates are the heart of the waffle maker, and keeping them clean is essential for achieving consistent cooking results and prolonging the lifespan of the appliance.
To begin the cleaning process, start by referring to the manufacturer's instructions for specific guidance on cleaning your waffle maker's plates. While most modern waffle makers feature non-stick plates, it's important to follow the manufacturer's recommendations to avoid damaging the non-stick coating during cleaning.
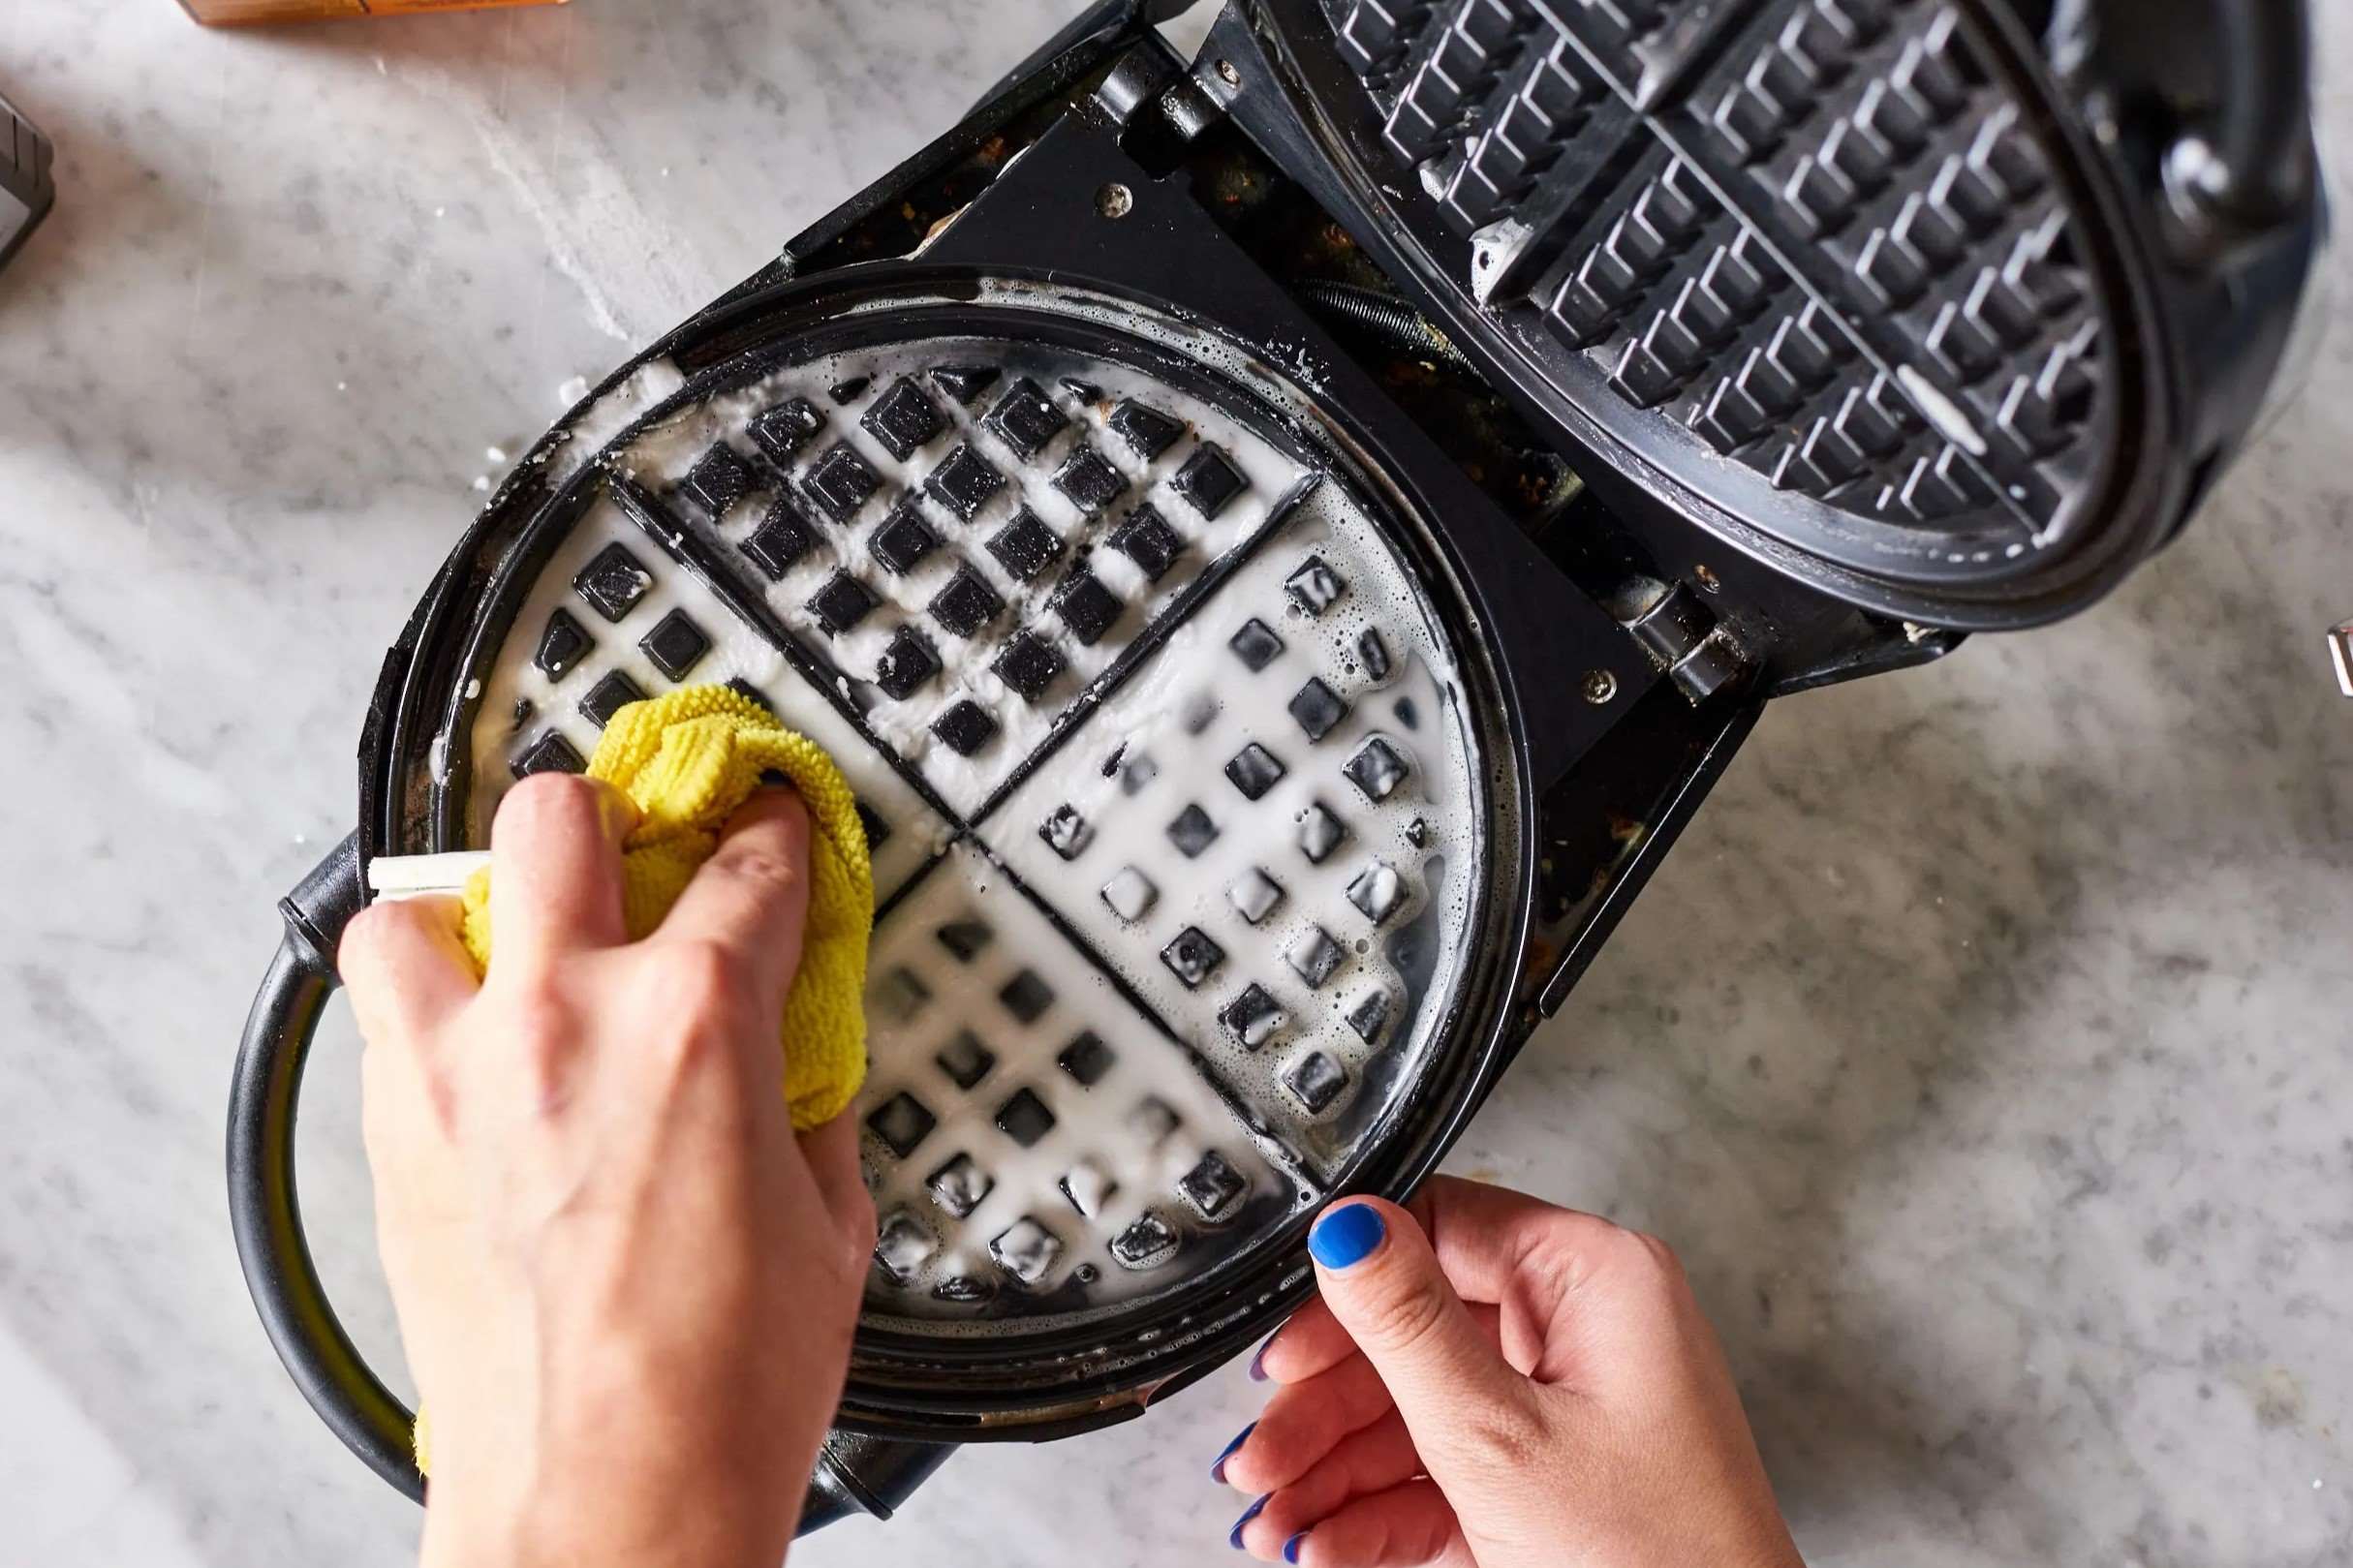
Using a soft, damp cloth, gently wipe down the cooking plates to remove any surface residue or oil buildup. If there are stubborn spots or dried batter on the plates, avoid using abrasive sponges or harsh cleaning agents, as these can damage the non-stick coating. Instead, consider using a soft-bristled brush or a non-abrasive sponge to gently scrub the affected areas.
For particularly stubborn residue, you can create a gentle cleaning solution by mixing warm water with a small amount of mild dish soap. Dip a soft cloth or sponge into the soapy water and carefully scrub the affected areas of the cooking plates. Take care to avoid excessive moisture, ensuring that the cleaning solution does not seep into any electrical components of the waffle maker.
Once the plates have been thoroughly cleaned, use a separate damp cloth to wipe away any soap residue, ensuring that the plates are free of any cleaning solution. Following this, use a dry cloth or paper towel to completely dry the cooking plates, preventing the accumulation of moisture that could lead to rust or damage over time.
If your waffle maker features removable plates, consider removing them for a more thorough cleaning. Refer to the manufacturer's instructions for guidance on safely removing and reattaching the plates, ensuring that you handle them with care to avoid any damage.
By diligently cleaning the plates of your waffle maker, you maintain the integrity of the cooking surfaces and ensure that they continue to deliver perfectly cooked waffles. This step is essential for preserving the non-stick coating and preventing the buildup of residue that could affect the quality of your waffles.
With the plates cleaned and dried, your waffle maker is now ready for the next step in the cleaning process, bringing you closer to enjoying delicious, homemade waffles without any lingering residue or buildup affecting their flavor or texture.
Read more: How To Clean Ninja Coffee Maker
Step 5: Wipe Down the Exterior
After ensuring the cooking plates are thoroughly cleaned, it's essential to focus on the exterior of the waffle maker. The exterior surfaces, including the housing and handles, also require attention to maintain the overall cleanliness and appearance of the appliance.
Begin by using a soft, damp cloth to wipe down the exterior of the waffle maker. This gentle approach helps remove any surface dust, oil splatters, or fingerprints that may have accumulated during use. Pay close attention to any crevices or seams where residue may be present, ensuring that the entire exterior surface is thoroughly wiped.
For stubborn stains or dried-on residue, consider using a mild cleaning solution. Mix a small amount of dish soap with warm water to create a gentle cleaning solution. Dampen a soft cloth with the soapy water and carefully wipe the affected areas of the exterior. Take care to avoid excessive moisture, ensuring that the cleaning solution does not come into contact with any electrical components.
If the exterior surfaces have intricate designs or textured areas, use a soft-bristled brush or a cotton swab to gently clean these areas, ensuring that no residue is left behind. It's important to approach the cleaning of the exterior with a gentle touch to avoid damaging any decorative elements or the overall finish of the waffle maker.
Once the exterior surfaces have been cleaned, use a separate damp cloth to wipe away any soap residue, ensuring that the exterior is free of any cleaning solution. Following this, use a dry cloth or paper towel to completely dry the exterior, preventing the accumulation of moisture that could lead to damage or discoloration over time.
By thoroughly wiping down the exterior of the waffle maker, you not only maintain its visual appeal but also ensure that it remains free of any lingering residue or buildup. This step contributes to the overall cleanliness and presentation of the appliance, reflecting your commitment to maintaining a well-kept kitchen environment.
With the exterior wiped down and dried, your waffle maker is now fully cleaned and ready for the next waffle-making adventure. By following these cleaning steps, you can enjoy the process of creating delicious waffles with the confidence that your waffle maker is in optimal condition, both inside and out.
Step 6: Reassemble the Waffle Maker
Once the interior and exterior of the waffle maker have been thoroughly cleaned, it's time to reassemble the appliance to prepare it for future use. This step involves carefully putting the components back together in their proper positions, ensuring that the waffle maker is fully functional and ready to create delicious waffles.
Begin by referring to the manufacturer's instructions for guidance on reassembling the waffle maker. If the cooking plates were removed for cleaning, follow the specific instructions provided to safely reattach them to the appliance. Take care to align the plates correctly and secure them in place according to the manufacturer's recommendations.
If your waffle maker features any removable accessories or attachments, such as drip trays or cord storage compartments, ensure that these are reattached securely. Pay attention to any locking mechanisms or alignment guides to ensure that the accessories are properly positioned and functional.
Once all components have been reassembled, perform a visual inspection to confirm that everything is in place and securely attached. Check for any loose or misaligned parts, ensuring that the waffle maker is fully assembled and ready for use.
After reassembling the waffle maker, take a moment to wipe down the exterior once more to ensure that any fingerprints or smudges from handling during reassembly are removed. This final touch contributes to the overall presentation of the appliance and reflects your attention to detail in maintaining its cleanliness.
With the waffle maker fully reassembled and the exterior surfaces wiped down, it is now ready to be stored or used for creating delicious waffles. By completing the reassembly process with care and precision, you ensure that the waffle maker is in optimal condition and poised to deliver delightful waffle-making experiences.
Following these comprehensive cleaning and reassembly steps, you can take pride in knowing that your waffle maker is well-maintained and ready to produce golden-brown waffles with every use. With a clean and fully assembled waffle maker at your disposal, you can look forward to enjoying the delightful aroma and taste of freshly made waffles, knowing that your appliance is in prime condition for culinary excellence.
Conclusion
In conclusion, maintaining a clean waffle maker is essential for preserving its performance, prolonging its lifespan, and ensuring the continued production of delectable waffles. By following the step-by-step cleaning process outlined in this guide, you can effectively remove residual batter, oil, and buildup from the cooking plates and exterior surfaces, creating an environment that promotes optimal waffle-making experiences.
The journey of cleaning a waffle maker begins with the fundamental steps of unplugging the appliance and allowing it to cool down. These initial precautions prioritize safety and set the stage for a thorough and effective cleaning process. By unplugging the waffle maker, you create a safe environment for handling the appliance, while allowing it to cool down ensures that the cooking plates are at a safe temperature for cleaning.
Removing excess batter from the cooking plates is a crucial step that prevents the buildup of hardened residue and ensures that the waffle maker's surfaces are ready for thorough maintenance. By diligently scraping off any lingering batter and wiping down the plates, you prepare them for the subsequent cleaning procedures, setting the foundation for pristine cooking surfaces.
The process of cleaning the plates and exterior of the waffle maker involves gentle and meticulous care to preserve the non-stick coating and overall appearance of the appliance. By following the manufacturer's recommendations and using mild cleaning solutions, you can effectively remove any residue or oil buildup, ensuring that the cooking surfaces and exterior are free of any lingering impurities.
Reassembling the waffle maker marks the final step in the cleaning process, ensuring that all components are securely attached and the appliance is ready for future use. By carefully reattaching the cooking plates and any removable accessories, you complete the cleaning journey, leaving the waffle maker in optimal condition for creating delicious waffles.
In essence, the process of cleaning a waffle maker is not only about maintenance but also about cultivating a sense of pride in the appliance. A clean waffle maker reflects a commitment to culinary excellence and the enjoyment of homemade waffles. By following these cleaning steps, you can savor the anticipation of creating golden-brown waffles, knowing that your waffle maker is in prime condition for delivering delightful culinary experiences.
With a clean and fully assembled waffle maker at your disposal, you are poised to embark on countless waffle-making adventures, each one infused with the satisfaction of maintaining a well-kept kitchen environment and the joy of savoring freshly made waffles.