Lifestyle
How To Cut Your Own Hair In Layers
Published: March 1, 2024
Learn how to cut your own hair in layers and achieve a stylish look at home with our easy step-by-step guide. Discover a new lifestyle skill today!
(Many of the links in this article redirect to a specific reviewed product. Your purchase of these products through affiliate links helps to generate commission for Noodls.com, at no extra cost. Learn more)
Table of Contents
Introduction
Are you looking to freshen up your look without the hassle of scheduling a salon appointment? Cutting your own hair in layers can be a rewarding and cost-effective way to achieve a stylish and personalized haircut. Whether you're aiming for subtle face-framing layers or a more dramatic layered look, mastering the art of layering your hair can give you the freedom to experiment with different styles from the comfort of your own home.
By learning how to cut your own hair in layers, you can take control of your hair's length and texture, allowing you to tailor your haircut to suit your unique preferences. Embracing the DIY approach to hair maintenance not only empowers you to express your individuality but also provides a sense of accomplishment as you master this essential skill.
Embarking on the journey of self-layering your hair opens up a world of creative possibilities, enabling you to customize your haircut according to your desired length, volume, and shape. Whether you prefer long, cascading layers or chic, shoulder-length strands, the ability to craft your own layered haircut grants you the freedom to experiment with diverse styles and adapt your look to different occasions and moods.
Throughout this guide, you will discover a step-by-step approach to cutting your own hair in layers, complete with essential tips and techniques to ensure a professional-looking result. By following these instructions and embracing the art of self-styling, you can elevate your hair game and unleash your inner hairstylist, all while enjoying the convenience of managing your hair on your own terms. So, roll up your sleeves, gather your tools, and get ready to embark on a journey of self-expression and creativity as you learn how to cut your own hair in layers.
Step 1: Gather the necessary tools
Before diving into the process of cutting your hair in layers, it's essential to gather the necessary tools to ensure a smooth and successful DIY haircut experience. Having the right equipment at your disposal will not only streamline the process but also contribute to the precision and quality of your layered haircut. Here's a comprehensive list of the essential tools you'll need:
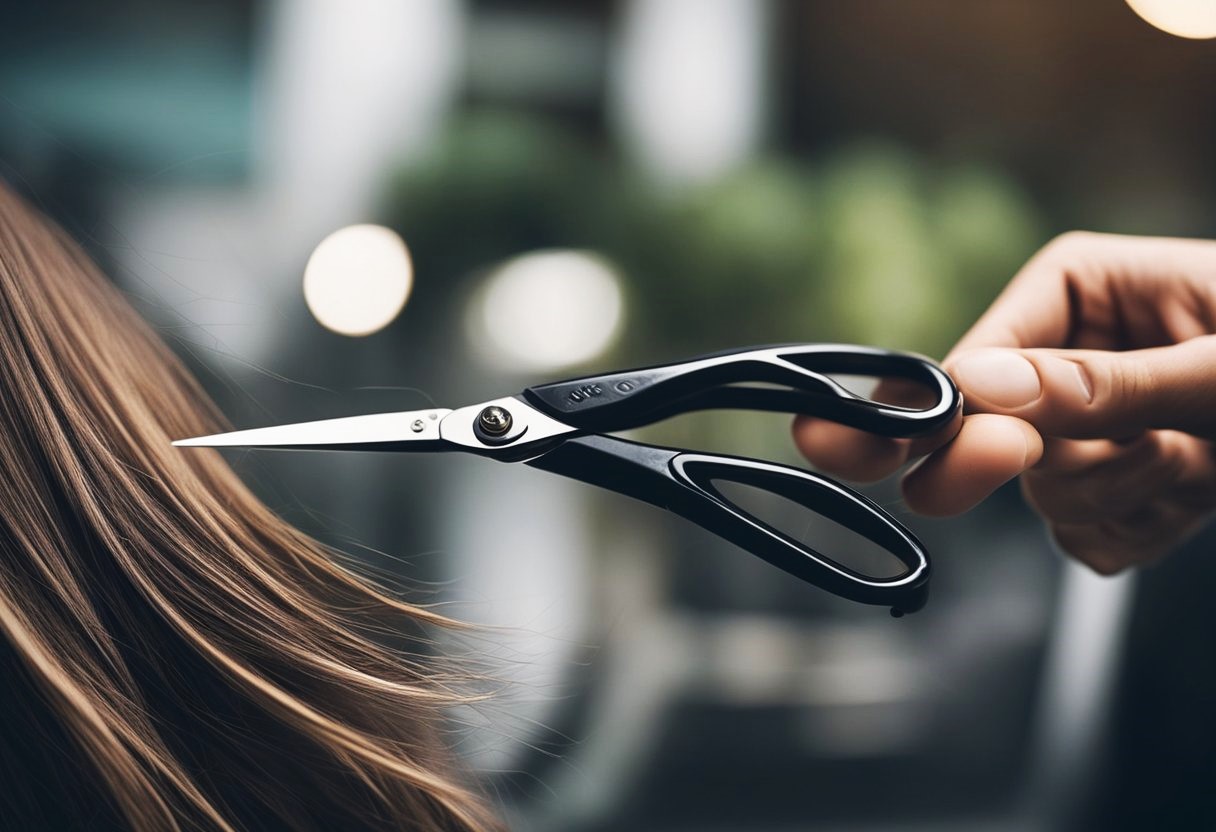
1. Sharp Hairdressing Scissors:
Investing in a pair of high-quality, sharp hairdressing scissors is crucial for achieving clean and precise cuts. Using regular household scissors can lead to uneven and frayed ends, compromising the overall look of your layered haircut. Opt for professional hairdressing scissors with a sharp blade to ensure smooth and accurate cutting.
2. Fine-Tooth Comb:
A fine-tooth comb is indispensable for sectioning and detangling your hair before cutting. It helps create clean partings and ensures that each section is smooth and tangle-free, allowing for more controlled and accurate cutting.
3. Hair Clips or Ties:
Securing sections of your hair with clips or ties is essential for maintaining organization and control during the cutting process. These tools help keep the hair out of the way as you work on specific sections, preventing any accidental blending or uneven cutting.
Read more: How To Cut Your Own Bangs
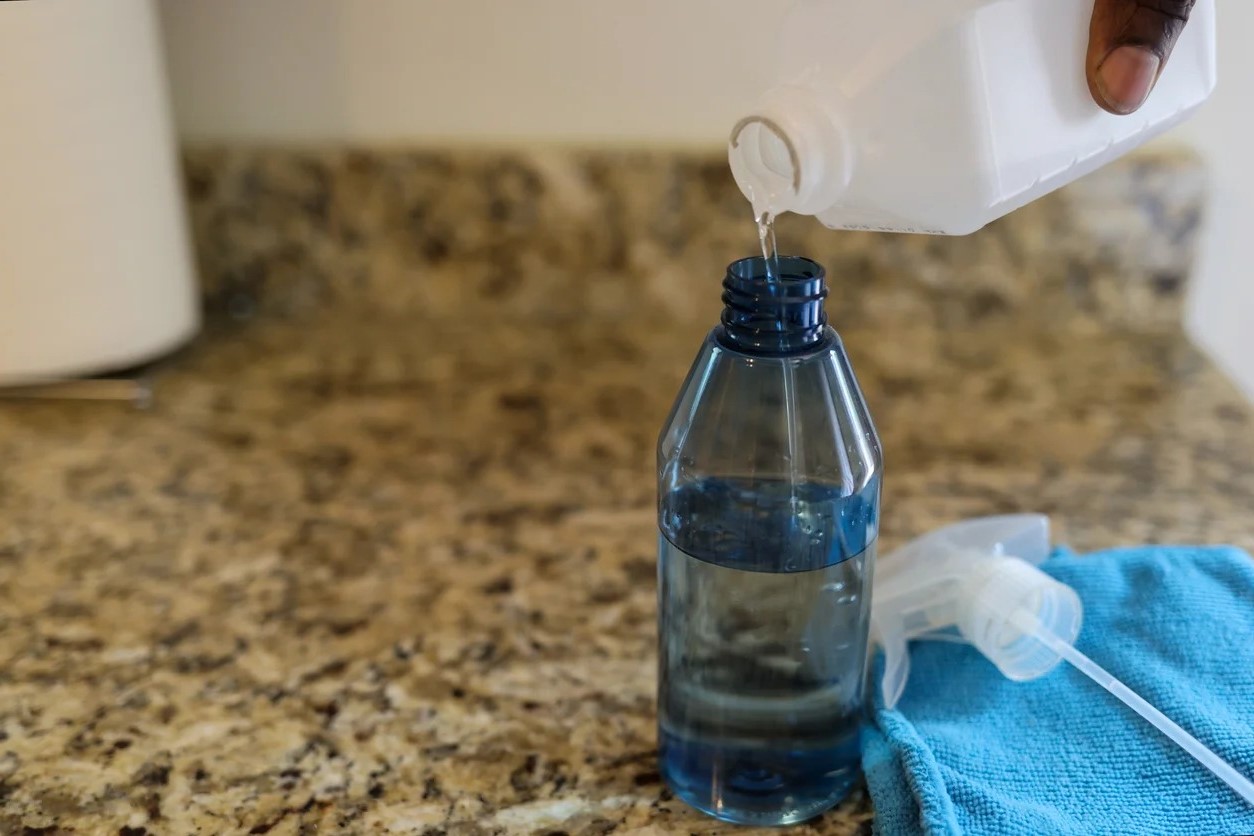
4. Spray Bottle with Water:
Having a spray bottle filled with water at hand can aid in dampening your hair, making it easier to work with and ensuring a more accurate cut. Lightly misting your hair with water can also help reveal any natural texture or wave patterns, allowing you to tailor the layers to your hair's unique characteristics.
5. Mirror:
A large, high-quality mirror is essential for achieving a well-balanced and symmetrical layered haircut. Positioning the mirror strategically will enable you to assess your progress from different angles and make necessary adjustments as you work through the layering process.
6. Towel or Hairdressing Cape:
To protect your clothing and skin from hair clippings, drape a towel or wear a hairdressing cape before you begin cutting your hair. This simple yet crucial step will help maintain cleanliness and prevent hair from sticking to your clothes or skin.
By ensuring that you have these essential tools at your disposal, you'll be well-prepared to embark on the journey of cutting your own hair in layers with confidence and precision. With the right equipment in hand, you're ready to move on to the next step and begin the process of sectioning your hair for the layered haircut.
Step 2: Section your hair
Sectioning your hair is a crucial preparatory step that sets the foundation for a well-executed layered haircut. Properly dividing your hair into manageable sections ensures precision and control throughout the cutting process, ultimately contributing to a polished and professional-looking result.
Begin by using a fine-tooth comb to create a clean center part, dividing your hair into two main sections. This initial parting serves as the starting point for segmenting your hair into smaller, more manageable sections as you progress through the layering process.
Next, take one of the two main sections and further divide it horizontally, clipping the upper portion out of the way. This creates the first lower section, which will be the starting point for cutting the initial layer of your hair. Using hair clips or ties, secure the upper portion to prevent it from interfering with the lower section as you work.
With the lower section neatly secured, use the fine-tooth comb to create a clean, horizontal parting, dividing the lower section into two equal parts. This creates a top and bottom subsection within the lower section, allowing for more precise layering and cutting.
Repeat this process on the other main section of your hair, ensuring that both sides are evenly and accurately sectioned. By creating uniform subsections on each side, you establish a balanced foundation for layering your hair, setting the stage for a harmonious and well-blended end result.
Throughout the sectioning process, it's essential to maintain attention to detail and ensure that the partings are straight and even. This level of precision will contribute to the overall symmetry and balance of your layered haircut, allowing for a seamless transition between the different layers.
By meticulously sectioning your hair in preparation for the layering process, you lay the groundwork for a successful and controlled cutting experience. This methodical approach sets the stage for the subsequent steps, enabling you to focus on cutting and blending each layer with confidence and precision. With your hair expertly sectioned, you're now ready to move on to the next step and begin cutting the first layer of your hair, bringing you one step closer to achieving your desired layered haircut.
Read more: How To Style Layered Hair
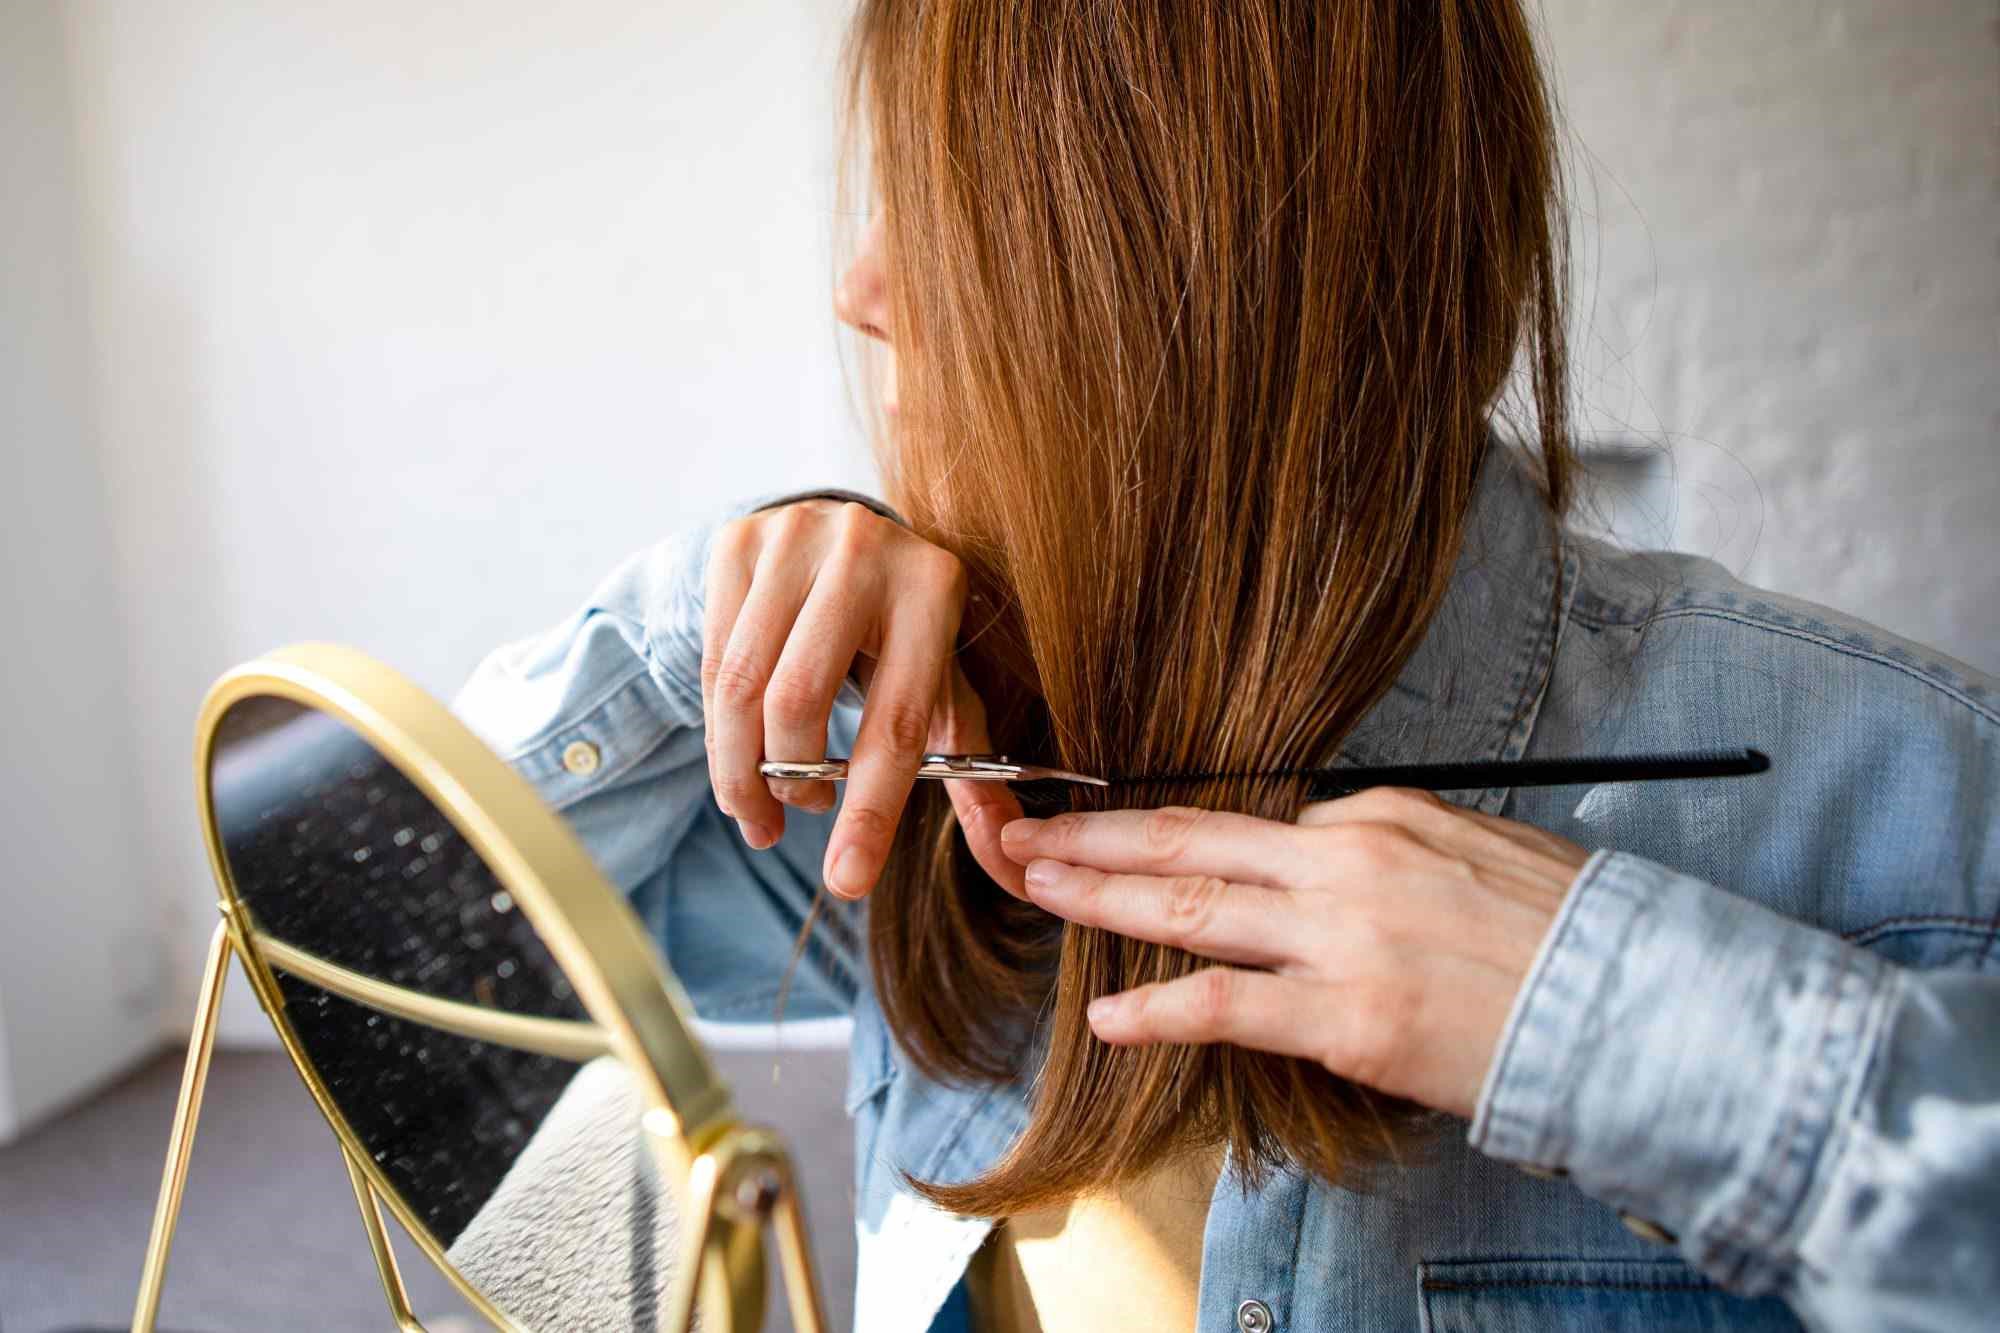
Step 3: Cut the first layer
With your hair expertly sectioned, it's time to embark on the exciting process of cutting the first layer of your hair. This pivotal step sets the tone for the overall shape and structure of your layered haircut, laying the foundation for the subsequent layers. As you prepare to wield your scissors, it's essential to approach this phase with focus, precision, and a clear vision of the desired outcome.
Begin by releasing the lower section of hair on one side, ensuring that the upper portion is securely clipped out of the way. This allows you to concentrate on the first layer without interference, facilitating a more controlled and accurate cutting experience. With the lower section ready for attention, it's time to bring out your sharp hairdressing scissors and prepare to sculpt the initial layer.
Using the comb, gently detangle the section of hair to ensure a smooth and even surface for cutting. This step is crucial for achieving clean, precise lines and preventing any snags or unevenness during the cutting process. Once the hair is thoroughly detangled, hold the section between your fingers, positioning your hand at a slight angle to create the desired length for the first layer.
With a steady hand and a confident grip on the scissors, make small, deliberate cuts at the desired length, working your way across the section. It's important to approach the cutting process gradually, trimming small sections at a time to maintain control and prevent overcutting. This methodical approach allows you to tailor the length of the first layer to your preference, ensuring that it complements your overall hairstyle and facial features.
As you progress through the cutting process, periodically release the upper portion of the section to assess the blending and transition between the layers. This visual check enables you to gauge the balance and symmetry of the first layer, making any necessary adjustments to achieve a seamless flow between the sections. Pay close attention to the natural fall and movement of your hair, ensuring that the first layer harmonizes with the rest of your hair for a cohesive and polished look.
By approaching the cutting process with patience, attention to detail, and a keen eye for balance, you can sculpt the first layer of your hair with confidence and precision. This meticulous approach sets the stage for a well-executed layered haircut, laying the groundwork for the subsequent layers to seamlessly integrate and harmonize. With the first layer expertly crafted, you're now ready to move on to the next step and continue building the dimensions and texture of your layered haircut.
Step 4: Cut the second layer
With the first layer skillfully crafted, it's time to transition to the next phase of the layering process by cutting the second layer of your hair. Building upon the foundation established by the initial layer, this step plays a pivotal role in adding depth, dimension, and movement to your layered haircut. As you prepare to embark on this stage, it's essential to approach it with a keen eye for detail, precision, and a clear understanding of how the second layer will complement and enhance the overall hairstyle.
Begin by releasing the upper portion of the previously cut section, allowing it to blend seamlessly with the rest of your hair. This step provides a crucial opportunity to assess the transition between the first and second layers, ensuring a harmonious and natural flow between the different sections. As you release the upper portion, take a moment to observe how the layers interact and complement each other, making any necessary adjustments to maintain a balanced and well-integrated look.
Once the upper portion is released, use the fine-tooth comb to gently detangle the section, preparing it for the cutting process. As with the first layer, it's important to ensure that the hair is smooth and even, providing a clean canvas for precision cutting. With the section prepped and ready, hold it between your fingers, maintaining a slight angle to create the desired length for the second layer.
With your sharp hairdressing scissors in hand, begin making small, deliberate cuts to sculpt the second layer. Approach the cutting process with a methodical and measured hand, trimming the hair gradually to achieve the desired length and texture. Pay close attention to the natural movement and fall of your hair, allowing it to guide the cutting process and contribute to the overall shape and flow of the second layer.
As you work through the section, periodically release the surrounding hair to assess the blending and transition between the layers. This visual check enables you to ensure that the second layer seamlessly integrates with the first, creating a cohesive and well-layered look. Take the time to refine and adjust the length and texture of the second layer, aiming for a balanced and polished result that complements your overall hairstyle.
By approaching the cutting of the second layer with patience, precision, and a keen eye for detail, you can elevate the dimensions and texture of your layered haircut, adding depth and movement to your overall look. With the second layer expertly crafted, you're now ready to move on to the next step and continue refining and blending the layers to achieve a professional and personalized layered haircut.
Step 5: Blend the layers
As you progress through the process of cutting your own hair in layers, the pivotal step of blending the layers holds the key to achieving a seamless and harmonious transition between the different sections. Blending is a crucial technique that ensures the layers integrate cohesively, creating a polished and professional-looking layered haircut. This step focuses on refining the texture, shape, and flow of the layers, ultimately contributing to a well-balanced and visually appealing hairstyle.
To begin the blending process, release the remaining sections of your hair, allowing them to interact and harmonize with the previously cut layers. As the sections come together, take a moment to assess the overall shape and movement of your hair, observing how the layers complement each other and contribute to the desired hairstyle. This initial observation sets the stage for the meticulous blending and refining of the layers.
Using your sharp hairdressing scissors, carefully examine the transition points between the different layers, paying close attention to any visible lines or unevenness. To achieve a seamless blend, make subtle and strategic adjustments by trimming small sections of hair where necessary. This methodical approach allows you to refine the edges and contours of the layers, ensuring that they flow effortlessly into each other.
As you work through the blending process, consider the overall shape and length of your layered haircut, aiming for a balanced and well-integrated look. Emphasize the natural movement and texture of your hair, allowing it to guide the blending process and contribute to the dynamic and layered effect. By maintaining a keen eye for detail and precision, you can achieve a polished and professional blend that enhances the overall dimension and texture of your hairstyle.
Throughout the blending phase, it's essential to periodically assess your progress, using a mirror to view your hair from different angles. This visual check enables you to identify any areas that require further blending or refinement, allowing you to make precise adjustments as needed. By taking the time to meticulously blend the layers, you can ensure a cohesive and visually striking layered haircut that reflects a high level of craftsmanship and attention to detail.
As you near the completion of the blending process, take a moment to appreciate the transformation taking place, as the individual layers seamlessly merge to form a unified and stylish hairstyle. Embrace the creative freedom and sense of accomplishment that comes with mastering the art of blending your own hair in layers, knowing that your efforts have contributed to a personalized and professionally executed layered haircut.
With the layers expertly blended, you're now ready to move on to the final steps of the self-layering process, bringing your vision of a stylish and customized haircut to fruition.
Step 6: Check for any uneven areas
After meticulously cutting and blending the layers of your hair, it's crucial to conduct a thorough assessment to identify and address any potential uneven areas. This step serves as a critical quality check, ensuring that your layered haircut achieves a seamless and balanced look. By carefully examining your hair for any irregularities or inconsistencies, you can take proactive measures to refine and perfect the overall result.
Begin by releasing all clipped sections of your hair, allowing it to fall naturally and reveal the full scope of your layered haircut. Use a high-quality mirror to view your hair from different angles, paying close attention to the overall shape, length, and blending of the layers. This comprehensive visual assessment provides valuable insights into the symmetry and balance of your haircut, enabling you to identify any areas that require attention.
As you inspect your hair, focus on evaluating the transition points between the layers, looking for any abrupt shifts or noticeable lines. Run your fingers through the different sections, feeling for any unevenness or jagged edges that may disrupt the fluidity of the layers. By combining visual and tactile assessments, you can gain a comprehensive understanding of the overall quality of your layered haircut.
In the event that you identify any uneven areas or discrepancies, approach them with a steady hand and a keen eye for detail. Utilize your sharp hairdressing scissors to make precise adjustments, carefully trimming small sections of hair to refine the shape and texture of the layers. Take a gradual and measured approach, ensuring that each adjustment contributes to a more polished and cohesive look.
Throughout the refinement process, periodically step back to assess your progress, using the mirror to view your hair from various angles. This iterative approach allows you to make targeted refinements, ensuring that the layers seamlessly integrate and flow into each other. By maintaining a meticulous focus on achieving uniformity and balance, you can elevate the overall quality of your layered haircut.
As you near the completion of the assessment and refinement process, take a moment to appreciate the transformation that has taken place. Embrace the sense of accomplishment that comes with identifying and addressing any uneven areas, knowing that your attention to detail has contributed to a professional and personalized layered haircut. With the final adjustments made, you can confidently move on to the next step, ready to style and showcase your newly crafted layered haircut.
Step 7: Style and finish your new layered haircut
With your freshly layered haircut now expertly crafted, it's time to put the finishing touches on your stylish new look. The culmination of your DIY hair cutting journey, this step focuses on styling and refining your layered haircut to showcase its full potential. By embracing the art of styling, you can elevate the texture, shape, and overall presentation of your hair, bringing your vision of a personalized and professionally executed haircut to life.
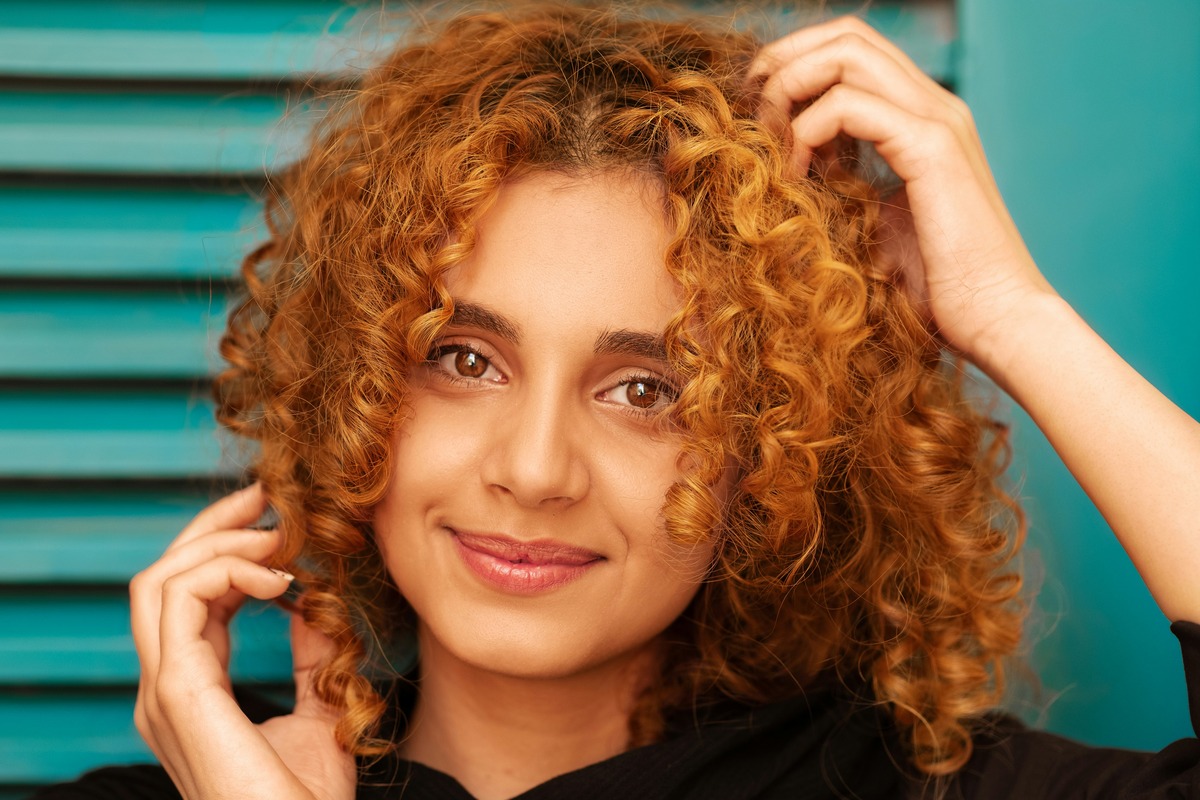
Begin by considering the natural texture and movement of your hair, as this will guide your styling approach. Whether you have straight, wavy, or curly hair, understanding its unique characteristics will enable you to tailor the styling process to enhance its inherent beauty. Embrace the versatility of your layered haircut, exploring different styling techniques to accentuate its dimensions and create a dynamic and expressive look.
Experiment with various styling tools and products to accentuate the layers and add volume or definition as desired. From volumizing mousse to texturizing sprays, the right products can enhance the dimension and texture of your layered haircut, allowing you to achieve a customized and polished finish. Embrace the creative freedom that comes with styling your own hair, exploring different techniques to express your individuality and elevate your overall look.
Consider incorporating heat styling tools such as curling irons or straighteners to further enhance the texture and shape of your layered haircut. By strategically adding waves or curls, you can accentuate the layers and create a dynamic and eye-catching hairstyle. Alternatively, use a flat iron to smooth and refine the layers, achieving a sleek and polished look that highlights the precision of your DIY haircut.
As you style your layered haircut, pay attention to the overall balance and symmetry of the layers, ensuring that they harmonize seamlessly to create a cohesive and visually striking hairstyle. Use a mirror to assess your progress from different angles, making any necessary adjustments to achieve the desired shape and texture. Embrace the process of styling as an opportunity to showcase the artistry and craftsmanship of your layered haircut, celebrating the unique expression of your personal style.
Once you are satisfied with the styling and presentation of your layered haircut, take a moment to appreciate the transformation that has taken place. Embrace the sense of empowerment and accomplishment that comes with mastering the art of self-styling, knowing that your efforts have contributed to a personalized and professionally executed hairstyle. With your new layered haircut styled to perfection, you are now ready to showcase your unique and expressive look to the world, confident in the knowledge that you have mastered the art of cutting and styling your own hair in layers.