Home>Lifestyle>Easy DIY Guide: Cut Your Own Layered Long Hair At Home!
Lifestyle
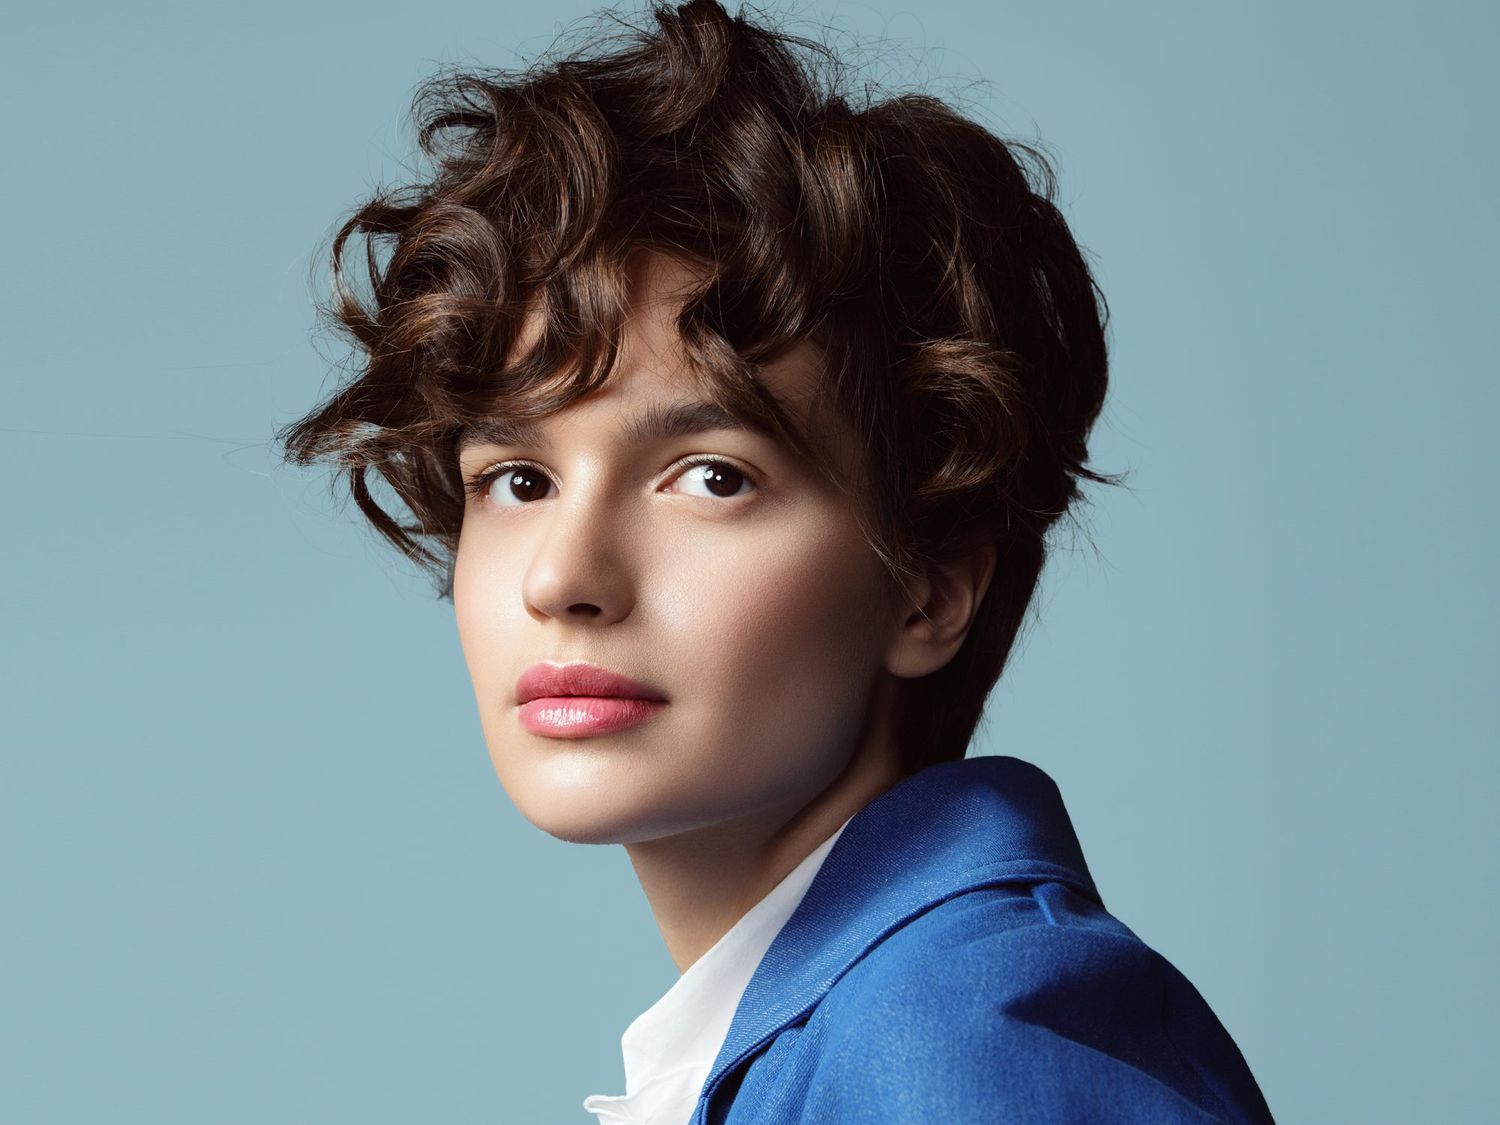
Easy DIY Guide: Cut Your Own Layered Long Hair At Home!
Published: January 28, 2024
Learn how to cut your own layered long hair at home with our easy DIY guide! Save time and money while achieving the perfect look. Perfect for a convenient lifestyle.
(Many of the links in this article redirect to a specific reviewed product. Your purchase of these products through affiliate links helps to generate commission for Noodls.com, at no extra cost. Learn more)
Table of Contents
Introduction
Welcome to the ultimate guide on cutting your own layered long hair at home! Whether you're looking to freshen up your style or simply maintain your current look, learning how to trim and layer your hair can save you time and money. With the right tools and techniques, you can achieve salon-worthy results from the comfort of your own home.
In this comprehensive DIY guide, you'll discover the step-by-step process for achieving beautifully layered long hair without stepping foot in a salon. From preparing your hair and sectioning it properly to mastering the art of blending and styling, this guide has got you covered. By following these easy-to-understand instructions and tips, you'll gain the confidence and skills needed to take control of your hair's appearance.
Say goodbye to the days of scheduling salon appointments and hello to the freedom of creating your desired look on your own schedule. Whether you're a seasoned DIY enthusiast or a first-time haircutter, this guide is designed to empower you with the knowledge and techniques required to achieve professional-looking results.
So, grab your tools, get ready to unleash your creativity, and let's embark on this exciting journey of self-expression and self-care. With a bit of practice and a dash of confidence, you'll soon be enjoying the satisfaction of flaunting your perfectly layered long locks, all thanks to your newfound DIY hair-cutting skills. Let's dive in and transform your hair into a stunning masterpiece!
Read more: How To Cut Your Own Hair In Layers
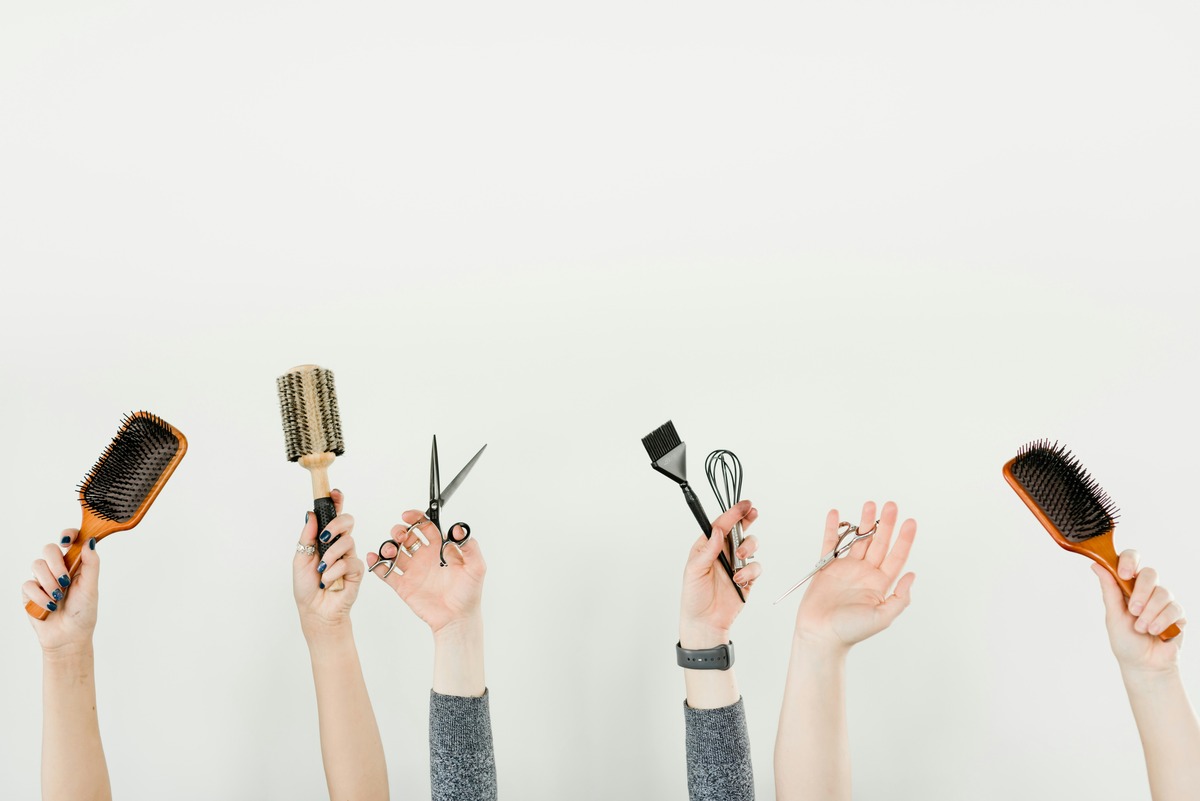
Tools and Materials
To embark on your DIY layered haircut journey, it's essential to gather the right tools and materials. By ensuring you have everything you need, you'll set yourself up for a successful and enjoyable hair-cutting experience. Here's a detailed list of the essential tools and materials you'll need:
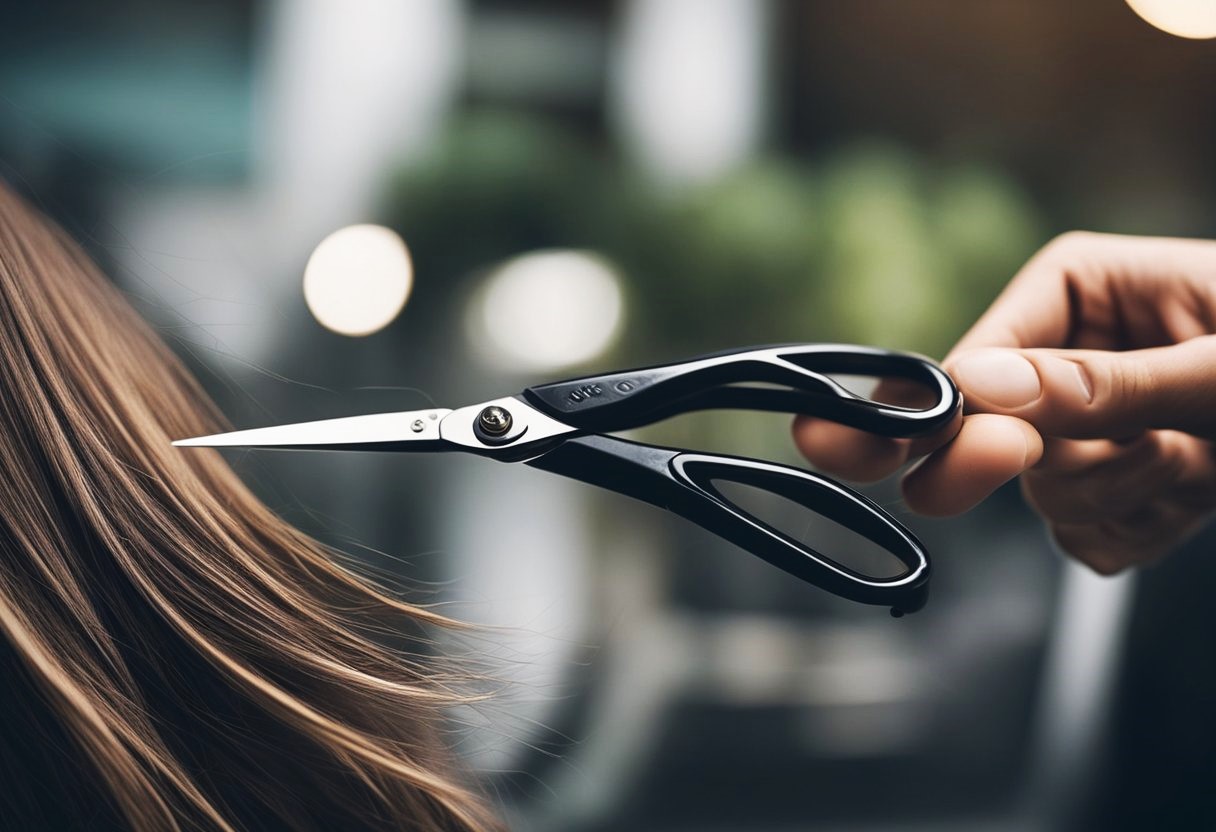
1. Quality Hair Cutting Scissors
Invest in a pair of sharp, high-quality hair cutting scissors. These specialized scissors are designed to create precise cuts without causing damage or split ends. Opting for professional-grade scissors will contribute to a smoother and more controlled cutting process.
2. Fine-Toothed Comb
A fine-toothed comb is crucial for detangling and parting your hair with accuracy. Look for a sturdy comb with fine teeth that can easily glide through your hair, allowing for precise sectioning and cutting.
3. Hair Clips or Ties
Keep your hair neatly separated and secured during the cutting process by using hair clips or ties. These tools will help you maintain control over different sections of your hair as you work through the layering process.
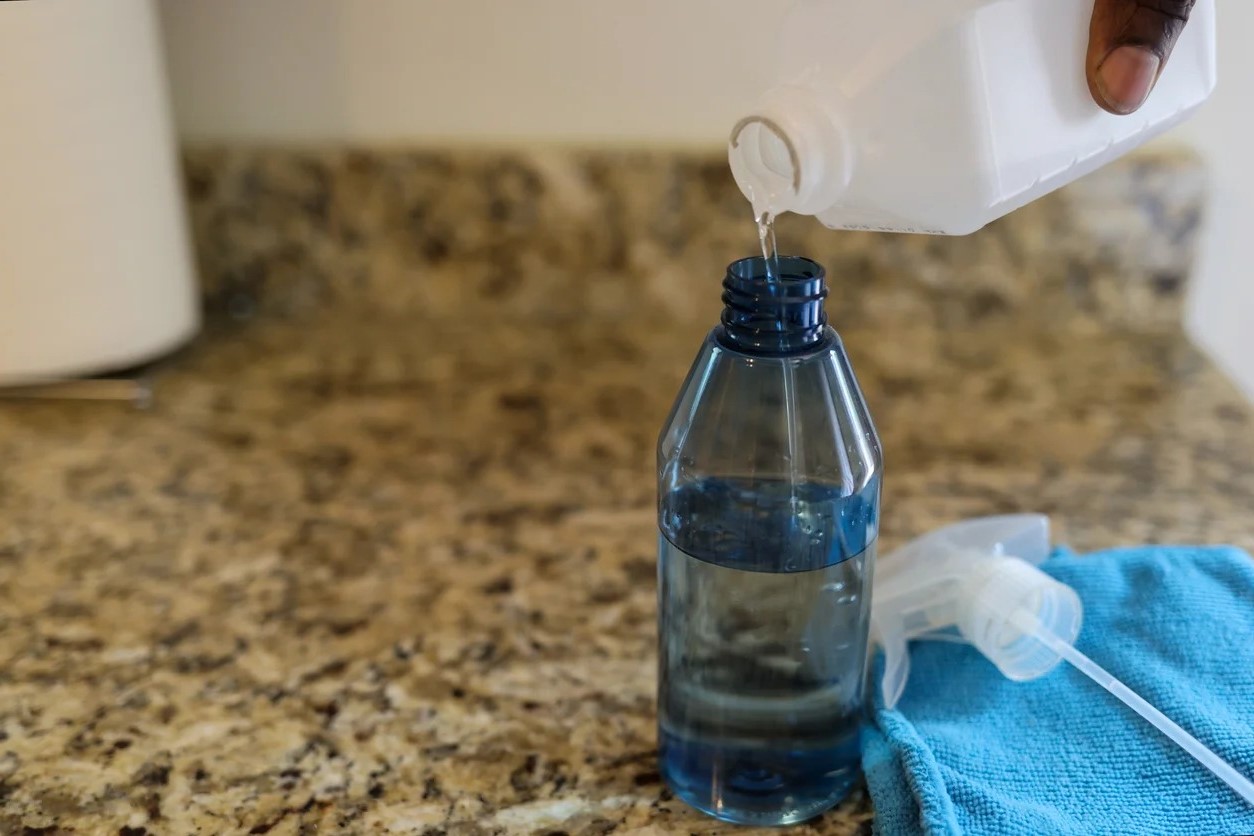
4. Spray Bottle
Fill a spray bottle with water to lightly mist your hair. Dampening your hair can make it easier to cut and style, as it provides better control and reduces flyaways.
5. Mirror
Position a large mirror in a well-lit area to ensure you have a clear view of your hair from different angles. A mirror is essential for assessing your progress and ensuring even layering.
6. Towel or Hairdressing Cape
Cover your shoulders with a towel or hairdressing cape to protect your clothing from hair clippings. This simple step will help keep your surroundings clean and make the cleanup process much easier.
7. Styling Products (Optional)
If you plan to style your hair after the cut, have your preferred styling products on hand. Whether it's a leave-in conditioner, styling mousse, or heat protectant, having these products within reach will allow you to complete the look with finesse.
By gathering these essential tools and materials, you'll be well-prepared to embark on your DIY layered long hair cutting journey. With the right equipment at your disposal, you can approach each step of the process with confidence, knowing that you have everything you need to achieve stunning results. Now that you're equipped with the necessary tools and materials, it's time to move on to the next steps in this exciting DIY adventure.
Preparing Your Hair
Before diving into the hair-cutting process, it's crucial to prepare your hair adequately to ensure a smooth and successful DIY experience. Proper preparation sets the stage for achieving precise and beautifully layered results. Here's a detailed breakdown of the essential steps involved in preparing your hair for the cutting process:
1. Cleanse and Condition
Begin by washing your hair with a high-quality shampoo and conditioner. Clean, conditioned hair is more manageable and allows for a more accurate cutting process. Thoroughly rinse out the products to ensure there is no residue left behind, which could interfere with the cutting and layering.
2. Detangle and Dry
After washing, gently detangle your hair using a wide-toothed comb to remove any knots or tangles. Once detangled, allow your hair to air-dry or use a blow dryer on a low heat setting. It's important to avoid using high heat, as overly dry or brittle hair can make the cutting process more challenging.
3. Assess Your Hair Texture and Length
Take a moment to assess the natural texture and current length of your hair. Understanding your hair's natural tendencies and characteristics will help you tailor the cutting technique to achieve the desired layered look. Consider whether your hair is straight, wavy, or curly, as this will influence how the layers fall and interact with each other.
Read more: How To Pierce Your Own Ear
4. Trim Any Split Ends (Optional)
If you notice any split ends or areas of damage, consider giving your hair a light trim before proceeding with the layering process. This step is optional but can contribute to a healthier overall appearance and prevent further damage.
5. Part Your Hair
Using a fine-toothed comb, create a clean, precise part in your hair. Whether you prefer a center part or a side part, ensuring a well-defined part will aid in accurately sectioning your hair for the layering process.
6. Lightly Dampen Your Hair
Lightly mist your hair with water using a spray bottle. Dampening the hair can make it more pliable and easier to work with during the cutting process. However, be mindful not to oversaturate the hair, as excessive moisture can affect the accuracy of the cut.
By meticulously following these preparatory steps, you'll create an optimal foundation for executing the layered haircut with precision and confidence. With your hair cleansed, detangled, and ready for the next steps, you're now primed to seamlessly transition into the sectioning and cutting stages of the DIY layered long hair cutting process.
Sectioning Your Hair
Properly sectioning your hair is a fundamental step in achieving a well-executed layered haircut. By dividing your hair into manageable sections, you'll gain better control over the cutting process and ensure a balanced and harmonious layering effect. Here's a detailed breakdown of the essential steps involved in sectioning your hair for the DIY layered long hair cutting process:
-
Create a Center Part: Begin by using a fine-toothed comb to create a clean center part that extends from your forehead to the nape of your neck. This part serves as a guideline for dividing your hair into two equal sections, allowing for symmetrical layering on both sides.
-
Divide Your Hair Horizontally: With the center part in place, use the end of the comb to create a horizontal part that runs from ear to ear, effectively separating the top section of your hair from the bottom section. Secure the top section with a clip or tie to keep it out of the way while you work on the bottom section.
-
Further Divide the Bottom Section: Within the bottom section, create another horizontal part, this time dividing the hair at the level where you want the first layer to begin. This will depend on your desired length for the initial layer. Secure the top portion of this section with a clip or tie, leaving the bottom portion loose and ready for cutting.
-
Repeat the Process for the Top Section: After completing the initial layer in the bottom section, release the top section of hair and repeat the horizontal parting process. Create another horizontal part at the desired level for the second layer, ensuring it aligns with the first layer for seamless blending.
-
Secure and Adjust as Needed: Throughout the sectioning process, use hair clips or ties to secure the portions of hair that are not being worked on. Take a moment to assess the symmetry and balance of the parted sections, making any necessary adjustments to ensure uniformity and precision.
By meticulously following these sectioning steps, you'll establish a structured foundation for executing the layered haircut with accuracy and ease. Proper sectioning sets the stage for creating well-defined layers that flow seamlessly and complement your natural hair texture. With your hair expertly sectioned and ready for the next phase, you're now poised to move on to the exciting process of cutting the first layer and bringing your layered long hair vision to life.
Read more: How To Cut Your Own Bangs
Cutting the First Layer
With your hair expertly sectioned and ready to undergo the transformative process of layering, it's time to focus on cutting the first layer. This pivotal step sets the stage for shaping the initial layer of your long hair, laying the groundwork for the overall layered look. Here's a detailed breakdown of the essential steps involved in cutting the first layer of your DIY layered long hair:
-
Begin at the Back:
Position yourself in front of a well-lit mirror and start at the back of your head to ensure clear visibility and control over the cutting process. Working from the back allows for a more balanced and controlled approach, setting the tone for the rest of the layering process. -
Select the Desired Length:
Determine the length at which you want the first layer to fall. Whether you prefer a subtle, face-framing layer or a more pronounced difference in length, clearly envision the outcome before making the first cut. Remember, it's always better to start with a slightly longer length and make incremental adjustments as needed. -
Hold and Cut at an Angle:
Grasp a small section of the bottom layer between your fingers, holding it at a slight angle away from your head. This angle will create a soft, blended effect between the layers. Using your quality hair cutting scissors, make a gentle, diagonal cut, following the angle at which you're holding the hair. This technique helps achieve a natural, tapered transition from the first layer to the underlying hair. -
Work with Small Sections:
Rather than attempting to cut large sections at once, focus on working with small, manageable sections of hair. This approach allows for greater precision and control, reducing the risk of uneven or jagged cuts. Repeat the holding and cutting process for each small section, gradually working your way around the back and sides of your head. -
Assess and Adjust:
Periodically pause to assess the progress and ensure that the first layer is shaping up according to your desired length and style. Use a mirror to check the symmetry and balance of the layer, making any necessary adjustments to achieve a cohesive and harmonious look.
By meticulously following these steps, you'll effectively cut the first layer of your long hair, setting the stage for the subsequent layers and achieving a beautifully cascading, multi-dimensional effect. With the first layer skillfully crafted, you're now ready to embark on the next phase of the layering process, bringing you one step closer to flaunting your expertly layered long hair with confidence and pride.
Cutting the Second Layer
After successfully cutting the first layer and witnessing the transformation taking shape, it's time to shift your focus to the next crucial step: cutting the second layer of your DIY layered long hair. This pivotal phase builds upon the foundation established by the first layer, adding depth and dimension to your overall hairstyle. Here's a detailed breakdown of the essential steps involved in cutting the second layer of your long hair:
-
Reassess the Length: Before proceeding with the second layer, take a moment to reassess the length and overall appearance of the first layer. Consider how you want the second layer to complement and interact with the existing layer, ensuring a seamless transition between the two.
-
Release the Top Section: With the first layer in place, release the top section of your hair, allowing it to fall naturally. This step provides a clear canvas for creating the second layer and ensures that the layers blend harmoniously.
-
Create a Guideline: To guide the cutting process for the second layer, use the first layer as a visual reference. Determine the desired length for the second layer, considering whether you want a subtle continuation of the first layer or a more pronounced variation in length.
-
Hold and Cut with Precision: Grasp small sections of the top layer between your fingers, holding them at a slight angle to create a soft, blended effect. Using your quality hair cutting scissors, make precise, diagonal cuts, following the established angle to achieve a seamless transition between the layers.
-
Focus on Gradual Blending: Emphasize gradual blending and tapering as you work through the second layer, aiming for a natural and flowing appearance. By maintaining a gentle touch and focusing on small, incremental adjustments, you'll achieve a beautifully layered effect that complements your unique hair texture and style.
-
Assess Symmetry and Balance: Periodically pause to assess the symmetry and balance of the second layer, ensuring that it aligns seamlessly with the first layer. Utilize a mirror to evaluate the overall appearance from different angles, making any necessary adjustments to achieve a cohesive and harmonious look.
By meticulously following these steps, you'll skillfully craft the second layer of your long hair, enhancing the overall depth and dimension of your hairstyle. With the second layer artfully executed, you're now poised to move on to the exciting phase of blending the layers and adding the final touches to bring your DIY layered long hair vision to life.
Blending the Layers
With the first and second layers skillfully cut, the next crucial step in achieving a seamless and polished layered long hair look is blending the layers. This phase focuses on harmonizing the transitions between the individual layers, ensuring that they flow together naturally and create a cohesive and balanced overall appearance.
To begin the blending process, gently comb through your hair to allow the layers to interact and settle into place. This step helps reveal any potential unevenness or abrupt transitions between the layers, providing a clear starting point for refining the blending technique.
Using your quality hair cutting scissors, employ a feathering or point-cutting technique to soften the edges and create a gradual, blended effect. This involves delicately trimming the ends of the layers at different angles, allowing them to seamlessly merge and transition into one another. By strategically removing small, wispy sections of hair, you'll achieve a more fluid and natural connection between the layers, enhancing the overall texture and movement of your hairstyle.
As you work through the blending process, periodically assess the symmetry and fluidity of the layers, utilizing a mirror to evaluate the overall appearance from various angles. Focus on achieving a balanced and harmonious flow, ensuring that the layers complement each other and contribute to a multi-dimensional and dynamic hairstyle.
Throughout the blending phase, maintain a light touch and exercise patience, as gradual adjustments and fine-tuning are key to achieving a beautifully blended result. Emphasize precision and attention to detail, refining the transitions between the layers to create a visually captivating and cohesive layered long hair look.
Once you're satisfied with the blending outcome, take a moment to celebrate your progress and the artistry of creating a stunning layered hairstyle. With the layers seamlessly blended, you've successfully transformed your long hair into a multi-dimensional masterpiece, showcasing the beauty of expertly executed layering techniques.
With the layers seamlessly blended, you've successfully transformed your long hair into a multi-dimensional masterpiece, showcasing the beauty of expertly executed layering techniques.
Final Touches and Styling
With the layered haircut expertly executed, it's time to add the final touches and infuse your long hair with personalized style and flair. This phase allows you to showcase your creativity and bring out the full potential of your layered hairstyle. Here's a detailed exploration of the essential steps involved in adding the final touches and styling your newly layered long hair:
1. Texturizing for Dimension
Utilize texturizing techniques to enhance the dimension and movement of your layered long hair. Consider incorporating subtle layers of texture through techniques such as point-cutting or slide-cutting. These methods can add depth and dynamism to your hairstyle, allowing the individual layers to interact beautifully and create a sense of airiness and volume.
2. Embracing Natural Texture
Emphasize and celebrate your hair's natural texture by incorporating styling products that accentuate its unique qualities. Whether your hair is naturally straight, wavy, or curly, choose products that enhance and define its natural texture, allowing the layers to cascade and flow with effortless elegance.
3. Effortless Styling Options
Explore versatile and effortless styling options that complement your layered long hair. From loose waves and tousled curls to sleek, straight looks, experiment with different styling methods to discover the styles that best accentuate your newly layered hair. Embrace the freedom and versatility that comes with a well-crafted layered hairstyle, allowing you to effortlessly switch between various looks based on your mood and preferences.
4. Incorporating Finishing Products
Complete your styling routine by incorporating finishing products that add shine, control frizz, and provide a polished appearance. Whether it's a lightweight hair serum, a volumizing mousse, or a flexible hold hairspray, choose products that enhance the overall look of your layered hairstyle while maintaining its natural movement and texture.
5. Personalized Expression
Infuse your personal style and creativity into your layered hairstyle, allowing it to serve as a canvas for self-expression. Whether you prefer a laid-back, bohemian vibe or a sophisticated, polished aesthetic, tailor your styling choices to reflect your individuality and fashion sensibilities. Embrace the opportunity to make your layered long hair a true reflection of your unique personality and style.
By incorporating these final touches and styling techniques, you'll elevate your layered long hair to new heights, showcasing its beauty and versatility. Embrace the freedom to express yourself through your hairstyle, reveling in the artistry and allure of a meticulously crafted layered look. With the final touches and styling complete, you're ready to flaunt your stunning layered long hair with confidence and pride, knowing that it's a true reflection of your personal style and creativity.
Conclusion
Congratulations on embarking on the exciting journey of mastering the art of DIY layered long hair cutting! By delving into the intricacies of preparing, sectioning, and meticulously cutting your hair, you've taken a significant step toward achieving salon-quality results from the comfort of your own home. As you've discovered, the process of layering long hair involves a delicate balance of precision, creativity, and attention to detail, resulting in a beautifully cascading and multi-dimensional hairstyle.
Throughout this comprehensive guide, you've gained valuable insights into the essential tools, techniques, and steps required to achieve a professional-looking layered haircut. From preparing your hair with care and precision to skillfully sectioning and cutting each layer, you've honed your skills and embraced the artistry of creating a personalized and expertly layered long hair look.
As you ventured into the realm of blending the layers and adding the final touches, you've infused your unique style and creativity into your hairstyle, transforming it into a captivating and expressive work of art. By embracing the natural texture of your hair, exploring versatile styling options, and incorporating personalized finishing touches, you've elevated your layered long hair to new heights, allowing it to reflect your individuality and fashion sensibilities.
Remember, the journey of mastering DIY layered long hair cutting is a continuous and evolving process. With each cut and styling session, you'll further refine your skills, gain confidence, and uncover new possibilities for expressing your personal style through your hair. Whether you prefer effortless waves, sleek and polished looks, or bohemian-inspired textures, your layered long hair serves as a versatile canvas for self-expression and creativity.
As you continue to hone your expertise in DIY hair cutting, remember to approach each step with patience, confidence, and a sense of adventure. Embrace the joy of self-care and self-expression, knowing that you have the knowledge and skills to create stunning layered long hair looks that reflect your unique personality and style.
With the knowledge and techniques acquired from this guide, you're well-equipped to embark on future hair-cutting endeavors with confidence and creativity. Whether you're maintaining your current layered look or exploring new styling possibilities, the skills you've cultivated will continue to empower you on your DIY hair-cutting journey. Embrace the artistry, embrace the creativity, and most importantly, embrace the freedom of crafting your own stunning layered long hair looks.