Home>Lifestyle>Step-by-Step Guide: Create Your Own Trendy Bandana Halter Top!
Lifestyle
Step-by-Step Guide: Create Your Own Trendy Bandana Halter Top!
Published: February 16, 2024
Learn how to create your own trendy bandana halter top with our step-by-step guide. Elevate your lifestyle with this fun and stylish DIY project!
(Many of the links in this article redirect to a specific reviewed product. Your purchase of these products through affiliate links helps to generate commission for Noodls.com, at no extra cost. Learn more)
Table of Contents
Introduction
Are you ready to add a touch of bohemian flair to your wardrobe? Creating your own trendy bandana halter top is a fun and rewarding DIY project that allows you to express your unique style. Whether you're preparing for a music festival, a beach day, or simply want to elevate your everyday look, this versatile garment is a must-have for any fashion-forward individual.
Crafting your bandana halter top is not only a creative endeavor but also an opportunity to repurpose a beloved bandana into a chic and stylish piece of clothing. With just a few simple materials and a bit of creativity, you can transform a humble bandana into a fashion statement that reflects your personal taste and individuality.
In this step-by-step guide, you'll learn how to fashion your own bandana halter top with ease. From gathering the necessary materials to customizing the fit to suit your preferences, this tutorial will walk you through the process, ensuring that you achieve a garment that's both comfortable and fashionable. Whether you're a seasoned DIY enthusiast or a novice crafter, this project is accessible to all skill levels and promises a rewarding outcome.
By following this guide, you'll not only create a stylish addition to your wardrobe but also gain valuable sewing skills and a sense of accomplishment. Embrace the opportunity to unleash your creativity and embark on a journey of self-expression through fashion. So, gather your materials, clear a workspace, and let's dive into the exciting world of DIY fashion as we embark on the journey to create your very own bandana halter top!
Step 1: Gather Materials
To embark on your bandana halter top creation journey, you'll need a few essential materials to bring your vision to life. Here's a comprehensive list of what you'll need:
-
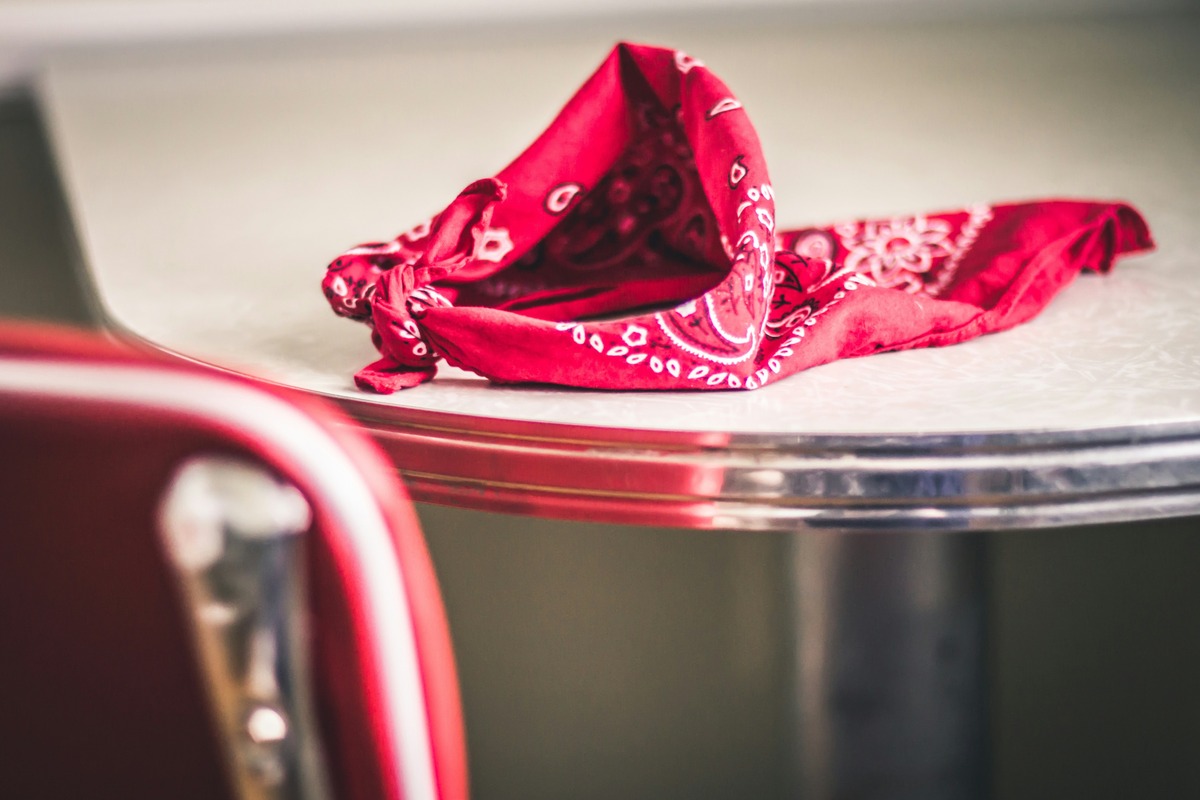
Bandana: The star of the show! Choose a bandana in a color or pattern that resonates with your personal style. Whether you opt for a vibrant, eye-catching design or a more understated and classic print, the bandana will serve as the foundation of your halter top.
-
Scissors: A reliable pair of fabric scissors is crucial for precise cutting. Ensure that your scissors are sharp and capable of cleanly cutting through the bandana material without fraying the edges.
-
Measuring Tape: Accurate measurements are key to achieving the perfect fit for your halter top. A flexible measuring tape will enable you to determine the ideal length and width for your bandana, ensuring a comfortable and flattering final product.
-
Sewing Machine or Needle and Thread: Depending on your preference and sewing expertise, you can choose to either use a sewing machine or hand-sew your halter top. If you opt for a sewing machine, ensure that it's equipped with a suitable needle for sewing lightweight fabrics.
-
Embellishments (Optional): If you're feeling adventurous, consider incorporating embellishments such as beads, fringe, or decorative trims to personalize your bandana halter top. These additions can elevate the overall aesthetic and add a touch of individuality to your creation.
-
Pins: Sewing pins are indispensable for securing fabric in place during the cutting and sewing process. They help maintain precision and prevent any shifting or misalignment of fabric layers.
-
Iron and Ironing Board: A well-pressed bandana will result in a polished and professional-looking halter top. Ensure that you have access to an iron and ironing board to smooth out any wrinkles and creases in the fabric before you begin cutting and sewing.
By gathering these materials, you'll be fully equipped to commence the exciting journey of crafting your very own bandana halter top. With these essentials at your disposal, you're ready to move on to the next step and bring your creative vision to fruition.
Step 2: Measure and Cut the Bandana
The process of creating your bandana halter top begins with precise measurements and strategic cutting of the bandana. This step is crucial as it sets the foundation for the fit and style of your garment. Here's a detailed breakdown of how to measure and cut the bandana to ensure a flattering and comfortable result.
Measuring the Bandana
Start by laying the bandana flat on a clean and spacious surface, ensuring that it is free from wrinkles or folds. Using a measuring tape, carefully determine the desired length and width for your halter top. The length will dictate how much coverage the halter top provides, while the width will determine the fit around your torso. Consider your personal preferences and body measurements to guide your decision-making process.
Marking and Cutting
Once you've established the measurements, use fabric chalk or a washable fabric marker to mark the cutting lines on the bandana. If you're aiming for a cropped halter top, mark the desired length from the bottom edge of the bandana. For the width, ensure that the bandana can comfortably wrap around your torso, allowing for a snug yet comfortable fit.
With the cutting lines clearly marked, carefully use a sharp pair of fabric scissors to cut along the designated lines. Precision is key to achieving clean and even edges, so take your time and follow the marked lines closely. Be mindful of any pattern or design on the bandana, ensuring that it aligns seamlessly after cutting.
Refining the Shape
After cutting the bandana to the specified dimensions, take a moment to assess the overall shape and fit. If adjustments are needed to achieve the desired silhouette, make incremental trims as necessary. Pay attention to the neckline and the overall contour of the halter top, ensuring that it complements your body shape and personal style.
By meticulously measuring and cutting the bandana according to your preferences, you're one step closer to bringing your custom bandana halter top to life. With the foundation of the garment established, the next step will focus on creating the halter straps to complete the stylish and functional design.
Step 3: Create the Halter Straps
The creation of the halter straps is a pivotal stage in crafting your bandana halter top, as it contributes to both the functionality and aesthetic appeal of the garment. By fashioning comfortable and secure halter straps, you'll ensure that your halter top not only fits impeccably but also exudes a stylish and confident vibe. Let's delve into the detailed process of crafting the halter straps to elevate your bandana halter top to new heights of fashion-forward allure.
Selecting the Strap Length
Commence the halter strap creation process by determining the ideal length for the straps. This is a crucial consideration, as it directly influences the fit and comfort of the halter top. To achieve this, hold one end of the bandana against the front of your torso and bring the opposite corners around your neck, crossing them at the back. Adjust the length until you achieve a comfortable and secure fit, ensuring that the ends of the bandana reach the desired position on your back. Once you've identified the optimal length, mark the points where the bandana crosses at the back of your neck, indicating the endpoints for the halter straps.
Cutting and Shaping the Straps
With the marked points as a guide, carefully cut the bandana along these lines to create the halter straps. Ensure that the cuts are clean and precise, maintaining the desired width and shape for the straps. It's essential to pay attention to symmetry and uniformity, as evenly shaped straps contribute to a polished and professional finish. Once the straps are cut, refine the edges to ensure a smooth and comfortable feel against your skin. Rounded edges can enhance comfort and prevent any sharp corners from causing irritation.
Reinforcing the Straps
To reinforce the durability and longevity of the halter straps, consider folding the edges inward and securing them with a straight stitch using a sewing machine or hand-sewing with a needle and thread. This reinforcement not only prevents fraying but also adds a tailored and refined touch to the straps. Additionally, reinforcing the edges contributes to the overall structural integrity of the halter straps, ensuring that they withstand regular wear and maintain their shape over time.
Personalizing the Straps (Optional)
For those seeking to infuse a personalized touch into their bandana halter top, consider embellishing the halter straps with decorative elements such as beads, tassels, or embroidery. These embellishments can add a touch of individuality and creativity to the garment, elevating its visual appeal and making a unique fashion statement. Whether you opt for subtle accents or bold embellishments, personalizing the halter straps presents an opportunity to showcase your distinctive style and creativity.
By meticulously crafting the halter straps to suit your preferences, you're not only ensuring a customized and comfortable fit but also infusing your bandana halter top with a personalized touch. With the halter straps taking shape, the next step will focus on seamlessly attaching them to the bandana, bringing your creation one step closer to completion.
Step 4: Sew the Halter Straps to the Bandana
Sewing the halter straps to the bandana marks a pivotal stage in the creation of your bespoke bandana halter top. This step not only ensures the structural integrity of the garment but also contributes to its overall functionality and aesthetic appeal. By securely attaching the halter straps, you'll achieve a polished and professional finish, elevating your DIY creation to a stylish and wearable piece of fashion.
Positioning the Straps
Commence the sewing process by carefully positioning the halter straps on the bandana. Lay the bandana flat on a clean and stable surface, ensuring that it is free from any wrinkles or folds. Place the halter straps in their designated positions, aligning them symmetrically to achieve a balanced and harmonious look. Use sewing pins to secure the straps in place, ensuring that they remain taut and properly aligned during the sewing process.
Securing the Straps
With the halter straps securely pinned to the bandana, it's time to commence the sewing process. If you're using a sewing machine, select a suitable thread color that complements the bandana and aligns with your aesthetic preferences. Begin by sewing along the edges of the halter straps, ensuring that the stitches are straight and even. This not only attaches the straps securely to the bandana but also reinforces their connection, enhancing the overall durability of the garment.
Hand-Sewing Option
For those opting for hand-sewing, use a needle and thread to carefully stitch the halter straps to the bandana. Employ a strong and reliable thread that complements the color and material of the bandana, ensuring a seamless integration of the straps. Utilize a basic running stitch or a backstitch to affix the straps firmly to the bandana, paying close attention to the tension of the stitches to maintain a consistent and secure attachment.
Finishing Touches
Upon completing the sewing process, take a moment to inspect the attachment of the halter straps, ensuring that they are firmly secured and aligned to your satisfaction. Trim any excess thread and remove the sewing pins, allowing the bandana halter top to emerge in its full glory. Consider reinforcing the attachment points with additional stitches for added security, especially if the garment is intended for frequent wear.
By meticulously sewing the halter straps to the bandana, you're not only finalizing the construction of your custom halter top but also imbuing it with a professional and tailored finish. With the halter straps seamlessly integrated, your bandana halter top is poised to become a versatile and stylish addition to your wardrobe, reflecting your unique fashion sensibilities and DIY prowess.
Step 5: Try on Your New Bandana Halter Top!
With the meticulous crafting process complete, it's time to revel in the gratifying moment of trying on your freshly fashioned bandana halter top. As you slip into this unique garment, you'll experience the culmination of your creativity and dedication, embracing a sense of accomplishment and personal style.
As you carefully fasten the halter straps around your neck and secure the bandana in place, take a moment to appreciate the fit and comfort of your creation. The carefully measured dimensions and expertly crafted straps ensure that your halter top drapes elegantly, accentuating your silhouette with a touch of bohemian charm.
As you gaze into the mirror, the vibrant or intricately patterned bandana transforms into a statement piece, reflecting your individuality and flair for DIY fashion. Whether you've opted for a bold and vibrant design or a more understated and classic print, your bandana halter top embodies your unique style, ready to elevate any ensemble with its effortless allure.
The versatility of the bandana halter top becomes evident as you envision the myriad of occasions it can accompany. From casual outings with friends to outdoor music festivals or leisurely beach days, this garment seamlessly transitions between various settings, exuding a laid-back yet chic vibe that resonates with your lifestyle.
As you move and adjust the halter top to your liking, you'll appreciate the craftsmanship and attention to detail that went into its creation. The reinforced halter straps and precisely sewn edges ensure that your garment maintains its shape and durability, ready to accompany you on countless adventures and stylish escapades.
Embrace the confidence that radiates from wearing a garment that embodies your creativity and individuality. Your bandana halter top is a testament to your ability to transform a humble bandana into a fashion-forward piece that reflects your personal taste and sewing prowess.
With your bandana halter top adorning your ensemble, you're poised to embark on new experiences with a touch of bohemian elegance and a dash of DIY spirit. As you revel in the satisfaction of wearing your custom creation, you embody the essence of self-expression through fashion, embracing the art of crafting and wearing a garment that is uniquely yours.