Home>Arts and Culture>Creating Your Own DIY Stickers: A Step-by-Step Guide
Arts and Culture
Creating Your Own DIY Stickers: A Step-by-Step Guide
Published: February 11, 2024
Learn how to make your own custom stickers with our step-by-step DIY guide. Explore the art and culture of sticker making and unleash your creativity today!
(Many of the links in this article redirect to a specific reviewed product. Your purchase of these products through affiliate links helps to generate commission for Noodls.com, at no extra cost. Learn more)
Table of Contents
Introduction
Are you a fan of personalizing your belongings with unique and eye-catching designs? If so, creating your own DIY stickers can be a fun and rewarding way to add a personal touch to your items. Whether you want to decorate your laptop, water bottle, or journal, DIY stickers offer a creative outlet to express your individuality.
Designing and making your own stickers allows you to unleash your creativity and bring your ideas to life. From whimsical illustrations to inspiring quotes, the possibilities are endless when it comes to crafting custom stickers. Not only does this creative process provide a sense of accomplishment, but it also allows you to showcase your personality and style through your creations.
In this step-by-step guide, we will walk you through the process of making DIY stickers from start to finish. You'll learn how to gather the necessary materials, design your stickers, print and cut them out, apply adhesive, and ultimately enjoy the fruits of your labor. Whether you're a seasoned crafter or a beginner looking to explore a new hobby, creating your own DIY stickers is a delightful and accessible way to add a personal flair to your belongings.
So, roll up your sleeves, unleash your imagination, and get ready to embark on a creative journey as we delve into the art of crafting DIY stickers. Get ready to infuse your world with a touch of originality and charm as you bring your unique designs to life through this enjoyable and fulfilling process. Let's dive into the exciting world of DIY sticker making and discover the joy of expressing yourself through vibrant and personalized creations.
Step 1: Gather Your Materials
Before diving into the creative process of designing and making your own DIY stickers, it's essential to gather the necessary materials to ensure a smooth and enjoyable crafting experience. Here's a comprehensive list of items you'll need to embark on your sticker-making journey:
1. Sticker Paper:
- Sticker paper is the foundation of your DIY stickers. It's specifically designed for creating stickers and features an adhesive backing that allows for easy application. When selecting sticker paper, consider the type of printer you'll be using to ensure compatibility and optimal printing results.
2. Printer:
- A high-quality printer is a crucial component of sticker making. Whether you have an inkjet or laser printer, it's important to choose one that produces vibrant and durable prints. Additionally, ensure that your printer is capable of handling sticker paper to achieve professional-looking results.
3. Design Software:
- To bring your sticker ideas to life, you'll need access to design software such as Adobe Photoshop, Illustrator, or even free alternatives like GIMP or Canva. These tools enable you to unleash your creativity, whether you're creating intricate illustrations, typography-based designs, or vibrant patterns.
Read more: Removing A Door Knob: Step-by-Step Guide
4. Scissors or Cutting Tool:
- A reliable pair of scissors or a precision cutting tool is essential for cutting out your printed designs with precision. This step is crucial for achieving clean and polished edges, ensuring that your DIY stickers look professional and visually appealing.
5. Clear Adhesive Sheets (Optional):
- If you prefer to add an extra layer of protection to your stickers, clear adhesive sheets can be used to laminate your designs. This optional step can enhance the durability of your stickers, making them resistant to water and wear over time.
6. Inspiration and Creativity:
- While not a physical material, inspiration and creativity are essential components of the sticker-making process. Whether you're drawing inspiration from nature, pop culture, or your own imagination, allowing your creativity to flow freely will result in unique and captivating sticker designs.
By gathering these materials, you'll be well-equipped to embark on the exciting journey of creating your own DIY stickers. With the right tools at your disposal, you can unleash your creativity and bring your imaginative designs to life, ready to adorn your belongings with personalized flair and charm.
Step 2: Design Your Stickers
Designing your own stickers is a captivating and imaginative process that allows you to transform your creative vision into tangible works of art. Whether you're drawn to whimsical illustrations, inspiring quotes, or vibrant patterns, the design phase is where your ideas come to life. Here's a detailed exploration of the steps involved in designing your DIY stickers:
1. Brainstorming and Conceptualization:
The design process begins with brainstorming and conceptualization. Take the time to explore various themes, styles, and concepts that resonate with you. Whether you're inspired by nature, retro aesthetics, or minimalist designs, allow your imagination to roam freely as you generate ideas for your stickers.
2. Choosing Your Design Software:
Select a design software that suits your preferences and proficiency level. Whether you opt for professional tools like Adobe Photoshop or Illustrator, or user-friendly platforms like Canva, the choice of software plays a pivotal role in translating your ideas into visually captivating designs.
3. Creating Your Designs:
Once you've chosen your design software, it's time to bring your ideas to life. Whether you're illustrating, lettering, or creating intricate patterns, leverage the tools and features of your chosen software to craft visually appealing designs. Experiment with colors, textures, and typography to infuse your stickers with personality and charm.
4. Embracing Creativity and Originality:
As you delve into the design process, embrace your creativity and originality. Whether you're drawing inspiration from art movements, cultural influences, or personal experiences, infuse your designs with elements that reflect your unique style and perspective. Let your imagination guide you as you craft designs that resonate with your artistic vision.
Read more: How To Pierce Your Own Ear
5. Iterating and Refining:
Designing stickers often involves iteration and refinement. Don't be afraid to experiment with different variations of your designs, refining details and compositions along the way. This iterative approach allows you to fine-tune your creations, ensuring that they align with your artistic vision and resonate with your intended audience.
6. Considering Printability:
While designing your stickers, it's essential to consider their printability. Pay attention to factors such as resolution, color profiles, and dimensions to ensure that your designs translate seamlessly from the digital realm to the printed format. By optimizing your designs for printability, you can achieve vibrant and high-quality stickers.
By immersing yourself in the design process, you have the opportunity to channel your creativity and bring your unique sticker designs to fruition. Embrace the freedom to explore diverse themes and styles, allowing your imagination to flourish as you craft designs that reflect your artistic sensibilities. With a blend of passion, creativity, and technical proficiency, the design phase sets the stage for the vibrant and personalized stickers that await you.
Step 3: Print Your Stickers
With your sticker designs meticulously crafted and finalized, the next crucial step in the DIY sticker-making process is bringing your creations to life through printing. This pivotal stage bridges the digital realm of design with the tangible realm of physical stickers, allowing your vibrant designs to materialize in vivid detail. Here's a comprehensive exploration of the essential aspects involved in printing your DIY stickers:
1. Selecting the Right Printer:
Choosing the appropriate printer is paramount to achieving high-quality sticker prints. Whether you opt for an inkjet or laser printer, ensure that it is compatible with the type of sticker paper you've selected. Additionally, consider the printer's color accuracy and resolution capabilities to ensure that your designs are faithfully reproduced with vibrant colors and crisp details.
2. Adjusting Print Settings:
Before initiating the printing process, it's essential to adjust the print settings to optimize the output for sticker paper. Select the appropriate paper type within the printer settings to accommodate the specific characteristics of sticker paper, such as thickness and finish. Additionally, fine-tune the print quality and color settings to achieve the desired level of vibrancy and accuracy in your sticker prints.
3. Test Printing:
Conducting a test print serves as a valuable precautionary measure to assess the color accuracy, resolution, and overall quality of the sticker output. Use a small portion of the sticker paper to perform a test print, allowing you to make any necessary adjustments before committing to printing the entire batch of stickers. This iterative approach ensures that the final prints meet your expectations and reflect the true essence of your designs.
4. Printing Your Designs:
Once you've verified the print settings and conducted a successful test print, proceed to print your sticker designs onto the sticker paper. Exercise care and precision during the printing process to ensure that each design is faithfully reproduced with clarity and vibrancy. Monitor the printing progress closely, and be prepared to address any unforeseen issues that may arise to maintain the quality of the prints.
5. Allowing for Drying Time:
After the printing process is complete, allow the printed sticker sheets to dry thoroughly before handling them. This step is crucial to prevent smudging or smearing of the ink, ensuring that your vibrant designs remain intact and pristine. Exercise patience as the prints dry, setting the stage for the subsequent phase of cutting out your stickers with precision and care.
By navigating the intricacies of the printing process with attention to detail and precision, you pave the way for the realization of your meticulously crafted sticker designs. The transition from digital concepts to tangible prints marks a significant milestone in the DIY sticker-making journey, setting the stage for the forthcoming steps of cutting out your designs and applying adhesive. With each print bearing the essence of your creativity, you're one step closer to adorning your belongings with personalized and captivating DIY stickers.
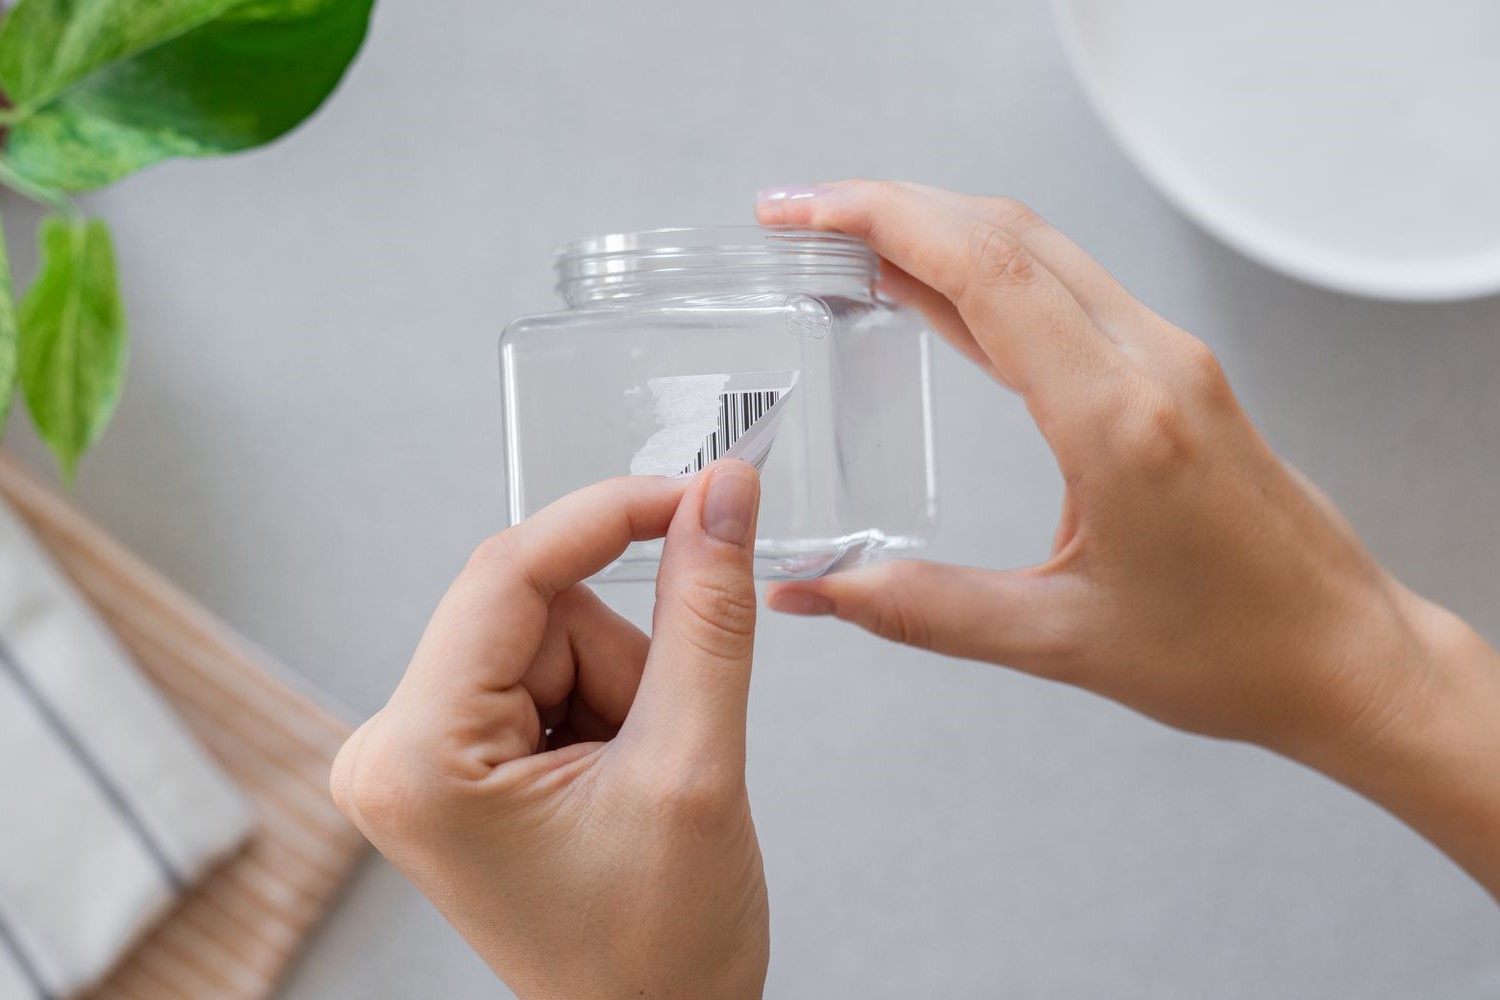
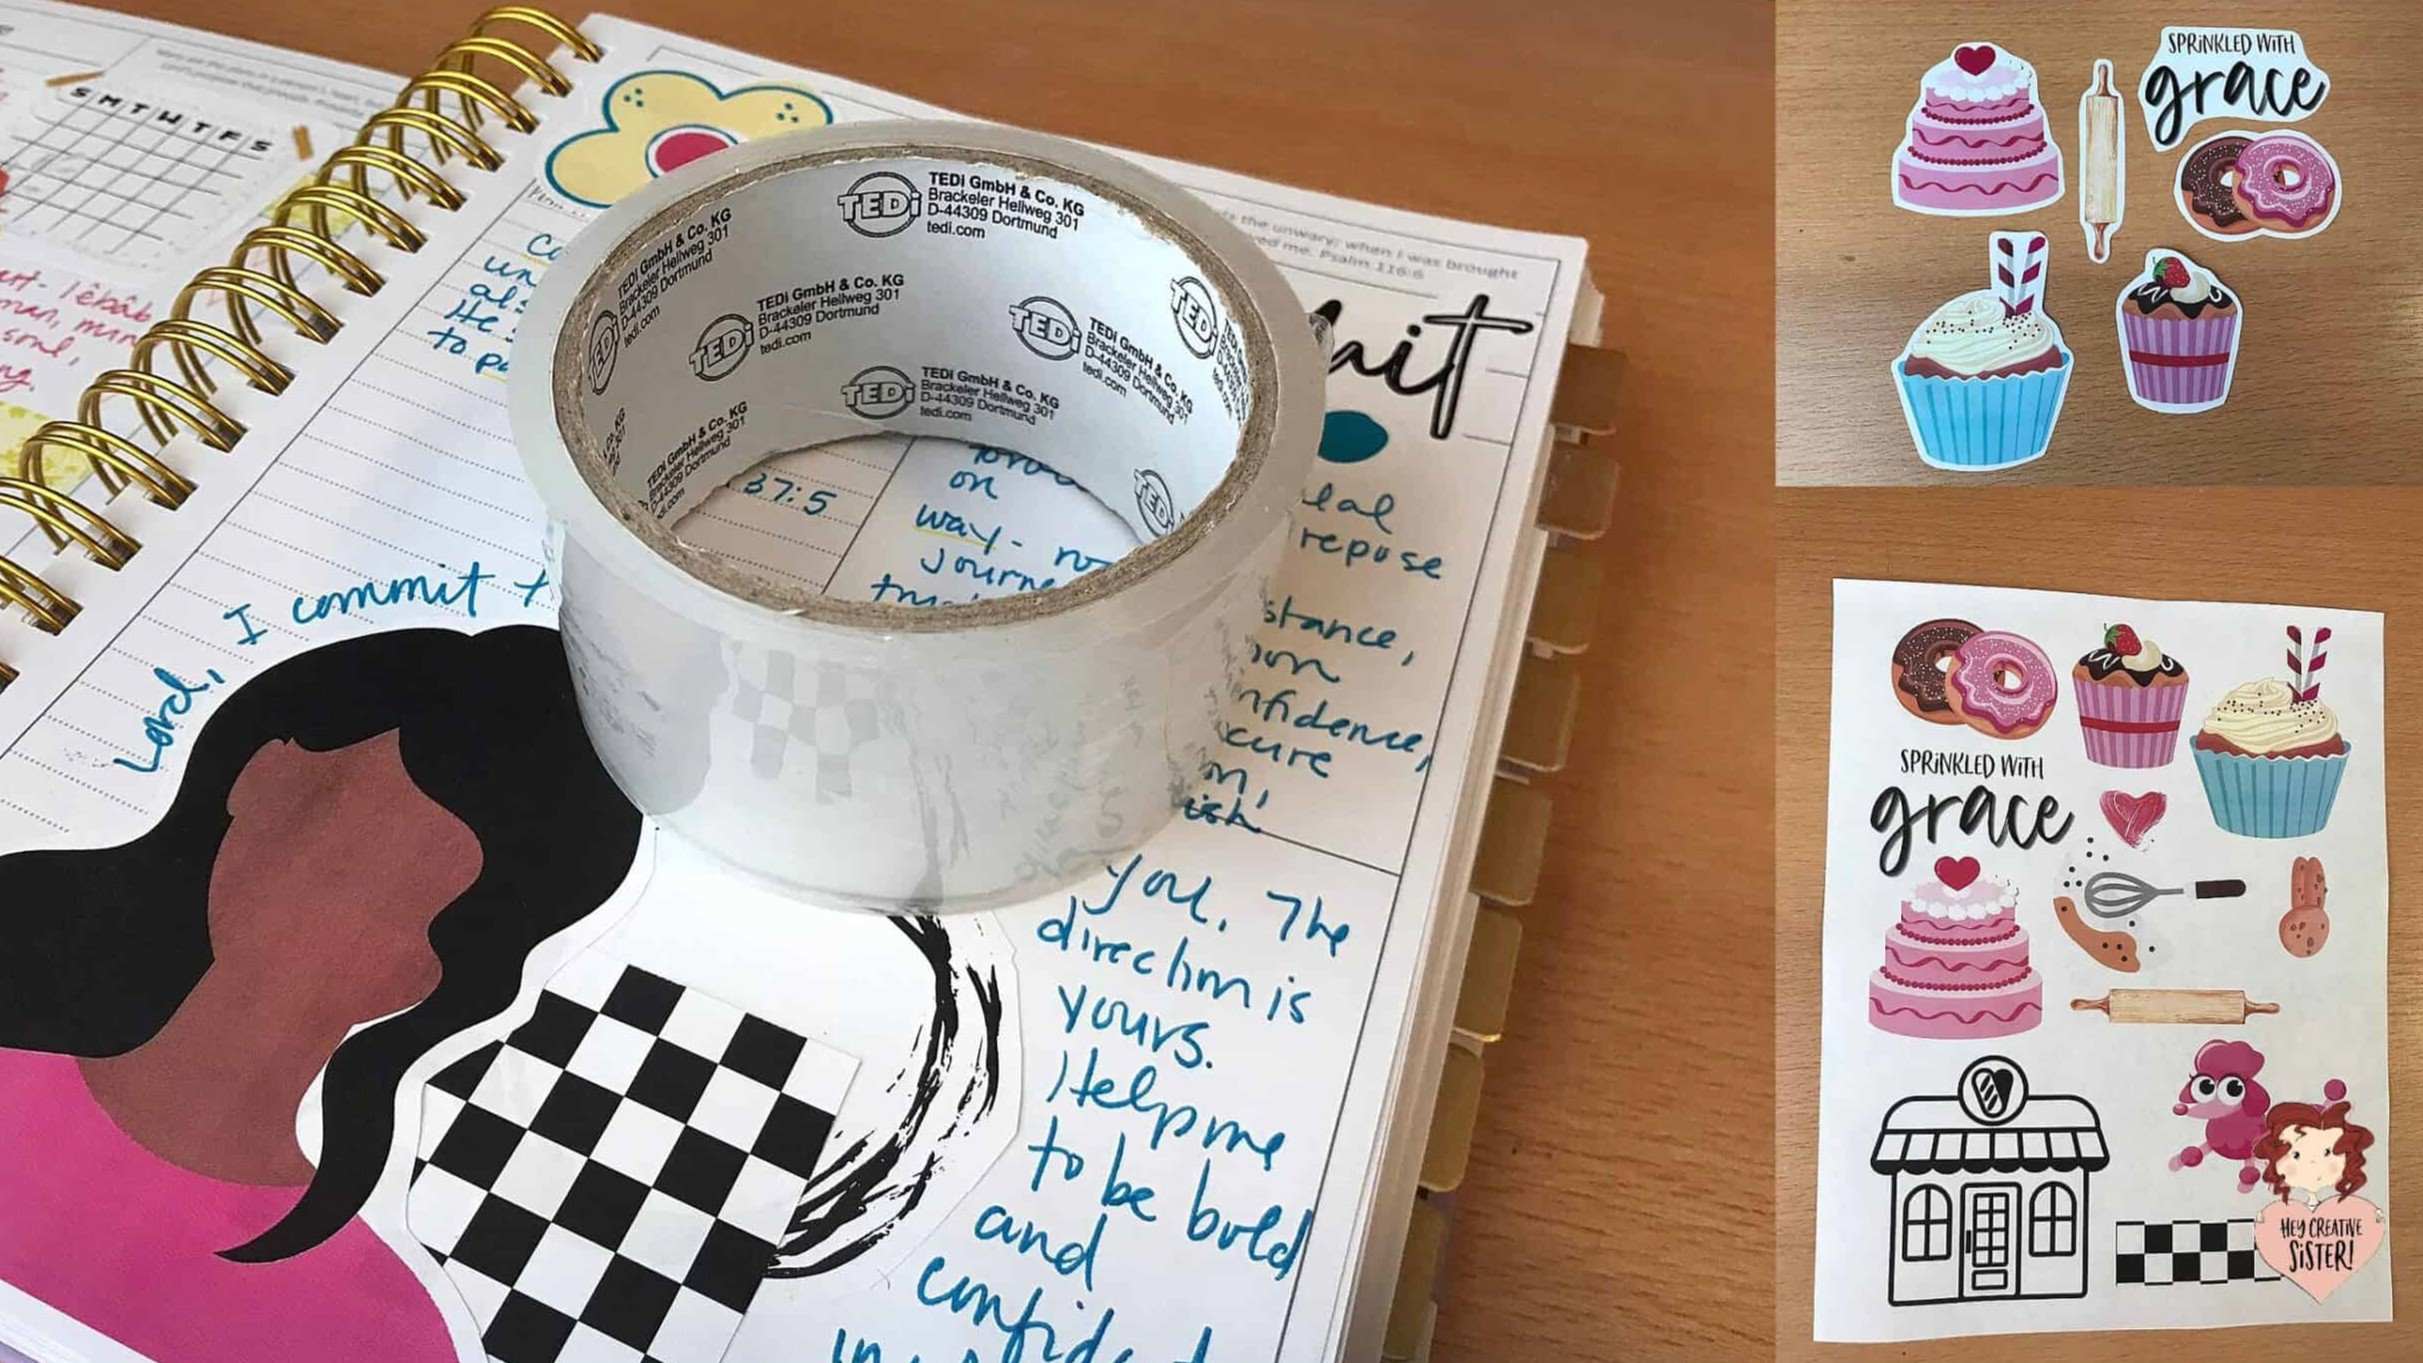
Step 4: Cut Out Your Stickers
With the freshly printed sticker sheets before you, the next pivotal phase in the DIY sticker-making process involves the precise and meticulous task of cutting out your vibrant designs. This step is instrumental in transforming the printed sheets into individual stickers, ready to adorn your belongings with personalized flair and charm. Here's a detailed exploration of the essential aspects involved in cutting out your DIY stickers:
-
Precision Cutting Tools:
As you embark on the process of cutting out your stickers, it's essential to equip yourself with precision cutting tools. Opt for a reliable pair of scissors with sharp, fine-tipped blades or consider utilizing a precision cutting tool such as a craft knife or rotary cutter. These tools empower you to achieve clean and precise cuts, ensuring that your stickers exhibit a professional and polished appearance. -
Navigating Intricate Designs:
If your sticker designs feature intricate details, delicate patterns, or fine typography, exercise patience and precision as you navigate the cutting process. Pay close attention to the contours and fine lines of each design element, ensuring that the intricate details are preserved during the cutting process. This meticulous approach contributes to the overall visual appeal and quality of your DIY stickers. -
Embracing Consistency:
Consistency in the cutting process is paramount to ensuring uniformity across your stickers. Maintain a steady hand and a consistent cutting pace as you work through the printed sheets, aiming to achieve uniform borders and dimensions for each sticker. This commitment to consistency results in a cohesive collection of stickers that exude professionalism and attention to detail. -
Exploring Custom Shapes:
While traditional square or rectangular shapes are popular choices for stickers, consider exploring custom shapes to infuse your designs with individuality. Embrace the opportunity to experiment with circular, oval, or custom-shaped stickers, adding a unique touch to your creations. Whether you opt for symmetrical shapes or freeform silhouettes, custom shapes contribute to the distinctiveness of your DIY stickers. -
Maintaining Clean Edges:
As you cut out each sticker, prioritize the maintenance of clean and smooth edges. Exercise precision and care to ensure that the borders of your stickers are free from jagged or uneven edges, contributing to a refined and professional aesthetic. Clean edges elevate the overall presentation of your stickers, reflecting a commitment to craftsmanship and quality.
By navigating the process of cutting out your stickers with precision and attention to detail, you bring your vibrant designs one step closer to adorning your belongings with personalized charm. The meticulous cutting process serves as a transformative stage, refining the printed sheets into individual stickers that embody your creativity and vision. With each precisely cut sticker, you're poised to infuse your world with a touch of originality and vibrancy, ready to share your personalized creations with the world.
Step 5: Apply Adhesive
As you approach the penultimate step in the captivating journey of DIY sticker making, the application of adhesive serves as the pivotal bridge between your meticulously crafted designs and their transformation into functional and versatile stickers. This crucial phase empowers you to imbue your vibrant creations with the adhesive properties necessary for effortless application and long-lasting adherence. Here's a detailed exploration of the essential aspects involved in applying adhesive to your DIY stickers:
-
Selecting the Right Adhesive:
The first step in the adhesive application process involves selecting the appropriate adhesive for your stickers. Opt for a high-quality adhesive that offers a strong bond and durability, ensuring that your stickers remain securely affixed to various surfaces. Consider adhesive options specifically designed for crafting and DIY projects, providing a balance of tackiness and reliability. -
Precision Application:
As you prepare to apply adhesive to your stickers, prioritize precision and attention to detail. Whether you opt for adhesive sheets, glue, or adhesive sprays, exercise care to apply the adhesive evenly across the back of each sticker. Consistent and thorough application contributes to the overall quality and longevity of your DIY stickers, ensuring that they maintain their integrity over time. -
Allowing for Proper Drying or Setting:
After applying the adhesive to your stickers, allow sufficient time for the adhesive to dry or set according to the manufacturer's recommendations. This crucial step ensures that the adhesive achieves optimal tackiness and bonding strength, preparing your stickers for seamless application onto various surfaces. Exercise patience as the adhesive sets, setting the stage for the final phase of enjoying your personalized creations. -
Considering Protective Measures (Optional):
Depending on the intended use of your stickers, consider incorporating protective measures to enhance their durability. If your stickers are destined for outdoor application or frequent handling, consider utilizing a clear adhesive laminate to provide an additional layer of protection. This optional step can safeguard your stickers against wear, tear, and exposure to the elements, prolonging their lifespan and visual appeal. -
Embracing Versatility:
As you apply adhesive to your DIY stickers, embrace the versatility that comes with their newfound functionality. Whether you adorn your laptop, water bottle, or journal with your personalized stickers, revel in the versatility and individuality they bring to each surface. The adhesive application phase marks the culmination of your creative journey, empowering you to share your vibrant designs with the world.
By navigating the process of applying adhesive to your DIY stickers with precision and care, you elevate your vibrant creations to functional and versatile assets ready to adorn a myriad of surfaces. The adhesive application phase serves as the final transformative step, infusing your personalized stickers with the essential properties for seamless application and enduring adherence. With each sticker imbued with adhesive, you're poised to share your creativity and individuality with the world, one personalized sticker at a time.
Step 6: Enjoy Your DIY Stickers!
With your DIY stickers meticulously crafted, adorned with vibrant designs, and imbued with adhesive properties, the culminating phase of this creative journey beckons you to revel in the joy and versatility of your personalized creations. As you embrace the delightful prospect of enjoying your DIY stickers, a world of possibilities unfolds, inviting you to infuse your surroundings with a touch of originality and charm.
Personalization and Self-Expression:
Armed with an array of uniquely designed stickers, you have the opportunity to personalize your belongings with a reflection of your individuality and style. Whether you embellish your laptop, water bottle, or journal with your vibrant creations, each sticker serves as a visual testament to your personality and creative spirit. Embrace the freedom to curate your surroundings with stickers that resonate with your passions, interests, and artistic sensibilities, transforming everyday items into personalized works of art.
Read more: How To Make Your Own Dawn Powerwash Recipe
Versatile Applications:
The versatility of DIY stickers transcends conventional boundaries, offering endless possibilities for their application. From adorning electronic devices and stationery to embellishing home decor and accessories, your personalized stickers serve as versatile accents that enliven and personalize various surfaces. Embrace the opportunity to explore diverse applications, allowing your vibrant designs to breathe new life into the spaces and objects they adorn.
Sharing and Gifting:
Beyond personal enjoyment, your DIY stickers present the opportunity for sharing and gifting personalized creations with friends, family, and fellow enthusiasts. Whether you share your stickers as tokens of creativity and affection or utilize them to embellish handmade cards and gifts, the joy of spreading personalized charm and creativity knows no bounds. Embrace the act of sharing your vibrant designs, fostering connections and spreading delight through the art of DIY sticker making.
Ongoing Creativity:
As you revel in the presence of your personalized stickers, the creative journey continues to unfold. Embrace the prospect of ongoing creativity, allowing your DIY stickers to inspire new ideas and designs. Whether you embark on fresh sticker-making endeavors or integrate your creations into future artistic projects, the joy of DIY sticker making extends beyond the completion of individual designs, fostering a continuous cycle of creativity and self-expression.
A Touch of Joy:
Ultimately, the enjoyment of your DIY stickers transcends the physical presence of the stickers themselves. It encompasses the joy of self-expression, the delight of personalization, and the fulfillment of bringing your creative visions to life. Each sticker serves as a vibrant and tangible embodiment of your artistic spirit, infusing your surroundings with a touch of joy and individuality.
As you bask in the delight of your personalized creations, take a moment to appreciate the journey that led to the manifestation of your DIY stickers. From the inception of imaginative designs to the meticulous crafting and application of adhesive, each step contributed to the realization of vibrant and personalized stickers that reflect your unique creativity and style. Embrace the joy of enjoying your DIY stickers, and let them serve as colorful reminders of your artistic prowess and the boundless potential for self-expression and creativity.