Home>Technology and Computers>How To Reset Your Google Home Mini
Technology and Computers
How To Reset Your Google Home Mini
Published: February 28, 2024
Learn how to reset your Google Home Mini with our easy step-by-step guide. Keep your technology and computers running smoothly with our helpful tips.
(Many of the links in this article redirect to a specific reviewed product. Your purchase of these products through affiliate links helps to generate commission for Noodls.com, at no extra cost. Learn more)
Table of Contents
Introduction
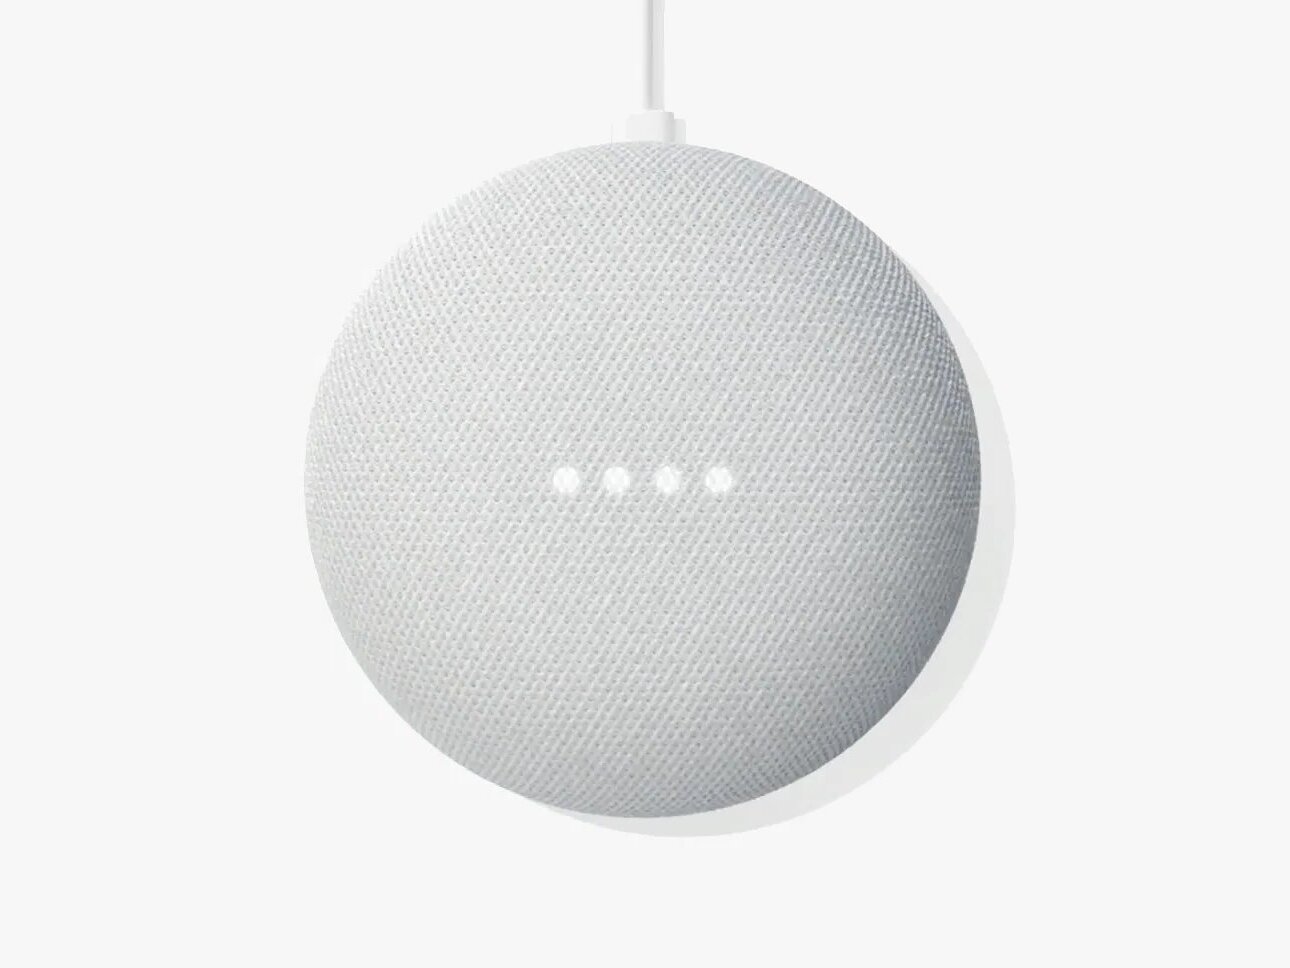
Resetting your Google Home Mini can resolve various issues, such as connectivity problems, unresponsive behavior, or the need to prepare the device for a new user. Whether you're encountering technical glitches or simply want to start fresh, performing a reset is a straightforward process that can rejuvenate your device's functionality.
In this guide, we will walk you through the step-by-step process of resetting your Google Home Mini. By following these instructions, you can effectively restore your device to its factory settings, erasing any personalized configurations and returning it to a state ready for a new setup.
Whether you're a tech enthusiast or a casual user, understanding how to reset your Google Home Mini can be invaluable. It empowers you to troubleshoot common issues and ensures that your device operates at its optimal performance level. So, let's delve into the simple yet essential steps to reset your Google Home Mini and get it back to its pristine state.
Read more: How To Factory Reset Google Nest
Step 1: Locate the reset button
The first step in resetting your Google Home Mini is to locate the reset button. This button is a small, circular indentation found on the underside of the device. It is typically located near the power cable input. The reset button is designed to be recessed to prevent accidental activation, so you may need to use a small, pointed object such as a paperclip or a pen to press it.
To ensure that you are pressing the correct button, it's important to identify the specific location of the reset button on your Google Home Mini. The button is usually labeled "reset" or indicated by a small circular icon. Once you have located the reset button, you are ready to proceed with the next step in the reset process.
Locating the reset button is a crucial initial step as it sets the stage for the subsequent actions required to reset your Google Home Mini. By familiarizing yourself with the physical layout of the device and identifying the reset button, you are better prepared to initiate the reset process effectively.
Understanding the location of the reset button also provides reassurance, as it ensures that you can swiftly access the button when needed. This knowledge can be particularly valuable if you encounter technical issues with your Google Home Mini and need to perform a reset promptly.
In summary, the reset button is a fundamental component of the Google Home Mini, serving as the gateway to restoring the device to its factory settings. By identifying and understanding the location of this button, you are equipped to proceed to the next step in the reset process with confidence and clarity.
Step 2: Press and hold the reset button
Once you have located the reset button on your Google Home Mini, the next step is to initiate the reset process by pressing and holding the button. This action triggers the device to enter the reset mode, allowing it to revert to its original factory settings.
To begin, ensure that your Google Home Mini is powered on and connected to a stable power source. Using a small, pointed object such as a paperclip or a pen, gently press and hold the reset button. You will feel a slight resistance as you press the button, indicating that it has been activated.
As you maintain pressure on the reset button, you may notice a visual or audible response from the device. This can vary depending on the specific model of the Google Home Mini. Some devices may emit a soft chime or display a visual indicator, signaling that the reset process has been initiated.
It is important to continue holding the reset button for a consistent duration to ensure that the reset process is successfully activated. Typically, maintaining pressure on the button for approximately 10-15 seconds is sufficient to prompt the Google Home Mini to enter the reset mode.
During this time, it is normal for the device to remain powered on and responsive to the reset command. As you press and hold the reset button, you may observe the device's status light or indicator, which can provide visual feedback to confirm that the reset process is underway.
The act of pressing and holding the reset button serves as a deliberate and essential step in the reset process, signaling to the Google Home Mini that it should prepare to restore its factory settings. This action effectively initiates the device's transition to a state ready for reconfiguration, erasing any existing user data and personalized settings.
By following this step with precision and attentiveness, you set the stage for the Google Home Mini to undergo a seamless and effective reset. This foundational action paves the way for the subsequent stages of the reset process, ensuring that the device can be restored to its default state with ease and reliability.
Step 3: Wait for the Google Home Mini to reset
After initiating the reset process by pressing and holding the reset button, the next crucial phase involves waiting for the Google Home Mini to complete the reset procedure. This period of waiting is integral to the overall reset process, as it allows the device to undergo the necessary internal adjustments and restoration of its factory settings.
As you release the reset button, the Google Home Mini begins the reset sequence, transitioning from its previous configuration to a state of readiness for reconfiguration. During this time, the device undergoes internal processes to erase user data, remove personalized settings, and revert to its default state.
The duration of this reset period can vary depending on the specific model of the Google Home Mini and the complexity of the device's internal reset procedures. Typically, the reset process takes approximately 1 to 2 minutes to complete, during which the device may exhibit various visual or auditory cues to indicate its progress.
While the Google Home Mini is resetting, it is normal for the device to display specific indicators, such as flashing lights or audible signals, to convey that the reset process is underway. These visual and auditory cues serve as reassuring signs that the device is actively restoring its factory settings and preparing for the next phase of the reset process.
As the Google Home Mini progresses through the reset sequence, it is important to exercise patience and allow the device sufficient time to complete the reset. This waiting period is essential to ensure that the device undergoes a thorough and effective restoration to its default state, erasing any remnants of previous user configurations and preparing for a fresh setup.
By patiently waiting for the Google Home Mini to reset, you contribute to the successful completion of the reset process, setting the stage for the device to emerge in a pristine state, ready for reconfiguration. This period of waiting is a vital component of the overall reset procedure, culminating in the device's readiness for the final step of setting it up again.
In summary, the waiting phase following the initiation of the reset process is a pivotal stage that allows the Google Home Mini to undergo the necessary internal adjustments and restoration of its factory settings. By allowing the device sufficient time to reset, you facilitate a seamless transition to its default state, ensuring that it is prepared for the subsequent setup phase.
Step 4: Set up your Google Home Mini again
Once the Google Home Mini has completed the reset process and is ready to be reconfigured, the next step involves setting it up again to restore its functionality and personalize its settings according to your preferences. This pivotal stage allows you to establish a fresh connection with the device, enabling you to customize its features and integrate it seamlessly into your smart home ecosystem.
To begin the setup process, ensure that your Google Home Mini is powered on and connected to a stable Wi-Fi network. Using the Google Home app on your smartphone or tablet, navigate to the device setup section to initiate the reconfiguration of your Google Home Mini. If you do not have the Google Home app installed, you can download it from the App Store for iOS devices or the Google Play Store for Android devices.
Once you have accessed the device setup section within the Google Home app, follow the on-screen prompts to identify and connect to your Google Home Mini. This typically involves selecting the specific Google Home Mini device from the list of available devices and confirming the Wi-Fi network to which it should be connected. As part of the setup process, you may also be prompted to sign in to your Google account to enable personalized features and access to your preferences.
After establishing the initial connection, you can proceed to customize the settings of your Google Home Mini according to your preferences. This includes configuring the device's language, setting up voice match for personalized responses, and selecting the preferred music streaming services. Additionally, you can explore and enable various features such as controlling smart home devices, setting up routines, and integrating with compatible third-party applications.
As you navigate through the setup process, take the opportunity to explore the diverse capabilities of your Google Home Mini and tailor its settings to align with your lifestyle and preferences. By customizing the device's features and integrating it with your preferred services, you can maximize its utility and enjoy a seamless smart home experience.
Upon completing the setup process, your Google Home Mini is ready to serve as a versatile and personalized smart assistant, capable of fulfilling a myriad of tasks and enhancing your daily routines. Whether it's managing your schedule, controlling smart home devices, or providing entertainment, your reconfigured Google Home Mini is poised to enrich your connected living experience.
In summary, setting up your Google Home Mini again following the reset process allows you to establish a fresh connection with the device, customize its settings, and integrate it seamlessly into your smart home ecosystem. By navigating through the setup process and personalizing the device's features, you can unlock its full potential and enjoy the convenience of a tailored smart assistant at your fingertips.
Read more: How To Reset Garbage Disposal
Conclusion
In conclusion, the process of resetting your Google Home Mini is a fundamental skill that empowers you to troubleshoot technical issues, prepare the device for a new user, or simply restore it to its factory settings. By following the step-by-step instructions outlined in this guide, you can effectively navigate through the reset process and rejuvenate your Google Home Mini to ensure optimal performance and functionality.
Understanding the location of the reset button and the precise actions required to initiate the reset process is essential for seamlessly resetting your Google Home Mini. By familiarizing yourself with the physical layout of the device and identifying the reset button, you are better prepared to proceed with confidence and clarity.
Pressing and holding the reset button serves as a deliberate and essential step in the reset process, signaling to the Google Home Mini that it should prepare to restore its factory settings. This foundational action paves the way for the subsequent stages of the reset process, ensuring that the device can be restored to its default state with ease and reliability.
The waiting phase following the initiation of the reset process is a pivotal stage that allows the Google Home Mini to undergo the necessary internal adjustments and restoration of its factory settings. By allowing the device sufficient time to reset, you facilitate a seamless transition to its default state, ensuring that it is prepared for the subsequent setup phase.
Once the Google Home Mini has completed the reset process, the final step involves setting it up again to restore its functionality and personalize its settings according to your preferences. This pivotal stage allows you to establish a fresh connection with the device, enabling you to customize its features and integrate it seamlessly into your smart home ecosystem.
By navigating through the setup process and personalizing the device's features, you can unlock its full potential and enjoy the convenience of a tailored smart assistant at your fingertips. Whether it's managing your schedule, controlling smart home devices, or providing entertainment, your reconfigured Google Home Mini is poised to enrich your connected living experience.
In essence, mastering the art of resetting your Google Home Mini equips you with the knowledge and capability to maintain and optimize the performance of this versatile smart device. By following the outlined steps and embracing the process of resetting and reconfiguring your Google Home Mini, you can harness its full potential and seamlessly integrate it into your connected lifestyle.