Home>Home and Garden>How To Reset Whirlpool Washer
Home and Garden
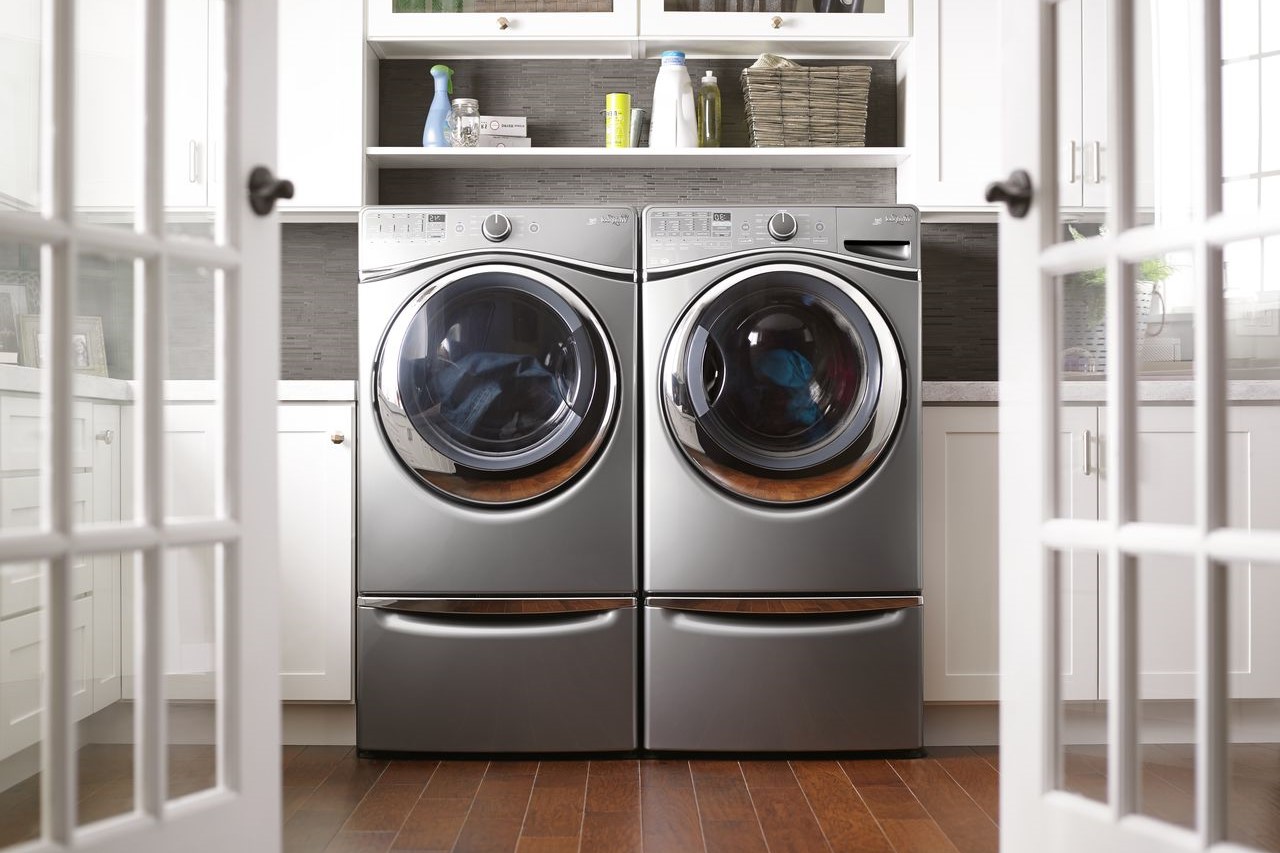
How To Reset Whirlpool Washer
Published: March 4, 2024
Learn how to reset your Whirlpool washer with our easy step-by-step guide. Keep your home and garden in top shape with our helpful tips.
(Many of the links in this article redirect to a specific reviewed product. Your purchase of these products through affiliate links helps to generate commission for Noodls.com, at no extra cost. Learn more)
Table of Contents
Introduction
Resetting a Whirlpool washer can be a straightforward solution to various issues that may arise during its operation. Whether you're encountering error codes, malfunctioning controls, or other operational glitches, performing a reset can often resolve these issues and restore your washer to proper functionality. Understanding the steps involved in resetting your Whirlpool washer can save you time and money, as it may eliminate the need for professional assistance or costly repairs.
By following the correct reset procedure, you can effectively troubleshoot common problems and potentially avoid the inconvenience of a malfunctioning washer. This article will guide you through the necessary steps to reset your Whirlpool washer, providing you with the knowledge and confidence to address minor issues independently.
Understanding the importance of proper maintenance and troubleshooting for your home appliances is essential for ensuring their longevity and optimal performance. With the guidance provided in this article, you can take proactive measures to address minor issues with your Whirlpool washer, promoting its longevity and reliable operation.
Whether you're a seasoned homeowner or a first-time washer owner, knowing how to reset your Whirlpool washer is a valuable skill that can save you time and frustration. By familiarizing yourself with the reset process, you can gain greater control over the maintenance and care of your washer, contributing to a more efficient and enjoyable home management experience.
Safety Precautions
Before initiating any maintenance or troubleshooting procedures on your Whirlpool washer, it is crucial to prioritize safety precautions to prevent accidents and ensure your well-being. Adhering to the following safety measures will help mitigate potential risks associated with handling electrical appliances and conducting maintenance tasks.
-
Unplug the Washer: Always start by disconnecting the washer from the power source to eliminate the risk of electric shock or injury. Locate the power cord and unplug it from the electrical outlet before proceeding with any maintenance procedures.
-
Protective Gear: Consider wearing protective gloves to shield your hands from sharp edges and potential hazards within the washer's interior. Additionally, wearing safety goggles can safeguard your eyes from debris or cleaning solutions that may be encountered during the reset process.
-
Secure the Work Area: Ensure that the area surrounding the washer is clear of obstacles and potential tripping hazards. A well-lit and uncluttered workspace can facilitate a safe and efficient reset procedure.
-
Follow Manufacturer's Guidelines: Refer to the user manual or online resources provided by Whirlpool for specific safety instructions and guidelines related to your washer model. Adhering to the manufacturer's recommendations is essential for safe and effective maintenance procedures.
-
Avoid Water Contact: If your troubleshooting involves accessing internal components or control panels, ensure that the washer is disconnected from the water supply to prevent leaks or water-related accidents.
By prioritizing these safety precautions, you can approach the reset process with confidence and peace of mind, knowing that you have taken the necessary steps to protect yourself and maintain a secure working environment. Prioritizing safety not only minimizes the risk of accidents but also promotes a more efficient and successful reset procedure for your Whirlpool washer.
Unplug the Washer
Before initiating any maintenance or troubleshooting procedures on your Whirlpool washer, it is crucial to prioritize safety precautions to prevent accidents and ensure your well-being. Adhering to the following safety measures will help mitigate potential risks associated with handling electrical appliances and conducting maintenance tasks.
Unplugging the washer from the power source is the first and most critical step in ensuring your safety during the reset process. This action eliminates the risk of electric shock or injury that may result from accidental contact with live electrical components. To unplug the washer, locate the power cord, which is typically positioned at the rear of the appliance near the top, and gently pull the plug from the electrical outlet. It is advisable to verify that the washer is completely disconnected from the power supply by checking for the absence of indicator lights or display activity on the control panel.
By unplugging the washer, you effectively remove the potential for electrical hazards, creating a safe environment for conducting maintenance procedures. This precaution is particularly important when dealing with electronic control panels or internal components that may carry residual electrical charges even when the washer is not in operation. Additionally, unplugging the washer serves as a visual reminder that the appliance is in a non-operational state, prompting caution and attentiveness during the reset process.
Furthermore, unplugging the washer facilitates unrestricted access to the control panel and internal components, allowing you to perform the reset procedure with greater ease and safety. It prevents the inadvertent activation of the washer during maintenance, reducing the risk of entanglement with moving parts or exposure to water and cleaning solutions. This precaution also minimizes the potential for accidental damage to the control panel or electronic components, ensuring that the reset process can be carried out smoothly and effectively.
Prioritizing the safety measure of unplugging the washer sets the foundation for a secure and controlled environment in which to conduct the reset procedure. By adhering to this essential precaution, you establish a safe working environment that minimizes the risk of electrical accidents and promotes a successful and efficient reset process for your Whirlpool washer.
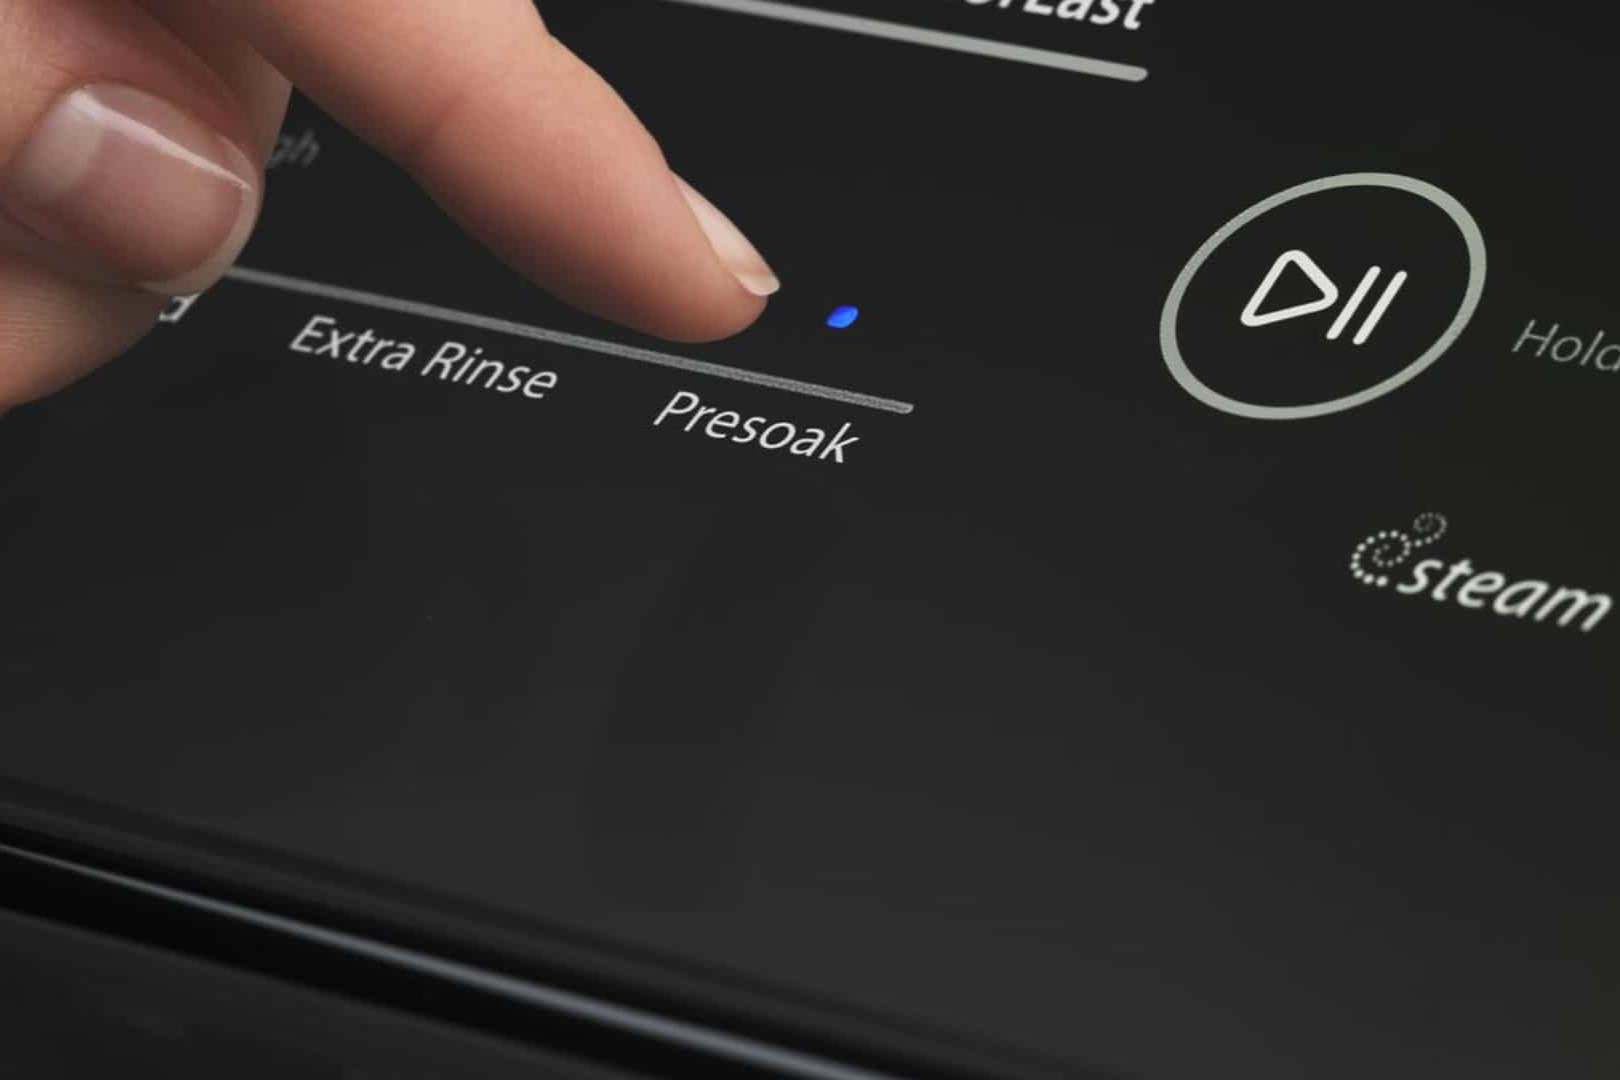
Reset the Control Panel
Resetting the control panel of your Whirlpool washer is a fundamental step in troubleshooting and resolving operational issues. Whether you're encountering error codes, unresponsive controls, or erratic behavior from the washer, performing a control panel reset can often restore normal functionality and eliminate these issues. The following steps will guide you through the process of resetting the control panel of your Whirlpool washer, empowering you to address minor operational glitches with confidence and efficiency.
-
Accessing the Control Panel: Begin by ensuring that the washer is unplugged from the power source, as outlined in the safety precautions. Once the washer is safely disconnected, locate the control panel, which is typically positioned at the top of the appliance's front surface. Depending on your washer model, the control panel may feature a digital display, buttons, and indicator lights. Familiarize yourself with the layout of the control panel to identify the reset procedure specific to your washer model.
-
Reset Sequence: To initiate the control panel reset, press and hold the "Control Lock" or "Control Lock/Unlock" button for three to five seconds. This action is designed to deactivate the control lock feature and reset the control panel to its default settings. If your washer model does not include a dedicated "Control Lock" button, consult the user manual or online resources provided by Whirlpool for the appropriate reset sequence.
-
Confirmation: Upon successfully resetting the control panel, the washer's display may briefly indicate the reset process, such as flashing lights or a digital message. This visual confirmation signifies that the control panel has been reset and is ready for normal operation. If your washer model features a touchscreen control panel, the reset process may involve a different sequence or combination of touch commands. Refer to the user manual for specific instructions tailored to touchscreen control panels.
-
Power Restoration: After completing the control panel reset, plug the washer back into the electrical outlet to restore power. Once the washer is reconnected to the power source, the control panel should be responsive, displaying the default settings and indicators. This step allows you to verify that the control panel reset was successful and that the washer is ready for further testing and operation.
By following these steps to reset the control panel of your Whirlpool washer, you can effectively troubleshoot and resolve common operational issues, restoring the appliance to reliable functionality. Understanding the control panel reset process empowers you to address minor glitches independently, potentially saving time and expenses associated with professional repairs. With this knowledge, you can confidently navigate the maintenance and care of your Whirlpool washer, promoting its longevity and optimal performance.
Run a Test Cycle
Running a test cycle on your Whirlpool washer is a crucial step after resetting the control panel, as it allows you to verify the effectiveness of the reset procedure and identify any lingering operational issues. Performing a test cycle provides valuable insight into the washer's functionality, ensuring that it operates as intended and that any previous issues have been successfully resolved. The following steps will guide you through the process of running a test cycle on your Whirlpool washer, enabling you to confirm the effectiveness of the control panel reset and promote the appliance's reliable performance.
-
Preparation: Before initiating the test cycle, ensure that the washer is plugged back into the electrical outlet and that the water supply is connected. Additionally, confirm that the washer's door is securely closed, as some models require the door to be fully shut for the test cycle to commence. By preparing the washer for the test cycle, you create an optimal environment for evaluating its operational status and performance.
-
Selecting the Test Cycle: Depending on your Whirlpool washer model, the test cycle may be initiated through specific button sequences or menu options on the control panel. Consult the user manual or online resources provided by Whirlpool to identify the appropriate test cycle for your washer. Common test cycle options include "Quick Wash," "Normal Cycle," or "Diagnostic Test Mode," each designed to assess different aspects of the washer's functionality.
-
Initiating the Test Cycle: Once you have selected the appropriate test cycle, start the cycle according to the instructions provided for your washer model. This typically involves pressing the designated cycle button or navigating the control panel menu to activate the test cycle. As the test cycle commences, observe the washer's operation, paying attention to the water intake, agitation, draining, and spinning phases to ensure that each function operates smoothly and without unusual noises or malfunctions.
-
Observation and Evaluation: Throughout the test cycle, monitor the washer's performance closely, noting any irregularities or persistent issues that may indicate underlying problems. Pay attention to the water level, cycle duration, and the overall behavior of the washer to assess its functionality comprehensively. By observing the test cycle, you can identify any remaining operational issues and determine whether the control panel reset effectively addressed previous malfunctions.
-
Completion and Validation: Once the test cycle is complete, evaluate the washer's performance and functionality based on the observations made during the cycle. Verify that the washer operates as expected, with no recurring error codes, control panel malfunctions, or operational irregularities. By validating the effectiveness of the control panel reset through the test cycle, you can gain confidence in the washer's restored functionality and address any remaining issues promptly.
By running a test cycle on your Whirlpool washer following the control panel reset, you can effectively assess the appliance's operational status and confirm the success of the reset procedure. This proactive approach enables you to identify and address any lingering issues, promoting the reliable performance of your washer and ensuring its continued functionality. Understanding the significance of the test cycle empowers you to take proactive measures in maintaining and troubleshooting your Whirlpool washer, contributing to its longevity and optimal operation.
Read more: How To Unclog A Washer Drain
Conclusion
In conclusion, knowing how to reset your Whirlpool washer is a valuable skill that empowers you to troubleshoot and address minor operational issues independently. By following the safety precautions, including unplugging the washer and prioritizing a secure working environment, you can approach the reset process with confidence and peace of mind. Understanding the significance of resetting the control panel and running a test cycle enables you to effectively address common operational glitches and ensure the reliable performance of your washer.
The safety precautions outlined in this article serve as a critical foundation for conducting maintenance procedures on your Whirlpool washer. Prioritizing safety measures such as unplugging the washer and wearing protective gear creates a secure environment for performing the reset process, minimizing the risk of accidents and promoting a successful outcome.
Resetting the control panel of your Whirlpool washer is a fundamental step in troubleshooting and resolving operational issues. By following the reset sequence and observing the visual confirmation of the reset process, you can restore the control panel to its default settings, addressing error codes, unresponsive controls, and erratic behavior effectively.
Running a test cycle after resetting the control panel allows you to validate the effectiveness of the reset procedure and identify any lingering operational issues. By preparing the washer, selecting the appropriate test cycle, and closely observing its performance, you can gain valuable insight into the appliance's functionality and address any remaining issues promptly.
By familiarizing yourself with the reset process and safety precautions, you can take proactive measures to maintain and troubleshoot your Whirlpool washer, contributing to its longevity and optimal operation. The knowledge and confidence gained from understanding the reset procedure empower you to address minor issues efficiently, potentially saving time and expenses associated with professional repairs.
In essence, the ability to reset your Whirlpool washer equips you with the skills to maintain and troubleshoot the appliance, promoting its reliable performance and contributing to a more efficient and enjoyable home management experience.