Home>Home and Garden>How To Clean The Tub Of Your LG Washer
Home and Garden
How To Clean The Tub Of Your LG Washer
Published: March 1, 2024
Learn how to effectively clean the tub of your LG washer with our comprehensive guide. Keep your home and garden in top shape with these expert tips.
(Many of the links in this article redirect to a specific reviewed product. Your purchase of these products through affiliate links helps to generate commission for Noodls.com, at no extra cost. Learn more)
Table of Contents
Introduction
Cleaning the tub of your LG washer is an essential maintenance task that ensures your machine functions efficiently and provides clean laundry. Over time, soap scum, dirt, and residue can accumulate in the tub, leading to unpleasant odors and potential issues with your laundry. By incorporating regular cleaning into your laundry routine, you can maintain the performance and longevity of your LG washer while ensuring that your clothes emerge fresh and clean with every wash.
In this comprehensive guide, we will walk you through the step-by-step process of cleaning the tub of your LG washer. From gathering the necessary supplies to performing a thorough cleaning and running a maintenance cycle, we will cover all the essential aspects to help you achieve a sparkling clean washer. Additionally, we will provide valuable tips for maintaining the gasket and dispenser, as well as wiping down the exterior to keep your LG washer looking its best.
By following these simple yet effective cleaning techniques, you can prevent mold and mildew buildup, eliminate unpleasant odors, and maintain the pristine condition of your LG washer. Whether you are a seasoned homeowner or new to the world of laundry maintenance, this guide will equip you with the knowledge and confidence to keep your LG washer in optimal condition, ensuring that it continues to deliver exceptional results with every load.
Now, let's dive into the step-by-step process of cleaning the tub of your LG washer, empowering you to uphold the cleanliness and performance of this essential household appliance.
Read more: How To Clean An LG TV Screen
Step 1: Gather Your Supplies
Before embarking on the task of cleaning the tub of your LG washer, it's crucial to gather the necessary supplies to ensure a thorough and effective cleaning process. By having the right tools and cleaning agents at your disposal, you can streamline the task and achieve optimal results. Here's a detailed list of supplies you will need:
-
White Vinegar: This versatile household staple serves as a powerful natural cleaner and disinfectant. Its acidic properties help dissolve mineral deposits, soap scum, and residue that may have accumulated in the washer's tub.
-
Baking Soda: Known for its gentle abrasive properties and deodorizing effects, baking soda is an excellent ally in combating odors and removing stubborn stains from the washer's tub.
-
Microfiber Cloth or Sponge: Opt for a soft, non-abrasive cloth or sponge to apply cleaning solutions and wipe down the interior surfaces of the washer without causing damage.
-
Toothbrush or Soft Bristle Brush: A toothbrush or soft bristle brush is ideal for reaching tight spaces and crevices, such as the gasket and dispenser, allowing for thorough cleaning and removal of buildup.
-
Rubber Gloves: Protect your hands from prolonged exposure to cleaning solutions and potential allergens by wearing rubber gloves throughout the cleaning process.
-
Clean Water: Having access to clean water is essential for rinsing the tub and ensuring that all cleaning agents are thoroughly removed.
-
Optional: LG Washer Cleaning Tablets: If preferred, you can use specially formulated cleaning tablets designed for LG washers to facilitate the cleaning process and maintain the machine's performance.
By gathering these supplies, you will be well-equipped to tackle the task of cleaning your LG washer's tub effectively and efficiently. With the right tools and cleaning agents at hand, you can proceed to the next step with confidence, knowing that you have everything you need to restore your washer to a pristine condition.
Step 2: Clean the Tub
To begin the process of cleaning the tub of your LG washer, start by preparing a powerful yet gentle cleaning solution using white vinegar and baking soda. These natural ingredients work synergistically to dissolve mineral deposits, eliminate soap scum, and neutralize odors, leaving the tub sparkling clean and free from residue.
-
Create the Cleaning Solution: In a small bowl, mix equal parts of white vinegar and baking soda to form a paste-like consistency. The combination of these two ingredients creates a potent cleaning agent that effectively targets built-up grime and odors within the washer's tub.
-
Apply the Cleaning Solution: Using a microfiber cloth or sponge, generously apply the vinegar and baking soda mixture to the interior surfaces of the tub. Ensure thorough coverage, paying particular attention to areas where residue and stains are most prevalent.
-
Scrub and Soak: With a gentle yet firm touch, use a soft-bristled brush or toothbrush to scrub the cleaning solution into the tub, focusing on stubborn stains and areas with visible buildup. Allow the solution to sit and soak for approximately 15-30 minutes, allowing the acidic properties of the vinegar to break down deposits and the baking soda to neutralize odors.
-
Rinse Thoroughly: After the soaking period, use clean water and a fresh microfiber cloth to rinse and wipe down the interior surfaces of the tub. Ensure that all traces of the cleaning solution are completely removed, leaving behind a pristine and odor-free environment within the washer.
-
Inspect for Residue: Take a moment to inspect the tub for any remaining residue or stubborn stains. If necessary, repeat the cleaning process in targeted areas to achieve a thorough and uniform clean.
By following these steps, you can effectively clean the tub of your LG washer, removing accumulated grime, eliminating odors, and restoring the interior to a hygienic and pristine state. This proactive approach to washer maintenance not only enhances the cleanliness of your laundry but also contributes to the longevity and optimal performance of your LG washer.
Step 3: Clean the Gasket and Dispenser
After addressing the interior tub of your LG washer, it's essential to pay attention to the gasket and dispenser to ensure a comprehensive cleaning process. The gasket, also known as the door seal, and the detergent dispenser are areas prone to residue buildup, mold, and mildew, which can impact the cleanliness of your laundry and the overall performance of the washer. By following these steps, you can effectively clean the gasket and dispenser, maintaining a hygienic and odor-free environment within your LG washer.
-
Inspect the Gasket: Begin by carefully examining the gasket, paying close attention to the folds and crevices where moisture and detergent residue may accumulate. If you notice any visible mold or mildew, it's crucial to address it promptly to prevent further growth and ensure the gasket remains clean and functional.
-
Prepare a Cleaning Solution: Create a gentle yet effective cleaning solution using a mixture of warm water and mild detergent. This solution will help dissolve residue and eliminate any mold or mildew present on the gasket and dispenser.
-
Clean the Gasket: Dip a soft-bristled brush or a clean cloth into the prepared cleaning solution and gently scrub the gasket, focusing on areas where buildup is most prominent. Ensure thorough coverage of the folds and crevices, as these areas are particularly susceptible to mold and mildew growth.
-
Address the Dispenser: Remove the detergent and fabric softener compartments from the dispenser and rinse them under running water to remove any residual product. Use the cleaning solution and a small brush to clean the dispenser's housing, ensuring that all traces of detergent and fabric softener are effectively removed.
-
Rinse and Dry: After cleaning the gasket and dispenser, use a clean, damp cloth to rinse off any remaining cleaning solution. Once the surfaces are thoroughly rinsed, dry the gasket and dispenser with a separate cloth to prevent moisture buildup and maintain a clean, hygienic environment.
-
Inspect for Residue and Mold: Take a moment to inspect the gasket and dispenser for any remaining residue or signs of mold or mildew. If necessary, repeat the cleaning process to ensure that these areas are free from buildup and maintain optimal cleanliness.
By incorporating these steps into your cleaning routine, you can effectively address the gasket and dispenser of your LG washer, preventing mold and mildew growth, eliminating residue, and ensuring that these essential components remain clean and functional. This proactive approach to washer maintenance contributes to the overall cleanliness and performance of your LG washer, allowing you to enjoy fresh and hygienic laundry with every wash.
Step 4: Run a Cleaning Cycle
Once you have thoroughly cleaned the tub, gasket, and dispenser of your LG washer, it's essential to perform a dedicated cleaning cycle to further eliminate any remaining residue, odors, and bacteria that may be lingering within the machine. Running a cleaning cycle not only helps maintain the cleanliness of the washer but also contributes to its overall performance and longevity. Here's a detailed guide on how to run a cleaning cycle for your LG washer:
-
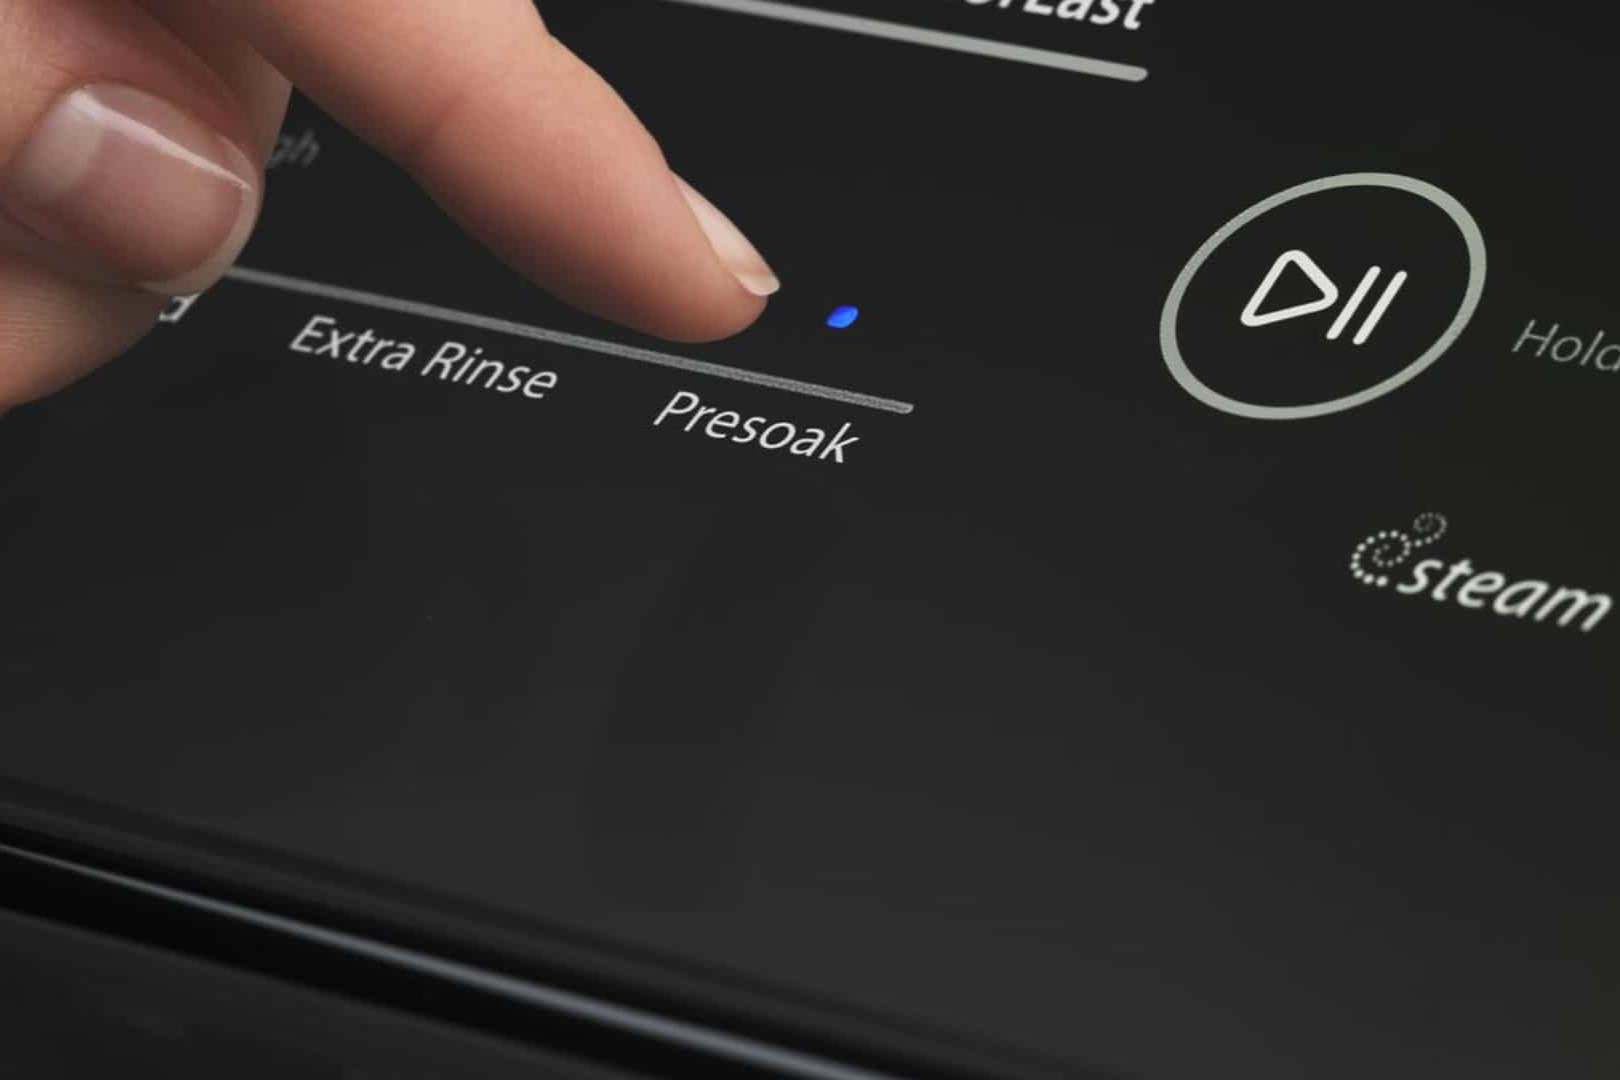
Select the Cleaning Cycle: Check your LG washer's user manual to identify the specific cleaning cycle option available. Many modern LG washers feature a dedicated cleaning cycle designed to thoroughly clean the interior of the machine. Select this cycle to initiate the cleaning process.
-
Add Cleaning Agent: Depending on the model of your LG washer, you may have the option to use a specially formulated cleaning agent or tablet designed for cleaning cycles. If available, follow the manufacturer's instructions to add the cleaning agent to the designated compartment or directly into the tub.
-
Initiate the Cycle: Start the cleaning cycle according to the instructions provided in the user manual. This typically involves selecting the cleaning cycle, adjusting any relevant settings such as water temperature or spin speed, and initiating the cycle to allow the washer to perform a thorough cleaning process.
-
Complete the Cycle: Allow the cleaning cycle to run its full course, ensuring that the machine completes the designated cleaning steps. This may include multiple rinses, agitation, and spin cycles to effectively remove any remaining cleaning agents and residue from the tub and internal components.
-
Inspect and Wipe Down: Once the cleaning cycle is complete, open the washer's door and inspect the interior for any residual cleaning agent or buildup. Use a clean, damp cloth to wipe down the interior surfaces, including the drum and door seal, to ensure that all traces of the cleaning cycle are thoroughly removed.
By running a dedicated cleaning cycle for your LG washer, you can effectively eliminate lingering residue, odors, and bacteria, maintaining a hygienic and odor-free environment within the machine. This proactive approach to washer maintenance complements the thorough cleaning of the tub, gasket, and dispenser, ensuring that your LG washer continues to deliver exceptional results with each laundry cycle.
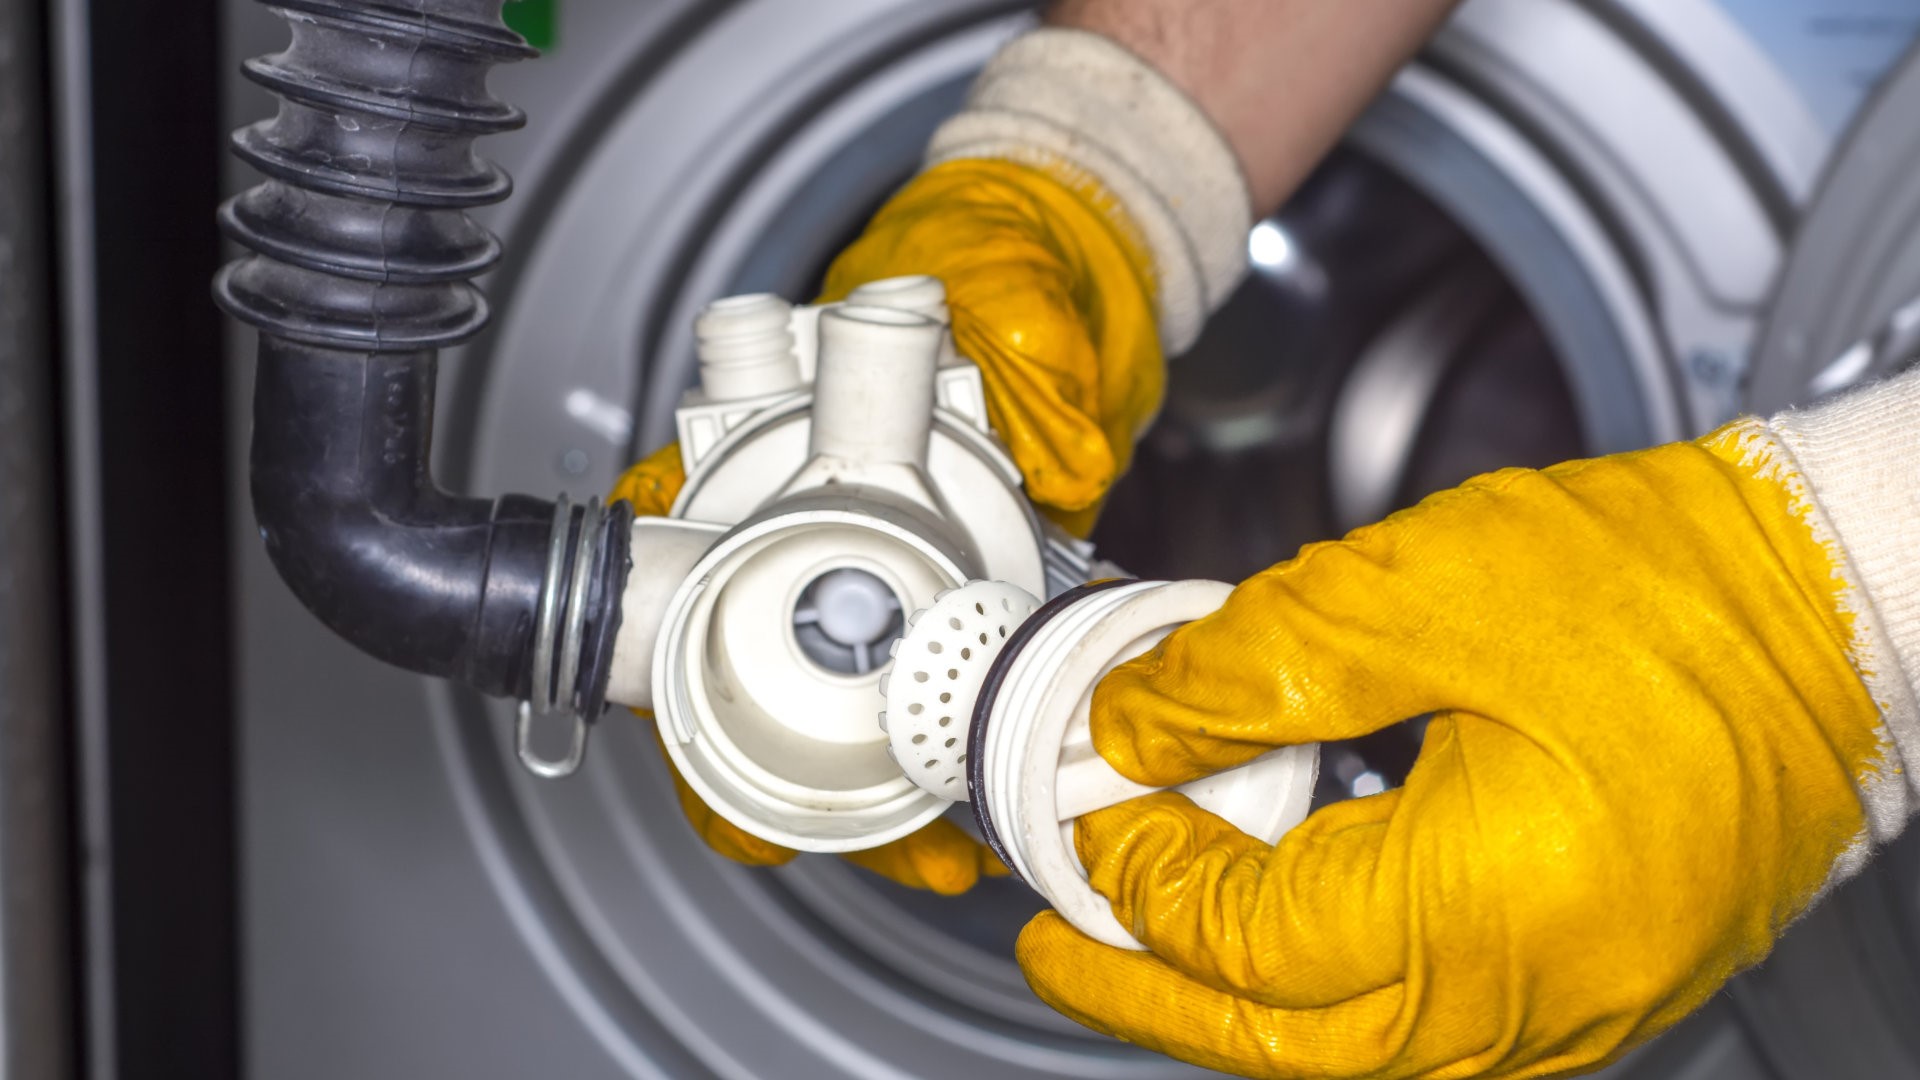
Read more: How To Clean Front Load Washer
Step 5: Wipe Down the Exterior
After addressing the interior components of your LG washer, it's essential to pay attention to the exterior surfaces to ensure a comprehensive cleaning process. The exterior of the washer is exposed to various environmental factors and may accumulate dust, dirt, and detergent residue over time. By incorporating regular exterior cleaning into your maintenance routine, you can uphold the overall cleanliness and visual appeal of your LG washer. Here's a detailed guide on how to effectively wipe down the exterior of your LG washer:
-
Prepare a Cleaning Solution: Begin by preparing a gentle cleaning solution using warm water and a mild detergent. This solution will help dissolve any accumulated dirt, grime, and residue on the exterior surfaces of the washer.
-
Dampen a Cloth or Sponge: Dip a soft cloth or sponge into the prepared cleaning solution, ensuring that it is damp but not excessively wet. This will prevent excess moisture from seeping into the internal components of the washer.
-
Wipe Down the Exterior: Starting from the top of the washer, gently wipe down the exterior surfaces, including the control panel, door, and sides of the machine. Pay particular attention to areas where dust and residue may be more prevalent, ensuring thorough coverage.
-
Focus on Control Panel and Buttons: Use a gentle touch to clean the control panel and buttons, taking care not to allow excess moisture to penetrate the sensitive electronic components. Wipe away any fingerprints, spills, or residue to maintain a clean and visually appealing control interface.
-
Clean the Door and Handle: Pay special attention to the washer's door and handle, as these areas are frequently touched and may accumulate dirt and smudges. Ensure that the door seal and surrounding areas are free from residue, promoting a hygienic and well-maintained appearance.
-
Dry the Exterior: Once you have wiped down the exterior surfaces, use a dry, clean cloth to remove any remaining moisture and ensure that the exterior of the washer is thoroughly dried. This step helps prevent water spots and maintains the visual cleanliness of the machine.
By following these steps, you can effectively wipe down the exterior of your LG washer, removing accumulated dirt, residue, and maintaining a visually appealing appearance. This proactive approach to washer maintenance complements the thorough cleaning of the interior components, ensuring that your LG washer remains clean, hygienic, and visually pleasing for years to come.
Conclusion
In conclusion, maintaining a clean and hygienic LG washer is essential for ensuring optimal performance, prolonging its lifespan, and consistently achieving fresh and clean laundry. By following the comprehensive cleaning process outlined in this guide, you can effectively address the interior and exterior components of your LG washer, preventing mold and mildew buildup, eliminating odors, and maintaining a visually appealing appearance.
Regularly cleaning the tub of your LG washer using natural ingredients such as white vinegar and baking soda not only removes stubborn stains and residue but also contributes to the elimination of unpleasant odors, ensuring that your laundry emerges fresh and free from any lingering scents. Additionally, paying attention to the gasket and dispenser helps prevent mold and mildew growth, maintaining a hygienic environment within the washer and safeguarding the integrity of these essential components.
Running a dedicated cleaning cycle further enhances the cleanliness of the washer, effectively eliminating any remaining residue, odors, and bacteria that may be present. This proactive approach complements the thorough cleaning of the tub, gasket, and dispenser, ensuring that your LG washer continues to deliver exceptional results with each laundry cycle.
Wiping down the exterior of the washer not only maintains its visual appeal but also prevents the accumulation of dirt and residue, contributing to a well-maintained and hygienic laundry environment. By incorporating regular exterior cleaning into your maintenance routine, you can uphold the overall cleanliness and visual appeal of your LG washer, enhancing its longevity and performance.
Incorporating these cleaning techniques into your laundry routine not only ensures a pristine and hygienic washer but also contributes to the longevity and optimal performance of your LG appliance. By following these steps, you can enjoy the peace of mind that comes with knowing your LG washer is clean, well-maintained, and ready to deliver exceptional results with every load of laundry.