Home>Home and Garden>5 Easy Steps To Fix A Whirlpool Washer That Won’t Drain Water!
Home and Garden
5 Easy Steps To Fix A Whirlpool Washer That Won’t Drain Water!
Published: February 19, 2024
Learn how to fix a Whirlpool washer that won't drain water in 5 easy steps. Get your laundry back on track with our expert home and garden tips!
(Many of the links in this article redirect to a specific reviewed product. Your purchase of these products through affiliate links helps to generate commission for Noodls.com, at no extra cost. Learn more)
Table of Contents
Introduction
Dealing with a malfunctioning Whirlpool washer can be a frustrating experience, especially when it refuses to drain water properly. However, before you consider calling a professional or replacing the appliance, there are several troubleshooting steps you can take to address this issue. By following these simple yet effective methods, you can potentially save time and money while restoring your washer's functionality.
In the following sections, we will walk you through five easy steps to fix a Whirlpool washer that won't drain water. From checking for clogs in the drain hose to inspecting the drain pump and cleaning the drain filter, these methods are designed to help you identify and resolve the underlying causes of the drainage problem. By taking a systematic approach and following these steps in order, you can increase the likelihood of pinpointing the issue and implementing the necessary repairs.
It's important to note that while these troubleshooting steps are designed to address common drainage issues in Whirlpool washers, they may not cover every possible scenario. If you encounter a more complex or persistent problem, it may be advisable to seek professional assistance. However, for many homeowners, these DIY solutions can offer a practical and cost-effective way to address a non-draining Whirlpool washer.
So, if you're ready to roll up your sleeves and tackle this challenge, let's dive into the first step: checking for clogs in the drain hose. By following these straightforward instructions, you can take the first step toward resolving the drainage issue and getting your Whirlpool washer back in working order.
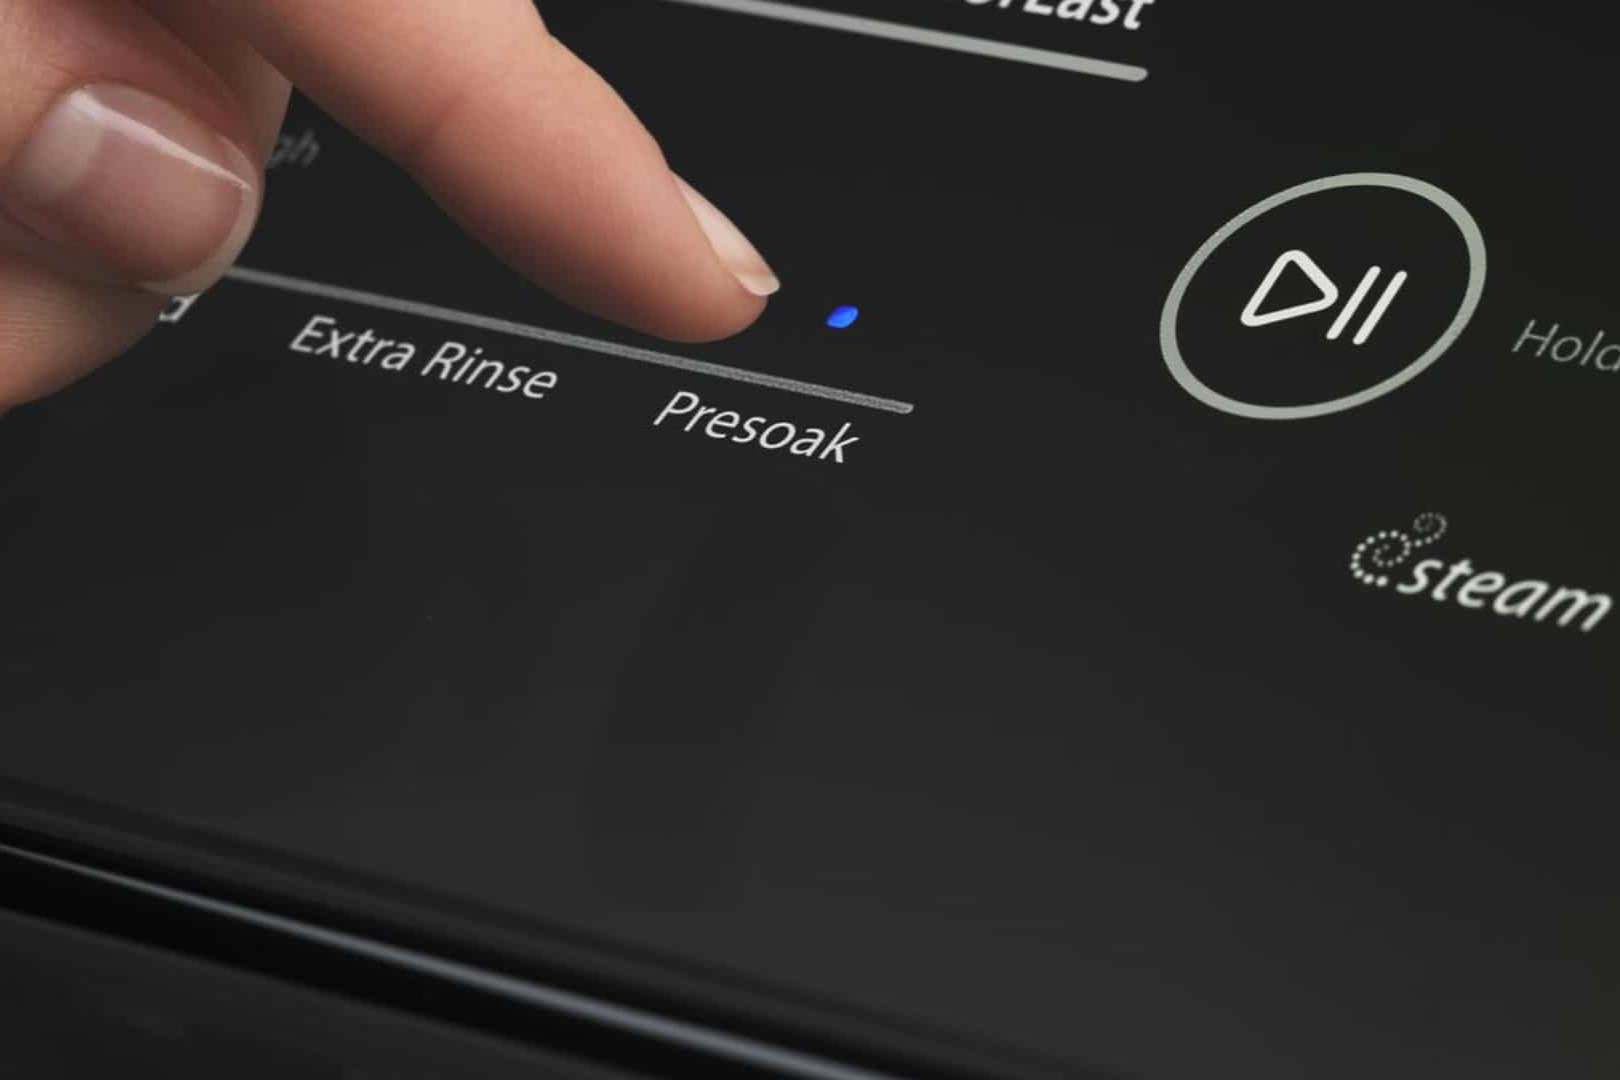
Step 1: Check for clogs in the drain hose
The first step in troubleshooting a Whirlpool washer that won't drain water is to inspect the drain hose for potential clogs or obstructions. Over time, debris, lint, or foreign objects can accumulate in the drain hose, impeding the flow of water and causing drainage issues. To begin this process, follow these simple yet effective steps:
-
Unplug the Washer: Before performing any maintenance or inspection, ensure that the washer is unplugged from the power source to prevent any electrical hazards.
-
Locate the Drain Hose: Depending on the model of your Whirlpool washer, the drain hose is typically located at the back of the machine. It is often connected to the washer's pump or a drain outlet.
-
Inspect for Blockages: Carefully examine the entire length of the drain hose, checking for any signs of blockages or restrictions. Look for accumulated lint, small articles of clothing, or other debris that may be obstructing the flow of water.
-
Remove and Clean: If you identify any clogs or obstructions, carefully remove the drain hose from its connection point and clear the blockage. You can use a combination of gentle pressure, a plumbing snake, or a straightened wire hanger to dislodge and remove the debris.
-
Check the Drain Outlet: In addition to inspecting the hose itself, ensure that the drain outlet or standpipe is free from obstructions. Sometimes, debris can accumulate at the point where the hose empties into the drainage system, leading to drainage issues.
By thoroughly examining the drain hose and removing any clogs or obstructions, you can eliminate a common cause of drainage problems in Whirlpool washers. Once you have completed this step, proceed to the next section to continue troubleshooting the issue and restoring your washer's functionality.
Step 2: Inspect the drain pump for blockages
After checking the drain hose for clogs, the next crucial step in resolving a Whirlpool washer that won't drain water is to inspect the drain pump for potential blockages. The drain pump plays a pivotal role in expelling water from the washer during the drainage cycle. However, if it becomes obstructed or clogged, it can impede the flow of water, leading to drainage issues. To effectively inspect the drain pump and address any blockages, follow these detailed steps:
-
Access the Drain Pump: Depending on the model of your Whirlpool washer, the drain pump is typically located at the bottom of the machine, often accessible by removing a panel or cover. Refer to the appliance's manual or online resources for specific instructions on accessing the drain pump.
-
Unplug the Washer: As a safety precaution, ensure that the washer is unplugged from the power source before proceeding with any maintenance or inspection of the drain pump.
-
Prepare for Drainage: Place a shallow container or towel beneath the drain pump area to catch any residual water that may spill out during the inspection process.
-
Inspect for Blockages: Carefully examine the drain pump and its surrounding area for any signs of blockages, such as lint, debris, or foreign objects. Use a flashlight to illuminate the area and ensure thorough visibility.
-
Clear Obstructions: If you identify any blockages within the drain pump, carefully remove them using a pair of needle-nose pliers or tweezers. Exercise caution to avoid damaging the pump or its components during this process.
-
Check the Pump Impeller: The impeller is a rotating component within the drain pump that facilitates the movement of water. Ensure that the impeller is free from obstructions and rotates smoothly. If it appears damaged or obstructed, it may need to be replaced.
-
Reassemble and Test: Once you have cleared any blockages and ensured that the pump components are functioning properly, reassemble the access panel or cover. Plug in the washer and run a brief drainage cycle to verify that the issue has been resolved.
By meticulously inspecting the drain pump for blockages and addressing any obstructions, you can effectively eliminate a common cause of drainage problems in Whirlpool washers. This proactive approach to maintenance and troubleshooting can help restore your washer's functionality and prolong its lifespan. With the drain pump inspection complete, proceed to the next step to continue the comprehensive troubleshooting process and address any remaining issues with the washer's drainage system.
Step 3: Clean the drain filter
Cleaning the drain filter is a crucial step in resolving a Whirlpool washer that won't drain water. The drain filter, also known as the lint trap or coin trap, serves as a barrier to prevent foreign objects, lint, and debris from entering the washer's drainage system. Over time, the filter can become clogged with accumulated lint, fabric fibers, and other materials, leading to drainage issues. By cleaning the drain filter, you can effectively address this common cause of drainage problems and restore your washer's functionality.
To clean the drain filter, follow these detailed steps:
-
Locate the Drain Filter: The location of the drain filter may vary depending on the model of your Whirlpool washer. It is often situated near the bottom front of the machine, behind a small access panel. Refer to the appliance's manual or online resources for specific instructions on locating the drain filter.
-
Prepare for Maintenance: Before proceeding with the cleaning process, ensure that the washer is unplugged from the power source to prevent any electrical hazards. Additionally, have a shallow container or towel ready to catch any residual water that may emerge during the maintenance.
-
Access the Drain Filter: Remove the access panel or cover to gain access to the drain filter. Depending on the design of the washer, the filter may be secured with a twist-off cap or may require the use of a screwdriver to release it.
-
Inspect and Clean the Filter: Carefully remove the drain filter and visually inspect it for accumulated lint, debris, or foreign objects. Use a soft-bristled brush or a cloth to gently clean the filter, removing any obstructions that may impede water flow. Additionally, rinse the filter under running water to dislodge stubborn debris.
-
Clear the Filter Cavity: While the filter is removed, take the opportunity to inspect the cavity where the filter is housed. Clear any debris or buildup from the cavity using a cloth or brush, ensuring that it is free from obstructions.
-
Reinstall the Filter: Once the filter and its housing cavity are clean, securely reinstall the filter and ensure that it is properly seated. Replace the access panel or cover, and proceed to the next step to test the washer's drainage system.
By meticulously cleaning the drain filter and ensuring that it is free from obstructions, you can effectively eliminate a common cause of drainage issues in Whirlpool washers. This proactive maintenance approach can contribute to the optimal performance of your washer and prevent future drainage problems. With the drain filter cleaned and reinstalled, proceed to the next step to continue troubleshooting the issue and restore your washer's functionality.
Step 4: Test the drain pump for proper functioning
After inspecting the drain hose, checking for blockages in the drain pump, and cleaning the drain filter, the next crucial step in resolving a Whirlpool washer that won't drain water is to test the drain pump for proper functioning. The drain pump is responsible for expelling water from the washer during the drainage cycle, and ensuring that it operates efficiently is essential for resolving drainage issues.
To test the drain pump for proper functioning, follow these detailed steps:
-
Prepare for Testing: Before proceeding with the test, ensure that the washer is unplugged from the power source to prevent any electrical hazards. Additionally, have a shallow container or towel ready to catch any residual water that may emerge during the testing process.
-
Access the Drain Pump: Depending on the model of your Whirlpool washer, the drain pump is typically located at the bottom of the machine, often accessible by removing a panel or cover. Refer to the appliance's manual or online resources for specific instructions on accessing the drain pump.
-
Inspect the Pump Impeller: The impeller is a crucial component of the drain pump that facilitates the movement of water. Visually inspect the impeller to ensure that it is free from damage and rotates smoothly. Any signs of damage or obstruction may indicate a need for replacement.
-
Manually Rotate the Pump: With the drain pump accessible, use a flat-blade screwdriver or a similar tool to manually rotate the pump's impeller. The impeller should turn freely without any significant resistance. If you encounter excessive resistance or the impeller fails to rotate, it may indicate a malfunctioning pump that requires attention.
-
Listen for Unusual Noises: While manually rotating the pump, listen for any unusual noises such as grinding, scraping, or rattling. These noises may indicate internal damage or debris within the pump, which can impede its functionality.
-
Verify Electrical Connections: Ensure that the electrical connections to the drain pump are secure and free from damage. Loose or damaged connections can affect the pump's performance and may require professional attention.
By meticulously testing the drain pump for proper functioning, you can effectively assess its condition and identify any potential issues that may be contributing to the drainage problem in your Whirlpool washer. This proactive approach to maintenance and troubleshooting can help you make informed decisions regarding any necessary repairs or replacements, ultimately contributing to the optimal performance of your washer.
With the drain pump testing complete, proceed to the next step to continue the comprehensive troubleshooting process and address any remaining issues with the washer's drainage system.
Read more: How To Unclog A Washer Drain
Step 5: Check the lid switch for any issues
The lid switch is a critical safety feature in Whirlpool washers that serves to prevent the washer from spinning or draining while the lid is open. If the lid switch malfunctions or becomes defective, it can result in the washer failing to drain water properly. Therefore, checking the lid switch for any issues is an essential step in troubleshooting a non-draining Whirlpool washer.
To thoroughly inspect the lid switch and address any potential issues, follow these detailed steps:
-
Unplug the Washer: As a safety precaution, ensure that the washer is unplugged from the power source before proceeding with any maintenance or inspection of the lid switch.
-
Locate the Lid Switch: Depending on the model of your Whirlpool washer, the lid switch is typically situated near the door or lid opening. It may be accessible by removing the top panel of the washer or by accessing it from the front or rear of the machine.
-
Visually Inspect the Lid Switch: Carefully examine the lid switch for any visible signs of damage, wear, or corrosion. Check the switch's housing, wiring, and connections for any indications of wear or disconnection.
-
Test the Switch Operation: With the washer unplugged, manually actuate the lid switch using a non-conductive object such as a wooden dowel or pencil. Listen for a distinct clicking sound, which indicates that the switch is engaging properly. If the switch fails to produce a clicking sound or feels loose, it may be a sign of a faulty switch that requires attention.
-
Check the Wiring and Connections: Inspect the wiring harness and connections associated with the lid switch. Ensure that the wires are securely connected and free from damage. Any loose or damaged connections can affect the switch's functionality and may require repair or replacement.
-
Test Continuity: Using a multimeter set to the continuity or resistance setting, test the continuity of the lid switch. This involves checking for a continuous electrical path through the switch when it is engaged and an open circuit when it is disengaged. A lack of continuity indicates a defective switch that needs to be replaced.
By meticulously checking the lid switch for any issues and ensuring that it is functioning as intended, you can effectively address a potential cause of drainage problems in your Whirlpool washer. This proactive approach to maintenance and troubleshooting can contribute to the optimal performance of the appliance and help resolve the non-draining issue.
With the lid switch inspection complete, you have now systematically addressed key components and potential issues related to a non-draining Whirlpool washer. By following these comprehensive troubleshooting steps, you have taken proactive measures to identify and resolve common causes of drainage problems, ultimately working towards restoring your washer's functionality.
Conclusion
In conclusion, troubleshooting a Whirlpool washer that won't drain water can be a manageable task when approached systematically and methodically. By following the five easy steps outlined in this guide, homeowners can take proactive measures to identify and address common causes of drainage issues, potentially restoring their washer's functionality without the need for professional assistance.
The first step involved checking for clogs in the drain hose, a common culprit for drainage problems. By inspecting the entire length of the hose and clearing any obstructions, homeowners can eliminate a prevalent cause of drainage issues. Subsequently, inspecting the drain pump for blockages and ensuring its proper functioning is essential for resolving drainage problems. Clearing any debris and testing the pump's impeller can contribute to optimal drainage performance.
Cleaning the drain filter emerged as another crucial step, as accumulated lint and debris can impede water flow. By meticulously cleaning the filter and its housing cavity, homeowners can prevent future drainage issues and contribute to the overall efficiency of the washer. Additionally, testing the drain pump for proper functioning and inspecting the lid switch for any issues are essential steps in the troubleshooting process. By ensuring that these components operate as intended, homeowners can address potential causes of drainage problems and make informed decisions regarding any necessary repairs or replacements.
It's important to note that while these troubleshooting steps cover common causes of drainage issues in Whirlpool washers, there may be instances where the problem persists or requires professional attention. In such cases, seeking the expertise of a qualified technician is advisable to ensure the proper diagnosis and resolution of the issue.
By taking a proactive approach to washer maintenance and troubleshooting, homeowners can potentially save time and money while extending the lifespan of their appliance. Regular inspection and maintenance of key components, such as the drain hose, pump, filter, and lid switch, can contribute to the optimal performance of the washer and prevent future drainage issues.
In summary, by following the comprehensive troubleshooting steps outlined in this guide, homeowners can equip themselves with the knowledge and skills to address a non-draining Whirlpool washer effectively. With a systematic approach and attention to key components, restoring the functionality of the washer is within reach for many homeowners, offering a practical and cost-effective solution to common drainage problems.