Home>Home and Garden>10 Easy Steps To Unclog Your GE Profile Built-In Dishwasher Drain
Home and Garden
10 Easy Steps To Unclog Your GE Profile Built-In Dishwasher Drain
Published: February 19, 2024
Learn how to easily unclog your GE Profile built-in dishwasher drain with these 10 simple steps. Keep your home and garden running smoothly with our expert tips.
(Many of the links in this article redirect to a specific reviewed product. Your purchase of these products through affiliate links helps to generate commission for Noodls.com, at no extra cost. Learn more)
Table of Contents
- Introduction
- Step 1: Gather Necessary Tools and Materials
- Step 2: Remove the Dishwasher's Bottom Rack
- Step 3: Inspect and Clean the Drain Filter
- Step 4: Check for Clogs in the Drain Hose
- Step 5: Use a Plunger to Unclog the Drain
- Step 6: Run Hot Water Through the Drain
- Step 7: Use Baking Soda and Vinegar to Break Up Clogs
- Step 8: Check the Garbage Disposal Connection
- Step 9: Inspect the Air Gap
- Step 10: Test the Dishwasher and Reassemble the Bottom Rack
Introduction
Dealing with a clogged dishwasher drain can be a frustrating and inconvenient experience. When your GE Profile built-in dishwasher is not draining properly, it can disrupt your daily routine and leave you with a sink full of dirty water and dishes. However, fear not, as resolving this issue is often simpler than it seems. By following these 10 easy steps, you can effectively unclog your dishwasher drain and restore its optimal functionality.
A clogged dishwasher drain can result from various factors, such as food particles, grease, and soap residue accumulating over time. Additionally, foreign objects like small utensils or pieces of broken glass can obstruct the drain, leading to drainage problems. Understanding the common causes of a clogged dishwasher drain is crucial in effectively addressing the issue.
By taking a systematic approach to unclogging your GE Profile built-in dishwasher drain, you can save time and money by avoiding the need for professional assistance. This step-by-step guide will equip you with the knowledge and techniques necessary to tackle the problem with confidence. From inspecting and cleaning the drain filter to utilizing household items like baking soda and vinegar, each step is designed to progressively address the potential sources of the clog.
As you embark on this journey to restore your dishwasher's functionality, remember that patience and attention to detail are key. By carefully following each step and being mindful of the specific components and mechanisms involved, you can effectively troubleshoot and resolve the drainage issue. With these 10 easy steps, you can reclaim the convenience and efficiency of your GE Profile built-in dishwasher, ensuring that it continues to serve you and your household reliably.
Now, let's dive into the practical steps to unclog your dishwasher drain and restore smooth, hassle-free operation to your kitchen appliance.
Step 1: Gather Necessary Tools and Materials
Before embarking on the journey to unclog your GE Profile built-in dishwasher drain, it's essential to gather the necessary tools and materials to ensure a smooth and efficient process. By having these items at your disposal, you can address the clog effectively and minimize any potential disruptions during the unclogging procedure.
Tools and Materials Checklist:
-
Work Gloves: Protect your hands from any sharp edges or debris inside the dishwasher.
-
Screwdriver: Depending on the model of your GE Profile dishwasher, you may need a screwdriver to remove the bottom rack and access the internal components.
-
Soft-bristled Brush or Toothbrush: This will be used to clean the drain filter and remove any accumulated debris or residue.
-
Plunger: A standard household plunger can be a valuable tool for dislodging stubborn clogs within the dishwasher drain.
-
Baking Soda and Vinegar: These common household items can be used to create a natural cleaning solution to break up clogs and eliminate odors within the dishwasher.
-
Hot Water: Having a kettle or access to hot water will be essential for flushing the drain and dislodging any blockages.
-
Bucket or Towel: To catch any excess water that may spill out during the unclogging process, it's helpful to have a bucket or towel on hand.
-
Flashlight: A flashlight can aid in inspecting the dishwasher's interior for any visible clogs or obstructions.
By ensuring that you have these tools and materials readily available, you can streamline the unclogging process and address the issue with confidence. With the necessary items at your disposal, you'll be well-prepared to navigate through the subsequent steps and effectively restore your GE Profile built-in dishwasher's optimal functionality.
Remember, safety should always be a priority when working with household appliances. By wearing work gloves and exercising caution when handling tools and accessing internal components, you can ensure a secure and efficient unclogging process. With the tools and materials in hand, you're ready to proceed to the next step and begin the journey to unclog your dishwasher drain.
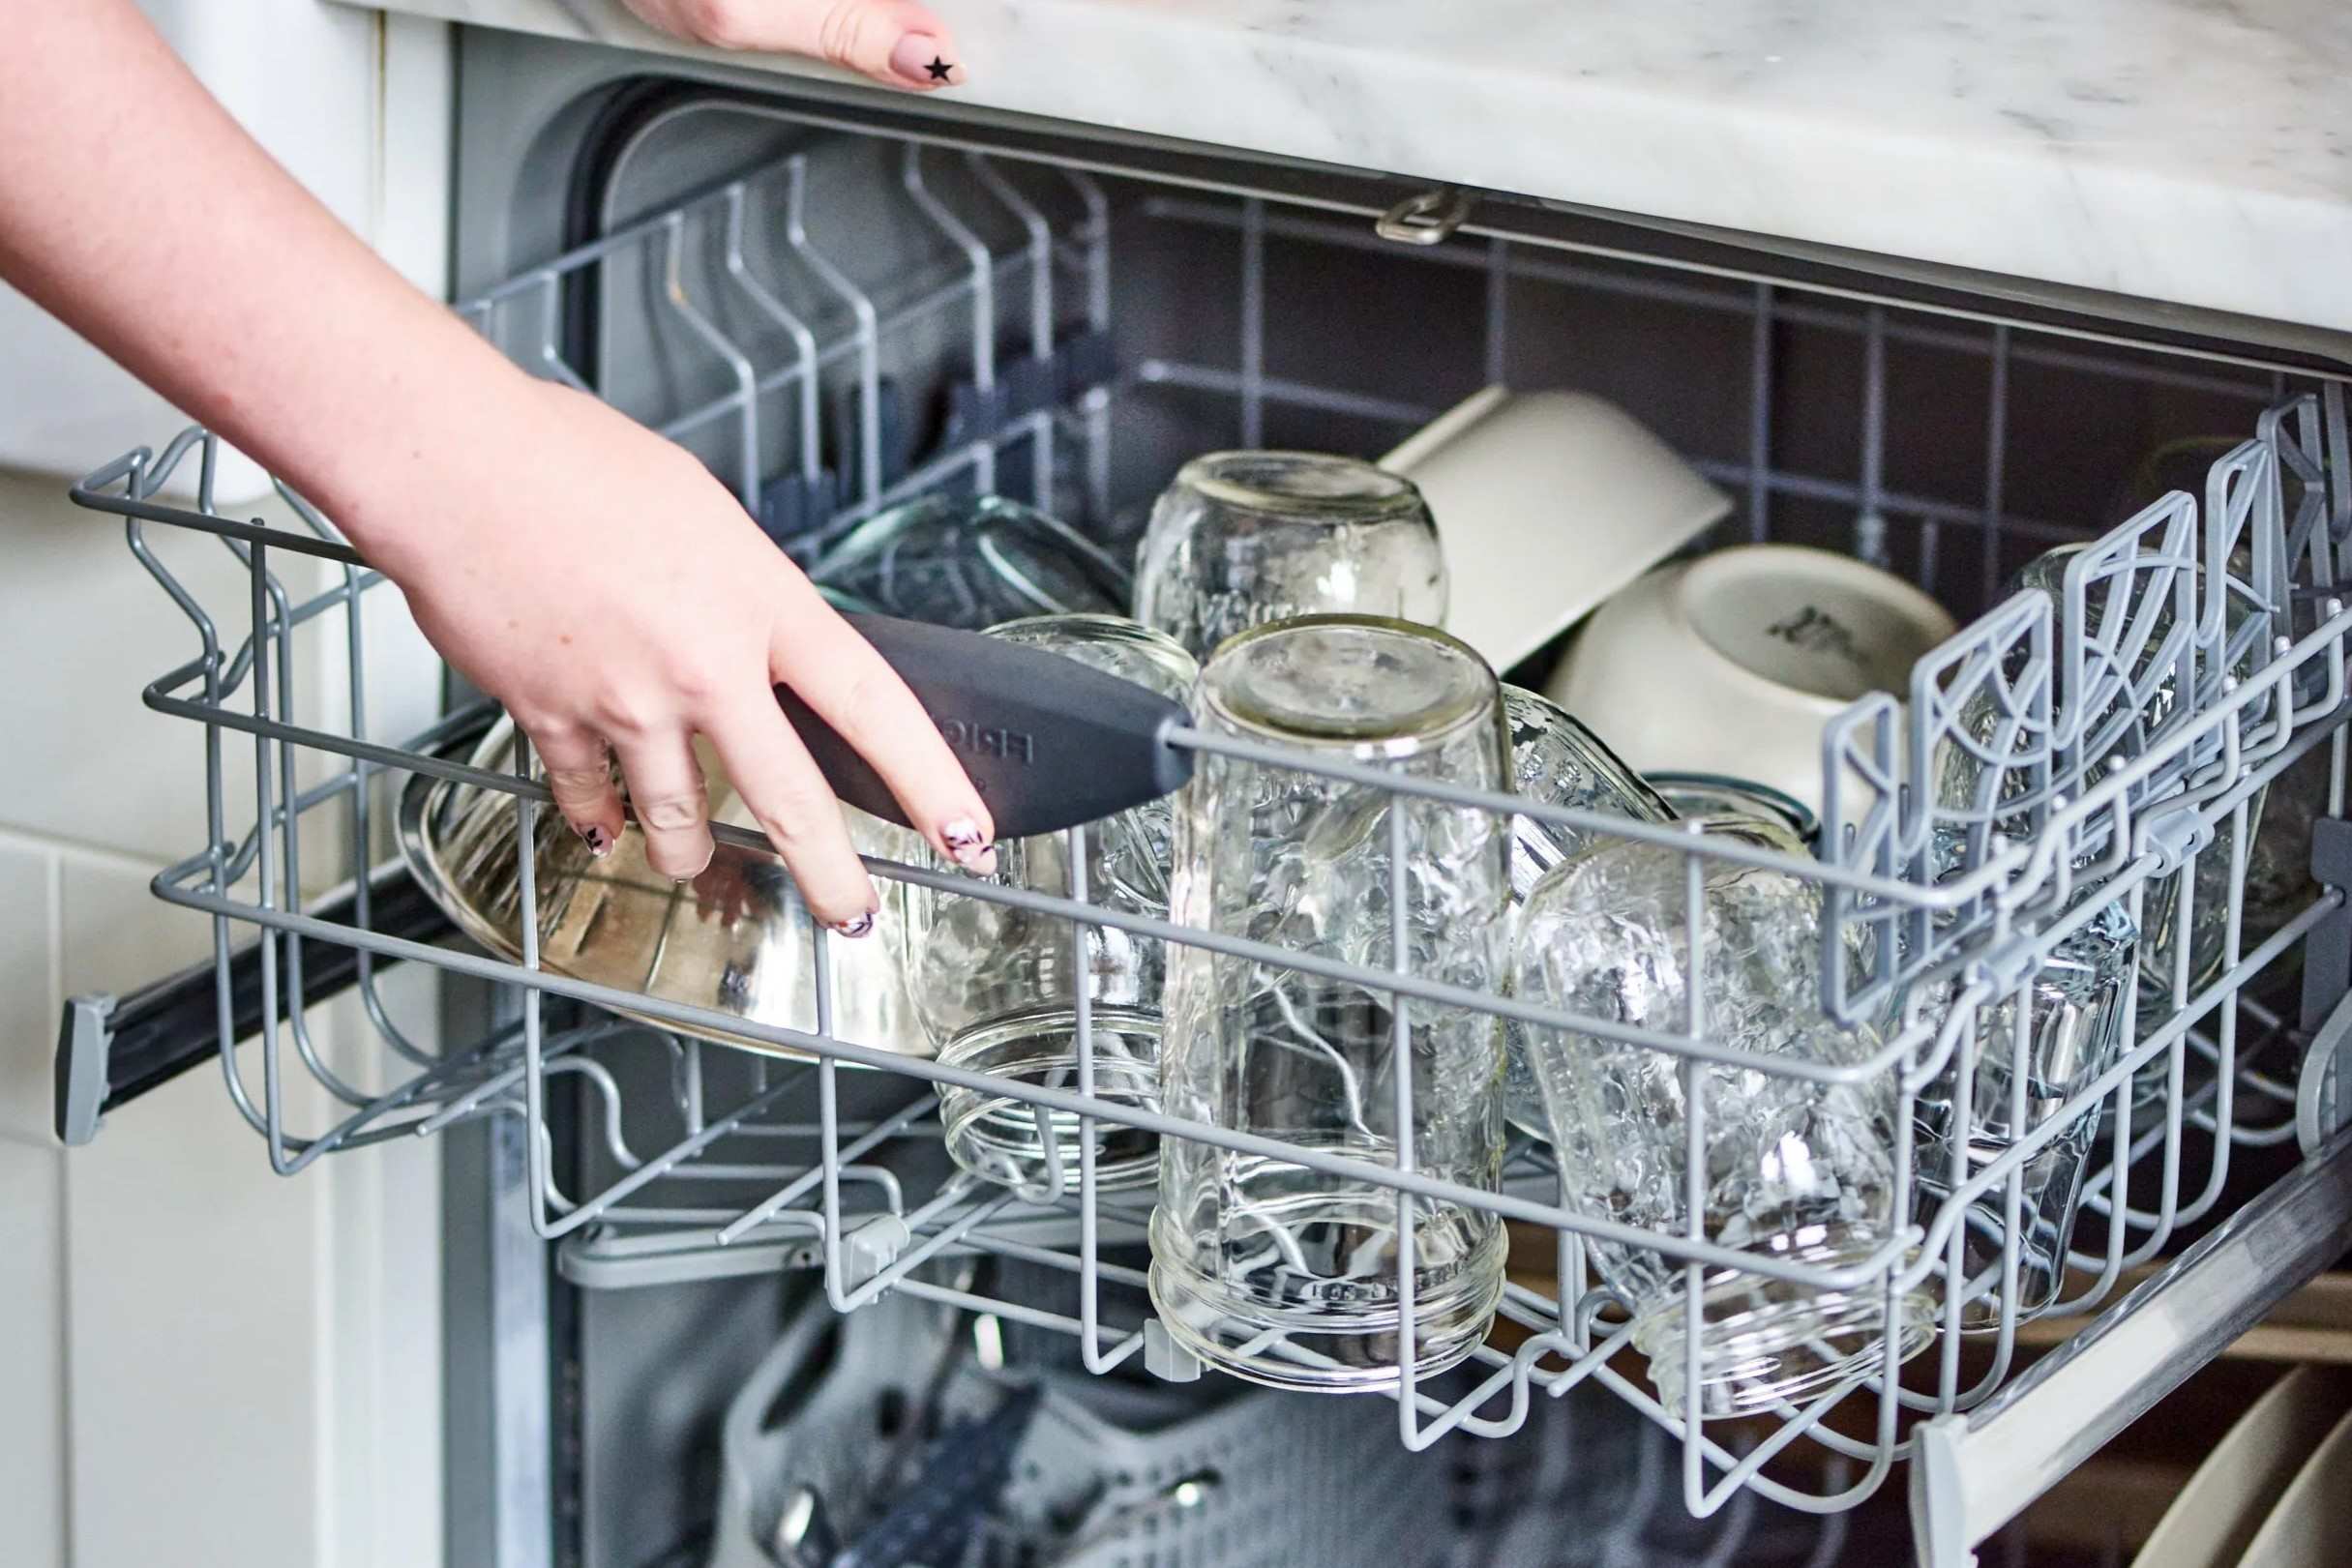
Step 2: Remove the Dishwasher's Bottom Rack
To initiate the unclogging process, the first step is to access the internal components of your GE Profile built-in dishwasher by removing the bottom rack. This step provides crucial access to the drain filter and other essential elements that may be contributing to the drainage issue.
-
Clear the Area: Before removing the bottom rack, ensure that the surrounding area is clear of any obstructions. This will create a safe and unobstructed workspace for the subsequent tasks.
-
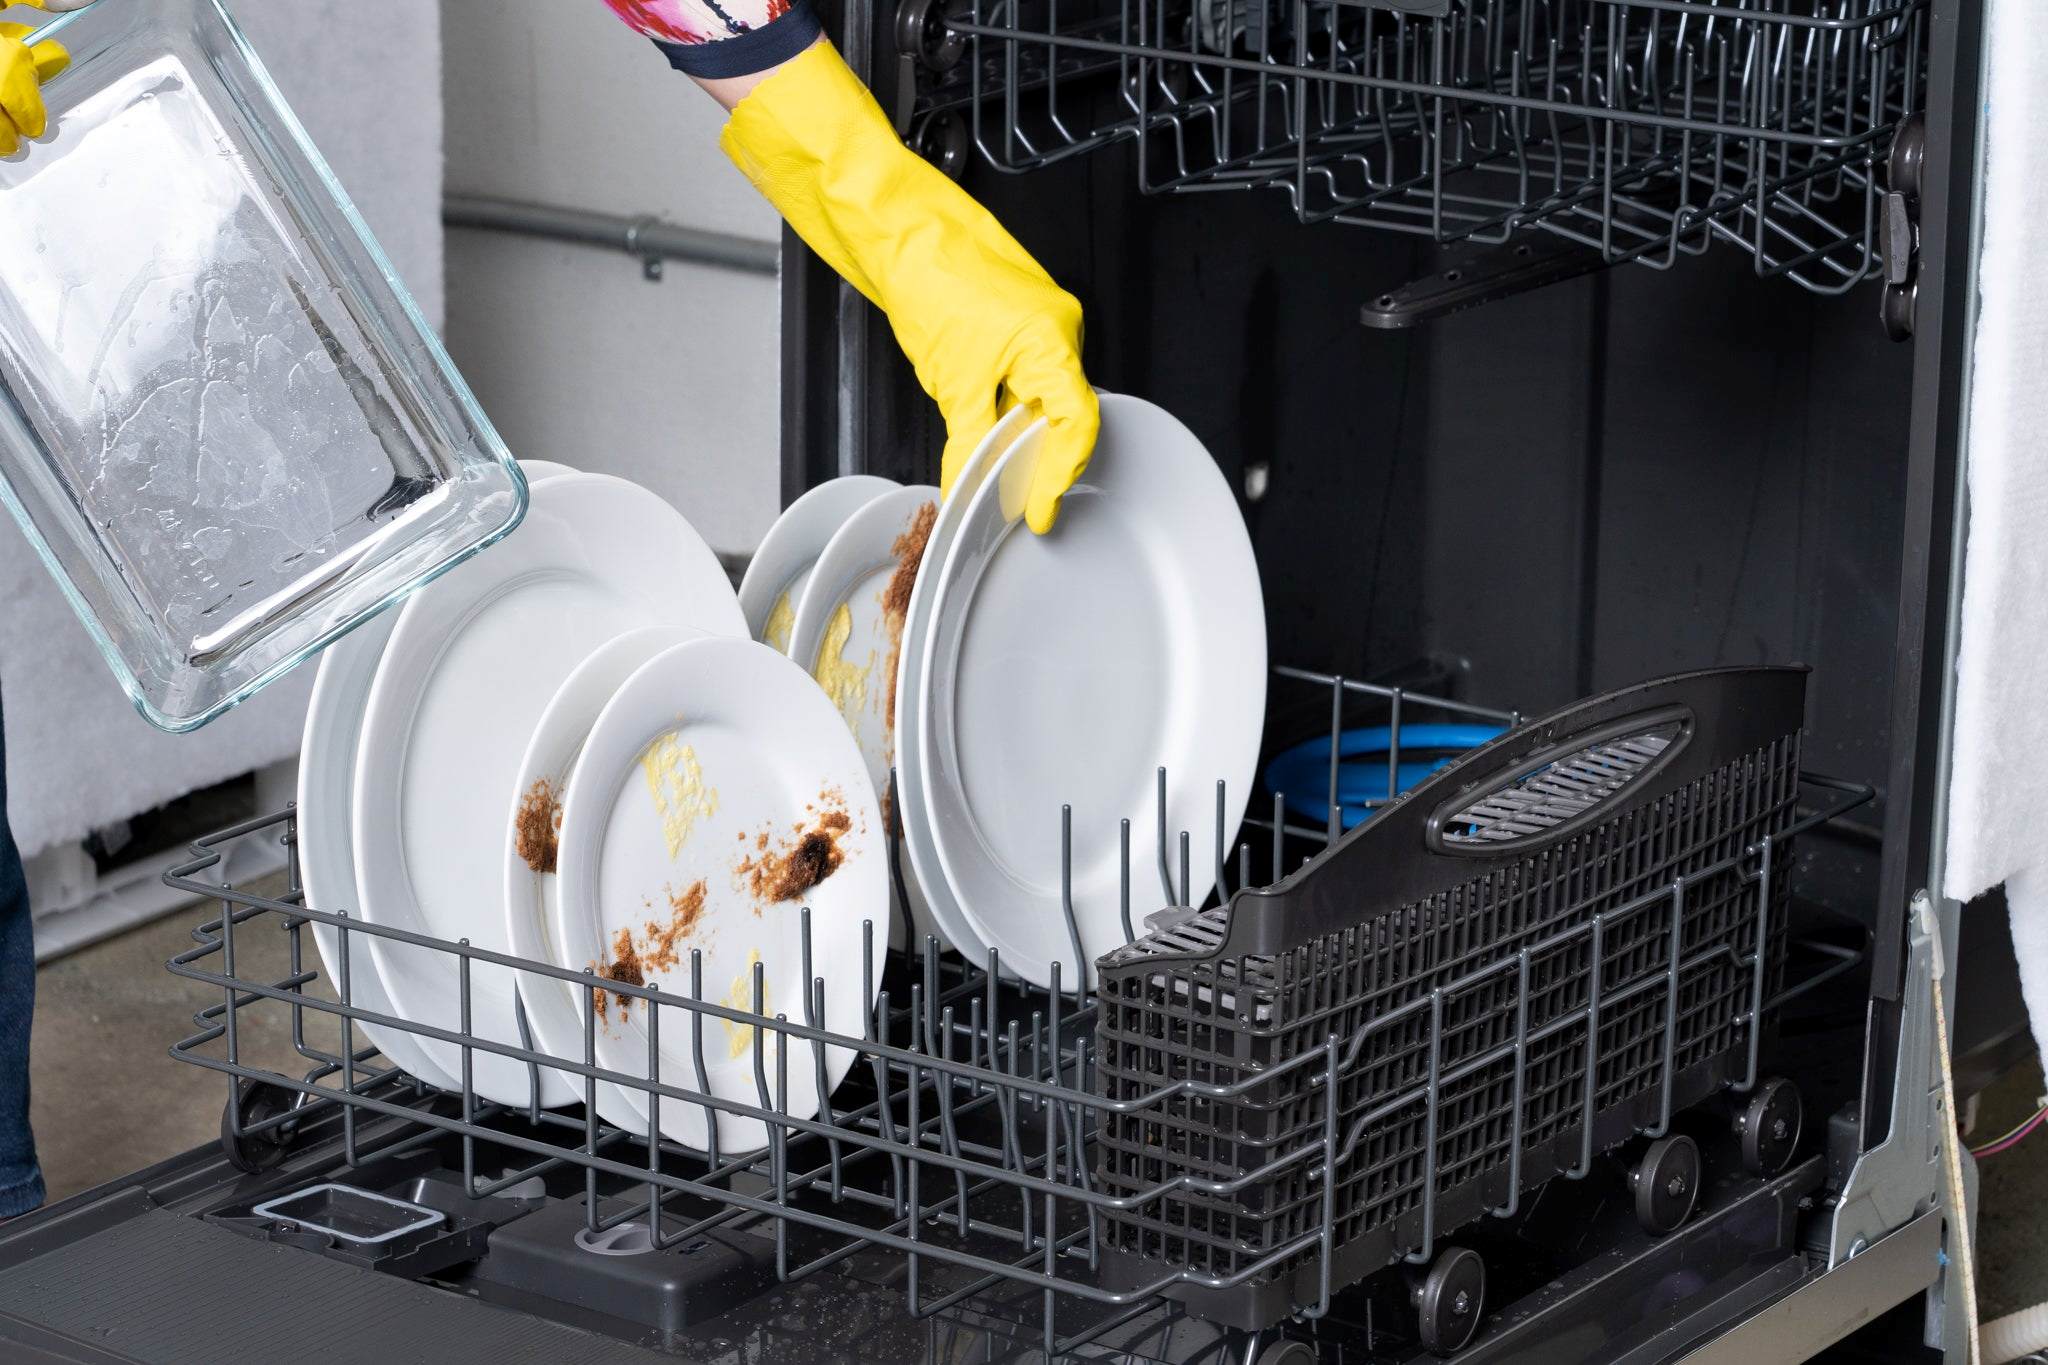
Pull Out the Bottom Rack: Grasp the bottom rack firmly and pull it outward, away from the dishwasher. Depending on the model of your GE Profile dishwasher, you may need to lift the rack slightly to disengage it from the sliding tracks.
-
Inspect the Rack: While the bottom rack is removed, take a moment to inspect it for any signs of damage or accumulated debris. Clearing the rack of any food particles or residue can contribute to the overall cleanliness and efficiency of your dishwasher.
By removing the bottom rack, you gain clear access to the drain filter and other components located at the bottom of the dishwasher. This accessibility is essential for the subsequent steps in the unclogging process, allowing you to inspect, clean, and address any potential clogs or obstructions within the drain system.
With the bottom rack successfully removed, you are now prepared to proceed to the next steps in the unclogging process, armed with a clear view of the internal components of your GE Profile built-in dishwasher. This seamless progression sets the stage for effectively addressing the drainage issue and restoring your dishwasher's optimal functionality.
Step 3: Inspect and Clean the Drain Filter
With the bottom rack of your GE Profile built-in dishwasher successfully removed, you now have direct access to the crucial component known as the drain filter. The drain filter plays a pivotal role in preventing food particles, debris, and other residues from clogging the dishwasher's drain system. Over time, the filter can become clogged and obstructed, leading to drainage issues and reduced performance. Therefore, inspecting and cleaning the drain filter is a fundamental step in the unclogging process.
Read more: How To Unclog A Washer Drain
Inspecting the Drain Filter
Begin by locating the drain filter, typically situated at the bottom of the dishwasher's interior. The filter is often circular or semicircular in shape and may be accompanied by a removable cover or mesh screen. Carefully examine the filter for any visible signs of debris, food particles, or residue that may be impeding the flow of water through the drain system. Use a flashlight to illuminate the area and ensure thorough visibility during the inspection.
Removing and Cleaning the Filter
Once the drain filter has been inspected, proceed to remove it from its housing. Depending on the specific design of your dishwasher, the filter may be secured in place with a twist-lock mechanism or clips. Gently disengage the filter from its position, taking care to note its orientation for reassembly. With the filter in hand, visually assess the extent of debris and buildup present on its surface.
Using a soft-bristled brush or a toothbrush, carefully clean the filter to dislodge and remove any accumulated residue. Pay close attention to the mesh or perforated surface of the filter, ensuring that all obstructions are effectively cleared. If the filter is particularly soiled, rinsing it under running water can aid in dislodging stubborn debris. Avoid using harsh chemicals or abrasive materials that may damage the filter during the cleaning process.
Reinstalling the Filter
Once the drain filter has been thoroughly cleaned and cleared of any obstructions, carefully reinsert it into its original position within the dishwasher. Ensure that the filter is securely seated and properly aligned to facilitate unimpeded water flow through the drain system. If the filter is accompanied by a removable cover or screen, reattach it according to the manufacturer's guidelines to complete the reinstallation process.
By inspecting and cleaning the drain filter, you have taken a significant stride towards addressing the clogged dishwasher drain. This proactive maintenance not only resolves the immediate issue but also contributes to the overall efficiency and longevity of your GE Profile built-in dishwasher. With the drain filter restored to optimal condition, you are now prepared to progress to the subsequent steps in the unclogging process, armed with a clearer pathway to resolving the drainage issue effectively.
Step 4: Check for Clogs in the Drain Hose
After inspecting and cleaning the drain filter, the next crucial step in unclogging your GE Profile built-in dishwasher drain is to thoroughly examine the drain hose for potential clogs or obstructions. The drain hose serves as a conduit for wastewater to exit the dishwasher and is susceptible to blockages that can impede proper drainage. By meticulously checking for clogs in the drain hose, you can identify and address any impediments that may be contributing to the drainage issue.
Accessing the Drain Hose
To commence the inspection, locate the drain hose, which is typically positioned at the rear or bottom of the dishwasher. Depending on the model of your GE Profile dishwasher, the drain hose may be accessible from the front or rear panel of the appliance. Carefully pull the dishwasher away from the wall to create ample space for accessing the rear panel and the drain hose.
Visual Inspection
With the dishwasher positioned for easy access, visually examine the entire length of the drain hose for any signs of clogs or blockages. Look for kinks, twists, or areas of compression that may be restricting the flow of wastewater. Additionally, check for the presence of foreign objects or debris that could be obstructing the interior of the hose.
Removing and Clearing Obstructions
If a clog or obstruction is detected within the drain hose, proceed to carefully remove it to facilitate thorough cleaning. Depending on the nature of the blockage, you may use a combination of gentle pressure, manual manipulation, or the assistance of a plumbing snake to dislodge and remove the impediment. Exercise caution to avoid damaging the hose during this process, ensuring that it remains structurally intact.
Flushing the Drain Hose
Following the removal of any identified clogs or obstructions, flush the drain hose with hot water to dislodge residual debris and ensure unimpeded water flow. This step aids in clearing any remaining particles or buildup that may have accumulated within the hose, contributing to the clogging issue.
By meticulously checking for clogs in the drain hose and addressing any identified obstructions, you are actively mitigating the factors contributing to the dishwasher drain's inefficiency. This proactive approach sets the stage for a comprehensive resolution to the drainage issue, bringing you closer to restoring your GE Profile built-in dishwasher's optimal functionality. With the drain hose thoroughly inspected and cleared of any impediments, you are now prepared to proceed to the subsequent steps in the unclogging process, equipped with a clearer pathway to resolving the drainage issue effectively.
Step 5: Use a Plunger to Unclog the Drain
When traditional methods such as inspecting the drain filter and checking the drain hose have not fully resolved the clogging issue in your GE Profile built-in dishwasher, employing a plunger can be an effective next step. A standard household plunger, commonly used for clearing clogs in sinks and toilets, can also be utilized to dislodge stubborn obstructions within the dishwasher's drain system.
To initiate the plunging process, ensure that the dishwasher's bottom rack is removed to provide unobstructed access to the drain area. Additionally, it is advisable to wear work gloves to protect your hands during the plunging procedure. Position the plunger over the dishwasher's drain opening, ensuring a secure seal between the plunger's rubber cup and the drain surface.
With a firm grip on the plunger's handle, exert rhythmic and controlled pressure by pushing and pulling the plunger in a vertical motion. This action creates a suction effect within the drain, dislodging and loosening any persistent clogs or blockages. It is essential to maintain a consistent and steady plunging rhythm to maximize the effectiveness of this method.
As you continue plunging, listen for the sound of water movement within the dishwasher, indicating that the clog is being dislodged and cleared. Depending on the severity of the obstruction, it may take several minutes of persistent plunging to achieve the desired result. Throughout the process, periodically pause to assess the progress and listen for any signs of improved drainage.
Following the plunging procedure, run a brief cycle of hot water through the dishwasher to flush out dislodged debris and verify the restoration of proper drainage. This step helps to ensure that any loosened clogs are effectively expelled from the drain system, allowing for unimpeded water flow during the dishwasher's operation.
By utilizing a plunger to unclog the drain, you are employing a practical and accessible method to address persistent clogs within your GE Profile built-in dishwasher. This approach leverages the principles of hydraulic pressure to dislodge obstructions, offering a cost-effective and environmentally friendly solution to the drainage issue. With the plunging process completed, you are now prepared to proceed to the subsequent steps in the unclogging process, equipped with a comprehensive toolkit of techniques to restore your dishwasher's optimal functionality.
Step 6: Run Hot Water Through the Drain
After addressing potential clogs using methods such as inspecting the drain filter and employing a plunger, the next pivotal step in unclogging your GE Profile built-in dishwasher drain involves running hot water through the drain. This simple yet effective technique serves to dislodge residual debris, grease, and soap residue that may be contributing to the clogging issue.
To initiate this step, begin by heating a kettle or pot of water to near-boiling temperature. The use of hot water is instrumental in breaking down and flushing out stubborn accumulations within the dishwasher's drain system. Once the water reaches the desired temperature, carefully pour it into the dishwasher's interior, directly over the drain area.
As the hot water cascades into the dishwasher, it permeates the drain system, dissolving and dislodging any remaining debris or residue. The heat from the water acts as a catalyst, effectively breaking down greasy deposits and facilitating their expulsion from the drain. This process aids in restoring unimpeded water flow and promoting the optimal functionality of your dishwasher.
Following the hot water treatment, allow the dishwasher to sit for several minutes to enable the heat to work its magic within the drain system. This brief period of rest allows the hot water to penetrate and dislodge any lingering obstructions, preparing the drain for the subsequent steps in the unclogging process.
After the resting period, proceed to run a brief cycle of hot water through the dishwasher to flush out any dislodged debris and verify the restoration of proper drainage. This final step serves as a validation of the effectiveness of the hot water treatment, ensuring that the drain is clear and unobstructed.
By running hot water through the drain, you are harnessing the power of heat to dislodge and dissolve stubborn residues within your GE Profile built-in dishwasher. This straightforward yet impactful method contributes to the comprehensive resolution of the clogging issue, setting the stage for the restoration of your dishwasher's optimal functionality. With the hot water treatment completed, you are now poised to proceed to the subsequent steps in the unclogging process, equipped with a clearer pathway to resolving the drainage issue effectively.
Step 7: Use Baking Soda and Vinegar to Break Up Clogs
Utilizing common household items such as baking soda and vinegar presents a natural and effective approach to breaking up persistent clogs within your GE Profile built-in dishwasher. This method harnesses the combined power of these ingredients to dissolve and dislodge stubborn residues, contributing to the comprehensive resolution of the drainage issue.
To initiate this step, begin by sprinkling a generous amount of baking soda directly into the dishwasher's interior, focusing on the area surrounding the drain. Baking soda, known for its mild abrasive properties and natural deodorizing capabilities, serves as an effective agent in dislodging and breaking down accumulated residues within the drain system.
Following the application of baking soda, pour a moderate amount of vinegar into the dishwasher, directly over the baking soda. As the vinegar reacts with the baking soda, a gentle foaming and fizzing action ensues, signifying the chemical reaction at work. This effervescent reaction serves to dislodge and dissolve stubborn residues, effectively breaking up clogs and obstructions within the dishwasher's drain.
Allow the baking soda and vinegar mixture to remain within the dishwasher for approximately 15 to 20 minutes, providing ample time for the chemical reaction to take place and penetrate the drain system. This period of rest enables the ingredients to work their magic, effectively targeting and dislodging persistent clogs that may be impeding proper drainage.
Following the resting period, proceed to run a brief cycle of hot water through the dishwasher to flush out the dislodged residues and verify the restoration of unimpeded drainage. This final step serves as a validation of the effectiveness of the baking soda and vinegar treatment, ensuring that the drain is clear and free from obstructions.
By employing baking soda and vinegar to break up clogs, you are leveraging the natural cleaning and deodorizing properties of these household staples to address the clogging issue within your GE Profile built-in dishwasher. This eco-friendly and cost-effective method offers a gentle yet impactful approach to resolving drainage problems, setting the stage for the restoration of your dishwasher's optimal functionality.
With the baking soda and vinegar treatment completed, you are now prepared to proceed to the subsequent steps in the unclogging process, equipped with a comprehensive toolkit of techniques to restore your dishwasher's optimal functionality.
Step 8: Check the Garbage Disposal Connection
Inspecting the garbage disposal connection is a crucial step in the process of unclogging your GE Profile built-in dishwasher drain. The connection between the dishwasher and the garbage disposal unit plays a pivotal role in facilitating the efficient drainage of wastewater from the dishwasher. Any issues or obstructions within this connection can impede the flow of water and contribute to drainage problems. By meticulously examining and addressing the garbage disposal connection, you can identify and resolve potential factors contributing to the clogging issue.
To commence this step, locate the point of connection between the dishwasher and the garbage disposal unit. This connection typically involves a hose or tube that allows wastewater from the dishwasher to flow into the disposal unit for proper disposal. Depending on the specific configuration of your kitchen setup, the connection may be accessible from beneath the sink or within the vicinity of the garbage disposal unit.
Carefully inspect the connection for any signs of blockages, kinks, or disconnections that may be impeding the flow of wastewater. Ensure that the hose or tube is securely attached to both the dishwasher and the garbage disposal unit, with no visible signs of damage or deterioration. Additionally, check for the presence of any accumulated debris or residue within the connection that may be obstructing the passage of water.
If any obstructions or issues are identified within the garbage disposal connection, proceed to address them promptly. Clear any visible blockages or debris within the connection, ensuring that the pathway for wastewater flow is unimpeded. If the connection appears to be damaged or compromised, consider replacing the affected components to restore the integrity of the connection.
Following the inspection and potential resolution of any identified issues, run a brief cycle of hot water through the dishwasher to verify the restoration of proper drainage. This final step serves as a validation of the effectiveness of addressing the garbage disposal connection, ensuring that the flow of wastewater from the dishwasher to the disposal unit is unobstructed.
By meticulously checking the garbage disposal connection, you are actively mitigating potential factors contributing to the clogging issue within your GE Profile built-in dishwasher. This proactive approach sets the stage for a comprehensive resolution to the drainage issue, bringing you closer to restoring your dishwasher's optimal functionality. With the garbage disposal connection thoroughly inspected and any identified issues addressed, you are now prepared to proceed to the subsequent steps in the unclogging process, equipped with a clearer pathway to resolving the drainage issue effectively.
Step 9: Inspect the Air Gap
Inspecting the air gap is a critical step in the process of unclogging your GE Profile built-in dishwasher drain. The air gap serves as a vital component in the dishwasher's drainage system, preventing backflow and ensuring proper wastewater disposal. By meticulously examining and addressing any issues related to the air gap, you can identify and resolve potential factors contributing to the clogging issue.
To initiate this step, locate the air gap, which is typically positioned adjacent to the sink or countertop, depending on the layout of your kitchen. The air gap is characterized by a small, cylindrical or conical device with a visible top, often featuring a decorative cover. This device serves as a crucial point of entry for the dishwasher's drainage system, facilitating the proper disposal of wastewater into the household plumbing.
Carefully inspect the air gap for any signs of blockages, obstructions, or visible anomalies that may be impeding its functionality. Ensure that the device is free from accumulated debris, food particles, or residue that could hinder the smooth flow of wastewater. Additionally, check for the presence of any visible leaks or irregularities in the operation of the air gap.
If any obstructions or issues are identified within the air gap, proceed to address them promptly. Clear any visible blockages or debris within the device, ensuring that the pathway for wastewater flow is unimpeded. If the air gap appears to be malfunctioning or compromised, consider cleaning or replacing the affected components to restore its optimal functionality.
Following the inspection and potential resolution of any identified issues, run a brief cycle of hot water through the dishwasher to verify the restoration of proper drainage. This final step serves as a validation of the effectiveness of addressing the air gap, ensuring that the flow of wastewater from the dishwasher to the household plumbing is unobstructed.
By meticulously inspecting the air gap, you are actively mitigating potential factors contributing to the clogging issue within your GE Profile built-in dishwasher. This proactive approach sets the stage for a comprehensive resolution to the drainage issue, bringing you closer to restoring your dishwasher's optimal functionality. With the air gap thoroughly inspected and any identified issues addressed, you are now prepared to proceed to the subsequent steps in the unclogging process, equipped with a clearer pathway to resolving the drainage issue effectively.
Step 10: Test the Dishwasher and Reassemble the Bottom Rack
With the preceding steps meticulously executed to address the clogging issue in your GE Profile built-in dishwasher, the final and pivotal step involves testing the dishwasher to verify the restoration of optimal functionality. This step serves as a comprehensive validation of the unclogging process, ensuring that the drainage issue has been effectively resolved. Additionally, reassembling the bottom rack is essential to complete the restoration process and prepare the dishwasher for regular use.
To commence this step, carefully reposition the bottom rack within the dishwasher, ensuring that it is correctly aligned with the sliding tracks and securely seated in place. Take a moment to verify that the rack moves smoothly along the tracks, signifying its proper reassembly. This step sets the stage for the dishwasher to resume its standard operation, ready to accommodate a full load of dishes and effectively manage the wastewater drainage process.
Following the reassembly of the bottom rack, proceed to run a brief cycle of the dishwasher, ideally with a moderate load of dishes, to test its drainage functionality. Monitor the dishwasher throughout the cycle, paying close attention to the drainage process and the expulsion of wastewater. Listen for the sound of water flowing freely through the drain, indicating the successful resolution of the clogging issue.
As the dishwasher completes the cycle, visually inspect the sink and surrounding area for any signs of water accumulation or drainage problems. A clear and unobstructed drainage process should result in the efficient disposal of wastewater, leaving the sink and dishwasher area free from standing water or residual moisture.
Upon successful completion of the test cycle, you can confidently affirm the restoration of your GE Profile built-in dishwasher's optimal functionality. The comprehensive execution of the unclogging process, coupled with the successful reassembly of the bottom rack, signifies the resolution of the drainage issue and the readiness of your dishwasher to resume its essential role in your kitchen.
By diligently testing the dishwasher and reassembling the bottom rack, you have effectively navigated through the unclogging process, addressing the clogging issue with precision and expertise. This final step marks the culmination of your efforts, ensuring that your GE Profile built-in dishwasher is once again primed to deliver reliable and efficient performance, seamlessly managing your household's dishwashing needs.