Home>Automotive>10 Easy Steps To Remove A Seized Up Oil Filter Like A Pro
Automotive
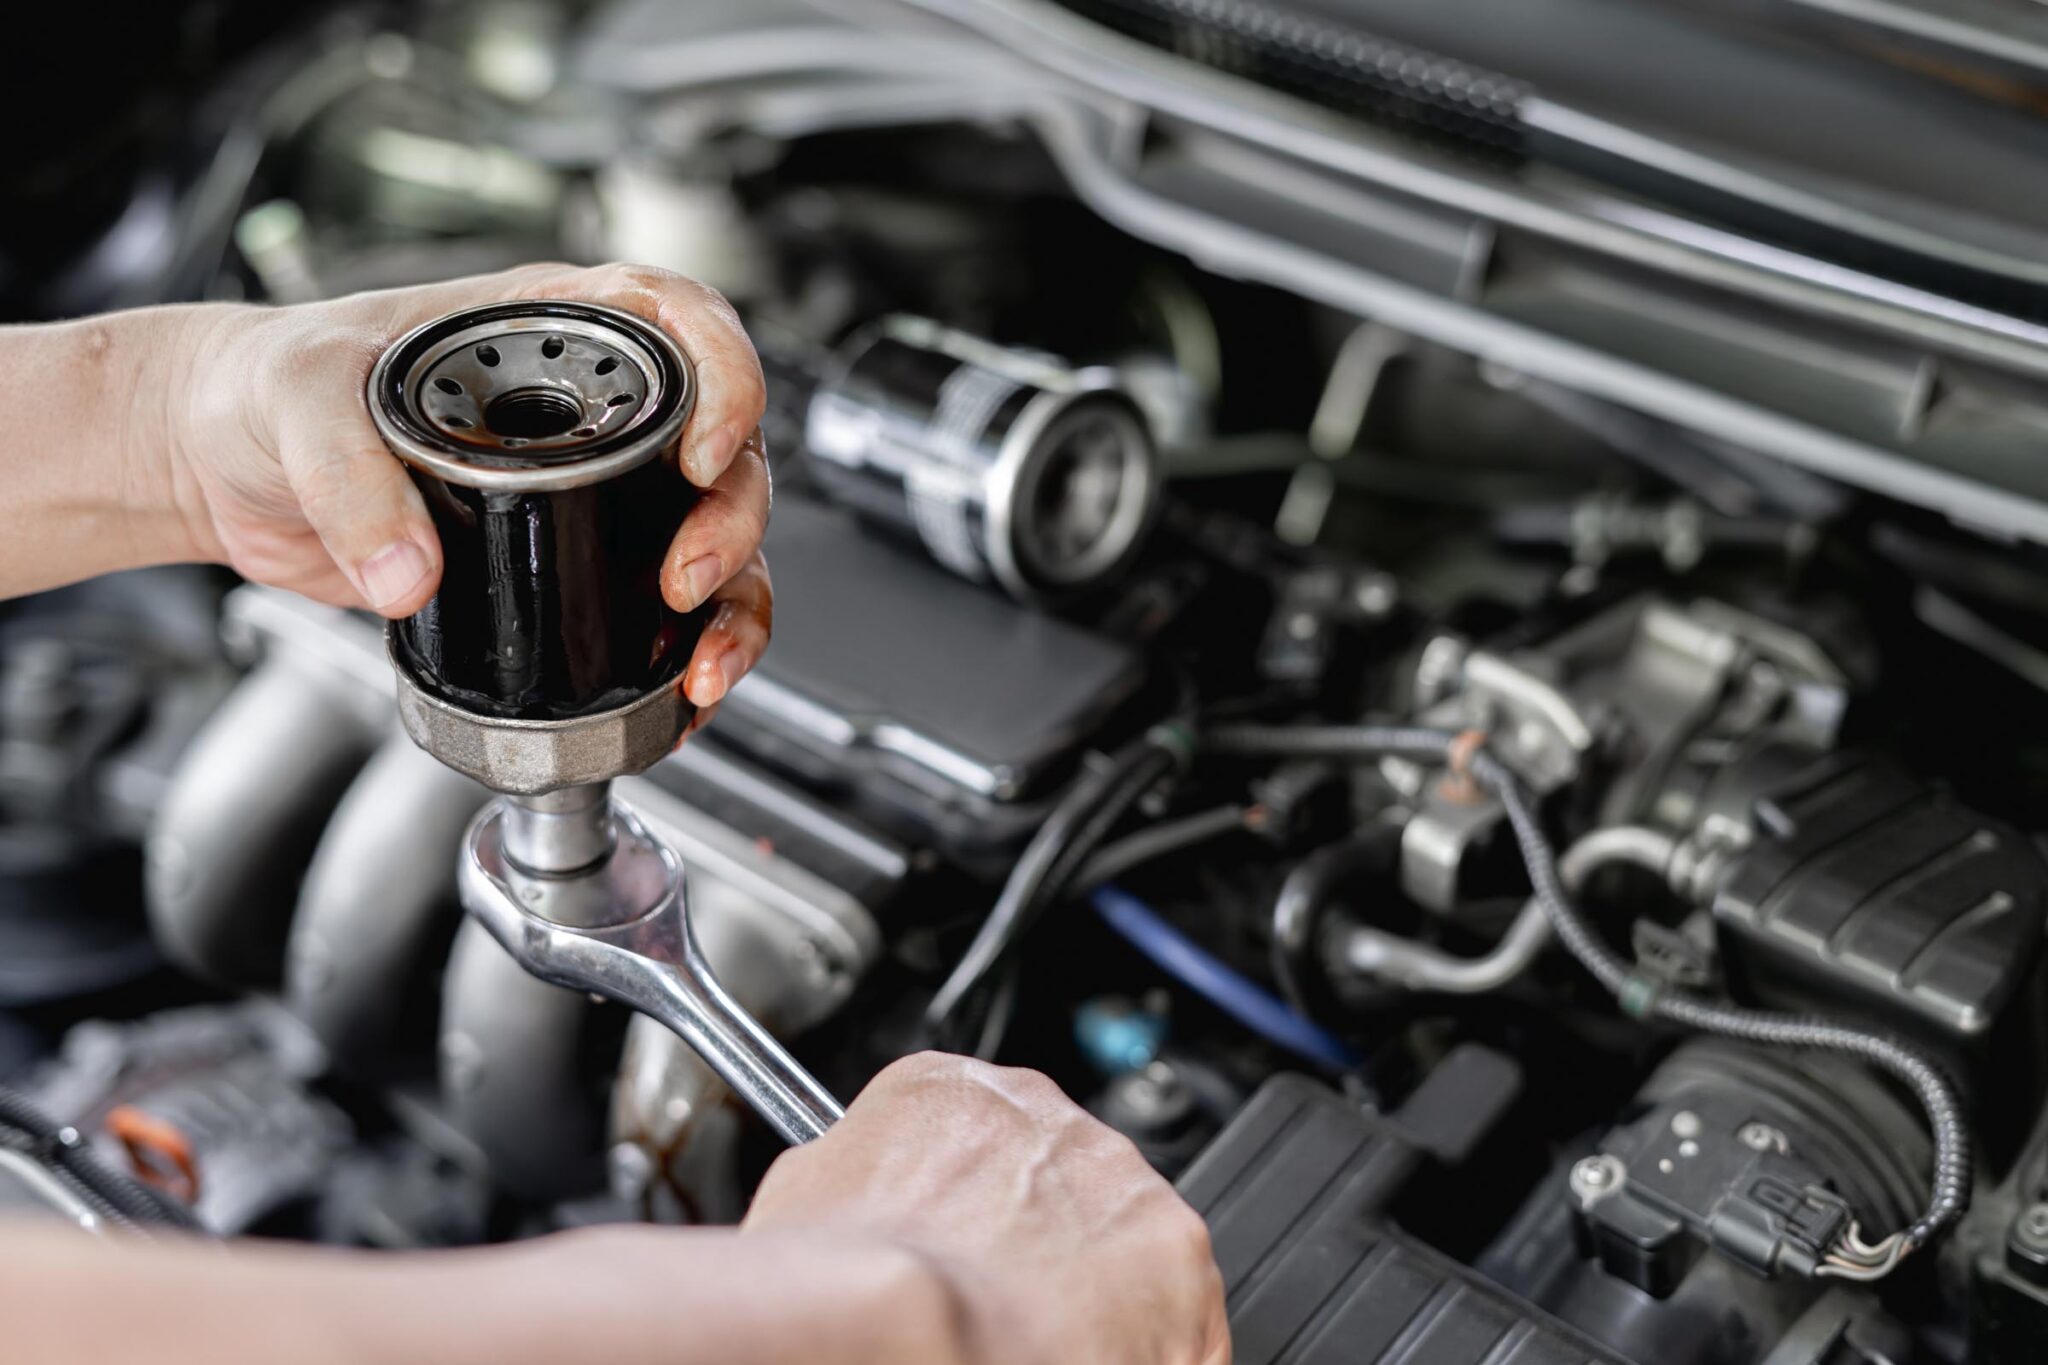
10 Easy Steps To Remove A Seized Up Oil Filter Like A Pro
Published: February 10, 2024
Learn how to remove a seized up oil filter like a pro with these 10 easy steps. Perfect for automotive enthusiasts looking for expert tips.
(Many of the links in this article redirect to a specific reviewed product. Your purchase of these products through affiliate links helps to generate commission for Noodls.com, at no extra cost. Learn more)
Table of Contents
- Introduction
- Step 1: Gather the necessary tools and materials
- Step 2: Prepare the vehicle
- Step 3: Loosen the oil filter with an oil filter wrench
- Step 4: Use a strap wrench for added leverage
- Step 5: Try a screwdriver and hammer method
- Step 6: Apply heat to the oil filter
- Step 7: Use a pipe wrench as a last resort
- Step 8: Clean the area around the oil filter
- Step 9: Install the new oil filter
- Step 10: Refill the engine with oil and check for leaks
Introduction
Dealing with a seized up oil filter can be a frustrating and challenging task for any car owner or mechanic. Over time, oil filters can become tightly fused to the engine block, making their removal a daunting endeavor. However, with the right tools, techniques, and a bit of patience, you can tackle this issue like a pro. In this guide, we will walk you through ten easy steps to remove a seized up oil filter, providing you with the knowledge and confidence to handle this common automotive predicament.
A seized oil filter can result from various factors, including over-tightening during installation, exposure to extreme temperatures, or simply the natural buildup of debris and contaminants. Regardless of the cause, the key to successfully removing a seized oil filter lies in employing the appropriate methods and tools while taking necessary precautions to avoid damaging the surrounding components.
By following the steps outlined in this guide, you will learn how to approach the task systematically, ensuring that you can safely and effectively remove the stubborn oil filter without causing harm to the vehicle. From gathering the essential tools and materials to installing a new oil filter and replenishing the engine with fresh oil, each step is designed to equip you with the knowledge and skills needed to navigate this challenging situation with ease.
Whether you are a seasoned automotive enthusiast or a novice DIYer, this comprehensive guide will empower you to address a seized up oil filter confidently. So, roll up your sleeves, gather your tools, and let's dive into the step-by-step process of removing a seized oil filter, allowing you to maintain your vehicle's optimal performance and reliability.
Step 1: Gather the necessary tools and materials
Before embarking on the task of removing a seized up oil filter, it is crucial to gather the essential tools and materials to ensure a smooth and efficient process. Having the right equipment at your disposal will not only make the job easier but also minimize the risk of causing damage to the surrounding components. Here's a comprehensive list of the necessary tools and materials you'll need:
Tools:
-
Oil Filter Wrench: This specialized tool is designed to grip the oil filter securely, allowing you to apply the necessary torque to loosen it from the engine block. Ensure that the wrench is compatible with the size of your oil filter for a snug fit and effective operation.
-
Strap Wrench: A strap wrench provides additional leverage and gripping power, making it an invaluable tool for tackling stubborn oil filters. Its adjustable strap allows for a tight and secure grip, enabling you to exert controlled force during the removal process.
-
Screwdriver and Hammer: A sturdy screwdriver and a hammer can be used in tandem to create a puncture in the seized oil filter. This method provides an alternative approach for breaking the filter's seal and facilitating its removal.
-
Heat Source: A heat gun or propane torch can be employed to apply targeted heat to the oil filter, helping to expand the metal and break the bond between the filter and the engine block. Exercise caution when using heat and ensure that the surrounding components are adequately protected.
-
Pipe Wrench: In extreme cases where conventional methods prove ineffective, a pipe wrench can be utilized as a last resort. Its adjustable jaws can provide a strong grip on the oil filter, allowing for a final attempt at loosening the stubborn component.
-
Safety Gloves and Eye Protection: It is essential to prioritize safety when working on automotive tasks. Wear protective gloves and eye gear to shield yourself from potential hazards such as sharp edges, hot surfaces, and debris.
Materials:
-
New Oil Filter: It is advisable to have a replacement oil filter on hand to install once the seized filter has been successfully removed. Ensure that the new filter is compatible with your vehicle's make and model, and that it meets the manufacturer's specifications.
-
Shop Rags or Paper Towels: Keeping a supply of clean shop rags or paper towels handy will allow you to wipe away any residual oil and debris from the surrounding area, promoting a clean and organized workspace.
By assembling these tools and materials before initiating the oil filter removal process, you will be well-equipped to tackle the task with confidence and precision. With the right resources at your disposal, you can approach the subsequent steps knowing that you are prepared to address the challenge of a seized up oil filter effectively.
Step 2: Prepare the vehicle
Before delving into the physical removal of the seized up oil filter, it is essential to prepare the vehicle to ensure a safe and conducive working environment. Proper preparation not only facilitates the task at hand but also minimizes the risk of causing unintended damage to the vehicle. Here's a detailed breakdown of the steps involved in preparing the vehicle for the oil filter removal process:
-
Park the Vehicle on a Level Surface: Begin by parking the vehicle on a flat and stable surface. This ensures stability and reduces the likelihood of the vehicle shifting during the procedure. Engage the parking brake and, if available, use wheel chocks to further secure the vehicle in place.
-
Allow the Engine to Cool: If the vehicle has been recently driven, it is crucial to allow the engine to cool down before attempting to remove the oil filter. Hot components can pose burn hazards and may make the filter removal process more challenging. Waiting for the engine to cool also allows the oil to settle, reducing the risk of spills during the filter removal.
-
Locate the Oil Filter: Identify the location of the oil filter within the engine compartment. Depending on the vehicle's make and model, the oil filter may be situated in a variety of positions, such as on the side or underneath the engine. Familiarizing yourself with the filter's location will streamline the subsequent steps of the removal process.
-
Protect Surrounding Components: Take measures to shield surrounding components from potential damage or contamination during the oil filter removal. Use a suitable protective covering or absorbent material to safeguard adjacent parts and prevent oil from dripping onto sensitive areas.
-
Gather Necessary Lighting: Adequate illumination is crucial for a successful oil filter removal, especially if the filter is located in a confined or poorly lit area. Ensure that you have a reliable light source, such as a flashlight or work lamp, to effectively inspect and access the oil filter.
By meticulously preparing the vehicle for the oil filter removal process, you set the stage for a smooth and efficient operation. Taking the time to address these preparatory steps demonstrates a commitment to safety, precision, and the overall well-being of the vehicle. With the vehicle properly prepared, you are now ready to proceed to the subsequent steps of removing the seized up oil filter, equipped with the assurance that the necessary precautions have been taken.
Read more: How To Remove Filter In Excel
Step 3: Loosen the oil filter with an oil filter wrench
With the vehicle appropriately prepared and the necessary tools at hand, it's time to tackle the task of loosening the seized up oil filter. The oil filter wrench is a fundamental tool designed to provide a secure grip on the filter, enabling you to apply the torque necessary to break its bond with the engine block. Here's a detailed breakdown of the process to effectively loosen the oil filter using an oil filter wrench:
-
Locate the Oil Filter: Begin by identifying the exact position of the oil filter within the engine compartment. Depending on the vehicle's make and model, the filter may be situated in a variety of locations, such as on the side or underneath the engine. Once located, ensure that there is ample space to maneuver the oil filter wrench around the filter.
-
Select the Correct Oil Filter Wrench: Oil filter wrenches come in various designs, including strap-type, claw-type, and cap-type wrenches, each catering to different filter sizes and shapes. Choose an oil filter wrench that is compatible with the specific dimensions of your oil filter to ensure a snug and secure fit.
-
Position the Wrench: Place the oil filter wrench around the oil filter, ensuring that it securely engages with the filter's housing. The wrench should fit snugly and provide a firm grip to prevent slippage during the loosening process. Verify that the wrench is aligned properly and sits flush against the filter to maximize its effectiveness.
-
Apply Torque: With the oil filter wrench in position, exert steady and controlled force in a counterclockwise direction to begin loosening the filter. It is essential to maintain a firm grip on the wrench while applying torque, ensuring that the force is evenly distributed to prevent damage to the filter or surrounding components.
-
Monitor Progress: As you apply torque to the oil filter wrench, pay close attention to any signs of movement or loosening. It is not uncommon for seized filters to require significant force before they begin to yield. Exercise patience and continue to apply consistent pressure, periodically assessing the filter's response to the applied torque.
-
Reposition if Necessary: In some instances, repositioning the oil filter wrench to achieve a better angle or grip may be beneficial, especially if the filter proves particularly stubborn. Adjust the wrench as needed to optimize leverage and ensure that you can exert force effectively without encountering obstructions.
By following these steps, you can effectively utilize an oil filter wrench to initiate the process of loosening a seized up oil filter. The use of this specialized tool, coupled with a methodical approach, sets the stage for a successful endeavor in addressing the challenge of a stubborn oil filter. With the filter now in the initial stages of loosening, you are ready to proceed to the subsequent steps, equipped with the confidence and expertise needed to navigate this automotive task with precision and skill.
Step 4: Use a strap wrench for added leverage
When faced with a stubborn and seized up oil filter, the application of additional leverage can often make the difference in successfully loosening the filter from its housing. A strap wrench, renowned for its versatility and gripping power, serves as an invaluable tool for providing the extra force needed to overcome the resistance of a seized oil filter. Here's a detailed exploration of the process involved in using a strap wrench to enhance leverage during the oil filter removal:
-
Selecting the Appropriate Strap Wrench: Begin by choosing a strap wrench that is well-suited for the size and shape of the oil filter. Strap wrenches are available in various configurations, featuring adjustable straps and durable handles designed to accommodate different filter dimensions. Ensure that the selected strap wrench offers a secure and adaptable grip to effectively engage with the seized oil filter.
-
Positioning the Strap Wrench: Place the strap wrench around the oil filter, ensuring that the strap is positioned to encircle the filter's housing securely. The adjustable nature of the strap allows for a tailored fit, enabling you to create a tight and reliable grip that minimizes slippage during the application of force. Verify that the strap is aligned properly and sits flush against the filter to maximize its effectiveness.
-
Applying Controlled Force: With the strap wrench in place, begin exerting controlled force in a counterclockwise direction to initiate the loosening of the oil filter. The design of the strap wrench allows for a broad contact area, distributing the force evenly and minimizing the risk of damaging the filter or surrounding components. Maintain a firm grip on the wrench handle while applying force, ensuring that the pressure is directed towards the loosening of the filter.
-
Adjusting the Strap as Needed: As you apply force with the strap wrench, periodically assess the grip and adjust the strap if necessary to optimize its positioning and effectiveness. Fine-tuning the strap's placement can enhance the leverage and gripping power, allowing you to exert force with precision and control. Be attentive to any signs of movement or loosening as you continue to apply torque with the strap wrench.
-
Repositioning for Optimal Leverage: In instances where the initial positioning of the strap wrench proves insufficient, consider repositioning the wrench to achieve a better angle or grip. By adjusting the orientation of the strap wrench, you can capitalize on enhanced leverage, ensuring that the force is effectively channeled towards breaking the bond between the seized oil filter and the engine block.
By incorporating the use of a strap wrench into the oil filter removal process, you can harness the benefits of added leverage and gripping power, enhancing your ability to tackle a seized up oil filter with confidence and precision. The strategic application of the strap wrench, coupled with a methodical approach, equips you with the tools and expertise needed to navigate this automotive task effectively. With the filter now subjected to the influence of the strap wrench, you are prepared to progress to the subsequent steps, poised to address the challenge of a stubborn oil filter with skill and determination.
Step 5: Try a screwdriver and hammer method
When faced with a seized up oil filter that resists conventional removal methods, the screwdriver and hammer technique can serve as a practical alternative for breaking the filter's seal and facilitating its release from the engine block. This method leverages the mechanical advantage of a sturdy screwdriver and the percussive force of a hammer to create a puncture in the oil filter, allowing for enhanced grip and manipulation. Here's a detailed exploration of the process involved in employing the screwdriver and hammer method to address a stubborn oil filter:
-
Assessing the Filter's Accessibility: Before initiating the screwdriver and hammer method, carefully evaluate the accessibility of the oil filter within the engine compartment. Ensure that there is sufficient space to maneuver the screwdriver and hammer effectively around the filter, allowing for unobstructed application of force.
-
Positioning the Screwdriver: With the oil filter identified and accessible, position the tip of a sturdy screwdriver against the outer edge of the filter, aiming to create a puncture or indentation. The screwdriver should be aligned perpendicular to the filter's surface, providing a stable point of contact for the subsequent application of force.
-
Applying Percussive Force: Using a hammer, carefully strike the handle of the screwdriver, directing the force towards the filter's surface. The objective is to create a controlled puncture or indentation that compromises the integrity of the filter's seal, facilitating the loosening process. Exercise caution to avoid excessive force that may result in damage to the surrounding components.
-
Assessing Progress: As percussive force is applied, monitor the filter for any signs of movement or deformation. The impact of the hammer, coupled with the pressure exerted by the screwdriver, aims to weaken the bond between the filter and the engine block, allowing for enhanced grip and manipulation during the removal process.
-
Repositioning for Optimal Effectiveness: If initial attempts do not yield the desired results, consider repositioning the screwdriver to create additional punctures or indentations around the filter's circumference. By strategically targeting multiple points, you can further compromise the seal and enhance the filter's susceptibility to loosening.
By incorporating the screwdriver and hammer method into the oil filter removal process, you can leverage the combined force and precision of these tools to address a seized up oil filter effectively. This alternative approach provides a practical means of breaking the filter's seal and preparing it for subsequent removal steps, demonstrating adaptability and resourcefulness in overcoming automotive challenges. With the filter now subjected to the influence of the screwdriver and hammer, you are prepared to progress to the subsequent steps, equipped to address the challenge of a stubborn oil filter with skill and determination.
Step 6: Apply heat to the oil filter
When conventional methods prove insufficient in loosening a seized up oil filter, the application of targeted heat can serve as a valuable technique to break the bond between the filter and the engine block. Heat application exploits the principle of thermal expansion, aiming to induce a subtle increase in the filter's dimensions and weaken its adherence to the mounting surface. Here's a detailed exploration of the process involved in applying heat to the oil filter as a strategic method for addressing a stubborn and seized component.
-
Assessing the Surrounding Area: Before applying heat to the oil filter, carefully assess the surrounding area to identify any components or materials that may be sensitive to heat. It is essential to safeguard adjacent parts and wiring to prevent damage or potential hazards. Use suitable protective coverings or heat-resistant materials to shield vulnerable components from direct exposure to heat.
-
Selecting the Heat Source: Choose a suitable heat source for the application of targeted heat to the oil filter. Common options include a heat gun or a propane torch, each offering controlled and directed heat output. Exercise caution when using a heat source and ensure that it is compatible with the working environment, taking into account factors such as accessibility and proximity to flammable materials.
-
Directing Heat to the Oil Filter: With the heat source in hand, carefully direct the heat towards the surface of the seized oil filter. Apply the heat evenly around the circumference of the filter, focusing on the areas where it interfaces with the engine block. The objective is to raise the temperature of the filter gradually, allowing for thermal expansion to weaken the bond and facilitate the subsequent loosening process.
-
Monitoring the Temperature: As heat is applied, monitor the temperature of the oil filter and the surrounding area. Exercise restraint in the application of heat, avoiding excessive temperatures that may lead to unintended consequences. Periodically assess the filter's response to the applied heat, looking for signs of expansion or deformation that indicate a weakening of the bond.
-
Allowing for Cooling: After applying heat to the oil filter, allow sufficient time for the component to cool down before attempting to manipulate or remove it. The cooling process allows for the retraction of the metal and the restoration of its original dimensions, potentially creating a favorable condition for the subsequent removal steps.
By incorporating the application of targeted heat into the oil filter removal process, you can harness the benefits of thermal expansion to address a seized up filter effectively. This method demonstrates adaptability and resourcefulness in overcoming automotive challenges, providing a strategic approach to tackling stubborn components. With the filter now subjected to the influence of targeted heat, you are prepared to progress to the subsequent steps, equipped to address the challenge of a stubborn oil filter with skill and determination.
Step 7: Use a pipe wrench as a last resort
In cases where conventional methods and alternative techniques have proven ineffective in loosening a seized up oil filter, the utilization of a pipe wrench represents a final recourse to address the stubborn component. A pipe wrench, renowned for its robust construction and formidable gripping power, offers a compelling option for exerting substantial force and torque to overcome the resistance of a seized oil filter. Here's a detailed exploration of the process involved in employing a pipe wrench as a last resort for addressing a stubborn oil filter:
-
Assessing the Feasibility: Before resorting to the use of a pipe wrench, carefully assess the accessibility and condition of the oil filter. Ensure that there is sufficient clearance and maneuverability to accommodate the size and operation of the pipe wrench. Additionally, evaluate the structural integrity of the filter housing and surrounding components to mitigate the risk of inadvertent damage during the application of force.
-
Selecting an Appropriate Pipe Wrench: Choose a pipe wrench that aligns with the size and dimensions of the oil filter, providing a secure and adaptable grip. The adjustable jaws of the pipe wrench offer versatility in accommodating various filter sizes, ensuring a snug fit and effective engagement with the seized component.
-
Positioning the Pipe Wrench: Place the jaws of the pipe wrench around the oil filter, ensuring a firm and secure grip that minimizes slippage during the application of force. Verify that the wrench is aligned properly and sits flush against the filter, maximizing its effectiveness in transmitting torque and pressure.
-
Exerting Controlled Force: With the pipe wrench in position, apply steady and controlled force in a counterclockwise direction to initiate the loosening of the oil filter. The robust construction of the pipe wrench enables the transmission of substantial torque, providing a compelling option for addressing a seized component. Exercise caution to avoid excessive force that may result in unintended damage to the filter or surrounding components.
-
Monitoring Progress: As force is applied with the pipe wrench, closely monitor the filter for any signs of movement or loosening. The formidable gripping power of the pipe wrench, coupled with its capacity for transmitting torque, offers a final opportunity to overcome the resistance of a stubborn oil filter. Exercise patience and vigilance as you assess the filter's response to the applied force.
By incorporating the use of a pipe wrench as a last resort into the oil filter removal process, you can leverage the formidable gripping power and torque transmission capabilities of this tool to address a seized up oil filter effectively. This method represents a final recourse in overcoming the challenge of a stubborn component, demonstrating adaptability and resourcefulness in navigating automotive predicaments. With the filter now subjected to the influence of the pipe wrench, you are prepared to progress to the subsequent steps, equipped to address the challenge of a stubborn oil filter with skill and determination.
Step 8: Clean the area around the oil filter
Once the seized up oil filter has been successfully removed, it is imperative to devote attention to the surrounding area to ensure a clean and well-prepared surface for the installation of the new filter. Cleaning the area around the oil filter not only promotes a tidy and organized workspace but also serves to eliminate residual debris and contaminants that may compromise the integrity of the new filter and the engine's performance.
To commence the cleaning process, utilize shop rags or paper towels to meticulously wipe the mounting surface and the immediate vicinity of the oil filter housing. This step aims to remove any accumulated dirt, grime, or remnants of the old filter's gasket, ensuring a smooth and uncontaminated surface for the installation of the replacement filter. Thoroughly inspect the area to verify that it is free from any foreign particles or obstructions that could impede the proper seating of the new filter.
In instances where stubborn residue or hardened debris persists, consider employing a suitable degreaser or cleaning solution to dissolve and eliminate persistent contaminants. Exercise caution to select a cleaning agent that is compatible with the engine's components and materials, avoiding harsh chemicals that may cause damage or corrosion. Apply the chosen cleaning solution judiciously, using a clean rag to gently scrub and dislodge any tenacious deposits, thereby restoring the mounting surface to a pristine condition.
Furthermore, inspect the oil filter housing for any signs of damage, corrosion, or irregularities that may necessitate attention. Address any anomalies promptly to ensure that the housing maintains its structural integrity and sealing capabilities, safeguarding against potential leaks or malfunctions in the future.
By dedicating meticulous care and attention to cleaning the area around the oil filter, you establish a foundation for the successful installation of the new filter, promoting optimal performance and longevity. This step underscores the significance of thorough maintenance and attention to detail, reflecting a commitment to preserving the vehicle's functionality and reliability. With the area surrounding the oil filter now clean and primed for the installation of the new filter, you are poised to proceed to the subsequent steps, equipped with a well-prepared surface and the assurance of a meticulous and comprehensive approach to the oil filter replacement process.
Step 9: Install the new oil filter
With the seized oil filter successfully removed and the surrounding area meticulously cleaned, the next critical step in the oil filter replacement process is the installation of the new filter. This pivotal phase demands precision, attention to detail, and adherence to manufacturer specifications to ensure the seamless integration of the replacement filter and the preservation of the engine's optimal performance.
To commence the installation, carefully inspect the mounting surface to verify that it remains free from debris, contaminants, or remnants of the old filter's gasket. Confirm that the surface is smooth, clean, and devoid of any irregularities that may compromise the sealing integrity of the new filter.
Prior to installing the replacement filter, apply a thin, even coat of clean engine oil to the rubber gasket of the new filter. This lubrication serves to facilitate a secure and effective seal, minimizing the risk of gasket binding or damage during installation and subsequent use.
With the gasket lubricated, proceed to position the new oil filter onto the mounting surface, ensuring that it aligns with the filter housing and threads smoothly onto the mounting stud. Exercise caution to avoid cross-threading, ensuring that the filter engages with the mounting surface in a uniform and controlled manner.
Once the filter is seated snugly against the mounting surface, employ hand tightening to secure the filter in place. Utilize a firm and controlled grip to rotate the filter in a clockwise direction, ensuring that it achieves a secure and snug fit without over-tightening. The application of excessive force may lead to gasket distortion or damage, compromising the filter's sealing capabilities.
After hand tightening, refer to the manufacturer's specifications to ascertain the recommended torque value for the final tightening of the oil filter. Utilize a torque wrench to apply the prescribed torque, ensuring that the filter achieves the optimal level of tightness without exceeding the specified limit.
Upon achieving the prescribed torque, conduct a visual inspection to confirm that the filter is securely seated and aligned with the mounting surface. Verify that the gasket remains intact and properly positioned, signifying a successful installation that promotes effective sealing and operational reliability.
By meticulously adhering to the prescribed installation procedures and torque specifications, you ensure the successful integration of the new oil filter, safeguarding the engine's functionality and longevity. With the replacement filter securely installed, you are poised to proceed to the final step of replenishing the engine with fresh oil and conducting a comprehensive check for leaks, culminating in the successful completion of the oil filter replacement process.
Step 10: Refill the engine with oil and check for leaks
Once the new oil filter is securely installed, the final crucial step in the oil filter replacement process involves replenishing the engine with fresh oil and conducting a comprehensive assessment to detect any potential leaks. This pivotal phase serves to restore the engine's lubrication system to optimal functionality while ensuring that the newly installed filter operates seamlessly within the engine's environment.
To commence the oil replenishment process, access the engine's oil fill port and carefully remove the oil cap. Utilize a clean and appropriately sized funnel to facilitate the controlled pouring of the recommended grade and quantity of engine oil into the reservoir. Refer to the vehicle manufacturer's specifications to ascertain the precise oil type and volume required for the engine, ensuring compliance with the prescribed guidelines to maintain optimal performance and longevity.
After pouring the designated quantity of oil into the engine, replace the oil cap securely and proceed to start the engine. Allow the engine to run for a brief period, enabling the fresh oil to circulate throughout the lubrication system and reach the various components. This step serves to prime the system and verify the proper distribution of oil, ensuring that all critical areas receive the necessary lubrication for smooth and efficient operation.
Following the initial engine run, turn off the engine and allow the vehicle to rest on a level surface for a few minutes. Subsequently, conduct a meticulous inspection of the area surrounding the newly installed oil filter, as well as the oil drain plug and oil fill port, to detect any signs of oil leakage. Carefully scrutinize these areas for the presence of oil drips, seepage, or accumulations, as these may indicate potential issues with the filter's sealing or the engine's lubrication system.
In the event of detecting any oil leaks, promptly address the underlying causes to prevent potential complications and safeguard the engine's integrity. This may involve verifying the proper installation and seating of the new oil filter, inspecting the condition of the filter's gasket, and assessing the integrity of the oil drain plug and associated components. By promptly addressing any identified leaks, you ensure the preservation of the engine's functionality and mitigate the risk of oil-related complications.
By meticulously adhering to the prescribed oil replenishment procedures and conducting a comprehensive assessment for leaks, you conclude the oil filter replacement process with the assurance of a well-maintained and fully operational engine. This final step underscores the commitment to meticulous maintenance and the preservation of the vehicle's performance, culminating in the successful completion of the oil filter replacement endeavor.