Home>Automotive>10 Easy Steps To Stop An Oil Leak In Your Car – No Mechanic Needed!
Automotive
10 Easy Steps To Stop An Oil Leak In Your Car – No Mechanic Needed!
Published: February 11, 2024
Learn how to stop an oil leak in your car with 10 easy steps. No mechanic needed! Get expert automotive tips now.
(Many of the links in this article redirect to a specific reviewed product. Your purchase of these products through affiliate links helps to generate commission for Noodls.com, at no extra cost. Learn more)
Table of Contents
- Introduction
- Step 1: Identify the source of the oil leak
- Step 2: Clean the area around the leak
- Step 3: Use an oil stop leak additive
- Step 4: Replace the oil filter
- Step 5: Tighten loose bolts or connections
- Step 6: Replace damaged gaskets or seals
- Step 7: Check the oil pan for damage
- Step 8: Inspect the oil drain plug
- Step 9: Monitor the oil level and check for leaks
- Step 10: Seek professional help if the leak persists
Introduction
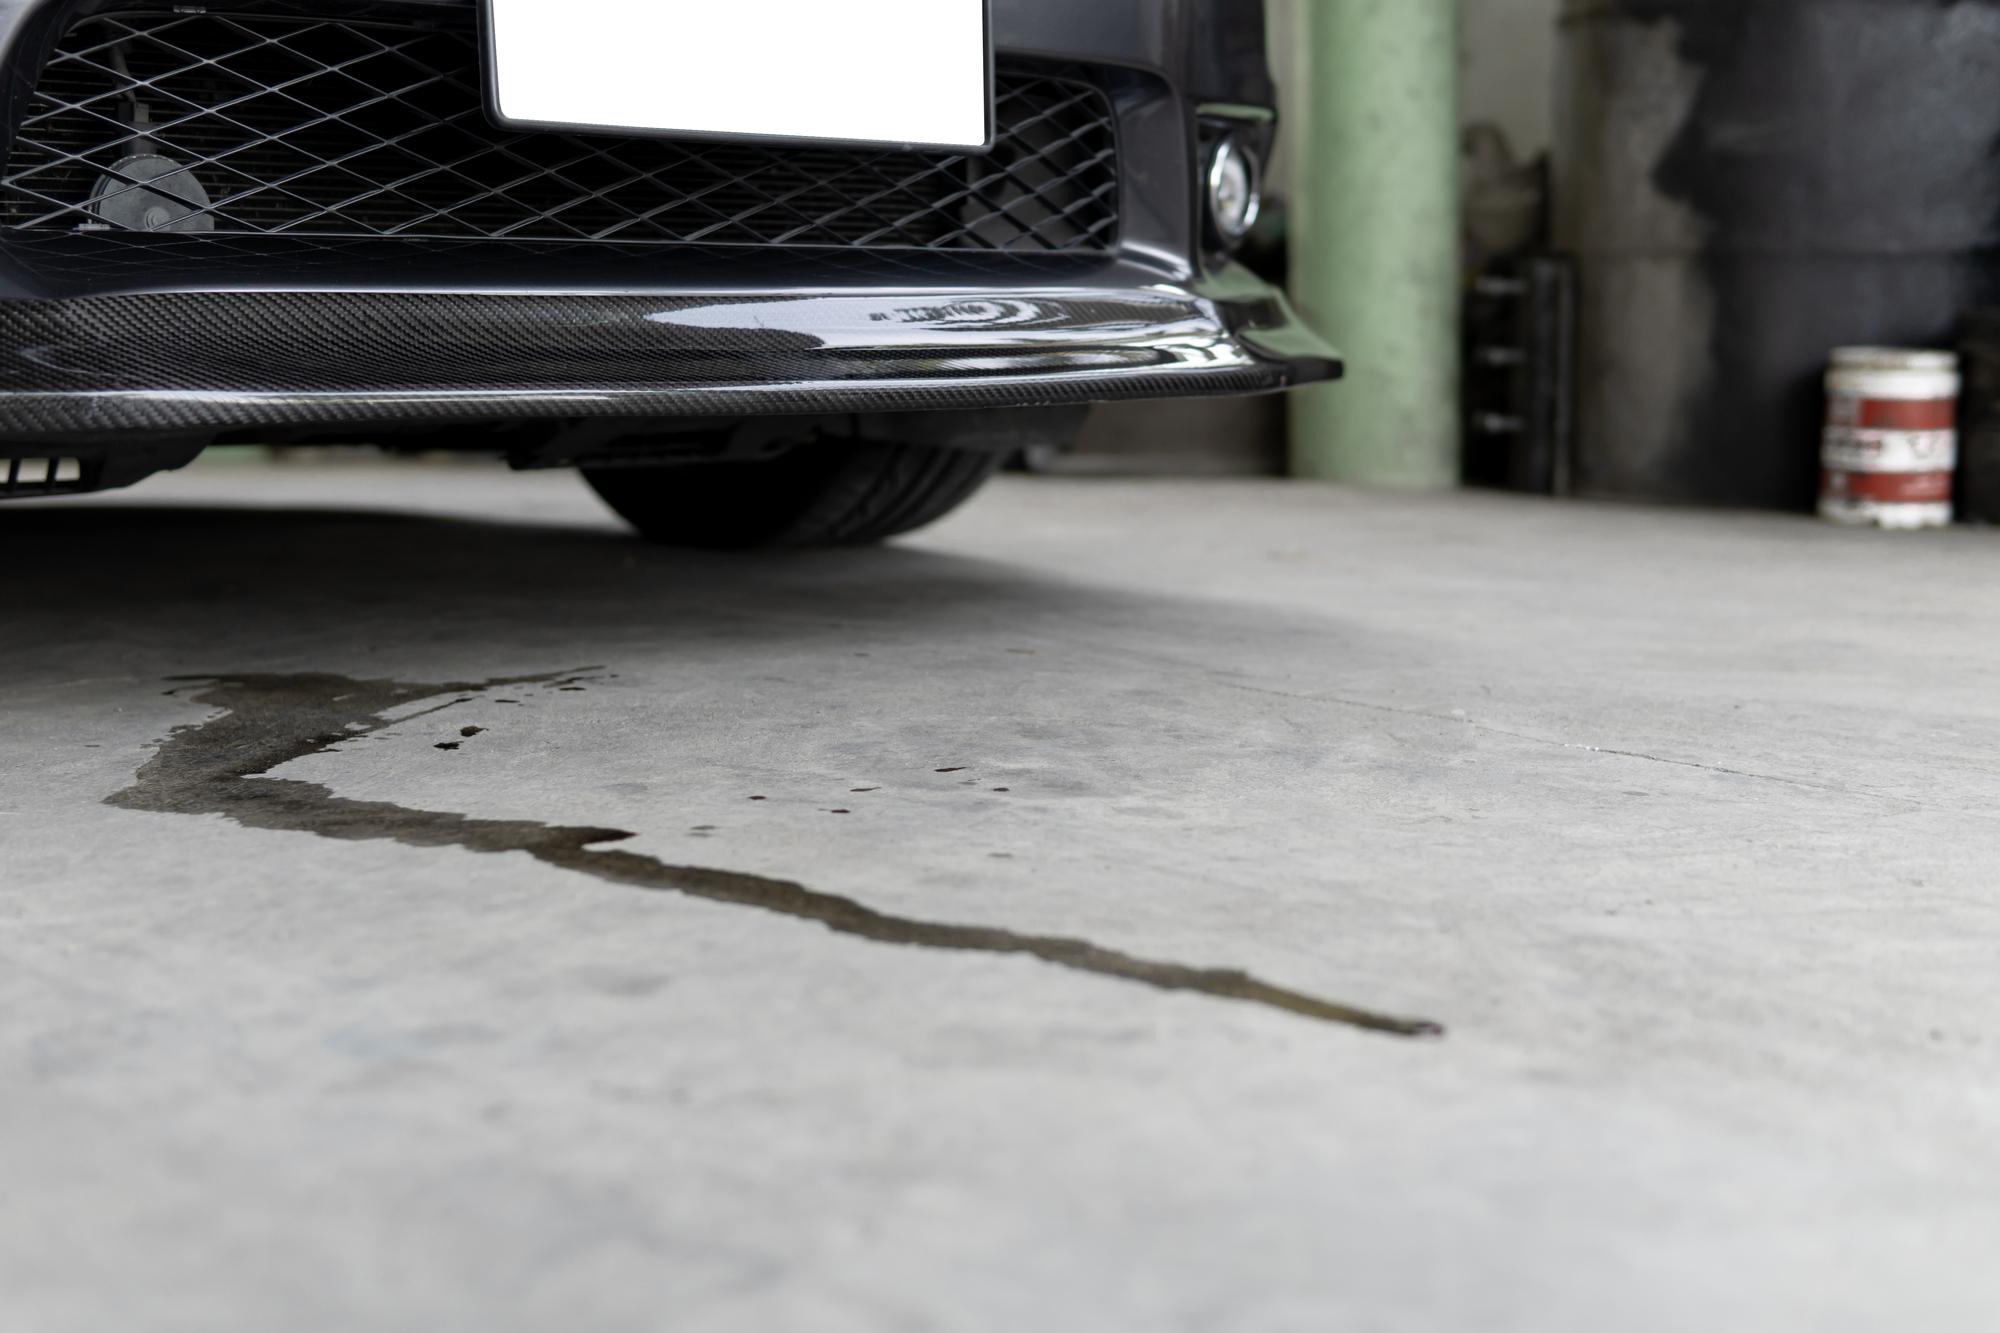
Dealing with an oil leak in your car can be a frustrating and messy ordeal. Whether you're a seasoned car owner or a novice, discovering a puddle of oil beneath your vehicle can be alarming. However, before you rush to the nearest mechanic, it's essential to understand that some oil leaks can be resolved without professional assistance. In this comprehensive guide, we will explore ten easy steps to stop an oil leak in your car, without the need for a mechanic. By following these steps, you can save time and money while ensuring the optimal performance and longevity of your vehicle.
An oil leak can stem from various components within the engine, including the oil pan, gaskets, seals, or the oil filter. Identifying the source of the leak is the first crucial step in addressing the issue. Once the source is determined, cleaning the area around the leak becomes imperative to accurately assess the severity and location of the problem. From there, utilizing an oil stop leak additive, replacing the oil filter, and tightening loose bolts or connections are practical measures that can often resolve minor oil leaks.
Furthermore, damaged gaskets or seals can contribute to oil leaks, making it essential to inspect and replace these components as needed. The oil pan and drain plug should also be thoroughly examined for any signs of damage or wear. Throughout the process, monitoring the oil level and consistently checking for leaks are vital to ensuring that the issue has been effectively addressed.
While these steps can often resolve minor oil leaks, it's important to acknowledge that some leaks may persist despite these efforts. In such cases, seeking professional help from a qualified mechanic is advisable to prevent further damage and ensure the safety and reliability of your vehicle.
By following the subsequent steps outlined in this guide, you can equip yourself with the knowledge and confidence to address oil leaks in your car proactively. With a proactive approach and the right tools at your disposal, you can effectively mitigate oil leaks and maintain the optimal performance of your vehicle, all without the need for a mechanic.
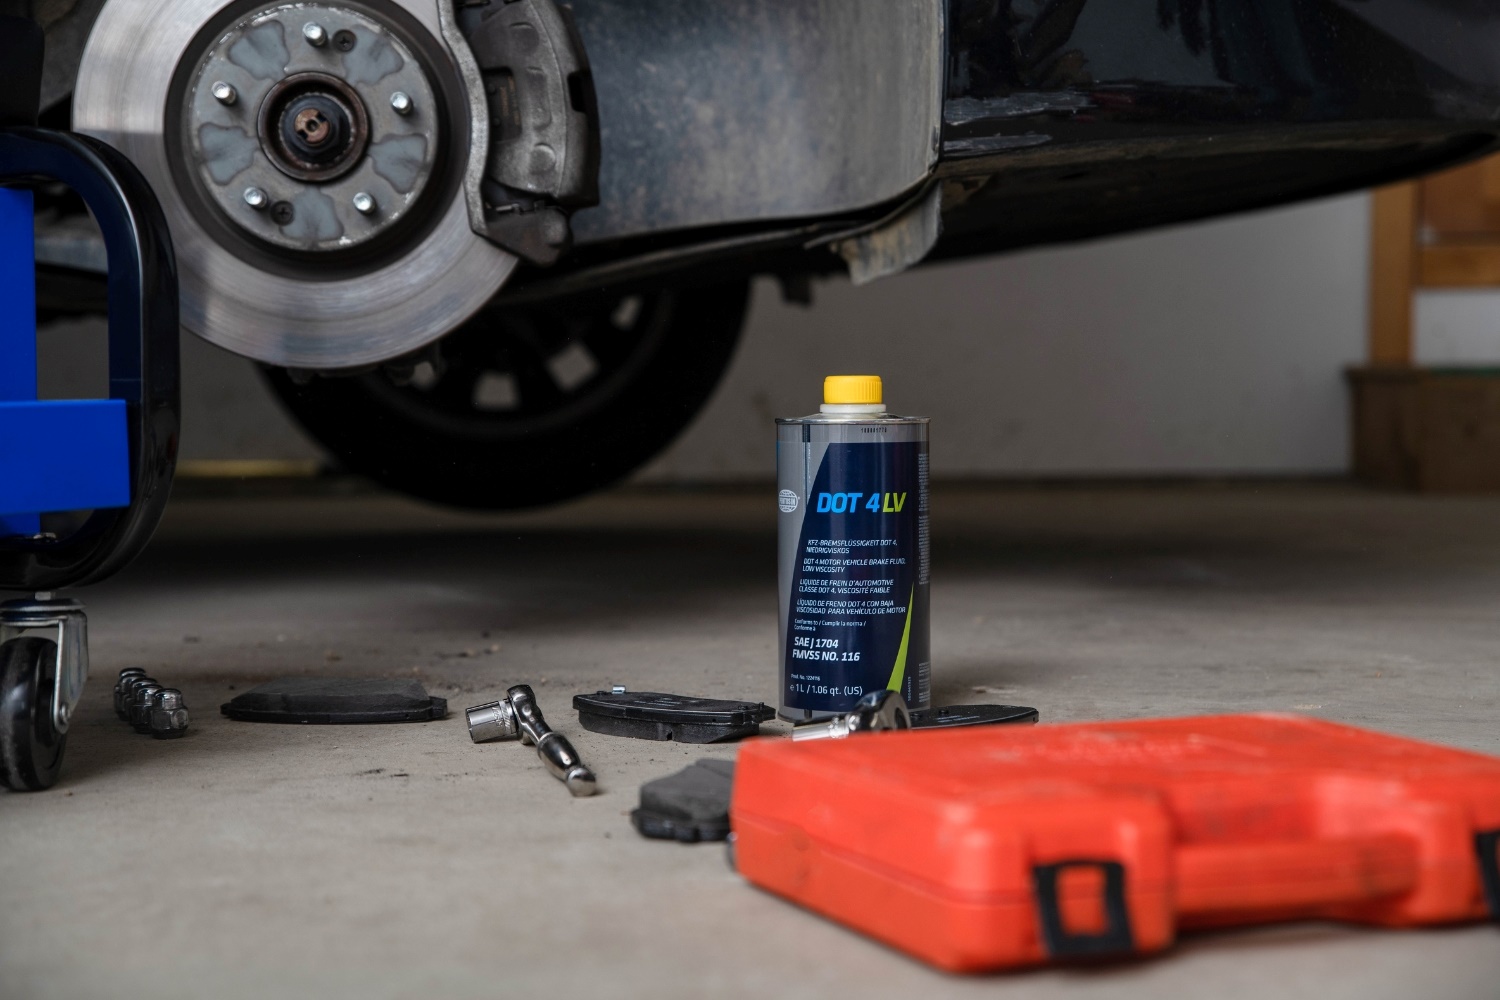
Step 1: Identify the source of the oil leak
The first and most crucial step in addressing an oil leak in your car is to pinpoint the exact source of the leak. Oil leaks can originate from various components within the engine, and determining the precise location is essential for effective resolution. When identifying the source of the leak, it's important to conduct a thorough visual inspection of the engine and the area beneath the vehicle.
Start by examining the engine bay for any visible signs of oil seepage or accumulation. Look for oil stains, drips, or puddles on the engine block, hoses, and other components. Additionally, inspect the underside of the car, particularly around the oil pan, transmission, and differential, as these are common areas where oil leaks may occur.
It's important to note that oil leaks can manifest in different forms, ranging from minor seepage to noticeable drips or streams of oil. By closely observing the engine and the underside of the vehicle, you can gain valuable insights into the location and severity of the leak.
Furthermore, pay attention to any unusual odors emanating from the engine bay, as a distinct burnt oil smell may indicate a leak near a hot engine component. Additionally, inspect the oil filter and the area surrounding it for any signs of oil accumulation or leakage.
In some cases, oil leaks may be accompanied by a loss of oil pressure or a visible drop in the oil level on the dipstick. Monitoring the oil level and pressure can provide additional clues regarding the source and severity of the leak.
By systematically examining the engine bay, underside of the vehicle, and monitoring oil levels and pressure, you can effectively identify the source of the oil leak. This critical first step sets the foundation for implementing targeted measures to address the issue and prevent further oil seepage. Once the source of the leak is determined, you can proceed with confidence to the subsequent steps in resolving the oil leak in your car.
Step 2: Clean the area around the leak
After identifying the source of the oil leak, the next crucial step is to thoroughly clean the area surrounding the leak. Cleaning the affected area serves multiple purposes in the process of addressing the oil leak in your car.
Begin by gathering the necessary supplies for cleaning, including a degreaser or a mild detergent, a bucket of warm water, a sponge or soft brush, and a clean cloth or paper towels. It's important to ensure that the cleaning materials are suitable for use on automotive surfaces and will not cause damage to the components.
Start by carefully removing any accumulated oil or grime from the engine bay and the underside of the vehicle using the degreaser or mild detergent. Gently scrub the affected areas to loosen and remove the oil residue, paying close attention to the vicinity of the leak. Thoroughly rinse the cleaned areas with warm water to remove the cleaning solution and residual oil.
In addition to cleaning the visible oil residue, it's essential to inspect and clean the surrounding components and surfaces to facilitate a clear assessment of the leak. This includes checking for oil accumulation on hoses, electrical connections, and other nearby parts. By ensuring that the area is free from excess oil and debris, you can accurately monitor for any new signs of leakage after implementing subsequent measures.
Furthermore, cleaning the area around the leak provides a clean and safe working environment for performing additional maintenance or repairs, if necessary. It also allows for a more accurate evaluation of the effectiveness of any stop-leak additives or replacement components that may be applied in the following steps.
By meticulously cleaning the area around the oil leak, you create a conducive environment for the subsequent steps in addressing the issue. This proactive approach not only aids in the identification of any residual leaks but also contributes to the overall maintenance and cleanliness of your vehicle's engine and undercarriage. With the area around the leak thoroughly cleaned, you can proceed with confidence to the next steps in resolving the oil leak in your car.
Step 3: Use an oil stop leak additive
When addressing an oil leak in your car, utilizing an oil stop leak additive can be a practical and effective measure to mitigate the issue. Oil stop leak additives are specially formulated products designed to rejuvenate and restore the flexibility of gaskets and seals, thereby reducing or eliminating oil leaks. These additives work by revitalizing the worn or hardened gaskets and seals, allowing them to reseal and prevent oil from escaping.
Before applying an oil stop leak additive, it's essential to select a high-quality product that is compatible with your vehicle's engine and oil system. Consult your vehicle's manual or seek recommendations from automotive experts to ensure that the chosen additive is suitable for your specific engine type and oil viscosity.
To apply the oil stop leak additive, begin by ensuring that the engine is at operating temperature and the oil is sufficiently warmed. This facilitates optimal circulation and absorption of the additive within the engine components. With the engine running, slowly pour the recommended amount of the oil stop leak additive into the engine oil reservoir. It's important to follow the manufacturer's instructions regarding the appropriate dosage for your vehicle's engine capacity.
After adding the oil stop leak additive, allow the engine to run for the specified duration as per the product instructions. This enables the additive to disperse throughout the oil system and reach the gaskets and seals, where it can begin rejuvenating and restoring their flexibility. As the additive takes effect, it works to form a renewed seal around the affected components, effectively reducing or halting the oil leak.
Following the application of the oil stop leak additive, it's advisable to monitor the vehicle for any signs of continued leakage. It's important to note that while oil stop leak additives can effectively resolve minor leaks, they may not be suitable for addressing more severe or extensive leaks. In such cases, seeking professional assistance from a qualified mechanic is recommended to prevent further damage to the engine.
By incorporating an oil stop leak additive into your maintenance routine, you can proactively address minor oil leaks and extend the lifespan of gaskets and seals within your vehicle's engine. This cost-effective and straightforward solution offers a practical way to mitigate oil leaks without the need for extensive mechanical intervention. With the application of an oil stop leak additive, you can take proactive steps to maintain the integrity of your vehicle's oil system and prevent the inconvenience of oil leaks.
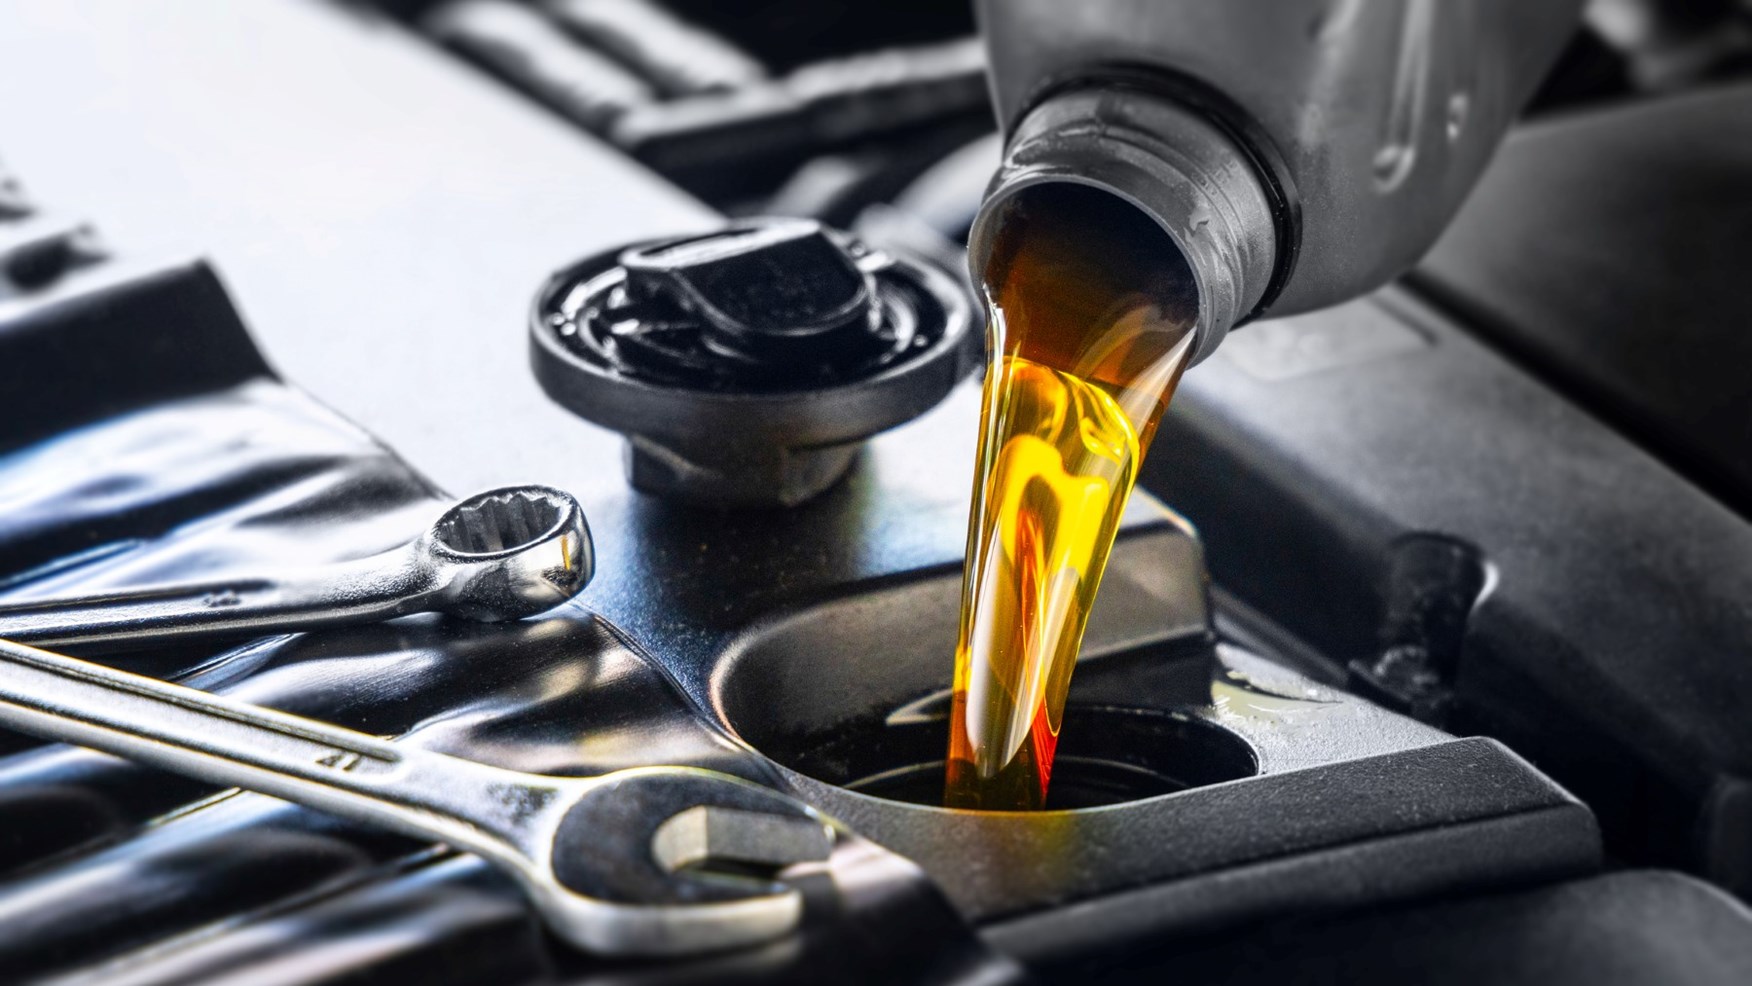
Step 4: Replace the oil filter
Replacing the oil filter is a fundamental step in addressing an oil leak in your car and ensuring the optimal performance and longevity of your vehicle's engine. The oil filter plays a critical role in maintaining the cleanliness and integrity of the engine oil, effectively capturing contaminants and impurities to prevent them from circulating through the engine. Over time, the oil filter can become clogged or compromised, leading to reduced filtration efficiency and potential oil leaks.
To replace the oil filter, begin by locating the filter housing, which is typically situated near the engine block. It's important to consult your vehicle's manual or seek guidance from automotive resources to identify the specific location of the oil filter and the appropriate replacement part for your vehicle's make and model.
Before proceeding with the replacement, it's advisable to gather the necessary tools and supplies, including a new oil filter, a drain pan, a socket wrench or oil filter wrench, and clean rags or paper towels. Additionally, ensure that you have the correct type and viscosity of engine oil on hand, as replacing the oil filter often involves draining a portion of the engine oil.
Start by placing the drain pan beneath the oil filter housing to capture any residual oil that may spill during the removal process. Using a socket wrench or oil filter wrench, carefully loosen the oil filter in a counterclockwise direction, taking care to prevent spillage and minimize oil contact with surrounding components. Once the filter is loosened, continue to unscrew it by hand, allowing any remaining oil to drain into the pan.
With the old filter removed, it's essential to clean the filter housing and the surrounding area to ensure a clean and secure fit for the new filter. Use clean rags or paper towels to wipe away any residual oil and debris, inspecting the housing for any signs of damage or wear that may require attention.
Next, prepare the new oil filter by applying a thin layer of clean engine oil to the rubber gasket or sealing ring. This lubrication helps ensure a proper seal and facilitates easy removal during the next oil change. Carefully thread the new oil filter onto the housing by hand, ensuring that it is seated snugly and aligned correctly. Once the filter is hand-tightened, use the socket wrench or oil filter wrench to secure it with a quarter-turn to establish a firm seal.
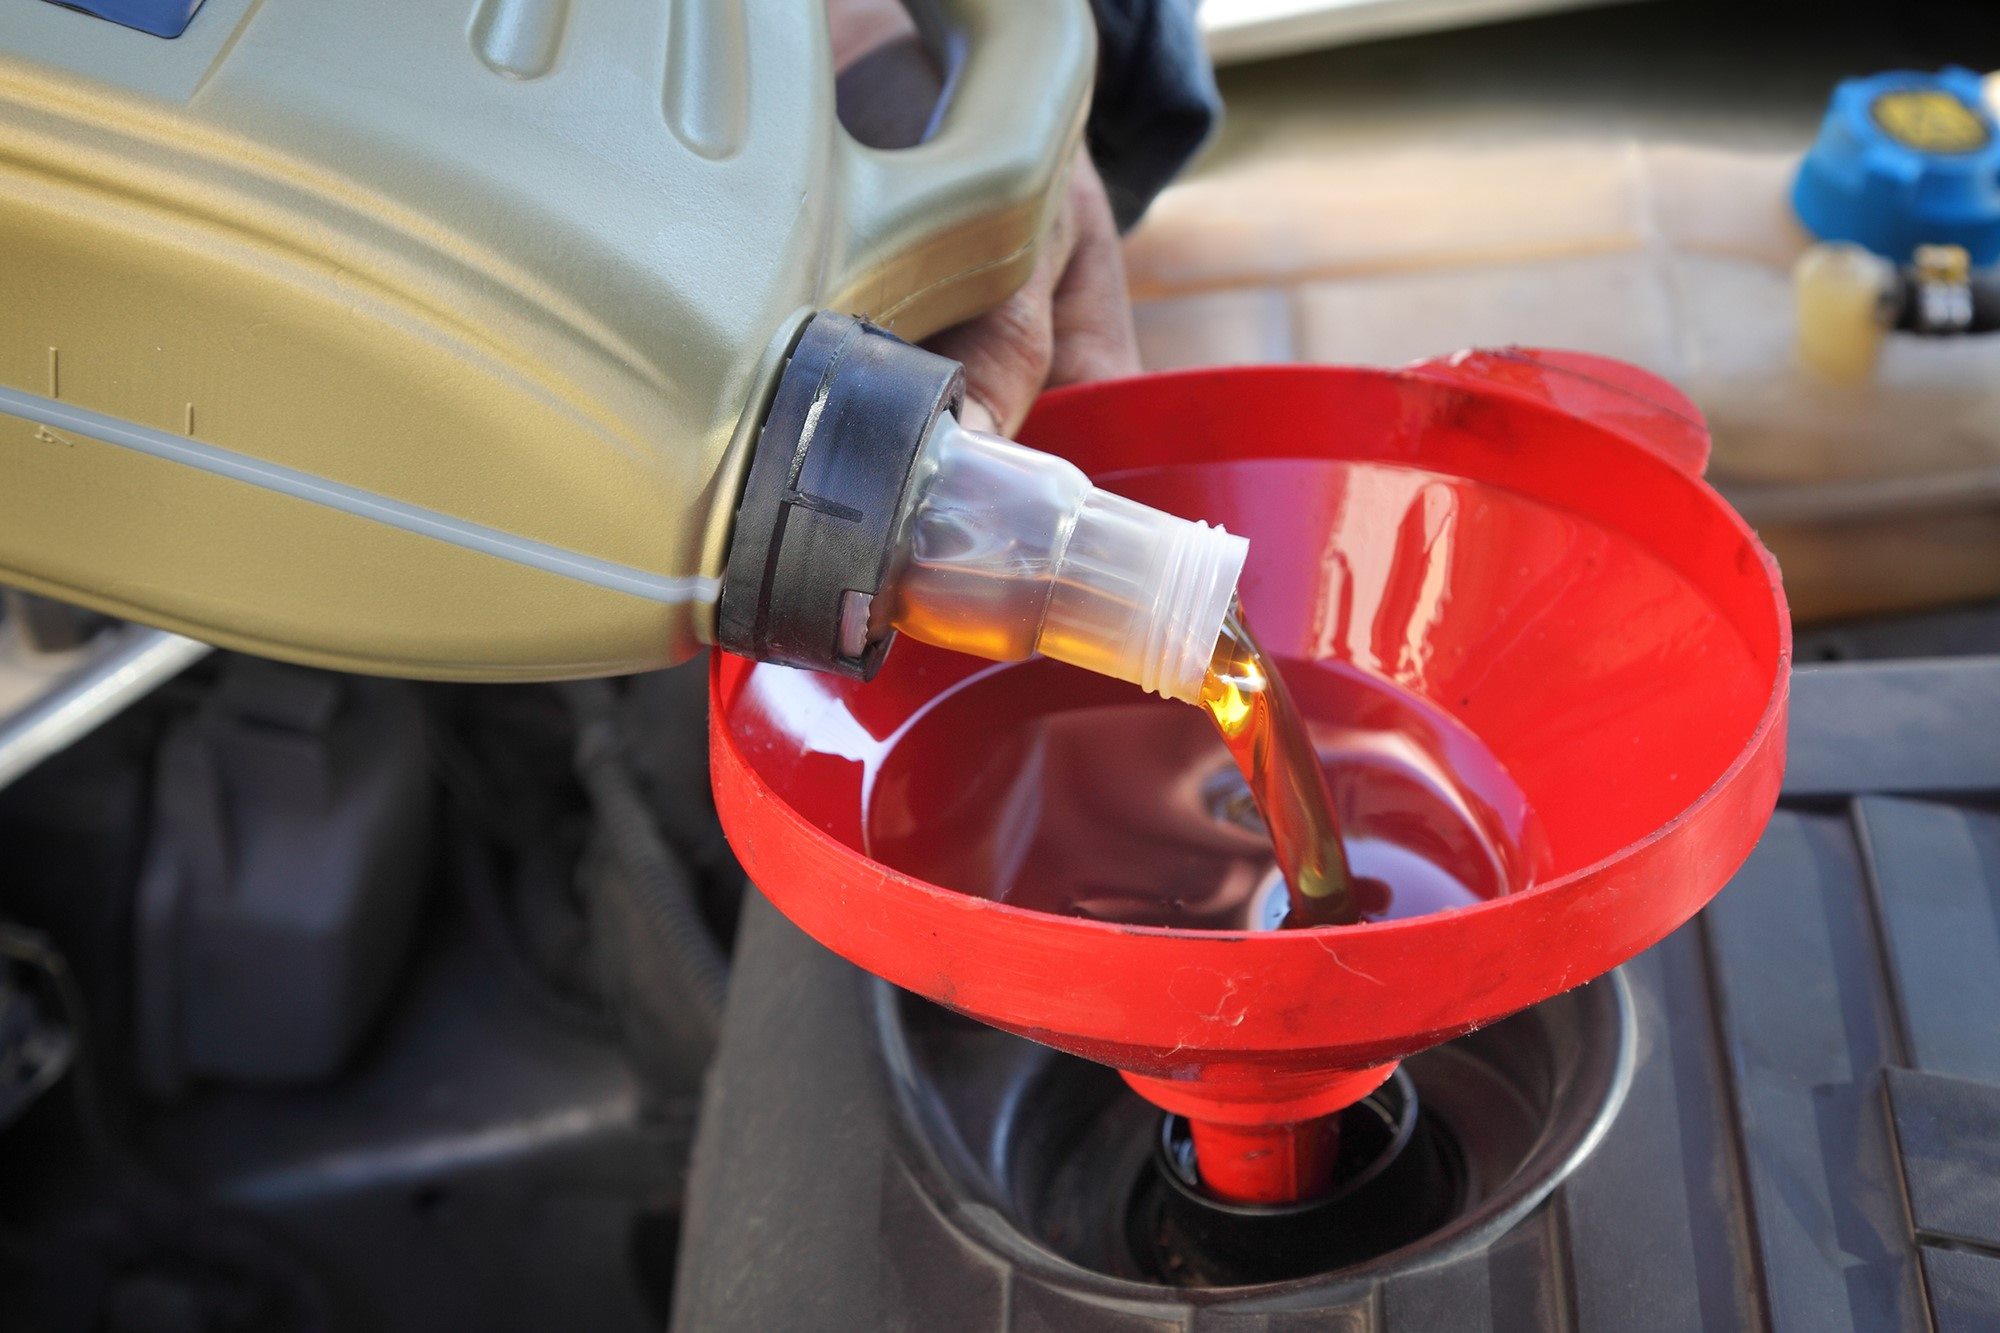
After replacing the oil filter, it's important to replenish the engine with the appropriate amount and type of fresh oil, as some oil loss may occur during the filter replacement process. Refer to your vehicle's manual for the recommended oil capacity and viscosity, and use a funnel to pour the new oil into the engine reservoir. Finally, check the oil level using the dipstick and adjust as needed to ensure that it falls within the recommended range.
By replacing the oil filter and replenishing the engine with fresh oil, you can effectively address potential sources of oil leaks and maintain the cleanliness and efficiency of the engine's lubrication system. This proactive maintenance step contributes to the overall health and performance of your vehicle, reducing the risk of oil leaks and promoting the longevity of critical engine components. With the oil filter replaced and the engine replenished with fresh oil, you can proceed with confidence to the subsequent steps in resolving the oil leak in your car.
Step 5: Tighten loose bolts or connections
Addressing potential oil leaks in your car involves a systematic approach to identifying and resolving underlying issues. In the pursuit of mitigating oil leaks, tightening loose bolts or connections emerges as a pivotal step in ensuring the integrity and stability of the engine components. Loose bolts or connections within the engine assembly can lead to oil seepage and leaks, compromising the efficiency and performance of the lubrication system.
To commence this process, it is essential to conduct a comprehensive visual inspection of the engine and its surrounding components. Look for any visible signs of loose bolts, fittings, or connections, paying close attention to areas where oil leakage may occur. Common areas to inspect include the valve cover, oil pan, oil filter housing, and various engine mounts and brackets.
Once potential areas of concern are identified, utilize the appropriate tools, such as a socket wrench or spanner, to carefully assess and tighten any loose bolts or connections. Exercise caution to avoid over-tightening, as this can lead to damage or stripping of the threads. Instead, aim to achieve a snug and secure fit for each bolt or connection, ensuring that they are properly seated and torqued to the manufacturer's specifications.
In addition to addressing visibly loose components, it is advisable to inspect and tighten the fasteners associated with critical engine gaskets and seals. These components play a crucial role in maintaining the integrity of the engine's oil containment system, and loose fasteners can contribute to oil leaks. By methodically examining and securing the fasteners associated with gaskets and seals, you can effectively mitigate potential sources of oil seepage.
Furthermore, pay close attention to any oil-cooled or oil-fed components, such as turbochargers, oil coolers, and oil pressure sensors, as loose connections in these areas can lead to oil leaks and compromise the functionality of these vital systems. By ensuring that all connections are properly secured and free from leaks, you can uphold the efficiency and reliability of the engine's oil circulation and cooling mechanisms.
By systematically addressing and tightening loose bolts or connections within the engine assembly, you can proactively mitigate potential sources of oil leaks and uphold the integrity of critical components. This meticulous approach contributes to the overall maintenance and performance of your vehicle, reducing the risk of oil leaks and ensuring the optimal functionality of the engine's lubrication system. With loose bolts and connections effectively tightened, you can proceed with confidence to the subsequent steps in resolving the oil leak in your car.
Step 6: Replace damaged gaskets or seals
Addressing oil leaks in your car necessitates a comprehensive evaluation of the condition of gaskets and seals within the engine assembly. Gaskets and seals play a critical role in maintaining the integrity of various engine components, effectively containing oil and preventing leaks. Over time, these components may deteriorate due to exposure to heat, pressure, and the natural aging of materials, leading to potential oil seepage and leaks.
To initiate the process of replacing damaged gaskets or seals, it is essential to identify the specific components and areas where leaks are occurring. Common areas prone to gasket and seal degradation include the valve cover gasket, oil pan gasket, camshaft seals, crankshaft seals, and various other seals associated with the engine's oil circulation and containment systems.
Once potential areas of concern are identified, the next step involves accessing and disassembling the relevant components to gain access to the deteriorated gaskets or seals. This may require the removal of the valve cover, oil pan, timing cover, or other engine components, depending on the location of the affected gaskets and seals.
Upon accessing the gaskets and seals, carefully inspect them for signs of wear, brittleness, or damage. Common indicators of deteriorated gaskets and seals include visible cracks, brittleness, oil seepage, or compression set, which occurs when the gasket or seal fails to rebound to its original shape after compression.
With the deteriorated gaskets and seals identified, proceed to remove them using the appropriate tools, taking care to avoid damaging the mating surfaces or surrounding components. Thoroughly clean the mating surfaces to ensure a smooth and debris-free contact area for the new gaskets and seals.
When installing the new gaskets and seals, it is imperative to use high-quality replacement components that are specifically designed for your vehicle's make and model. Applying a thin, uniform coat of clean engine oil to the gaskets and seals can aid in their proper installation and facilitate a secure seal upon reassembly.
Once the new gaskets and seals are in place, carefully reassemble the components, ensuring that all fasteners are torqued to the manufacturer's specifications. Exercise caution to avoid over-tightening, as this can lead to damage or distortion of the gaskets and seals.
By systematically replacing damaged gaskets and seals within the engine assembly, you can effectively mitigate potential sources of oil leaks and uphold the integrity of critical components. This meticulous approach contributes to the overall maintenance and performance of your vehicle, reducing the risk of oil leaks and ensuring the optimal functionality of the engine's lubrication system. With damaged gaskets and seals successfully replaced, you can proceed with confidence to the subsequent steps in resolving the oil leak in your car.
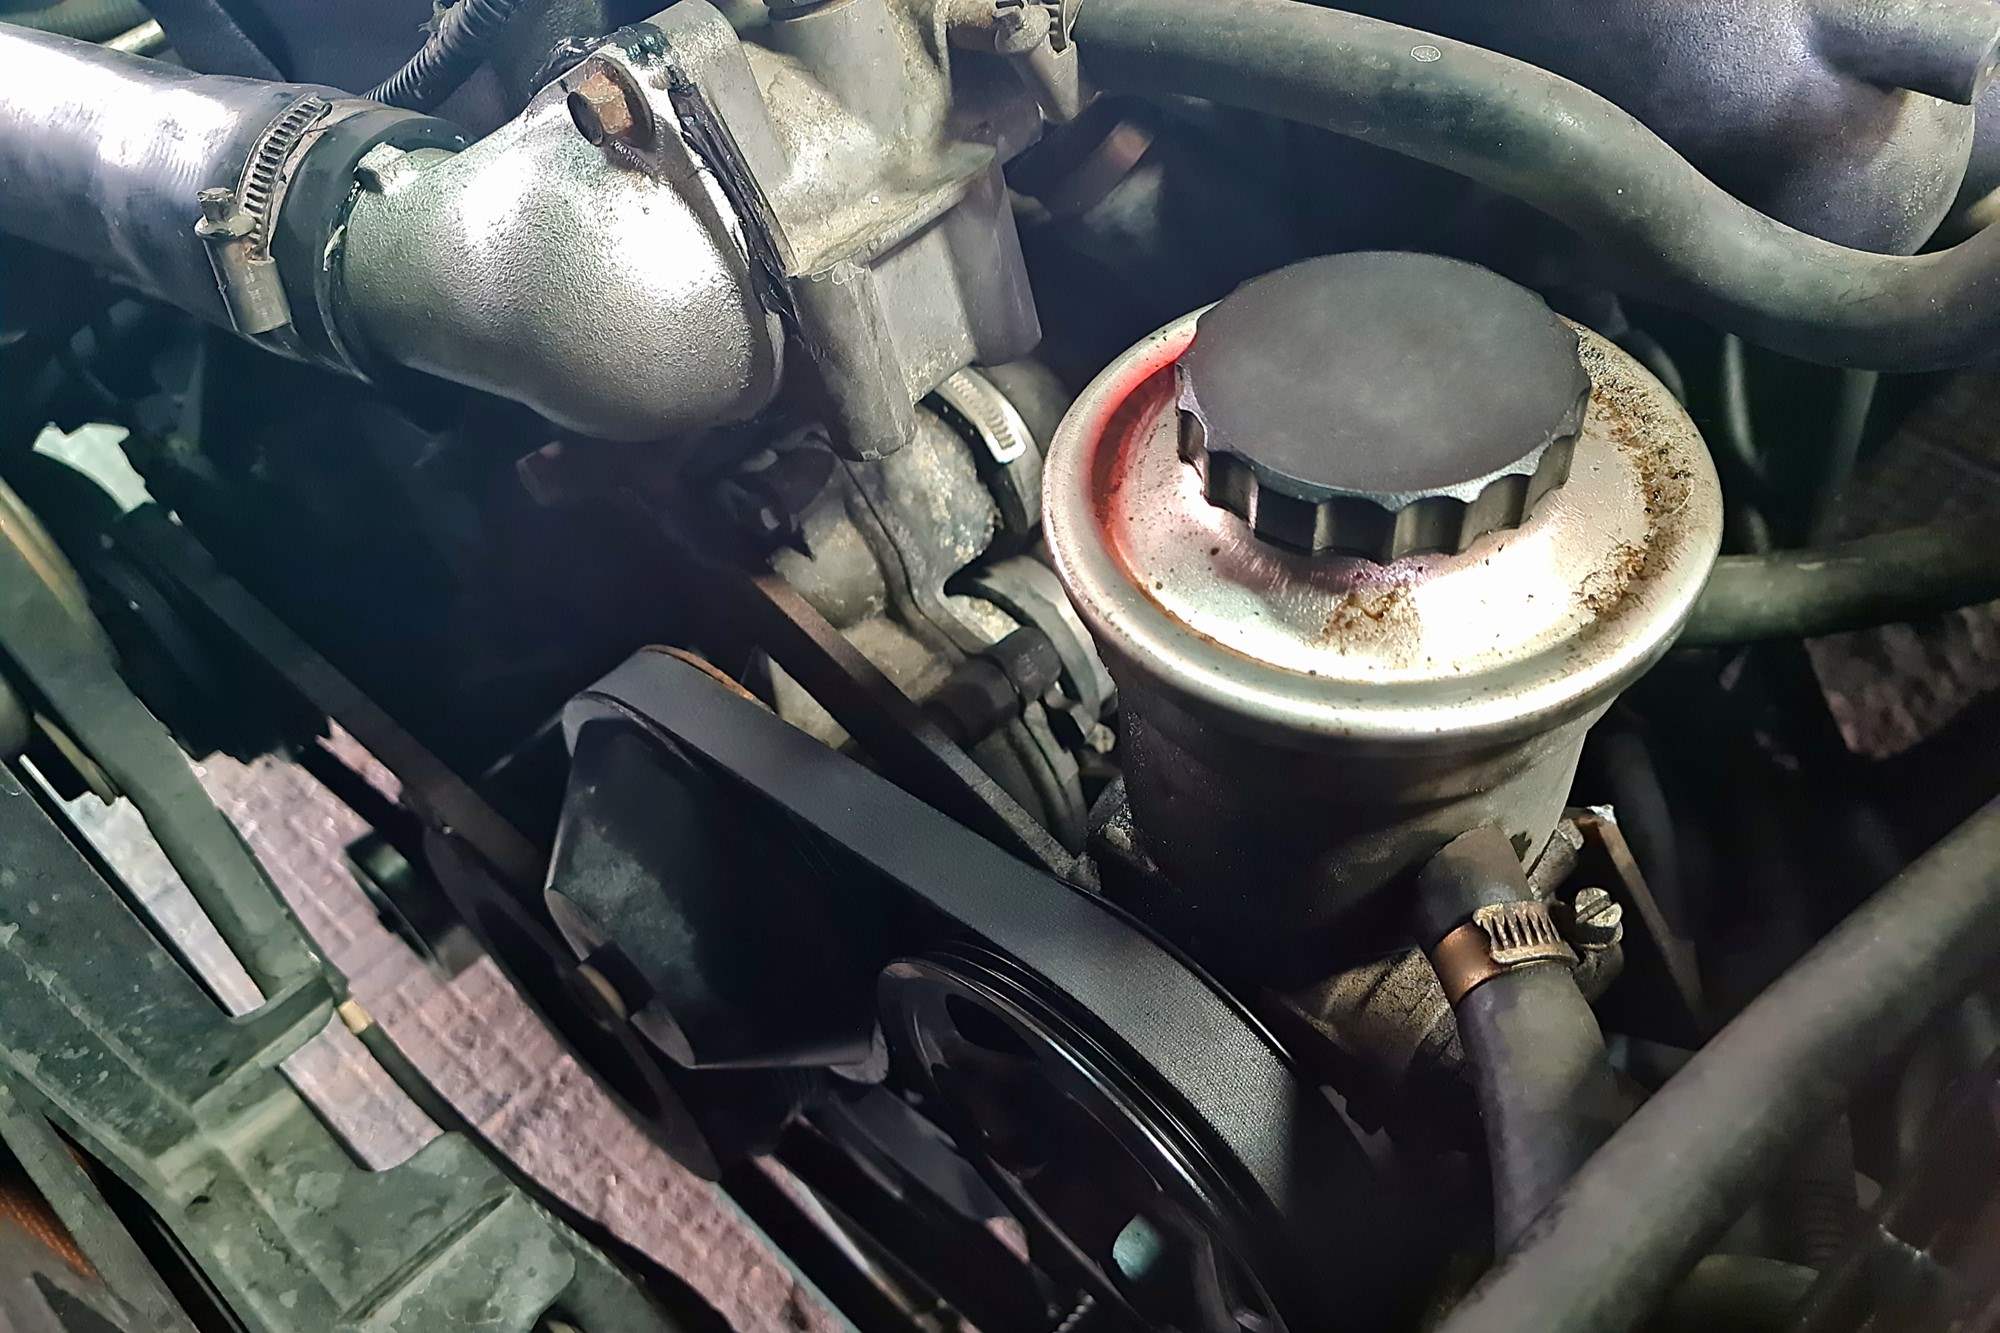
Step 7: Check the oil pan for damage
The oil pan serves as a vital component in the engine's lubrication system, housing the engine oil and facilitating its circulation to lubricate various moving parts. However, over time, the oil pan can be susceptible to damage, leading to potential oil leaks and compromising the functionality of the lubrication system. Therefore, conducting a thorough inspection of the oil pan is essential in addressing oil leaks in your car.
To commence the inspection, it is crucial to access the underside of the vehicle and locate the oil pan, which is typically situated at the bottom of the engine assembly. Carefully examine the oil pan for any visible signs of damage, including dents, cracks, or corrosion. Additionally, inspect the perimeter of the oil pan and the sealing surface for evidence of oil seepage or residue, which may indicate a compromised seal.
In some cases, the oil pan may sustain damage due to impacts from road debris, speed bumps, or other external factors. Dents or deformations in the oil pan can disrupt the integrity of the sealing surface, leading to potential oil leaks. Similarly, corrosion or rust on the oil pan can compromise its structural integrity, creating pathways for oil seepage.
If damage to the oil pan is identified, it is imperative to address the issue promptly to prevent further oil leaks and potential engine damage. Depending on the extent of the damage, options for remediation may include repairing the existing oil pan through welding or metalwork, or replacing the oil pan with a new or refurbished unit.
When repairing the oil pan, it is essential to enlist the expertise of a qualified automotive technician or welder to ensure that the structural integrity and sealing properties of the oil pan are restored effectively. Additionally, thorough cleaning and preparation of the sealing surface are crucial to facilitate a secure and leak-free fit upon reinstallation.
In cases where replacement is necessary, it is advisable to source a high-quality replacement oil pan that is compatible with your vehicle's make and model. Prior to installation, ensure that the new oil pan is thoroughly inspected for any defects or imperfections that may compromise its functionality.
By meticulously checking the oil pan for damage and addressing any identified issues, you can effectively mitigate potential sources of oil leaks and uphold the integrity of the engine's lubrication system. This proactive approach contributes to the overall maintenance and performance of your vehicle, reducing the risk of oil leaks and ensuring the optimal functionality of critical engine components. With the oil pan thoroughly inspected and any damage remediated, you can proceed with confidence to the subsequent steps in resolving the oil leak in your car.
Step 8: Inspect the oil drain plug
The oil drain plug plays a pivotal role in the engine's lubrication system, serving as the access point for draining and replenishing the engine oil during routine maintenance. However, over time, the oil drain plug and its associated components can be susceptible to wear, damage, or improper sealing, potentially leading to oil leaks and compromising the integrity of the lubrication system.
To initiate the inspection of the oil drain plug, it is essential to access the underside of the vehicle and locate the drain plug, which is typically situated at the lowest point of the oil pan. Carefully examine the drain plug for any visible signs of damage, such as stripped threads, cracks, or deformation. Additionally, inspect the surrounding area for evidence of oil seepage or residue, which may indicate a compromised seal or improper tightening.
Loose or damaged oil drain plugs can result in oil leaks, leading to a loss of engine oil and potential damage to critical components. Therefore, ensuring the proper condition and sealing of the oil drain plug is crucial in maintaining the functionality and reliability of the engine's lubrication system.
If the oil drain plug exhibits signs of wear or damage, it is imperative to address the issue promptly to prevent further oil leaks and potential engine damage. Depending on the extent of the damage, options for remediation may include repairing the existing drain plug through rethreading, replacement of the drain plug gasket, or replacing the drain plug itself with a new unit.
When repairing or replacing the oil drain plug, it is essential to utilize high-quality replacement components that are specifically designed for your vehicle's make and model. Additionally, thorough cleaning and preparation of the drain plug and its mating surfaces are crucial to facilitate a secure and leak-free fit upon reinstallation.
By meticulously inspecting the oil drain plug and addressing any identified issues, you can effectively mitigate potential sources of oil leaks and uphold the integrity of the engine's lubrication system. This proactive approach contributes to the overall maintenance and performance of your vehicle, reducing the risk of oil leaks and ensuring the optimal functionality of critical engine components. With the oil drain plug thoroughly inspected and any issues remediated, you can proceed with confidence to the subsequent steps in resolving the oil leak in your car.
Step 9: Monitor the oil level and check for leaks
After implementing the preceding steps to address potential oil leaks in your car, it is essential to proactively monitor the oil level and consistently check for any signs of leakage. This ongoing vigilance plays a crucial role in ensuring that the measures taken to mitigate oil leaks are effective and that the engine's lubrication system remains in optimal condition.
To commence this monitoring process, begin by checking the engine oil level using the dipstick at regular intervals, as recommended by your vehicle's manual. Consistently monitoring the oil level provides valuable insights into the rate of oil consumption and any potential fluctuations that may indicate ongoing leaks. Additionally, it allows for early detection of abnormal oil loss, prompting timely intervention to prevent potential engine damage.
In conjunction with monitoring the oil level, it is imperative to visually inspect the engine bay and the underside of the vehicle for any new signs of oil seepage or accumulation. Conduct thorough visual inspections at regular intervals, paying close attention to the areas previously identified as potential sources of leaks. Look for any fresh oil stains, drips, or puddles, as well as any unusual odors that may indicate oil leakage near hot engine components.
Furthermore, remain attentive to any changes in the engine's performance or the presence of unusual noises that may signal underlying issues related to oil leaks. An increase in exhaust smoke, particularly blue or gray smoke, can be indicative of oil burning within the engine, potentially stemming from unresolved leaks or internal component wear.
Consistent and proactive monitoring of the oil level and vigilant visual inspections enable early detection of any recurring or new oil leaks, allowing for prompt intervention to address potential issues. By maintaining a proactive stance in monitoring the engine's oil level and checking for leaks, you can effectively safeguard the integrity of the lubrication system and prevent the escalation of oil leak-related complications.
With the ongoing monitoring and vigilance in place, you can confidently ensure that the measures taken to mitigate oil leaks are successful and that your vehicle's engine remains in optimal condition, promoting longevity and reliability.
Step 10: Seek professional help if the leak persists
In the event that the oil leak persists despite the implementation of the aforementioned steps, it is imperative to seek professional assistance from a qualified mechanic or automotive service provider. Persistent oil leaks may indicate underlying issues that require expert diagnosis and intervention to prevent further damage to the engine and ensure the safety and reliability of the vehicle.
Professional mechanics possess the expertise, specialized tools, and diagnostic capabilities to conduct a comprehensive assessment of the engine and its components, pinpointing the exact source and cause of the persistent oil leak. Through meticulous inspection and testing, they can identify potential issues such as damaged internal seals, worn gaskets, or structural damage to critical engine components that may be contributing to the persistent leak.
Moreover, professional mechanics have access to manufacturer-specific technical information and service bulletins, enabling them to address potential design or material-related issues that may be contributing to the oil leak. This in-depth knowledge and access to specialized resources empower them to provide accurate diagnoses and effective solutions tailored to the specific make and model of the vehicle.
In addition to diagnosis, professional mechanics are equipped to perform advanced repairs and component replacements, utilizing high-quality parts and adhering to industry best practices. Whether it involves replacing internal seals, addressing structural damage, or conducting precision repairs to critical engine components, their expertise ensures that the underlying causes of the oil leak are effectively remediated.
Furthermore, seeking professional help for a persistent oil leak provides the assurance of comprehensive quality assurance and warranty coverage for the performed repairs. Professional automotive service providers stand behind their work, offering guarantees on parts and labor, thereby instilling confidence in the durability and effectiveness of the remedial measures.
By seeking professional assistance for a persistent oil leak, vehicle owners can benefit from the peace of mind that comes with expert intervention and the knowledge that their vehicle's integrity and performance are in capable hands. This proactive approach not only safeguards the vehicle against potential damage but also contributes to the long-term reliability and safety of the engine's lubrication system.