Home>Arts and Culture>How To Draw A Wave

Arts and Culture
How To Draw A Wave
Published: February 26, 2024
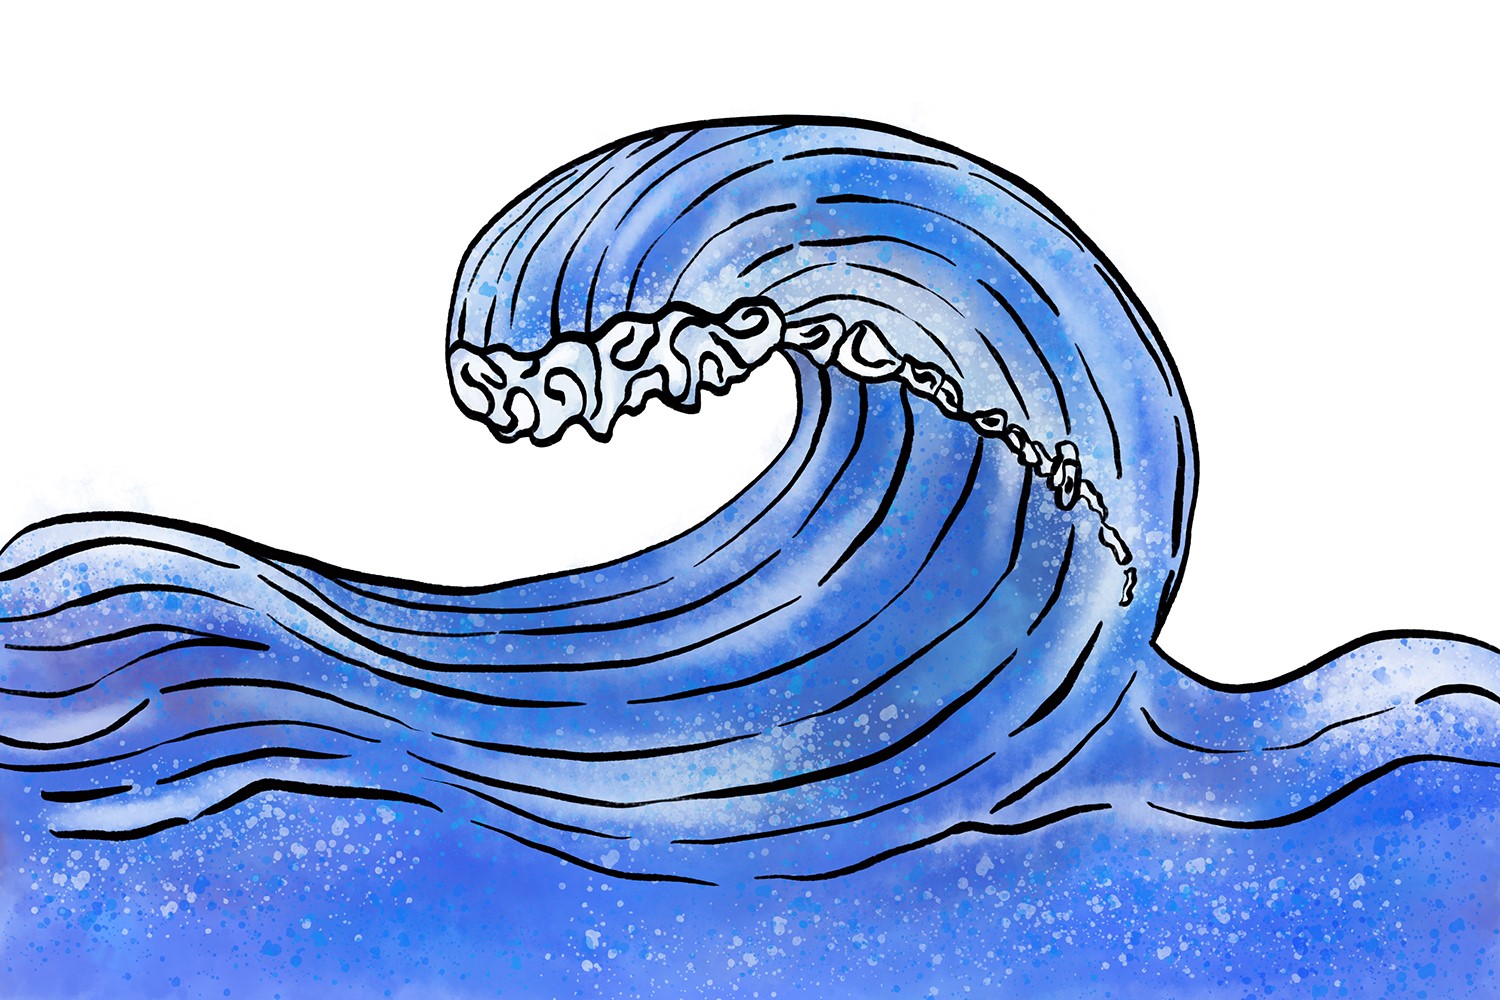
Learn how to draw a wave with step-by-step instructions and tips for creating stunning ocean-inspired art. Dive into the world of arts and culture with this easy-to-follow tutorial.
(Many of the links in this article redirect to a specific reviewed product. Your purchase of these products through affiliate links helps to generate commission for Noodls.com, at no extra cost. Learn more)
Table of Contents
Introduction
Drawing a wave is a captivating and rewarding artistic endeavor that allows you to capture the dynamic and fluid nature of the ocean. Waves are not only a fundamental aspect of nature but also a powerful symbol of strength, resilience, and the ever-changing rhythm of life. Whether you are a seasoned artist or a beginner with a passion for sketching, learning how to draw a wave can be an enriching experience that enables you to express the beauty and energy of the sea on paper.
Capturing the essence of a wave through art requires a keen observation of its intricate movements, textures, and patterns. From the initial sketch to the final touches, each step in the drawing process presents an opportunity to infuse your creation with depth, emotion, and a sense of movement. By mastering the art of drawing waves, you can convey the raw power and serenity of the ocean, evoking a sense of wonder and tranquility in those who behold your artwork.
In this comprehensive guide, we will explore the step-by-step process of drawing a wave, from sketching the basic shape to adding intricate details and conveying the dynamic flow of water. With the right materials, techniques, and a touch of creativity, you can bring the captivating beauty of the ocean to life on your canvas. So, grab your sketchbook, sharpen your pencils, and let's embark on a creative journey to master the art of drawing a wave.
Read more: How To Draw People
Materials Needed
To embark on the artistic journey of drawing a wave, you will need a few essential materials to bring your vision to life. These tools will not only aid in capturing the intricate details of a wave but also allow you to infuse your artwork with depth, texture, and movement. Here's a list of the materials you'll need to get started:
-
Drawing Paper: Select a high-quality drawing paper that is suitable for sketching and shading. A smooth surface will enable you to create fine lines and blend colors seamlessly, while a sturdy paper weight will provide durability for your artwork.
-
Pencils: Invest in a range of graphite pencils with varying degrees of hardness, such as 2H, HB, 2B, 4B, and 6B. These pencils will allow you to achieve a diverse range of tones, from light and delicate lines to rich, dark shades, essential for capturing the depth and contrast of a wave.
-
Eraser: A soft, kneaded eraser is indispensable for refining your sketches and correcting any mistakes. Additionally, a precision eraser or eraser pencil can be used for intricate details and highlights.
-
Blending Tools: Consider using blending stumps or tortillons to seamlessly blend and soften graphite, creating smooth transitions and subtle gradients in your wave drawing.
-
Drawing Board: A sturdy drawing board or a smooth, flat surface to support your drawing paper will provide stability and a comfortable working environment.
-
Reference Images: Gather reference images of waves to study their intricate patterns, movements, and textures. Observing real-life waves will enhance your understanding of their dynamic nature and help you capture their essence in your artwork.
-
Inspiration: While not a tangible material, inspiration is a vital component of the artistic process. Immerse yourself in the beauty of the ocean, whether through personal experiences, photographs, or artwork by other talented creators, to fuel your creativity and passion for drawing waves.
By assembling these essential materials, you will be well-equipped to embark on the artistic journey of drawing a wave with confidence and creativity. Each tool plays a crucial role in capturing the fluidity, energy, and captivating beauty of the ocean's waves, allowing you to create a stunning piece of art that resonates with the awe-inspiring power of nature.
Sketching the Basic Shape
To begin the process of drawing a wave, it is essential to lay the foundation by sketching the basic shape of the wave. This initial step sets the stage for capturing the fundamental form and movement of the wave, providing a framework upon which intricate details and textures can be added.
Start by lightly sketching the outline of the wave using a 2H or HB pencil, ensuring that the lines are fluid and dynamic to convey the natural curvature and rhythm of the wave. Consider the overall shape of the wave, whether it is rising, cresting, or breaking, and visualize the flow of water to guide your hand as you sketch.
As you define the basic shape, pay attention to the proportions and perspective of the wave. Observe how the wave interacts with the surrounding water and air, creating a sense of depth and dimension. By capturing the perspective and scale of the wave, you can imbue your artwork with a realistic and immersive quality that draws the viewer into the dynamic world of the ocean.
While sketching the basic shape, embrace spontaneity and fluidity in your lines, allowing the natural ebb and flow of the wave to guide your hand. Avoid rigid, mechanical strokes, and instead, let your pencil dance across the paper, echoing the graceful movement of the ocean. Emphasize the curves, peaks, and troughs of the wave, infusing your sketch with a sense of energy and vitality.
Throughout this process, remember that the basic shape serves as the framework for the intricate details and textures that will bring the wave to life. Therefore, focus on capturing the essence of the wave's form and movement, laying the groundwork for the subsequent stages of adding depth, texture, and movement.
By dedicating attention to sketching the basic shape with precision and fluidity, you set the stage for a captivating and expressive portrayal of a wave, laying the groundwork for the artistic journey that lies ahead. With the foundation in place, you are ready to delve into the next phase of adding detail and texture to your wave drawing, bringing it one step closer to capturing the mesmerizing beauty of the ocean's waves.
Adding Detail and Texture
Once the basic shape of the wave has been sketched, the next phase involves adding intricate detail and texture to breathe life into the artwork. This pivotal stage allows the artist to infuse the wave with depth, movement, and a sense of realism, capturing the dynamic interplay of light and shadow on the water's surface.
Begin by carefully studying reference images of waves, paying close attention to the intricate patterns, foam, and spray created by the churning motion of the water. Observe how light interacts with the wave, casting highlights and shadows that define its contours and textures. This keen observation serves as a foundation for translating the complexities of the wave onto paper.
Using a range of graphite pencils, such as 2B, 4B, and 6B, gradually build up the tonal values to convey the subtle shifts in light and shadow on the wave. Employ a light touch to layer graphite, gradually enhancing the contrast and depth of the wave's form. Focus on the interplay of light and shadow to accentuate the curves, crests, and troughs of the wave, creating a sense of three-dimensional realism.
Incorporate fine details such as the delicate spray of water droplets, the frothy texture of foam, and the intricate patterns formed by the wave's movement. Utilize a combination of precise lines and subtle shading to capture the organic and ever-changing nature of the ocean's waves. Pay attention to the nuances of texture, from the smooth, glassy surface of the wave to the turbulent, frothy regions where water meets air.
To enhance the realism and tactile quality of the wave, consider employing blending tools such as tortillons or blending stumps to soften harsh lines and create seamless transitions between light and dark areas. This technique lends a soft, atmospheric quality to the wave, evoking the fluidity and movement of water in a captivating manner.
As you add detail and texture, allow your artistic intuition to guide the process, embracing spontaneity and fluidity in your strokes. Capture the essence of the wave's energy and vitality, infusing your artwork with a sense of dynamism and natural beauty. By meticulously attending to detail and texture, you transform the wave from a mere sketch into a vivid and evocative portrayal of the ocean's mesmerizing waves.
With each stroke of the pencil, the wave comes to life on the page, embodying the raw power and captivating allure of the sea. This phase of adding detail and texture marks a significant progression in the artistic journey of drawing a wave, setting the stage for the final touches that will elevate the artwork to a stunning and immersive depiction of nature's awe-inspiring beauty.
Adding Movement and Flow
Infusing a sense of movement and flow into the drawing of a wave is a transformative process that elevates the artwork from a static representation to a dynamic portrayal of the ocean's rhythmic energy. This crucial phase allows the artist to capture the ever-changing nature of waves, conveying the graceful undulations and powerful surges that define the ocean's timeless dance.
To imbue the wave with a palpable sense of movement, focus on enhancing the fluidity and dynamism of the sketch. Emphasize the natural curves and contours of the wave, allowing your pencil to glide with a sense of rhythm and grace. By embracing the organic ebb and flow of the ocean, you can infuse your artwork with a captivating sense of vitality and motion.
Consider the direction and momentum of the wave, visualizing the path of the water as it cascades and curls. Capture the sweeping arcs and cascading lines that define the wave's movement, conveying a sense of graceful progression and kinetic energy. Through deliberate and fluid strokes, bring the wave to life on the page, evoking the mesmerizing dance of water in its purest form.
Incorporate subtle details that accentuate the wave's movement, such as the delicate trails of spray and foam that follow the cresting motion. These nuanced elements add a layer of realism and dynamism to the artwork, evoking the sensory experience of witnessing a wave in motion. By infusing the drawing with these intricate details, you create a compelling visual narrative that transports the viewer to the heart of the ocean's ever-changing embrace.
As you refine the movement and flow of the wave, consider the interplay of light and shadow that accompanies its undulating motion. Use shading techniques to convey the play of light on the water's surface, accentuating the wave's contours and enhancing its sense of depth and dimension. By skillfully manipulating tonal values, you can evoke the interplay of sunlight and shadow, infusing the wave with a luminous quality that captures the essence of its fluid dance.
By infusing the drawing with a sense of movement and flow, you breathe life into the wave, transforming it into a captivating embodiment of the ocean's timeless rhythm. Each stroke of the pencil serves to convey the graceful dance of water, inviting the viewer to immerse themselves in the mesmerizing beauty of the sea. This phase marks a pivotal moment in the artistic journey, as the wave transcends mere representation and emerges as a vibrant and evocative testament to the boundless allure of nature's ever-changing canvas.
Read more: How To Draw A Chicken
Final Touches and Details
With the wave taking shape and movement, the final touches and details serve as the crowning elements that elevate the artwork to a captivating and immersive portrayal of the ocean's mesmerizing waves. This phase is characterized by meticulous attention to refining the nuances, enhancing the visual impact, and infusing the artwork with a sense of depth and realism.
As you approach the final touches, consider the play of light on the wave's surface, emphasizing highlights and subtle reflections to evoke the luminous quality of water in sunlight. Employing a kneaded eraser or precision eraser, delicately lift out highlights to accentuate the wave's contours and create a sense of glistening radiance. This technique adds a touch of brilliance to the artwork, capturing the ethereal beauty of light dancing on the water.
Furthermore, pay close attention to the intricate details that define the wave's character, such as the delicate patterns of foam, the translucency of water, and the interplay of textures. Utilize fine-tipped pencils and precise strokes to render these details with precision, infusing the wave with a tactile quality that invites the viewer to immerse themselves in its captivating allure.
Consider the surrounding elements, such as the sky and distant horizons, to provide context and depth to the wave. By subtly indicating the atmospheric conditions and distant landscapes, you can create a sense of vastness and grandeur, framing the wave within the expansive canvas of the ocean's embrace.
Incorporate subtle nuances and imperfections that mirror the organic beauty of nature, such as irregularities in the wave's form, the asymmetry of foam patterns, and the ever-changing contours of water. Embracing these natural imperfections adds an authentic and evocative quality to the artwork, capturing the untamed spirit of the ocean's waves.
Finally, step back and assess the overall composition, ensuring that the wave harmonizes with the surrounding elements and conveys a sense of balance and unity. Make any final adjustments to refine the details, enhance the textures, and evoke the captivating essence of the ocean's timeless dance.
With the final touches and details meticulously attended to, the wave emerges as a vibrant and evocative testament to the boundless allure of nature's ever-changing canvas. Each stroke of the pencil serves to convey the graceful dance of water, inviting the viewer to immerse themselves in the mesmerizing beauty of the sea.
