Home>Arts and Culture>How To Draw Mountains
Arts and Culture
How To Draw Mountains
Published: February 26, 2024
Learn the art of drawing mountains with our step-by-step guide. Explore the beauty of nature through your artistic skills. Perfect for art enthusiasts and nature lovers.
(Many of the links in this article redirect to a specific reviewed product. Your purchase of these products through affiliate links helps to generate commission for Noodls.com, at no extra cost. Learn more)
Table of Contents
Introduction
Drawing mountains can be a captivating and rewarding artistic endeavor. Whether you're an experienced artist or just starting out, capturing the grandeur and majesty of mountains on paper can be a fulfilling experience. Mountains are not only a prominent feature of the natural landscape but also hold symbolic significance in various cultures, representing strength, endurance, and the beauty of nature.
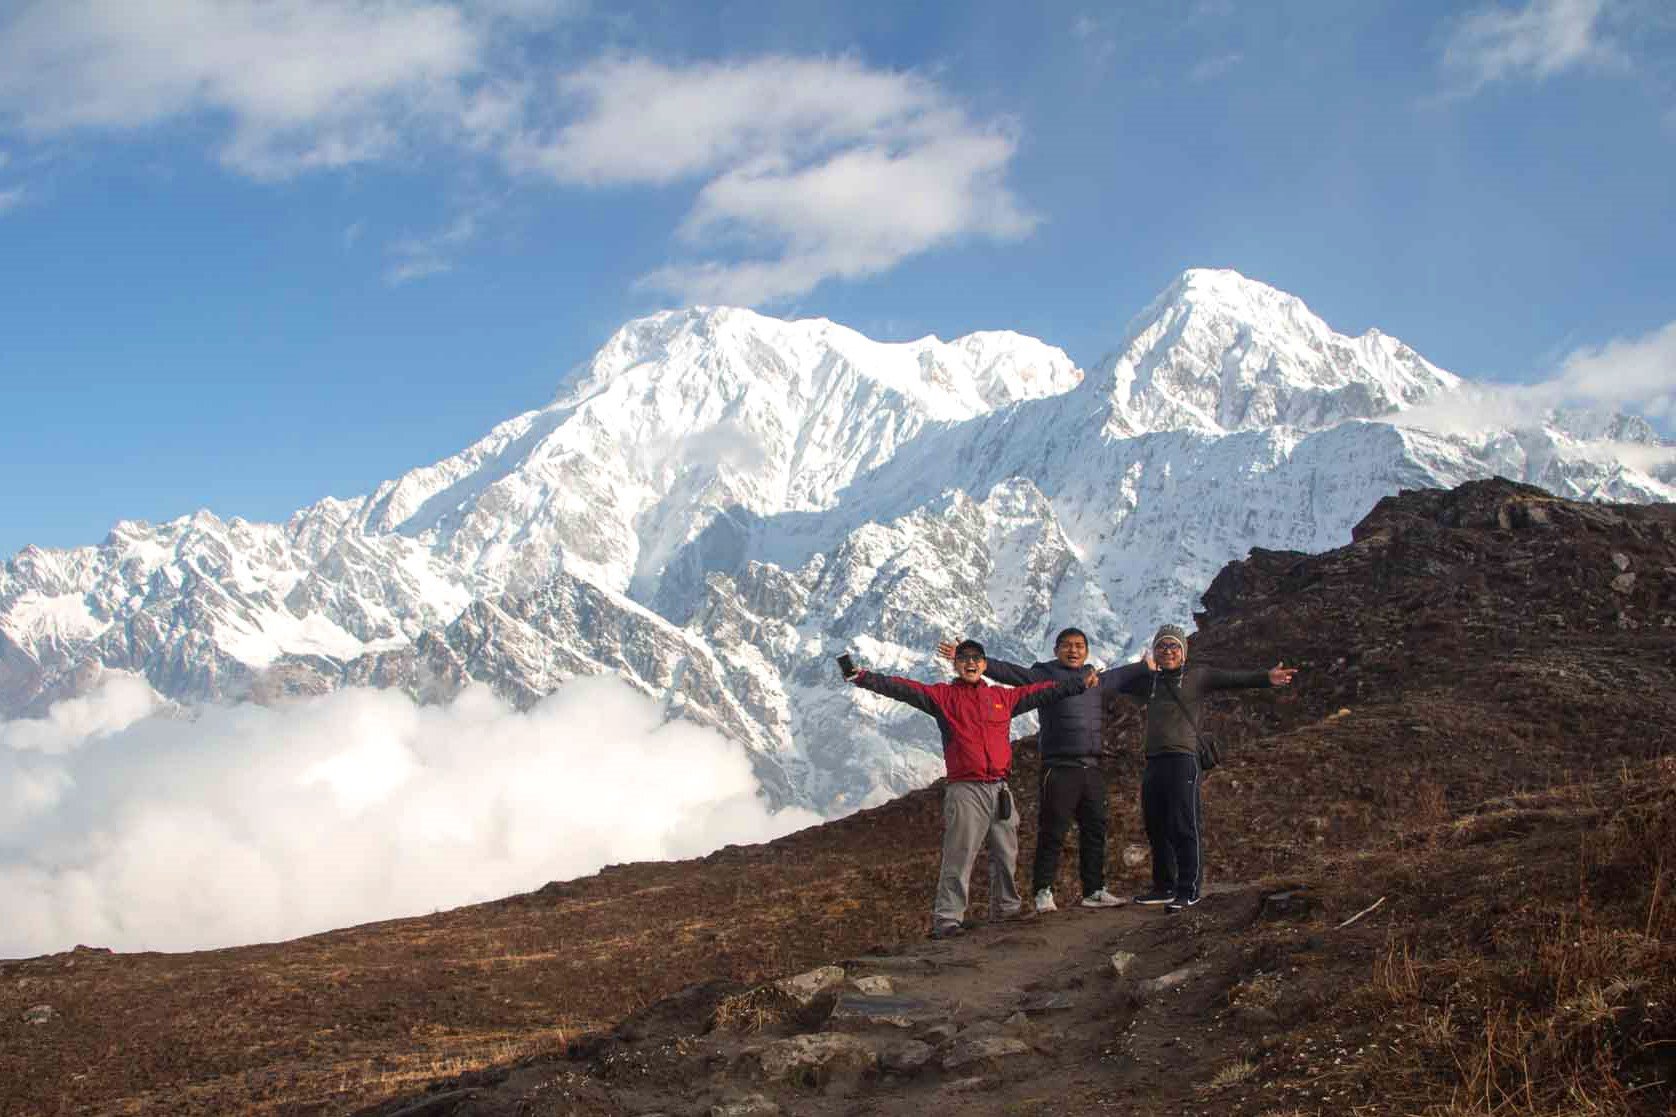
When embarking on the journey of drawing mountains, it's essential to approach the task with a sense of curiosity and wonder. Each mountain range has its own unique characteristics, from the rugged peaks of the Himalayas to the gentle slopes of the Appalachian Mountains. As an artist, you have the opportunity to interpret and portray these natural wonders in your own distinct style.
Through the process of drawing mountains, you'll not only hone your artistic skills but also gain a deeper appreciation for the intricacies of nature. From the interplay of light and shadow on the rocky surfaces to the layers of mist that shroud the peaks, mountains offer a wealth of visual elements to explore and depict on paper.
In this guide, we will delve into the art of drawing mountains, covering everything from the materials you'll need to the techniques for capturing the essence of these awe-inspiring formations. Whether you're aiming to create a realistic landscape or a stylized interpretation, this guide will provide you with the foundational knowledge and practical tips to bring your mountain drawings to life.
So, grab your sketchbook, sharpen your pencils, and let's embark on a creative journey to master the art of drawing mountains. Whether you're seeking to convey a sense of tranquility, adventure, or sheer grandeur, the process of drawing mountains offers a canvas for artistic expression and a gateway to immersing yourself in the beauty of the natural world.
Read more: How To Draw A Pumpkin
Materials Needed
When venturing into the realm of drawing mountains, having the right materials at your disposal is crucial for bringing your artistic vision to life. Here's a comprehensive list of essential materials that will equip you to embark on your mountain-drawing journey:
-
Drawing Paper: Begin with a sturdy and smooth surface to work on. Acid-free drawing paper or heavyweight sketch paper provides an ideal foundation for capturing the intricate details of mountains.
-
Pencils: A range of graphite pencils, including H (hard) and B (soft) grades, will enable you to achieve varying levels of shading and detailing in your mountain drawings. Additionally, a reliable mechanical pencil can be handy for creating precise outlines.
-
Eraser: A high-quality eraser, such as a kneaded eraser or vinyl eraser, is essential for correcting mistakes and refining the highlights and shadows in your mountain sketches.
-
Blending Tools: Consider using blending stumps or tortillons to seamlessly blend and soften the pencil strokes, particularly when rendering the textures and gradients of mountain surfaces.
-
Drawing Board: A smooth and sturdy drawing board or a drawing pad with a firm backing will provide stability and support for your artwork, allowing you to work comfortably and achieve precise details.
-
Reference Images: While drawing from imagination is a valuable skill, having reference images of mountains can offer valuable insights into their unique shapes, textures, and lighting, enriching the authenticity of your drawings.
-
Pencil Sharpener: Keeping your pencils sharp is essential for achieving fine lines and intricate details. A reliable pencil sharpener will ensure that your pencils are consistently ready for precise mark-making.
-
Ruler or Straight Edge: When sketching the outlines and perspectives of mountain ranges, a ruler or straight edge can aid in creating clean and accurate lines, especially for architectural or geometric elements within the landscape.
-
Fixative Spray: To preserve your finished mountain drawings and prevent smudging, consider using a fixative spray designed for pencil drawings. This protective coating will safeguard your artwork for years to come.
By assembling these fundamental materials, you'll be well-equipped to embark on your artistic exploration of drawing mountains. With the right tools at your disposal, you can unleash your creativity and delve into the captivating process of capturing the timeless allure of mountain landscapes on paper.
Choosing a Composition
Selecting a compelling composition is a pivotal step in the process of drawing mountains. The composition determines how the elements within your artwork are arranged and how they interact with each other, ultimately shaping the visual narrative of your mountain landscape. When choosing a composition for your mountain drawing, consider the following factors to create a captivating and harmonious portrayal of these natural wonders.
1. Perspective and Scale
Begin by contemplating the perspective from which you want to depict the mountains. Will your drawing showcase a close-up view of towering peaks, or will it encompass a broader expanse of mountain ranges fading into the distance? The choice of perspective influences the scale and depth of your composition, allowing you to evoke a sense of grandeur or intimacy within the artwork.
2. Focal Point and Balance
Identify a focal point within the composition that draws the viewer's attention and anchors the visual narrative. This focal point could be a prominent peak, a winding mountain trail, or a tranquil alpine lake nestled amidst the slopes. Additionally, strive to achieve a sense of balance in your composition by distributing visual elements such as peaks, valleys, and forests in a way that creates a harmonious and visually engaging arrangement.
Read more: How To Draw A Chicken
3. Atmospheric Elements
Consider incorporating atmospheric elements to infuse your mountain drawing with depth and mood. Depicting elements such as clouds, mist, or distant haze can add a sense of atmosphere and dimension to the landscape, enhancing the overall visual impact of your composition.
4. Dynamic Lines and Shapes
Explore the dynamic lines and shapes present in the mountainous terrain. From jagged ridges to sweeping valleys, mountains offer a diverse array of forms that can contribute to the visual dynamism of your composition. Experiment with the interplay of these lines and shapes to create a sense of movement and rhythm within the landscape.
5. Rule of Thirds and Leading Lines
Utilize the rule of thirds as a guiding principle for composing your mountain drawing. By dividing your composition into thirds both horizontally and vertically, you can position key elements along these intersecting lines or their intersections, creating a visually pleasing and balanced arrangement. Additionally, incorporate leading lines that guide the viewer's gaze through the composition, leading them on a visual journey through the mountainous terrain.
By carefully considering these aspects of composition, you can craft a visually compelling and evocative portrayal of mountains that resonates with viewers and captures the essence of these awe-inspiring natural formations. The process of choosing a composition is an opportunity to infuse your artwork with intention and narrative, allowing you to convey the timeless allure and majesty of mountains through the language of visual art.
Sketching the Outline
Sketching the outline of the mountains forms the foundational framework upon which the intricate details and textures will later unfold. This initial stage sets the stage for the entire composition, guiding the placement of peaks, slopes, and valleys with precision and intention. Here's a detailed exploration of the essential steps involved in sketching the outline of mountains:
-
Observation and Analysis: Before setting pencil to paper, take a moment to observe your reference images or visualize the mountain landscape you aim to depict. Pay close attention to the distinctive shapes and silhouettes of the peaks, the interplay of light and shadow, and the overall flow of the mountain ranges. By analyzing these elements, you'll gain a deeper understanding of the unique characteristics that define the mountains you intend to draw.
-
Defining the Horizon Line: Begin by establishing the horizon line on your drawing surface. This line demarcates the boundary between the sky and the land, serving as a pivotal reference point for positioning the mountains within the landscape. Consider the placement of the horizon line in relation to the overall composition and the desired sense of scale and perspective.
-
Rough Outlines and Shapes: With a light hand, sketch the rough outlines of the mountain peaks and slopes. Focus on capturing the basic shapes and contours, using simple lines to map out the primary features of the mountains. Avoid getting caught up in intricate details at this stage; instead, prioritize capturing the overall form and arrangement of the mountains within the composition.
-
Layering and Depth: As you progress, consider the layering and depth of the mountain ranges. Utilize varying line weights to convey the sense of distance and perspective, distinguishing between foreground, middle ground, and background elements. By layering the mountain outlines with differing levels of detail and definition, you can create a compelling sense of spatial depth within the landscape.
-
Refinement and Precision: Gradually refine the initial outlines, paying attention to the specific contours and undulations of the mountains. Take the time to adjust the shapes and proportions, ensuring that the overall composition aligns with your artistic vision. This stage allows for precision and fine-tuning, as you work towards capturing the intricacies of the mountain forms with accuracy and artistry.
-
Integration with Surroundings: Consider how the mountain outlines integrate with the surrounding elements such as forests, rivers, or other natural features. Ensure that the mountains harmoniously coexist within the broader landscape, maintaining a sense of visual coherence and interconnectedness.
By meticulously sketching the outline of the mountains, you lay the groundwork for a compelling and evocative portrayal of these natural wonders. This stage serves as a crucial bridge between envisioning the landscape and translating it onto paper, setting the stage for the subsequent phases of adding details, shading, and bringing the mountains to life with depth and dimension.
Read more: How To Draw A Shoe
Adding Details
With the foundational outlines of the mountains in place, the next phase involves infusing the landscape with intricate details that breathe life and character into the mountainous terrain. Adding details to your mountain drawing is a process of refinement and nuance, where each stroke of the pencil contributes to the rich tapestry of textures, features, and natural elements that define the mountains. Here's a comprehensive exploration of the essential steps involved in adding details to your mountain drawing:
-
Textural Elements: Begin by focusing on the textural elements that define the surfaces of the mountains. Consider the rugged contours, rocky outcrops, and weathered slopes that characterize mountain terrain. Utilize varying pencil strokes, such as hatching, cross-hatching, and stippling, to emulate the diverse textures present in the landscape. Pay attention to the interplay of light and shadow on the surfaces, accentuating the tactile quality of the mountains.
-
Rock Formations and Geology: Delve into the geological intricacies of the mountains by depicting the unique rock formations and stratifications. Study the patterns and formations found in real mountain landscapes, and translate these geological features onto your drawing. Whether it's the jagged edges of cliffs or the layered sedimentary structures, infusing your drawing with geological authenticity adds depth and realism to the portrayal of mountains.
-
Vegetation and Flora: Mountains are often adorned with lush vegetation, from resilient alpine flora to sprawling forests that adorn the lower slopes. Integrate the presence of trees, shrubs, and foliage into your drawing, considering the distribution and density of vegetation across the mountainous terrain. Pay attention to the distinct shapes and silhouettes of trees, as well as the interplay of light filtering through the foliage, to evoke the verdant beauty of mountain landscapes.
-
Water Features: Many mountainous regions are adorned with cascading waterfalls, meandering streams, and serene alpine lakes. If your chosen landscape includes water features, intricately depict the flow and movement of water, capturing the reflections, ripples, and transparency of these natural elements. Consider how the presence of water contributes to the overall dynamism and tranquility of the mountain scene.
-
Subtle Details and Accents: Elevate the visual richness of your mountain drawing by incorporating subtle details and accents that enhance the overall narrative. This could include the presence of wildlife, such as soaring eagles or grazing deer, as well as human elements like mountain trails or secluded cabins. These nuanced details infuse the landscape with storytelling potential, inviting viewers to immerse themselves in the evocative world you've created on paper.
By meticulously attending to these details, you'll transform your mountain drawing into a captivating and immersive portrayal of the natural world. Each carefully rendered element contributes to the overall narrative of the landscape, inviting viewers to embark on a visual journey through the awe-inspiring realm of mountains.
Shading and Texturing
Shading and texturing are pivotal aspects of bringing depth, dimension, and visual richness to your mountain drawing. Through the strategic application of shading techniques and the meticulous rendering of textures, you can imbue the mountains with a sense of tactile realism and atmospheric presence. Here's an in-depth exploration of the techniques and considerations involved in shading and texturing your mountain drawing:
-
Understanding Light and Shadow: Begin by envisioning the direction and quality of light in your mountain landscape. Consider the position of the sun or the source of illumination, and visualize how light interacts with the rugged surfaces of the mountains. By understanding the interplay of light and shadow, you can strategically apply shading to convey the three-dimensional form of the mountains, accentuating their contours and undulations.
-
Gradations of Tone: Utilize a range of pencil grades to achieve gradations of tone that capture the subtle shifts in light and shadow across the mountainous terrain. From the gentle slopes catching the sunlight to the deep crevices cast in shadow, the nuanced gradations of tone contribute to the realism and depth of the landscape. Experiment with blending techniques to seamlessly transition between light and dark areas, creating a sense of atmospheric depth and volume within the mountains.
-
Emulating Textures: Delve into the diverse textures present in mountain landscapes, from the rough, weathered surfaces of cliffs to the soft, velvety appearance of distant slopes. Employ varied pencil strokes and techniques to emulate these textures, such as employing cross-hatching for rocky outcrops, stippling for foliage, and blending for smooth, snow-capped peaks. By capturing the tactile qualities of the mountains, you infuse your drawing with a palpable sense of natural authenticity.
-
Atmospheric Perspective: Leverage the concept of atmospheric perspective to convey the sense of spatial depth within the mountain landscape. As the mountains recede into the distance, subtle atmospheric effects such as aerial perspective and diminishing contrast come into play. Soften the details and tones of distant mountain ranges, creating a sense of depth and scale that evokes the vastness of the natural environment.
-
Highlighting and Contrast: Introduce highlights and areas of heightened contrast to accentuate the focal points and visual interest within the mountains. By strategically emphasizing areas illuminated by direct light, you draw attention to the contours and features that define the character of the landscape. Contrast can be employed to delineate the rugged peaks from the surrounding terrain, adding visual impact and drama to the composition.
By skillfully integrating shading and texturing techniques, you elevate your mountain drawing from a mere depiction to a compelling portrayal that evokes the awe-inspiring grandeur of these natural formations. The interplay of light, shadow, and texture breathes life into the mountains, inviting viewers to immerse themselves in the captivating world you've crafted on paper.
Final Touches
As you approach the culmination of your mountain drawing, the stage of final touches presents an opportunity to refine, polish, and imbue your artwork with a sense of completion. This pivotal phase involves meticulous attention to detail, strategic enhancements, and the harmonization of visual elements to elevate the overall impact of the composition. Here's a comprehensive exploration of the essential considerations and techniques involved in applying the final touches to your mountain drawing:
-
Refinement of Details: Take the time to scrutinize the intricate details of the mountains, refining the contours, textures, and subtle nuances that contribute to the authenticity of the landscape. Pay attention to the interplay of light and shadow, the intricacies of geological formations, and the organic irregularities that define the character of the mountains.
-
Balancing Visual Elements: Evaluate the distribution of visual elements within the composition, ensuring a harmonious balance that guides the viewer's gaze through the mountain landscape. Consider the placement of focal points, the arrangement of natural features, and the overall visual flow to create a cohesive and engaging portrayal of the mountains.
-
Fine-Tuning of Contrast and Depth: Adjust the contrast and tonal values to enhance the sense of depth and dimension within the mountains. By fine-tuning the interplay of light and shadow, you can accentuate the three-dimensional form of the landscape, creating a compelling sense of realism and atmospheric presence.
-
Emphasis on Atmospheric Effects: Introduce subtle atmospheric effects to evoke the mood and ambiance of the mountainous environment. Consider the portrayal of distant mist, the softening of distant peaks, and the interplay of light with aerial elements to convey a sense of vastness and tranquility within the landscape.
-
Integration of Surrounding Elements: Ensure that the mountains seamlessly integrate with the surrounding elements such as forests, rivers, or skies. Pay attention to the transitions and interactions between different components of the landscape, fostering a sense of visual coherence and interconnectedness.
-
Signature and Final Details: Consider adding your signature or discreetly incorporating final details that personalize and complete the artwork. Whether it's a subtle insignia in the corner of the drawing or a discreet addition that holds personal significance, these final touches mark the culmination of your artistic endeavor.
By meticulously attending to these final touches, you bring your mountain drawing to a state of fulfillment and visual resonance. Each deliberate stroke and nuanced adjustment contributes to the cohesive and evocative portrayal of the mountains, inviting viewers to immerse themselves in the captivating world you've crafted on paper.