Home>Arts and Culture>How To Draw A Mushroom
Arts and Culture
How To Draw A Mushroom
Published: February 27, 2024
Learn how to draw a mushroom with easy step-by-step instructions. Explore your creativity and enhance your arts and culture skills today!
(Many of the links in this article redirect to a specific reviewed product. Your purchase of these products through affiliate links helps to generate commission for Noodls.com, at no extra cost. Learn more)
Table of Contents
Introduction
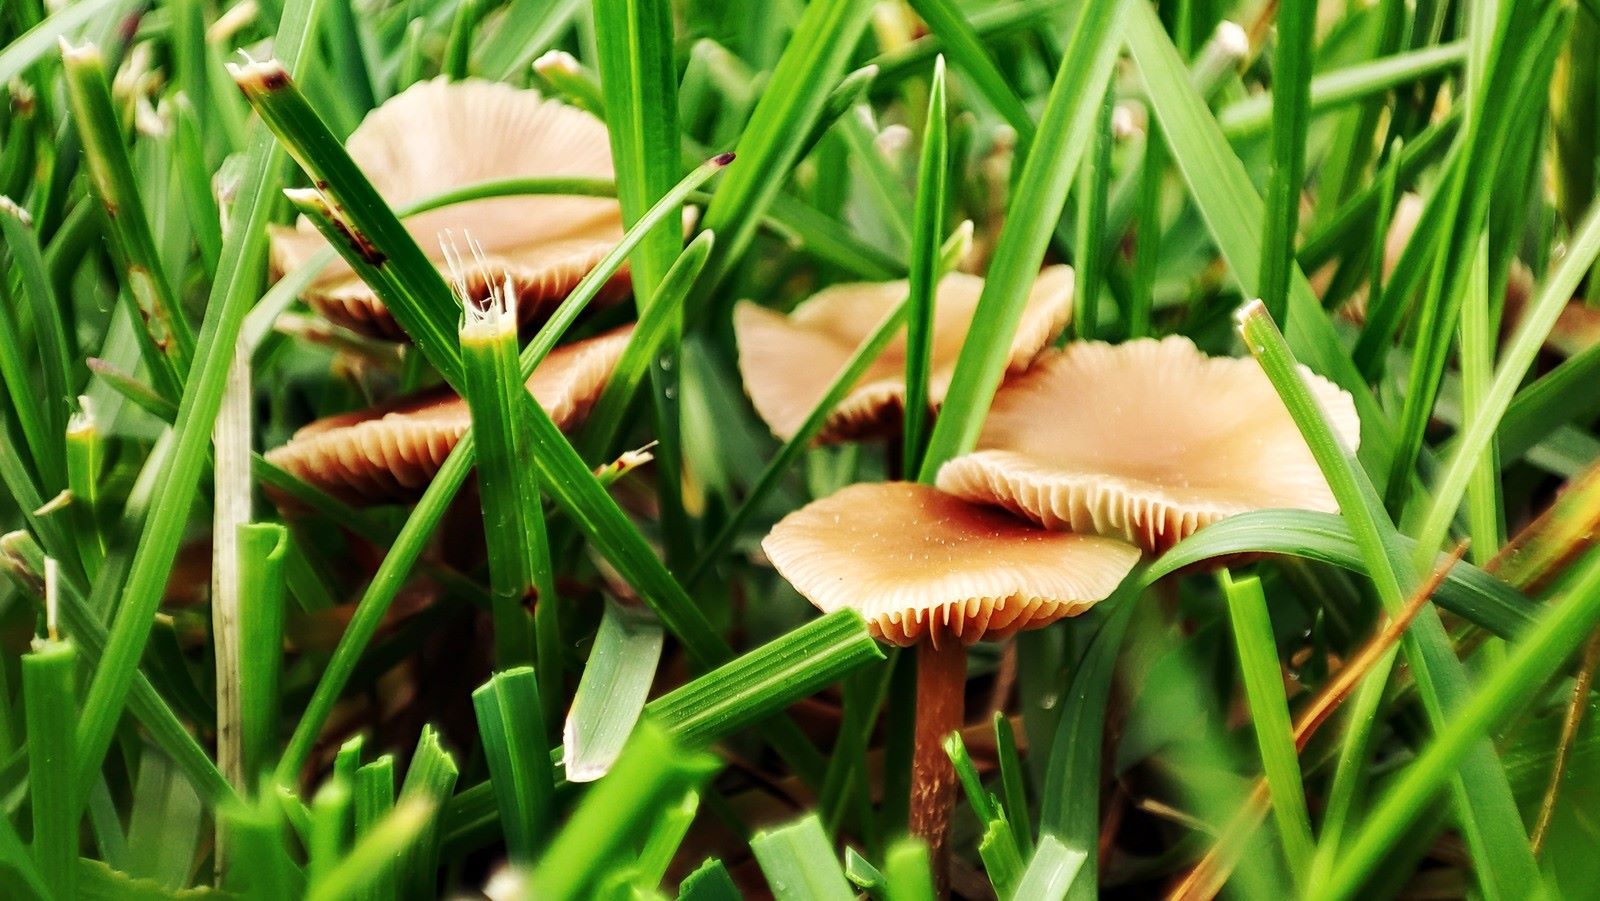
Drawing a mushroom can be a delightful and rewarding artistic endeavor. Whether you are an experienced artist or just starting to explore your creative side, capturing the unique shape and texture of a mushroom can be a fun and fulfilling experience. Mushrooms come in a variety of shapes, sizes, and colors, making them an intriguing subject for artists of all levels.
In this guide, we will explore the step-by-step process of drawing a mushroom, from sketching the basic outline to adding intricate details and vibrant colors. By following these simple yet effective techniques, you can bring a touch of nature's beauty to your artwork and hone your drawing skills along the way.
The fascinating structure of a mushroom offers a wonderful opportunity to practice observation and precision in drawing. From the slender stem to the distinctive cap, each part of the mushroom presents a unique challenge and a chance to refine your artistic abilities. Whether you are aiming for a realistic depiction or a more stylized interpretation, drawing a mushroom allows for creative expression and experimentation with different artistic styles.
As we embark on this artistic journey, remember that there are no strict rules when it comes to drawing a mushroom. Embrace your individuality and let your imagination guide your hand as you bring this enchanting subject to life on paper. So, gather your drawing materials and let's dive into the captivating world of mushroom drawing!
Read more: How To Tell If Mushrooms Are Bad
Materials Needed
To embark on the creative adventure of drawing a captivating mushroom, you will need a few essential materials to bring your vision to life. Here's a list of items that will help you capture the intricate details and natural charm of a mushroom in your artwork:
-
Drawing Paper: Select a smooth and sturdy drawing paper that can withstand various drawing techniques. The paper should be able to hold the pigment of your chosen drawing tools without warping or tearing.
-
Pencils: A set of high-quality pencils ranging from 2H to 6B will provide you with the versatility to create precise outlines and add depth and shading to your mushroom drawing.
-
Eraser: A soft eraser is essential for correcting mistakes and refining the details of your mushroom sketch without damaging the paper.
-
Fine-tip Pens: Fine-tip pens in different thicknesses can be used for adding intricate details and defining the contours of the mushroom with precision.
-
Blending Stump or Tortillon: These tools are useful for blending and smudging graphite or charcoal to achieve smooth transitions and realistic textures in your mushroom drawing.
-
Reference Images: While not a physical material, having reference images of various mushrooms can provide valuable inspiration and guidance as you work on your drawing.
-
Coloring Materials (Optional): If you plan to add color to your mushroom drawing, consider using colored pencils, markers, or watercolor paints to infuse your artwork with vibrant hues and lifelike tones.
By gathering these materials, you will be well-equipped to embark on the artistic journey of drawing a mushroom with confidence and creativity. With the right tools at your disposal, you can fully immerse yourself in the process of capturing the enchanting allure of mushrooms on paper, allowing your artistic vision to flourish and evolve with each stroke of your pencil or pen.
Step 1: Drawing the Stem
The first step in drawing a mushroom is to focus on capturing the distinct shape and structure of the stem. The stem, also known as the stipe, serves as the foundational element of the mushroom's form, providing stability and support for the cap. To begin, lightly sketch the basic outline of the stem using a well-sharpened pencil. Pay close attention to the proportions and curvature of the stem, as these details will contribute to the overall realism and visual appeal of your drawing.
As you outline the stem, consider the thickness and tapering of the stipe, as these characteristics can vary significantly among different mushroom species. Some mushrooms have slender, elongated stems, while others feature thicker, more robust stipes. Take time to observe the unique attributes of the mushroom species you are drawing, and strive to capture the specific nuances of the stem's shape and texture.
Once the initial outline is in place, focus on adding subtle details to enhance the realism of the stem. Use light, feathery strokes to indicate any ridges, bumps, or texture present on the surface of the stipe. These delicate touches can bring depth and authenticity to your drawing, allowing the stem to appear more lifelike and organic.
As you refine the details of the stem, pay attention to the connection between the stem and the ground or substrate on which the mushroom rests. Depicting this connection convincingly can contribute to the overall believability of your drawing, grounding the mushroom in its natural environment.
Throughout the process of drawing the stem, remember to maintain a light touch with your pencil, allowing for adjustments and refinements as needed. The goal at this stage is to establish a solid foundation for the rest of the mushroom while capturing the unique character of the stem. By approaching this step with patience and attention to detail, you can set the stage for a compelling and well-executed mushroom drawing.
With the stem sketched and refined, you are ready to move on to the next step in the drawing process, where you will focus on adding the distinctive cap of the mushroom, further enriching the visual narrative of your artwork.
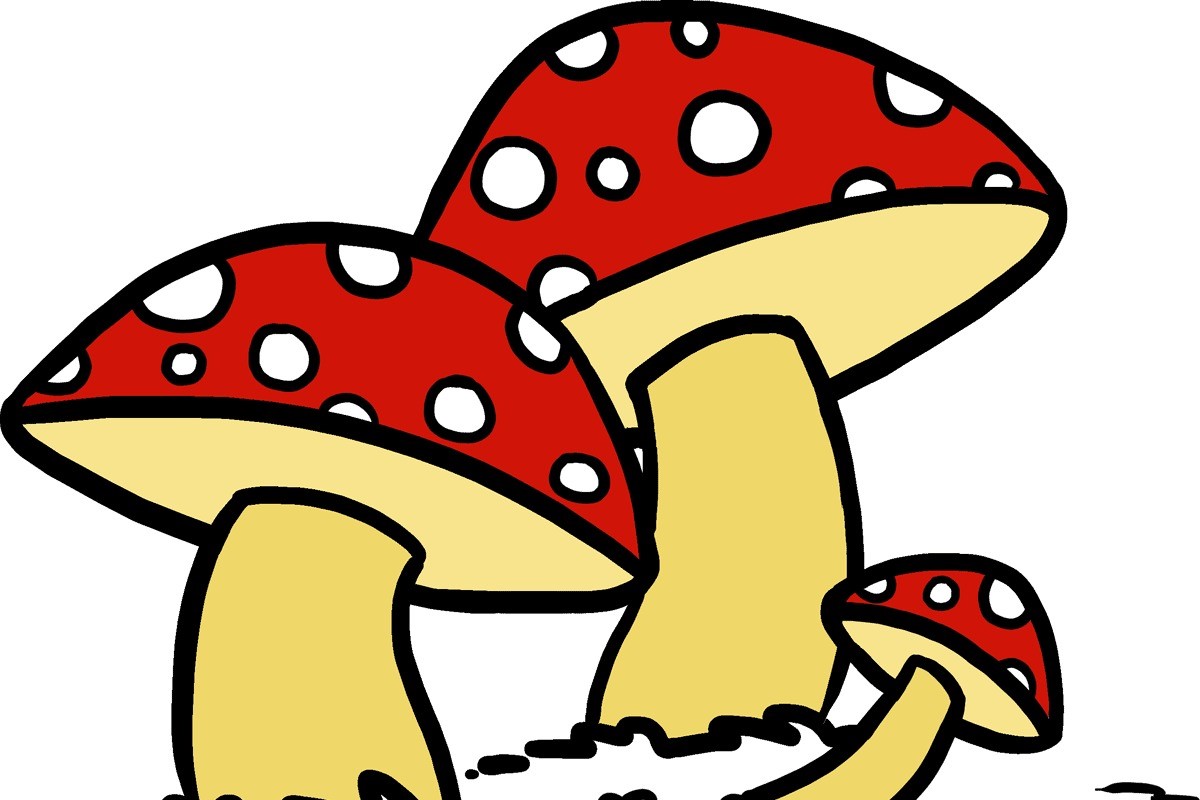
Step 2: Adding the Cap
After successfully sketching and refining the stem of the mushroom, the next crucial step is to focus on adding the distinctive cap, also known as the pileus. The cap is a defining feature of the mushroom, often showcasing a wide range of shapes, textures, and colors. Capturing the unique characteristics of the cap is essential for creating a compelling and lifelike mushroom drawing.
Begin by carefully outlining the basic shape of the cap, taking into account its size and curvature in relation to the stem. Some mushroom caps are broad and umbrella-like, while others are more conical or convex in form. Pay close attention to the specific shape of the mushroom species you are drawing, as this will greatly influence the overall appearance of the cap.
As you refine the outline of the cap, consider the surface texture and any distinctive features such as grooves, scales, or bumps that may be present. These details contribute to the visual interest and authenticity of the mushroom drawing, adding depth and character to the cap. Use light, controlled strokes to indicate these textural elements, gradually building up the form of the cap with precision and care.
Incorporating shading and tonal variations is crucial for conveying the three-dimensional quality of the cap. Utilize your pencils to create subtle gradients and shadows, enhancing the sense of volume and depth in the cap. Pay attention to the direction of light and shadow, considering how it interacts with the contours of the cap to create a convincing sense of form.
Refining the details of the cap, such as gills, pores, or other distinctive features, further enriches the visual narrative of your mushroom drawing. These intricate elements contribute to the overall realism and character of the mushroom, inviting viewers to engage with the captivating intricacies of nature's design.
With the cap sketched and detailed, you have successfully captured the essence of the mushroom's form, infusing your artwork with the enchanting allure of this natural subject. The careful attention to the unique attributes of the cap has allowed you to create a compelling and authentic representation of a mushroom, showcasing your artistic skill and appreciation for the beauty of the natural world.
Step 3: Adding Details
As you progress in drawing a mushroom, the next step involves adding intricate details that bring depth and realism to your artwork. This phase allows you to infuse character and authenticity into the mushroom, elevating it from a simple sketch to a captivating portrayal of nature's beauty.
One of the key details to focus on is the underside of the mushroom's cap, where various features such as gills, pores, or ridges may be present, depending on the mushroom species. Carefully observe the reference images and translate these unique characteristics onto your drawing with precision. Use fine-tip pens or pencils to delineate these details, paying attention to their arrangement, spacing, and relationship to the overall structure of the mushroom.
Incorporating subtle textures and imperfections on the surface of the stem adds a touch of realism to your drawing. Mushrooms often exhibit delicate ridges, bumps, or discolorations on their stems, which contribute to their organic charm. By employing light, controlled strokes, you can emulate these natural irregularities, enhancing the tactile quality of the stem and enriching the visual narrative of your artwork.
Furthermore, consider the environment in which the mushroom resides. Depicting elements such as fallen leaves, moss, or soil can provide context and depth to your drawing, grounding the mushroom in its natural habitat. These environmental details not only enhance the overall composition but also offer a glimpse into the interconnectedness of the mushroom with its surroundings.
As you add these intricate details, remember to maintain a balance between precision and artistic interpretation. While accuracy is important, allowing room for creative expression can infuse your drawing with a sense of vitality and individuality. Embrace the opportunity to imbue the mushroom with your unique artistic flair, while staying true to the inherent beauty of the natural subject.
By meticulously adding these details, you breathe life into your mushroom drawing, inviting viewers to immerse themselves in the captivating intricacies of this enchanting subject. The careful attention to these nuanced elements elevates your artwork, transforming it into a compelling and authentic representation of a mushroom, rich in detail and visual allure.
Read more: How To Grow Lion’s Mane Mushrooms
Step 4: Adding Color
Adding color to your mushroom drawing presents an exciting opportunity to infuse vibrancy and visual depth into your artwork. Whether you choose to employ traditional coloring materials such as colored pencils or opt for the fluidity of watercolor paints, the strategic application of color can elevate your drawing to new heights, capturing the natural allure of mushrooms with striking realism and artistic flair.
Before applying color, take a moment to observe the reference images of the mushroom species you are depicting. Notice the subtle variations in hue, saturation, and tonal transitions present in the cap, stem, and any additional details. This careful observation will guide your color choices and application, allowing you to authentically capture the unique characteristics of the mushroom.
When using colored pencils, consider layering multiple shades to achieve a rich and nuanced color palette. Begin by laying down a base layer of color, gradually building up the intensity and depth by adding successive layers. Pay attention to the interplay of light and shadow, using lighter hues to highlight areas of illumination and darker tones to create depth and dimension.
For those opting for watercolor paints, approach the application of color with a delicate touch, allowing the translucent nature of the medium to create luminous washes and subtle gradients. By carefully controlling the water-to-pigment ratio, you can achieve soft transitions and captivating color blends, infusing your mushroom drawing with a sense of ethereal beauty.
As you add color to the cap and stem, consider the interplay of warm and cool tones, as well as the presence of any subtle color variations or patterns. Emphasize the natural textures and contours of the mushroom, allowing the application of color to enhance the tactile quality of your drawing.
Incorporating environmental elements such as dappled sunlight, mossy terrain, or fallen leaves can further enliven your artwork, creating a sense of narrative and context. By integrating these environmental cues, you can transport viewers into the enchanting world where the mushroom thrives, fostering a deeper connection to the natural subject.
With each stroke of color, you breathe life into your mushroom drawing, infusing it with the captivating hues and organic charm of the natural world. The strategic application of color not only enhances the visual appeal of your artwork but also conveys a profound appreciation for the intricate beauty of mushrooms, inviting viewers to immerse themselves in the captivating allure of your creation.
Conclusion
Drawing a mushroom is not just a creative exercise; it is a journey of discovery and appreciation for the intricate beauty found in nature. As we conclude this artistic endeavor, it's essential to reflect on the enriching experience of capturing the essence of a mushroom on paper.
Throughout the process, from sketching the stem to adding intricate details and vibrant colors, we have delved into the captivating world of mushrooms, honing our observational skills and artistic techniques along the way. The careful attention to the unique characteristics of the stem and cap, the meticulous addition of intricate details, and the strategic application of color have allowed us to create a compelling and authentic representation of a mushroom, rich in detail and visual allure.
Drawing a mushroom transcends the act of putting pencil to paper; it invites us to pause and marvel at the wonders of the natural world. The subtle textures, delicate hues, and intricate structures of mushrooms serve as a testament to the artistry of nature, inspiring us to embrace curiosity and creativity in our artistic pursuits.
As we gaze upon the completed mushroom drawing, we are reminded of the interconnectedness of all living things and the boundless inspiration found in the world around us. The process of drawing a mushroom has not only allowed us to refine our artistic skills but has also deepened our appreciation for the beauty and complexity of the natural environment.
In the end, our mushroom drawing stands as a testament to the power of art to illuminate the extraordinary in the ordinary, to celebrate the often-overlooked marvels of the natural world. It serves as a reminder that within the graceful curves and intricate details of a simple mushroom lies a world of wonder waiting to be discovered and expressed through art.
So, as we conclude this artistic journey, let us carry forward the spirit of curiosity, creativity, and appreciation for the beauty that surrounds us. Whether in art or in life, may we continue to find inspiration in the captivating allure of nature's creations, allowing our creativity to flourish and our hearts to be filled with the enchanting magic of the world around us.